Week 8 - Challenge 4 - Bumper
AIM: - Create the Bumper Plastic component through the given Class-A surface and the tooling axis for the given Class-A Surface and at the end we have to perform the Draft analysis on the bumper.
Class A surface: - Class A surface is the Aesthetic surface that is visible from the outside.
Class B Surface: - The class B surface is the inner panel of the car which provides Strength to the class A surface and has some engineering features inherited from them. Parting Line should always come on the Class B surface.
Class C Surface:- The class C surface is the surface that joins the Class A surface with the Class B Surface and closes the component.
OVERVIEW: - First we have to offset the class A surface inside 3mm to obtain the class B surface after offsetting we get some open patches on the class B surface due to fillets on the Class A surface so we need to first close that all open patches and then form the class C surface by sweeping the class A surface all around not at one time but in parts. Then we go for the trim command to join all the surfaces. Then with the help of a part design workbench, we make the solid bumper out of that. Then we give a finishing touch by completing the bumper by mirroring it to form a complete bumper.
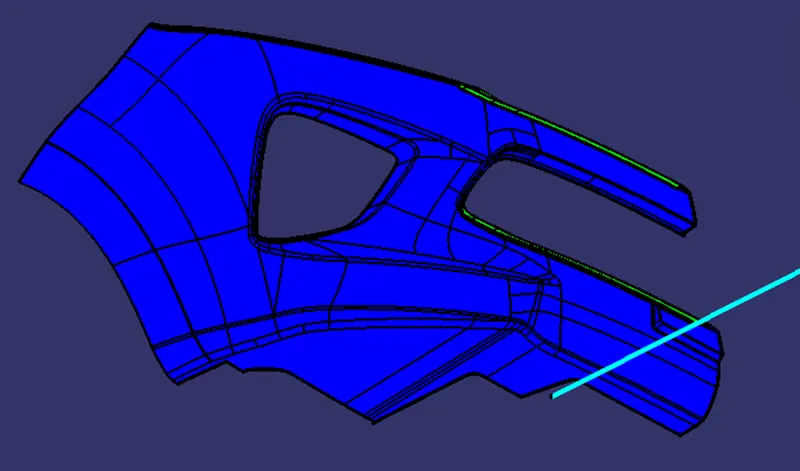
TOOLING AXIS: - For creating the tooling axis first we first extract the surface and then take the point between that surface then create a line by using a bisector of two lines extracted from the given class A surface. Now we will perform the draft analysis test in which we will check whether the part is qualifying for manufacturing for the given tooling Axis or not.
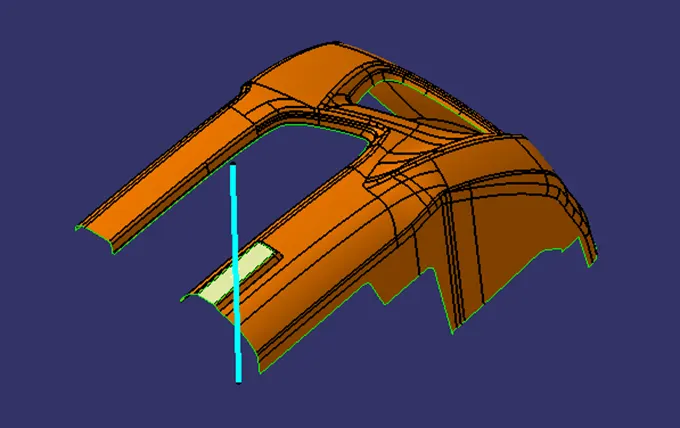
DRAFT ANALYSIS RESULT IN CLASS A SURFACE: -
The part qualifies for the draft test and can be manufactured without any difficulty and abnormality.
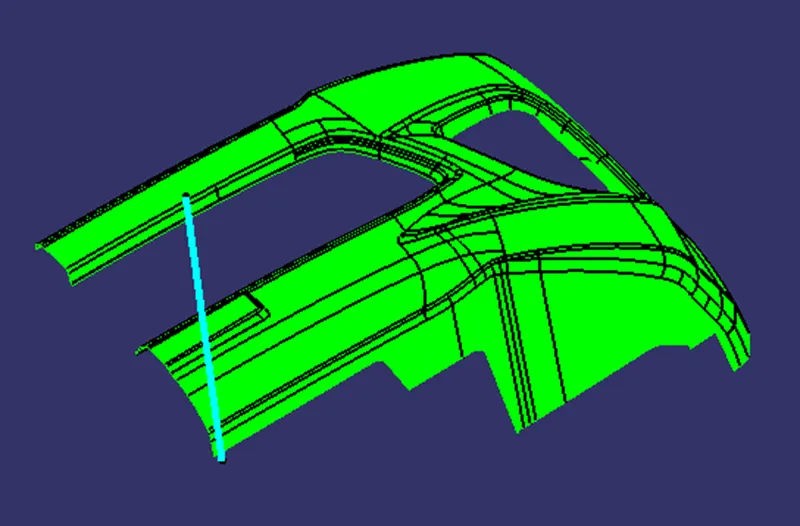
CLASS B SURFACE: -
To create the class B surface, we will offset the Class A surface Inside to 3mm (part thickness). After offsetting the part for 3mm there are a number of open patches formed due to fillet in class A surface. The patches are as follows.
Patch 1 –
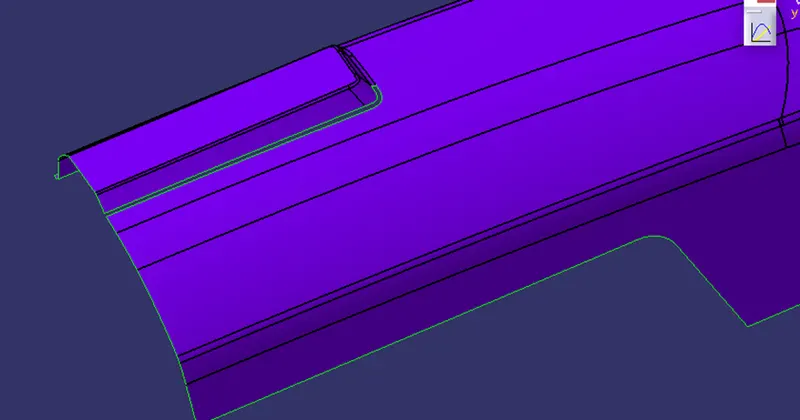
Patch 2 & 3 –
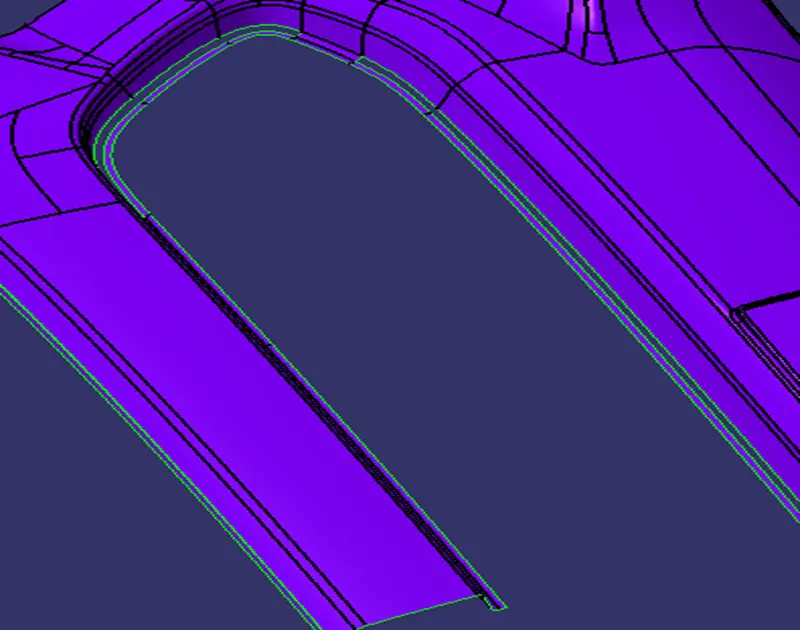
Patch 4 & 5 –
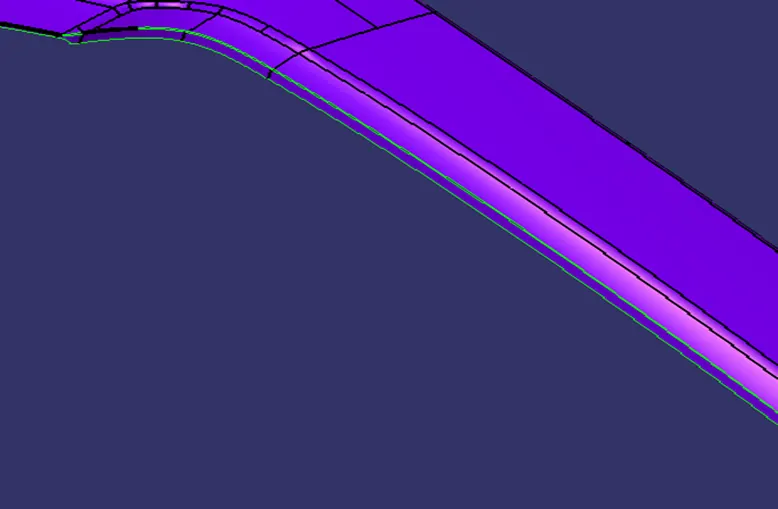
Patch 6 –
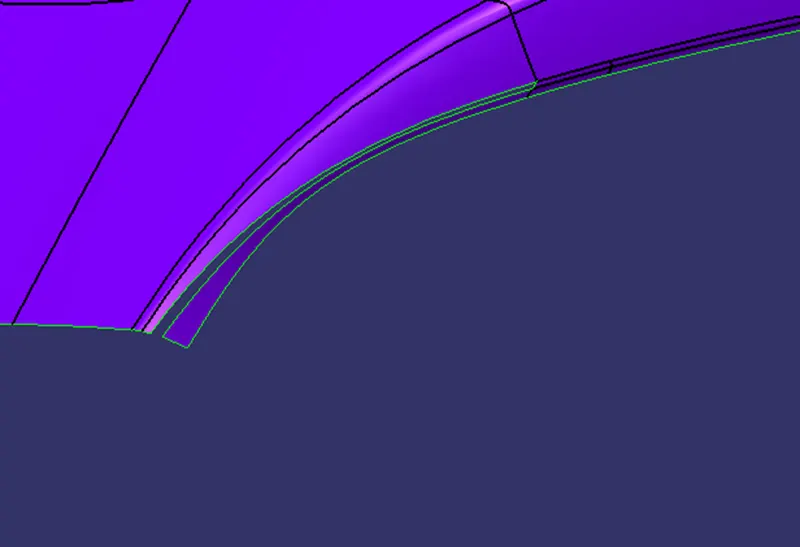
COUNTERMEASURES: -
We have to cover these Patches one by one we have to use the extract command and then after extrapolating the extracted surfaces we will going to trim them together to join as a result we get the close part at the end.
Patch 1: -
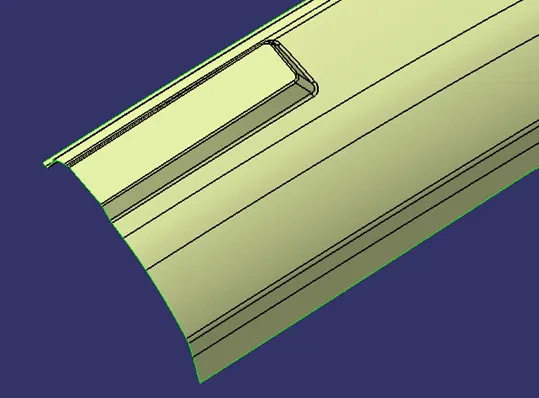
Patch 2 & 3: -
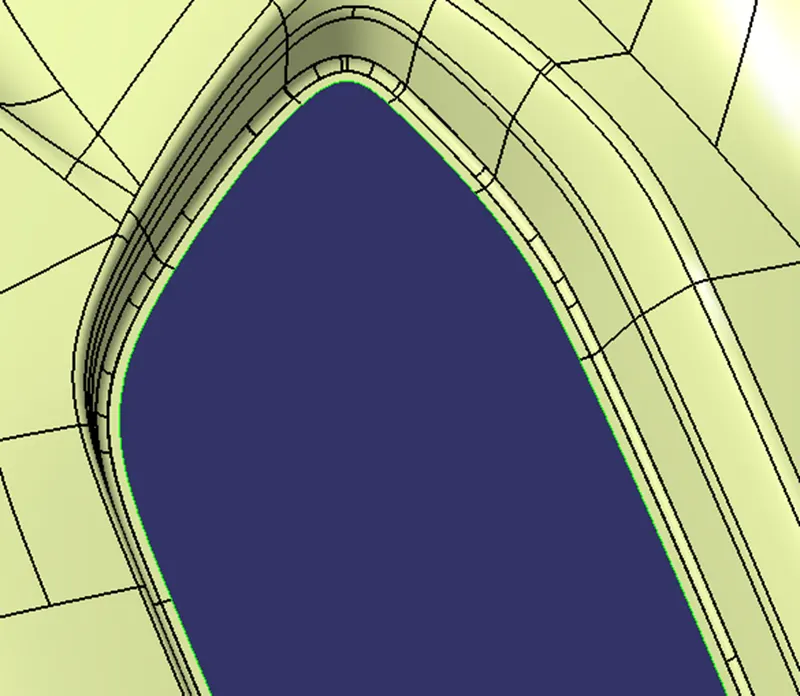
Patch 4 & 5: -
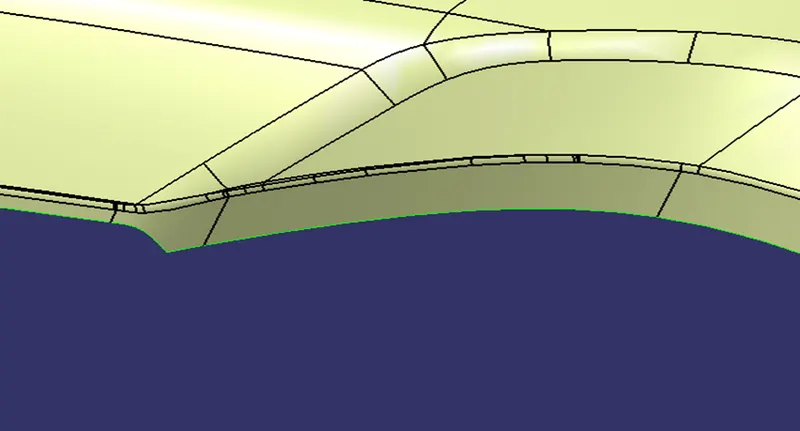
Patch 6: -
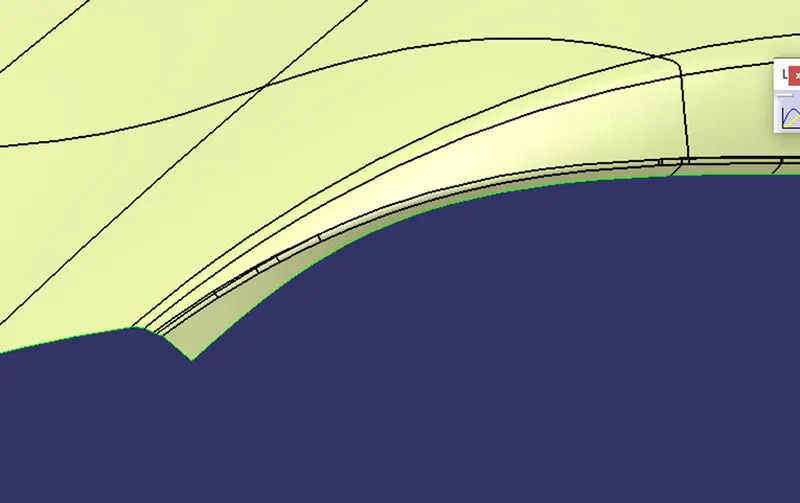
CLASS C SURFACE: -
After successfully closing all the patches we will proceed toward creating the class C surface. For that, we will first extract the curve from the class A surface and then create the surface by sweep command using the class A surface as a reference and the extracted curve. These must be done in parts and not in a single go. Finally, after creating all the sweeps we will be going to join the surfaces to obtain the Class C surface. We must ensure that the class C surface properly intersects with the class B surface, if not then we must extrapolate the class C surface to obtain the proper intersection between the two surfaces. Then using the trim command, we will join both Class A and C surfaces finally and then we will be going to trim A+C with the Class B surface to obtain the final Bumper part.
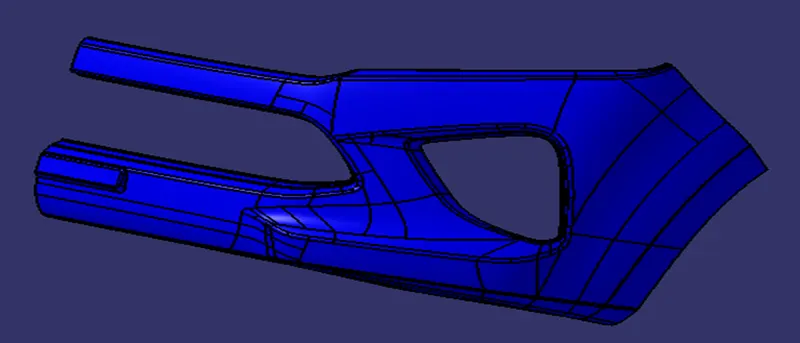
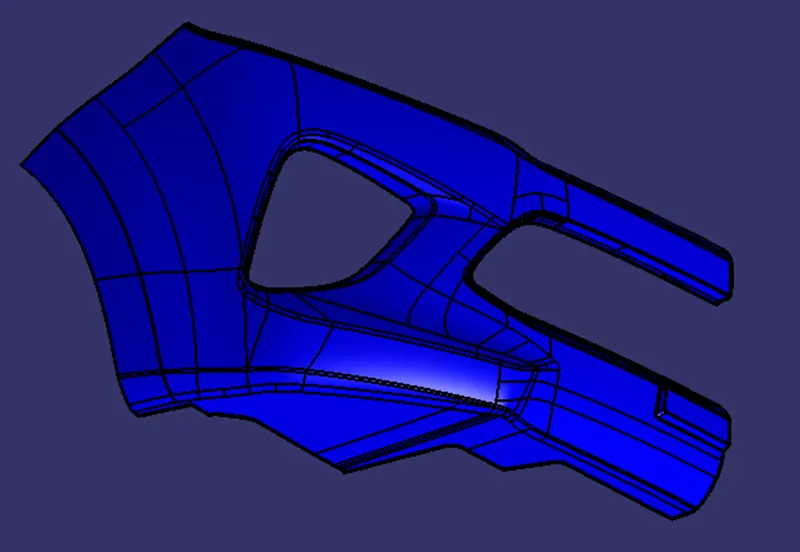
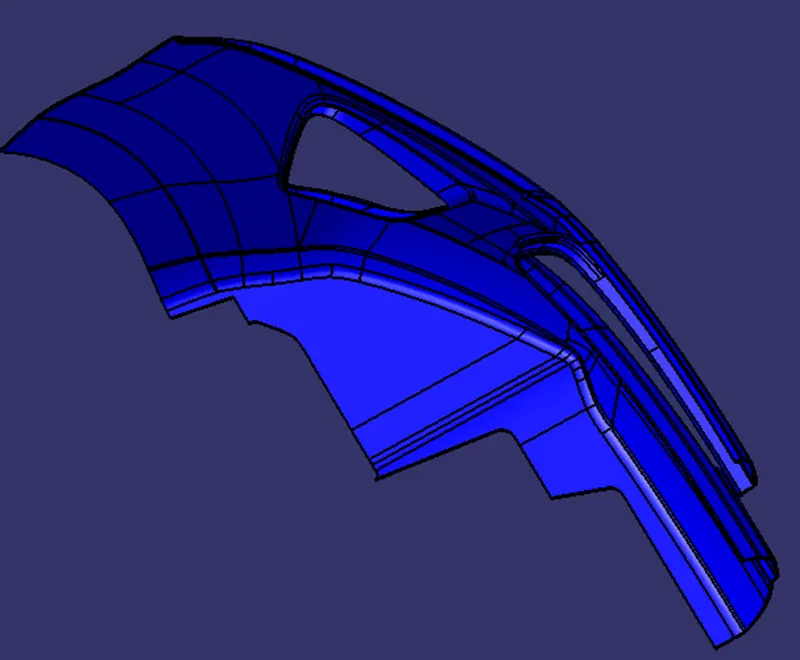
SOLID PART BODY: -
After forming a closed surface body of the bumper we will convert the surface body to a solid body with the help of a part design workbench.
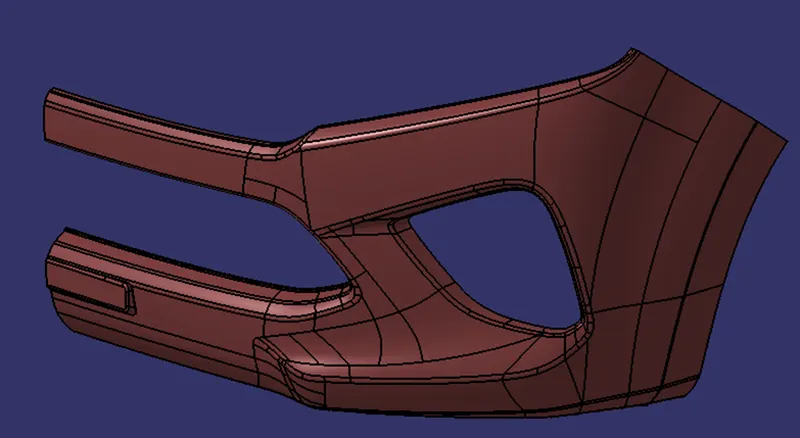
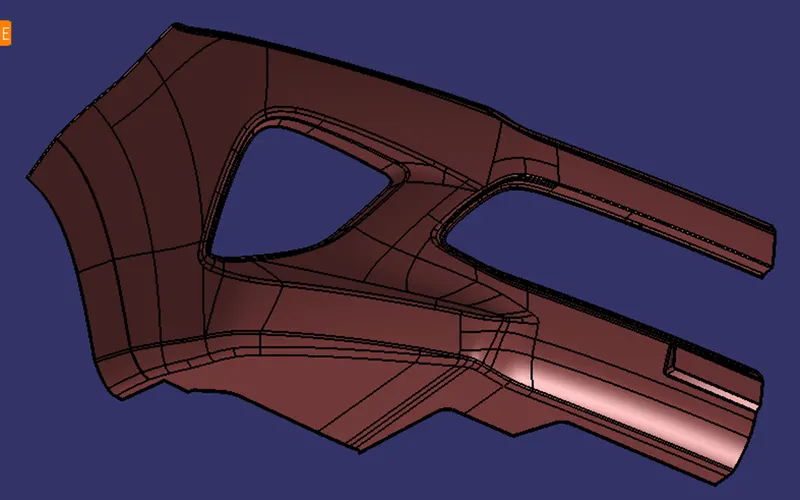
DRAFT ANALYSIS: -
After forming the solid Part we will perform the draft analysis to check whether the part Qualifies for production or not.
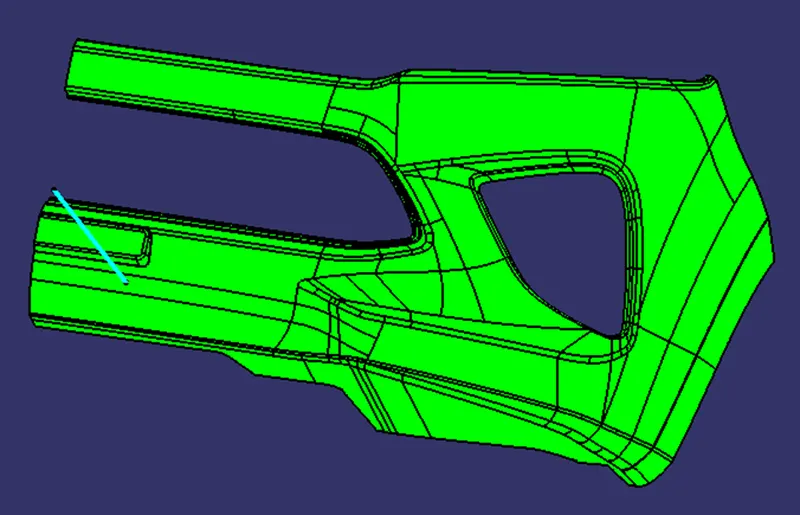
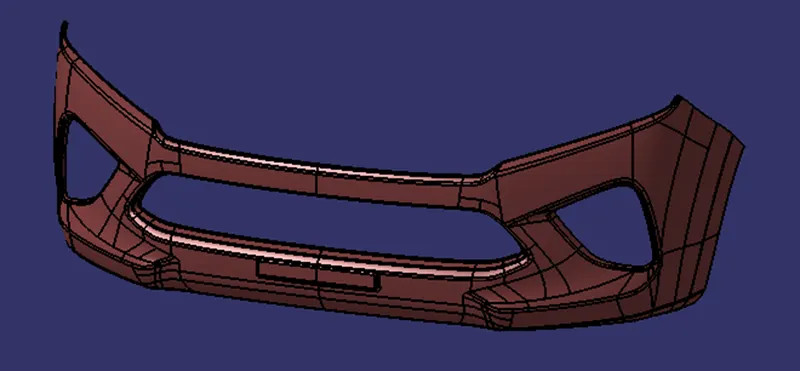
FULL BUMPER: -
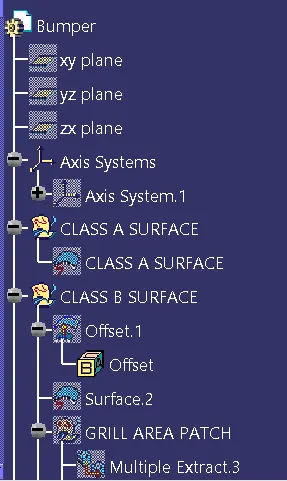
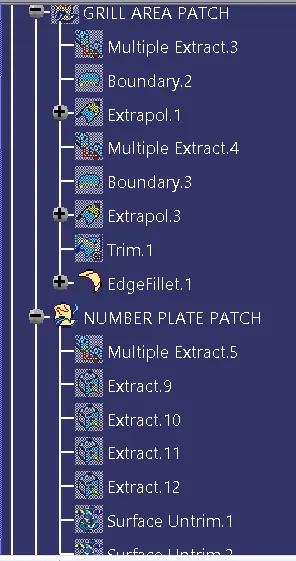
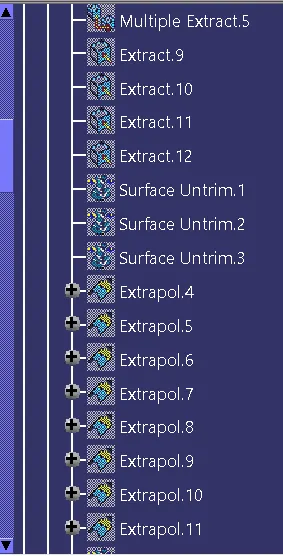
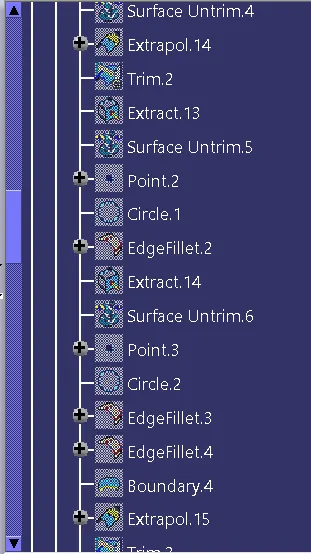
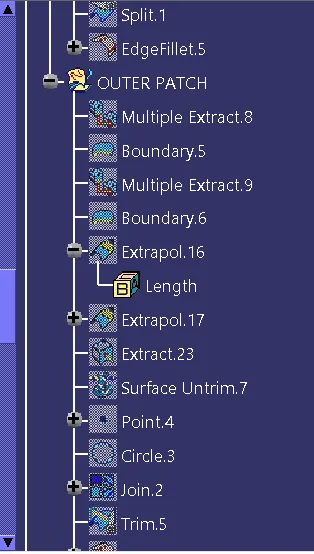
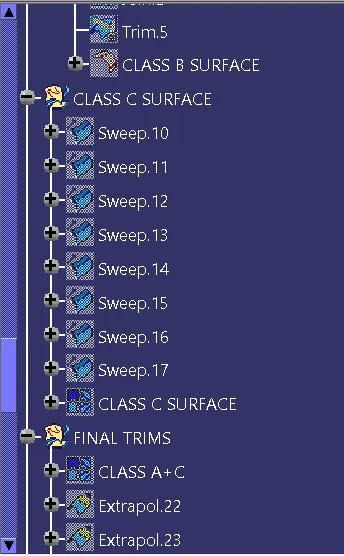
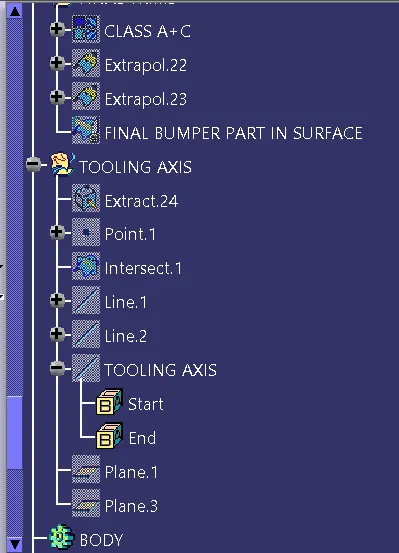
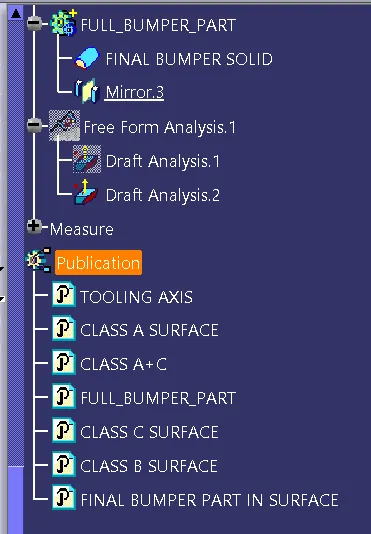
TREE STRUCTURE: -