Week 8 - Challenge 4 - Bumper
- AIM: Create the Bumper Plastic component through the given Class-A surface. To begin with, the tooling axis for the given Class-A Surface should be created meeting the requirements of the draft angle and at the end perform the Draft analysis on the model.
- Objective: The main objective of this challenge is to create a solid body of 'Bumper' with the help of the closed surface method by using the 'Generative shape design' workbench in CATIA V5. Performing the 'Draft Analysis' on the solid part body of the Bumper.
- Overview:
Initially, we need to offset the given Bumper class A surface in the inner direction to the required thickness (here the thickness is 3mm). After that, we need to close the patches on the offset surface of the bumper, the patches are formed due to the fillets on the Class A surface. Once all the patches are closed properly join them together to make a proper class B surface and now sweep the boundary of the class A surface to trim with the class B surface to make a closed body. By using the closed body command in the Prat workbench we can get the solid body from the closed surface of the Bumper. Now, again went back to the surface workbench to perform the 'Draft analysis' for the solid body.
TOOLING AXIS:
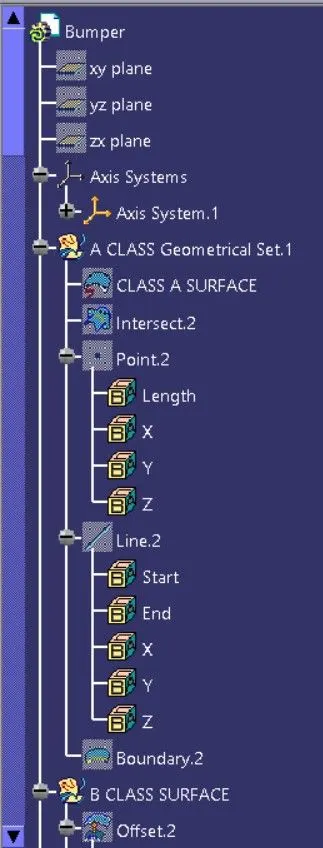
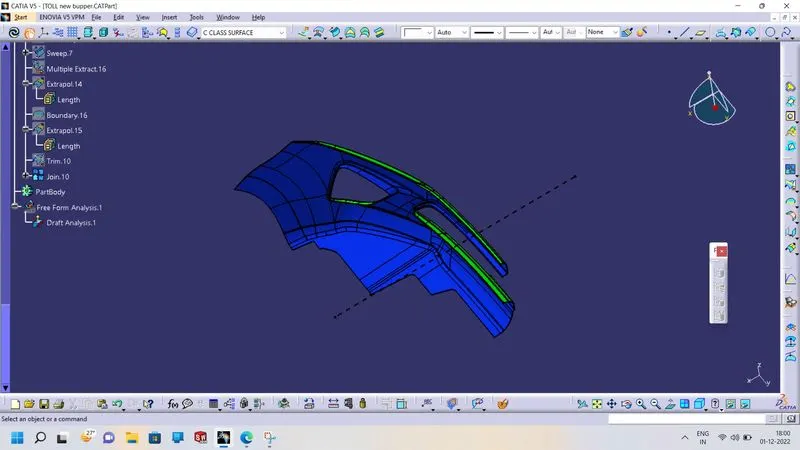
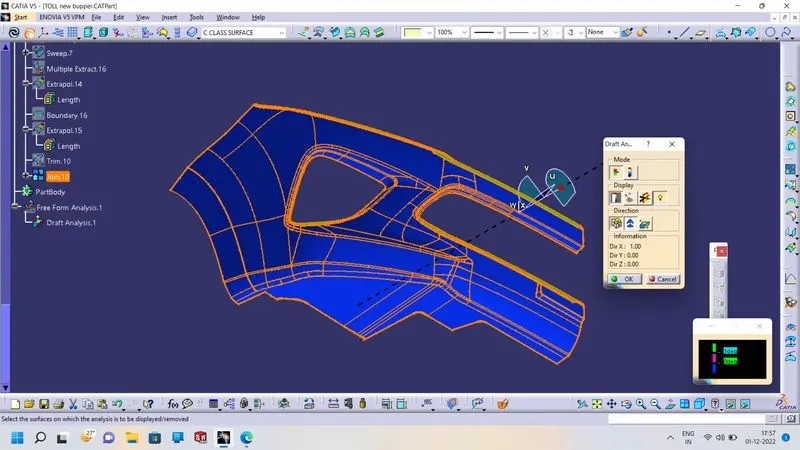
To create the tooling axis, I extracted a surface from class A and created a point in the middle of the surface by using the point command and created a line at that point through the x-axis. Now, I performed a draft analysis check from that line whether the created tooling axis is in the correct position or not. If, in the draft analysis check the surface highlighted with green colour on both sides of the surface the tooling axis is in the correct position and direction.
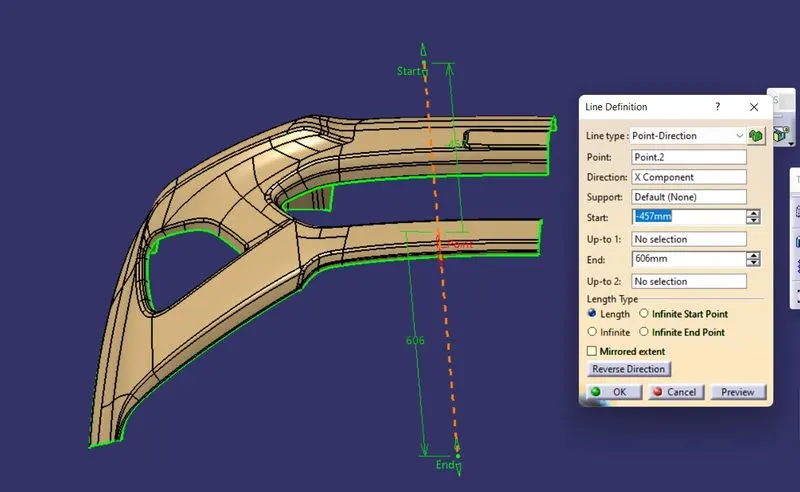
CLASS-A SURFACE: a surface made by the designer which is given as an input to the plastic modeler to work on. It is aesthetic surface
and the outer most surface.
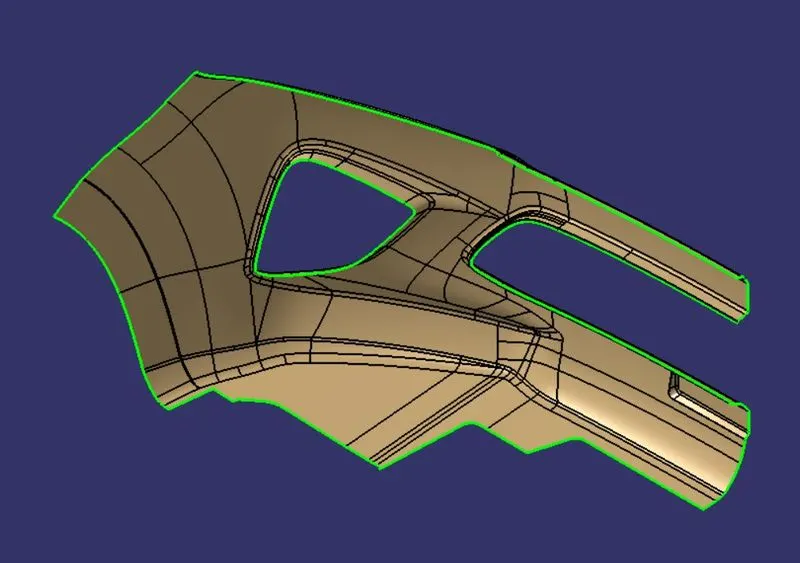
Bisecting method :This method is used to create the axis of tooling. For this method the positon of axis is choosen at that point is bisecting the profile of the most dominant feature during draft creation. Top view closeup view side draft DRAFT ANALYSIS This procedure is done to check the available draft in the retraction.
CLASS B SURFACE:
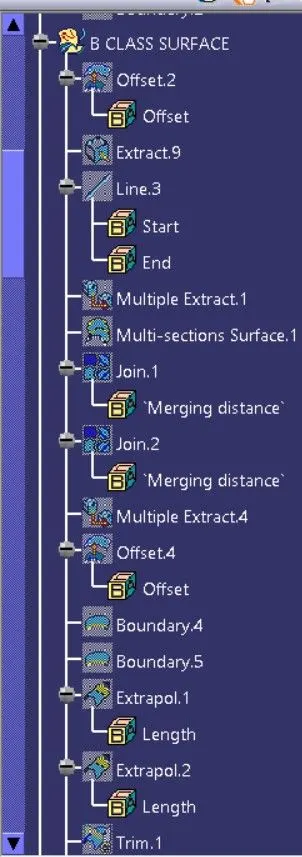
To create the class B surface, offset the class A surface inside as per our thickness requirement (here the thickness is 3mm, so I offset the class A to 3mm inside). Once the offset is created, we can observe some patches on the offset surface by taking the boundary for the offset surface, those patches are formed due to the fillets on the class A surface. We need to cover those patches with the help of the multi-section surfaces command by extracting the patch boundaries. Once all the patches on the offset are covered properly join all the patches with the offset surface, to get the replicated surface of the class A surface.
CLASS C SURFACE:
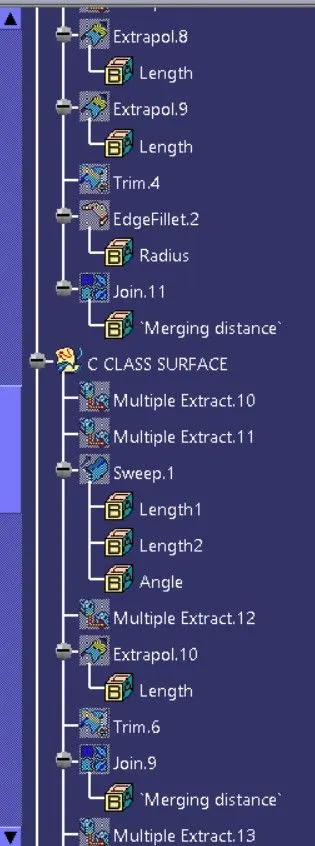
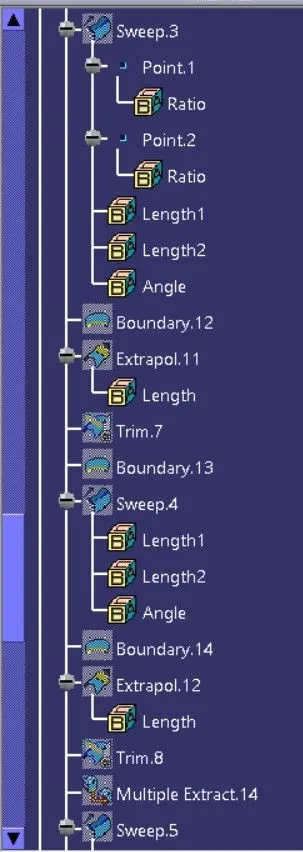
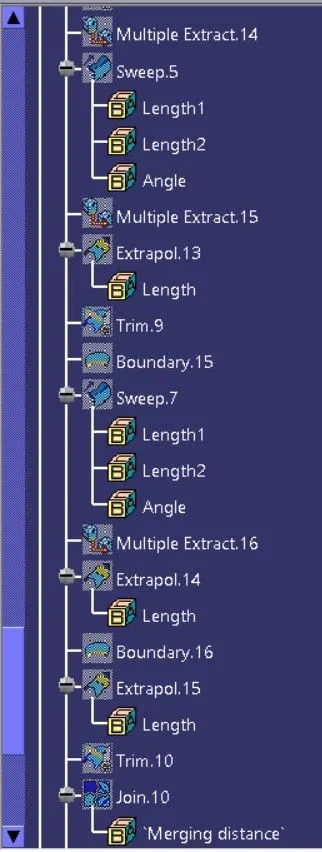
To create the class C surface concerning the boundary of the class A surface, I used the sweep command. Initially, I extracted the boundary of the class A surface with tangent continuity, and I sweep the extracted boundary concerning the surface at 93deg (for draft angle) for 4mm to intersect properly with the class B surface. Once we sweep all the surface boundaries of class A, extrapolate the sweeped surfaces until both surfaces got intersected properly, and trim them to remove extended extrapolated surfaces to get a proper sweep boundary throughout the entire surface, including the centre hole of the bumper.
METHODOLOGY:
In this model we have focused on the following things:
Tooling axis
Draft analysis
Class-B surface
Class-C surface
Making a solid model from surface.
Following tools were used to reach the final step:
Extract
Un-trim
Trim
Extrapolate
Offset
Edge fillet
Boundary
Sweep
Join
Close (part design)
FOR DRAFT ANALYSIS:
First we analysis the model and then choose dummy axis in x and y direction.
As we intersected to proceed we observed that the side walls are not given any draft. Hence we assume the axis normal to the base surface and parallel to side walls. This surely will create problems because a minimum draft has to be provided.
As class-A surface is made by other designer only he is authorized to make changes, so we look over this to complete the coin holder for practice.
Now we go to insert< analysis< draft analysis and follow usual procedure to do the analysis.
Align the compass and click on the surface and as expected the model is mostly in red color i.e. negative draft with respect to the axis.
To correct it to as best as we can we moved the compass a bit till we got most of the surfaces in green and lock that position.
After hitting ok, we change the direction of the line from z axis to compass direction. The axis will align itself accordingly.
NOTE: as the side wall does not have draft, this result was expected and few areas need correction. But still we are moving forward to
complete the model
FRONT VIEW:
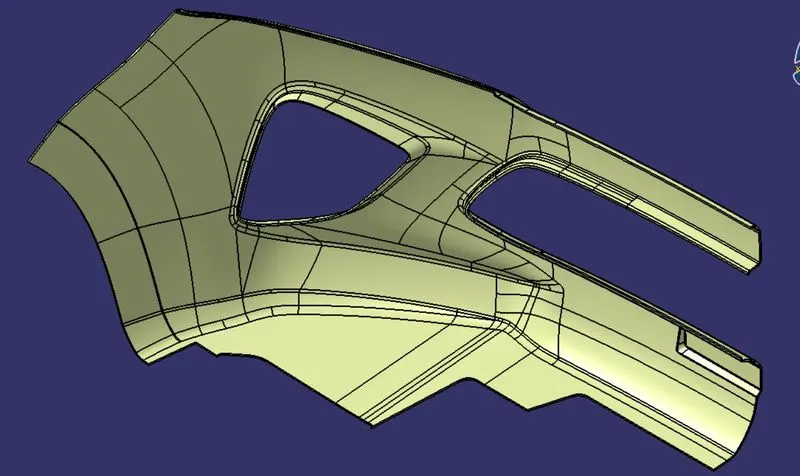
ISOMETRIC VIEW:
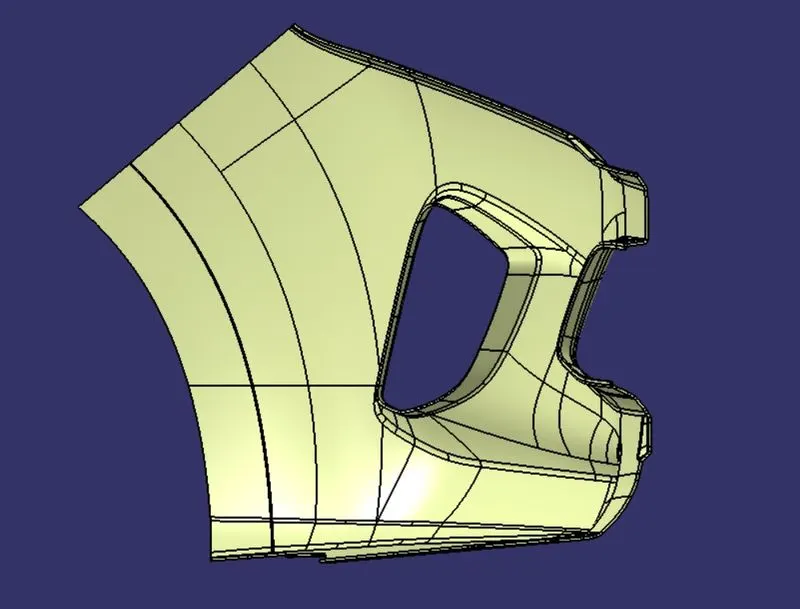
RIGHT VIEW:
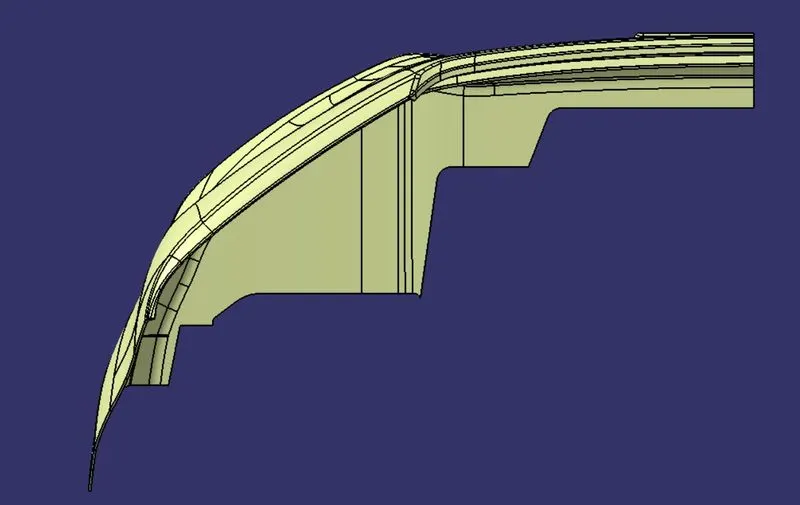
TOP VIEW:
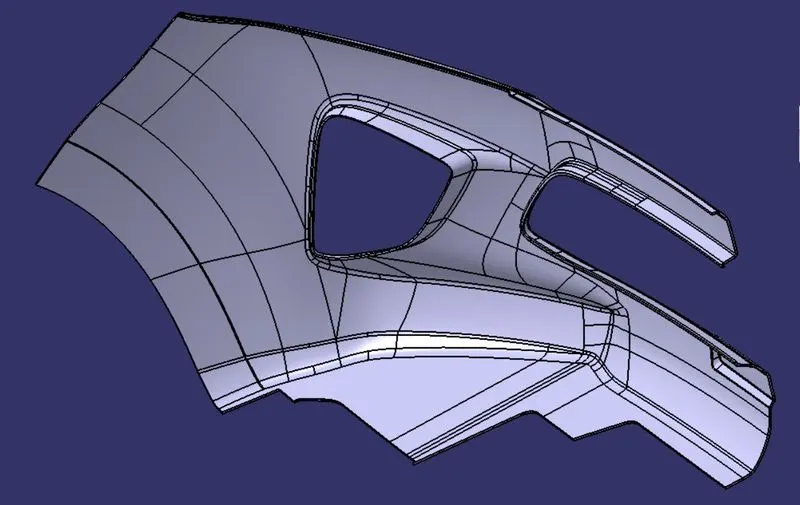
CLOSE SURFACE ;
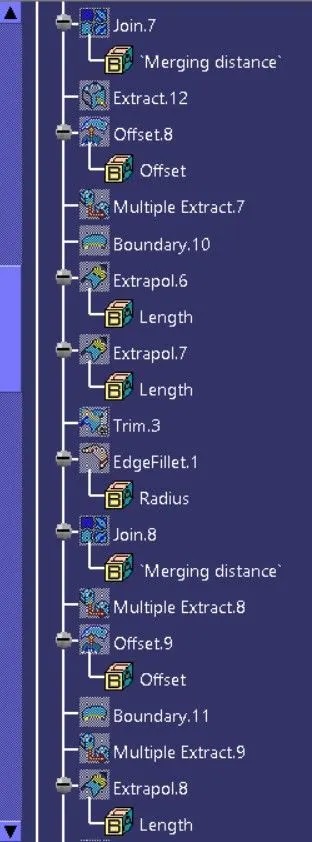
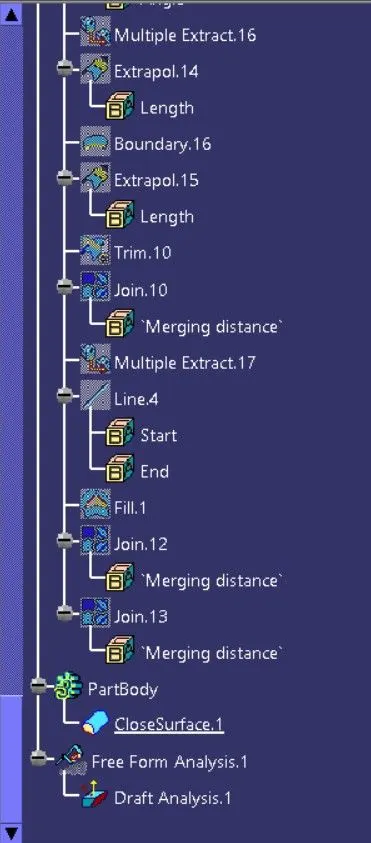
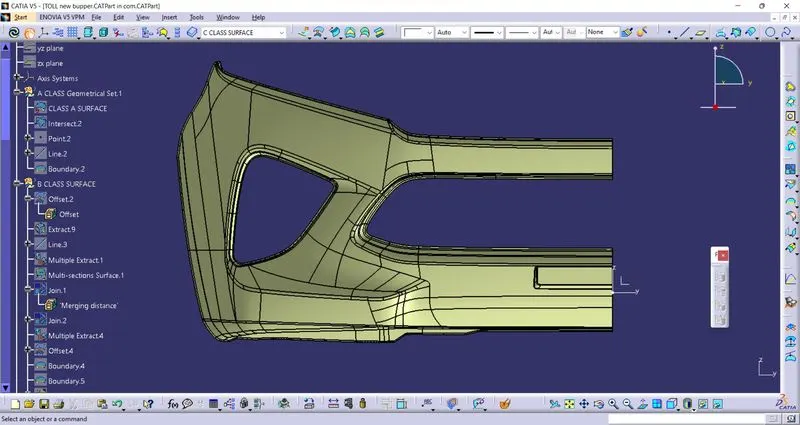
ENTIRE TREE STRACTURE: