Week 8 - Challenge 4 - Bumper
AIM
To create a body of Bumper from the input given which was the A-surface of a Bumper. The created body should be a closed solid volume which should be feasible for manufacturing and Tooling. The draft angle and draft analysis of the component should be done.
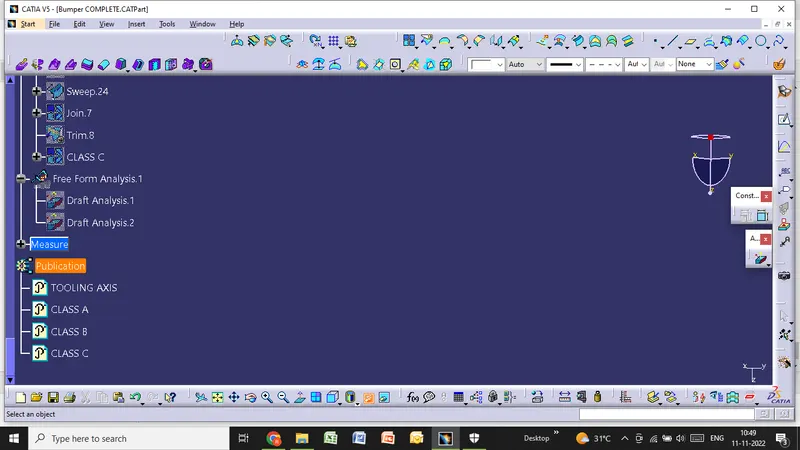
In model, proper tree structure to be maintained and publications of Tooling axis,A,B and C surfaces to be done.
CREATION OF TOOLING AXIS
Tooling axis represents the opening and closing of the mold core and cavity during the manufacturing of the components. A perfect Tooling axis should be created by a Plastic product design engineer to cutdown the cost of the component very less.
We can find out the best tooling direction by cross checking all the three axes
- Here we can find out that the best tooling direction for the pumper class-A surface is along x-axis direction
- The method I choose to create the tooling axis is first extracted a surface and create a midpoint on that surface. Then introduced an axis system on that point.
- Then created the point and direction along x axis.
DRAFT ANALYSIS FOR THE GIVEN CLASS A SURFACE
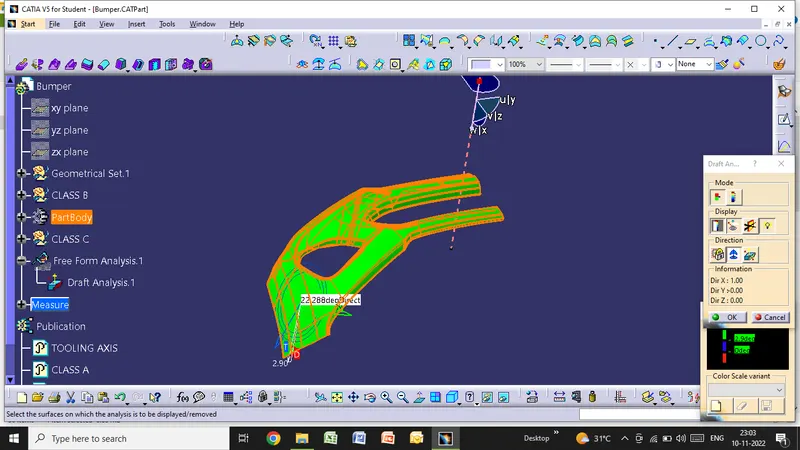
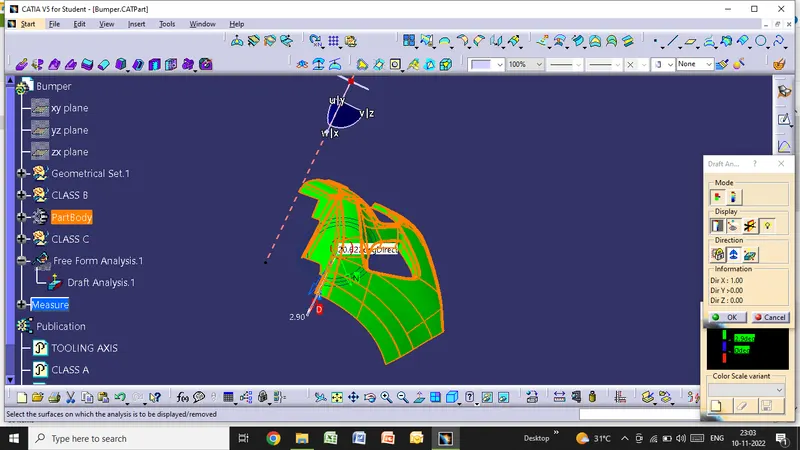
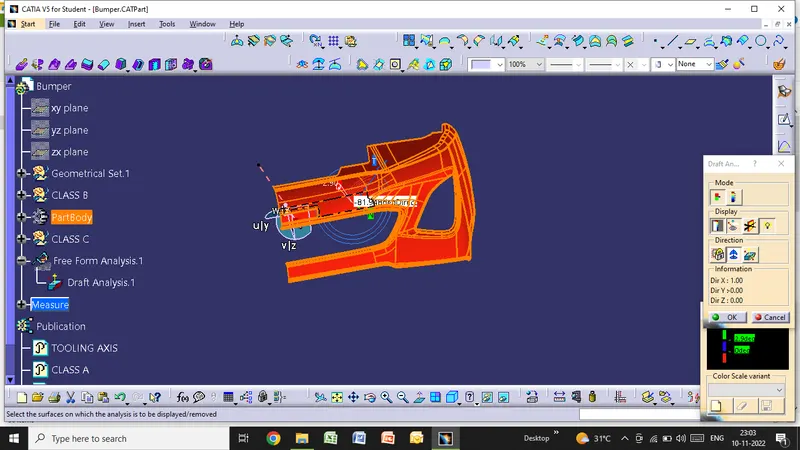
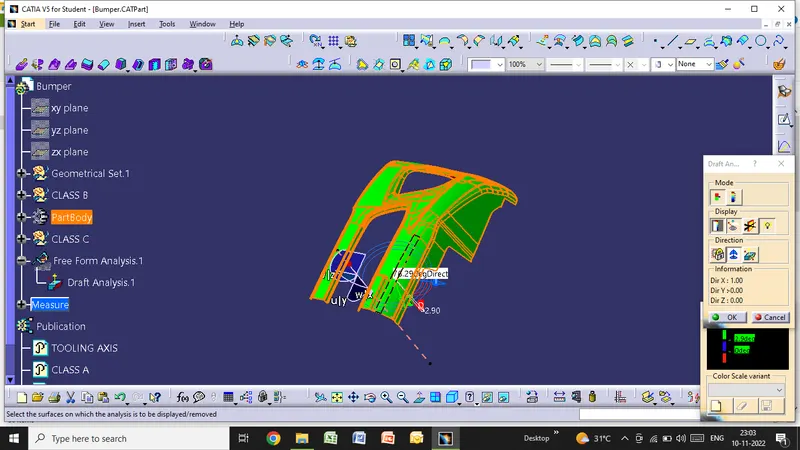
The Draft Analysis is a command enables you to detect if the part you drafted will be easily removed. This type of analysis is performed based on colour ranges identifying zones on the analysed element where the deviation from the draft direction at any point, corresponds to specified values.
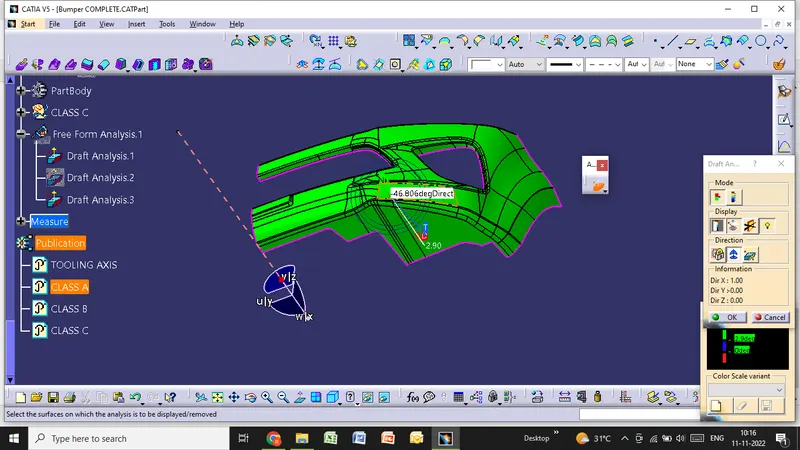
Draft analysis is done after determining the tooling axis, draft analysis is used to check whether the minimum draft (3 degrees) is maintained or not.
Steps for performing Draft angles :-
- Change the view mode of the component to be in customized parameter mode and then select the shading mode as materials.
- Select the Feature draft analysis Tool.
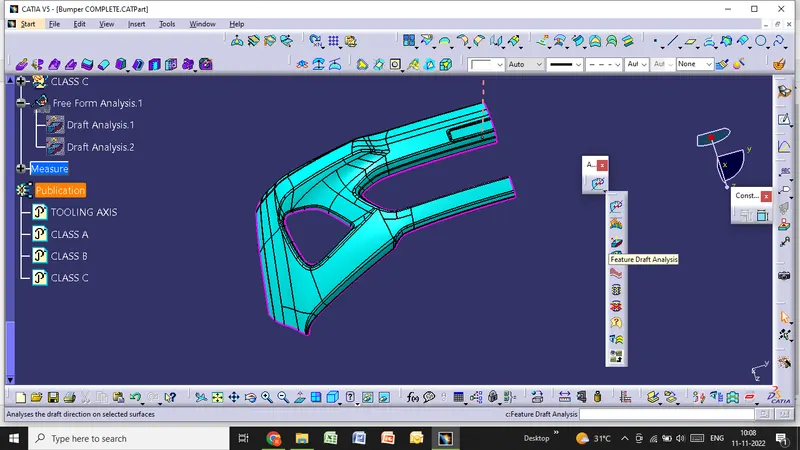
- Then click on the compass to define the current drafting direction and then drag and align the compass on the Tooling axis.
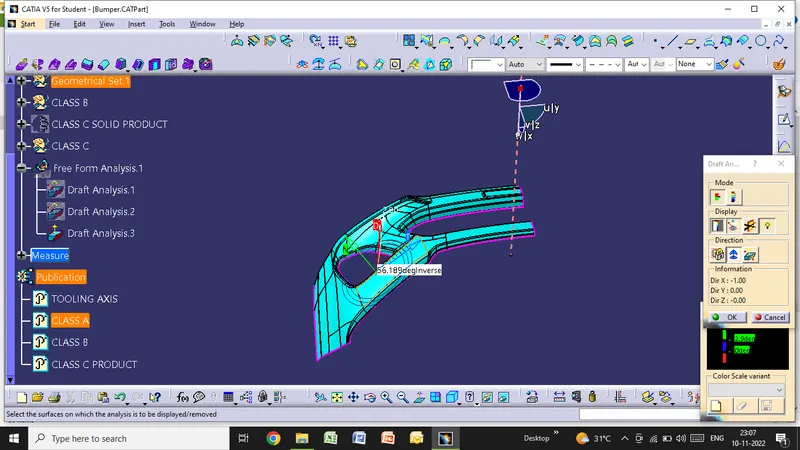
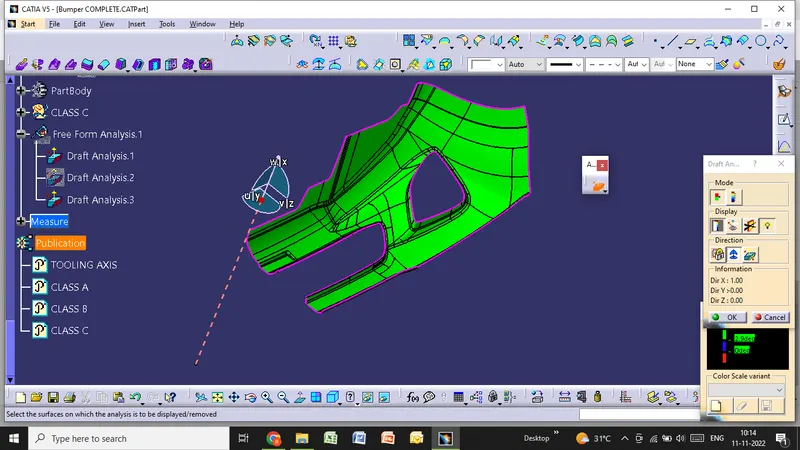
- Then lock the draft direction and perform draft analysis by clicking on the component.
- The green colour shows the positive daft tooling direction and the given surface passes the draft analysis.
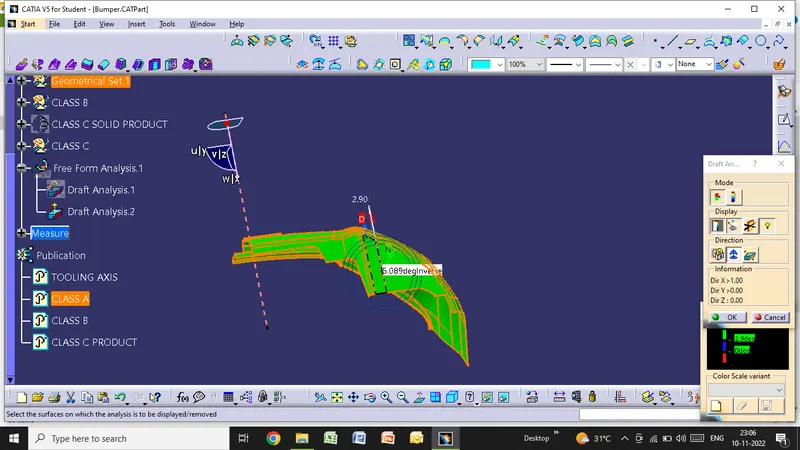
- Click on the analyses under the running point to check the draft analysis on the individual faces. It shows how much draft on specific points when we move the cursor point.
CLASS B CREATION
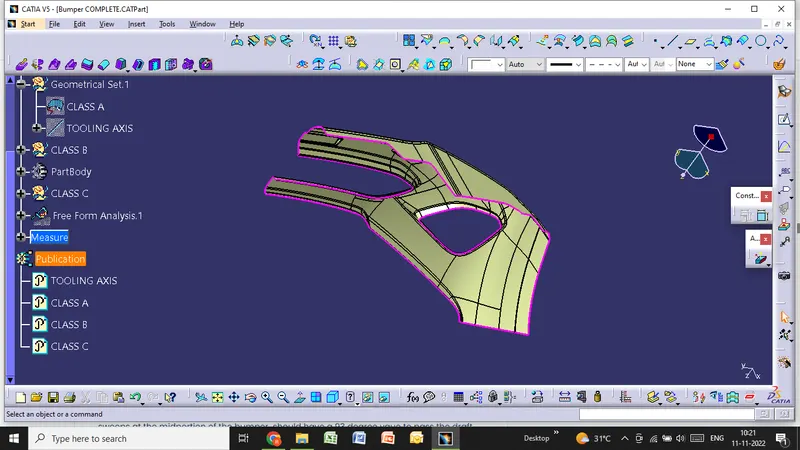
Class-B surface means thickness of a part it is not visible and is inside part. In other words, Class-B surface is a surface below a certain thickness from the class-A surface. This is the surface that contains engineering aspects of a mode.
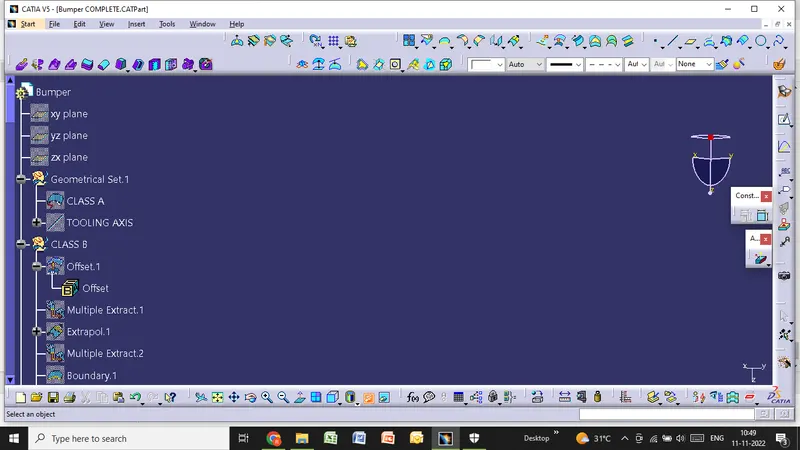
- Offset the class-A surface to 3mm inward direction.
- Rework on the patches and discontinuity of the offset surfaces using the features like extract, multi-extract, sweep, multi-section surfaces, extrapolate.
- To ensure the continuity of the Class-B surfaces check the boundary command to find out the boundary.
- Hence class-B surface creation is done.
SURFACE C CREATION
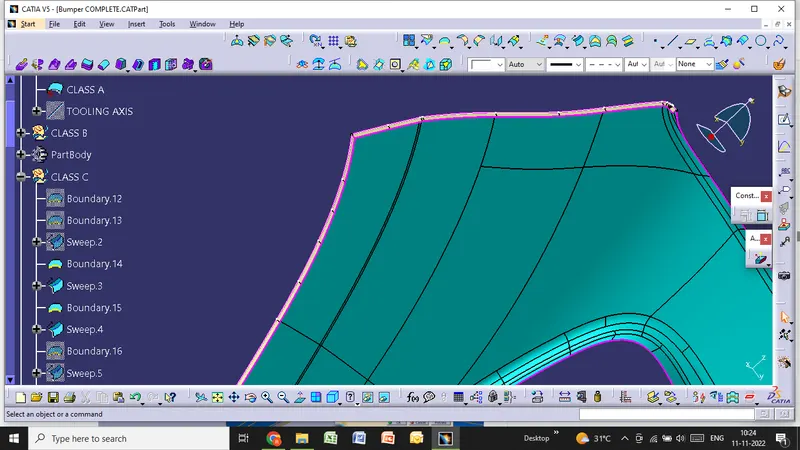
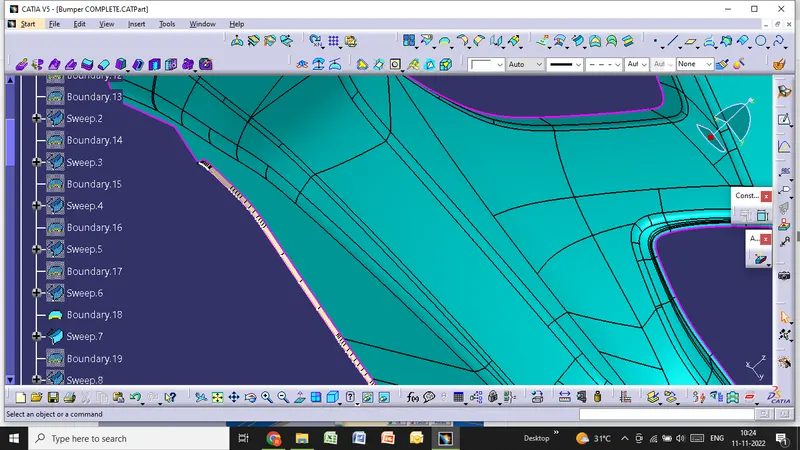
Surface that joins class-A and class-B surfaces is class-C surface. Class C is often specified for interior surfaces not readily visible, surfaces that will be covered by another part when assembled.
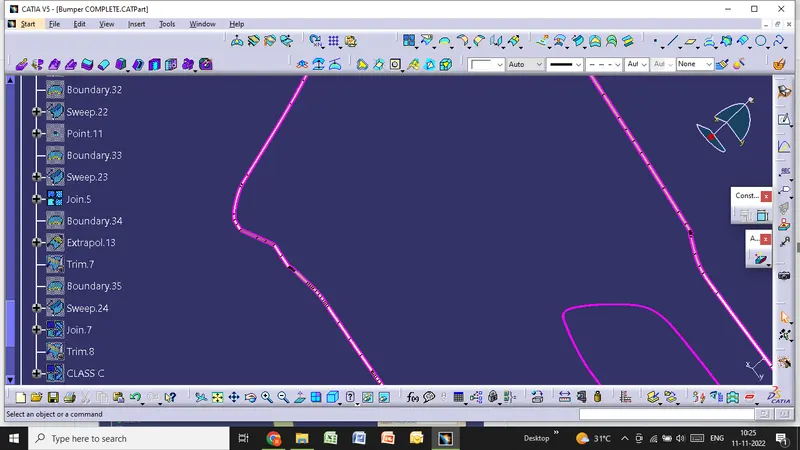
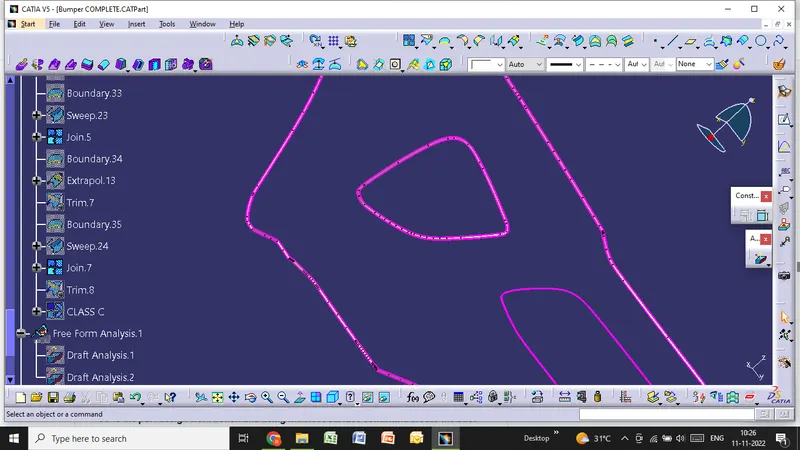
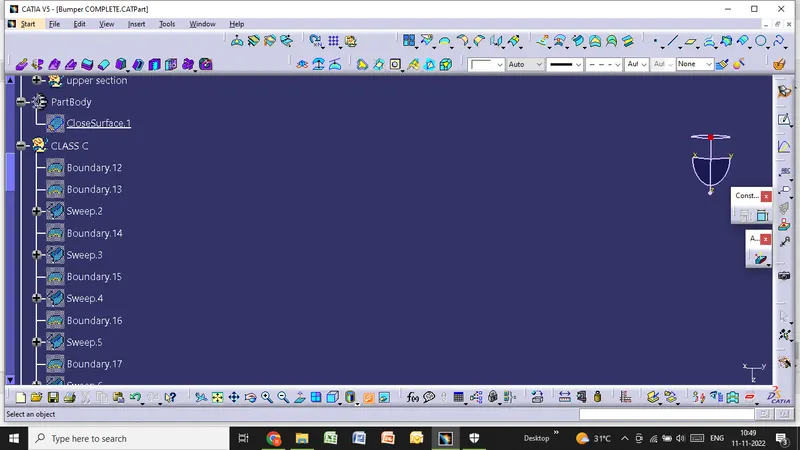
Since it is a complex class-A surface, we cannot simply create the class-A boundary curve and sweep it at one shot. Hence, we need to create smaller curves using multi-extract command and then create sweep of 90 degree with reference to the surface option. sweeps at the midportion of the bumper should have a 93 degree vaue to pass the draft analysis.
Creating the final surface of a bumper
- First step is to join the CLASS-A surface with CLASS-C surfacE.
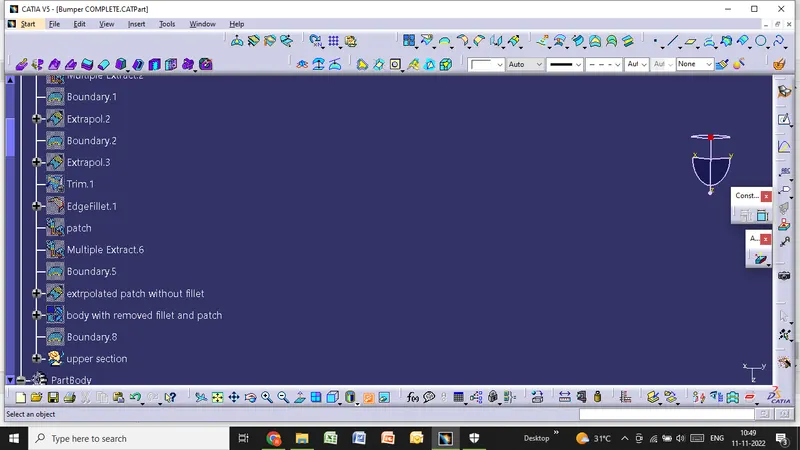
- Then Trim the Joined surface with CLASS-B surface to achieve the final Bumper surface.
CREATION OF SOLID SURFACE
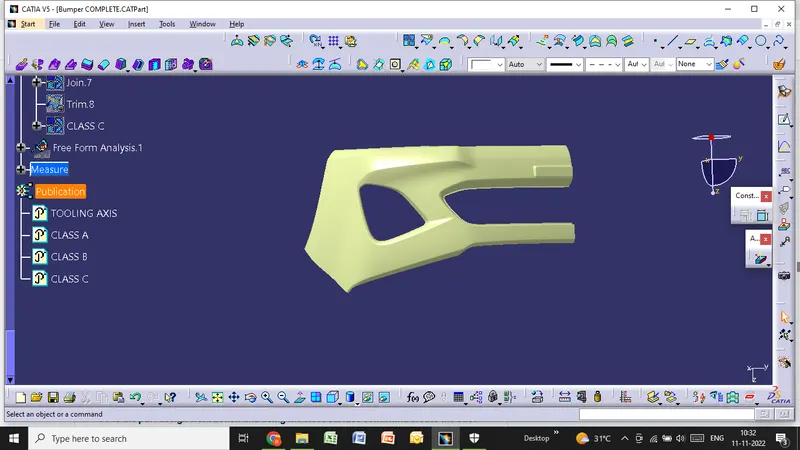
Go to the part design work bench and using the close surface command create the base bracket solid part body.
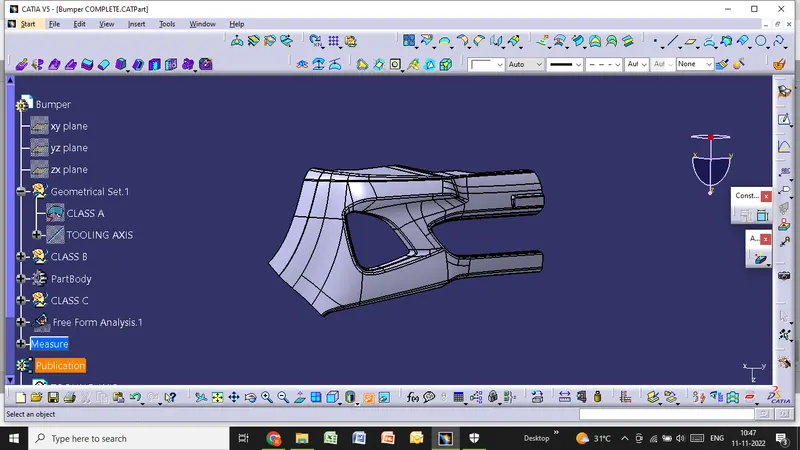
3D Part model in various orientations (Isometric, Front, Side, and Top View :-
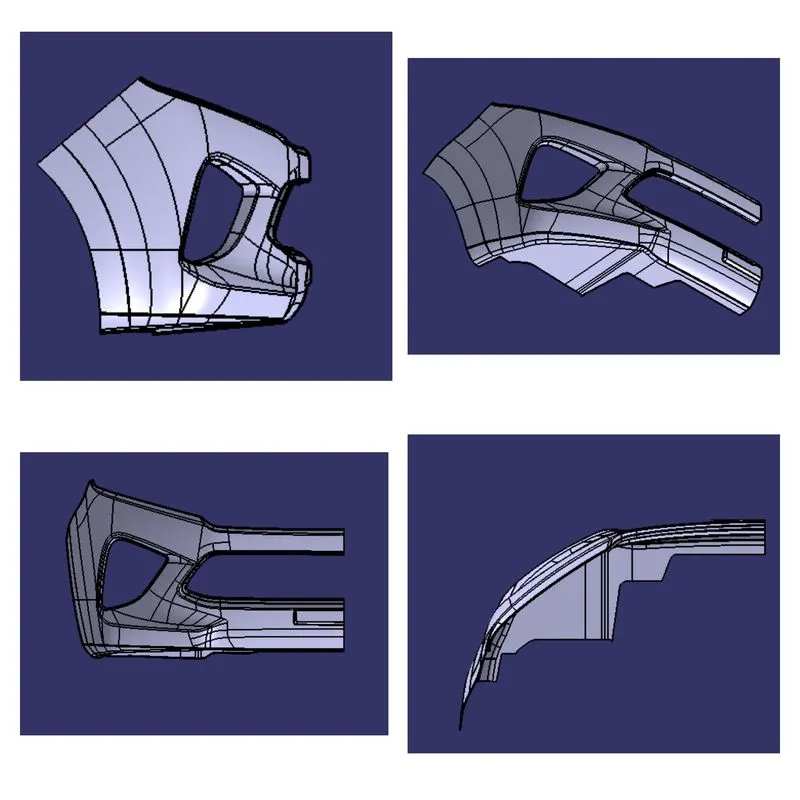
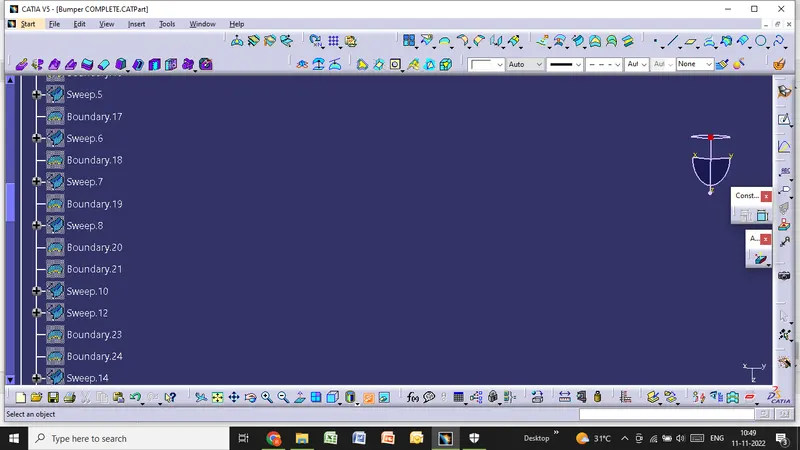
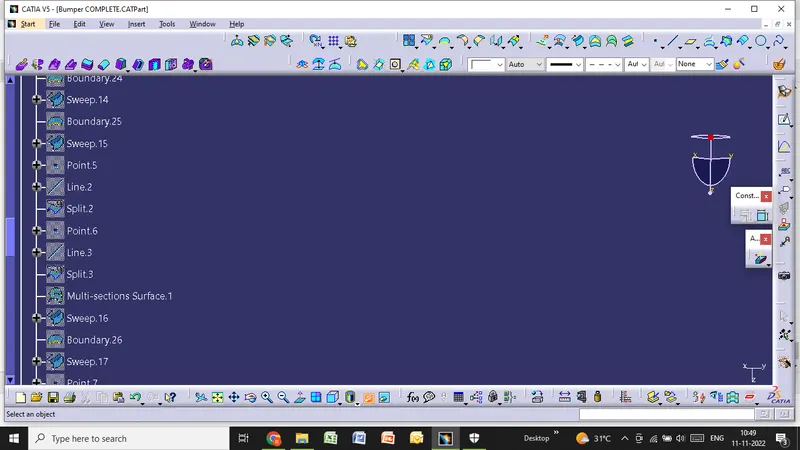
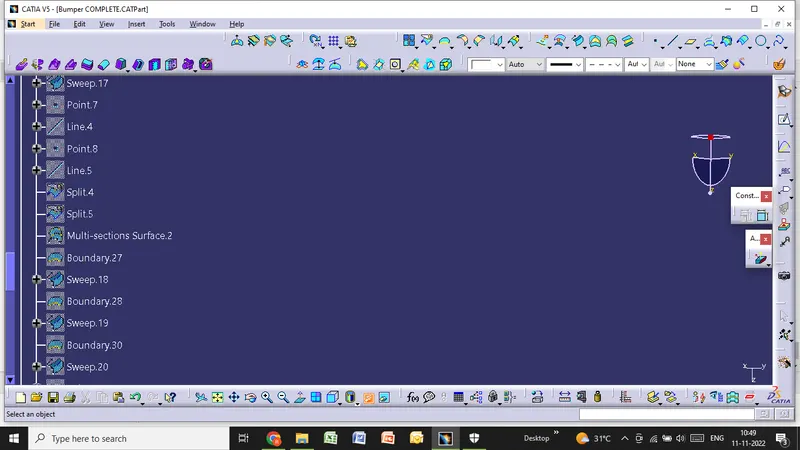
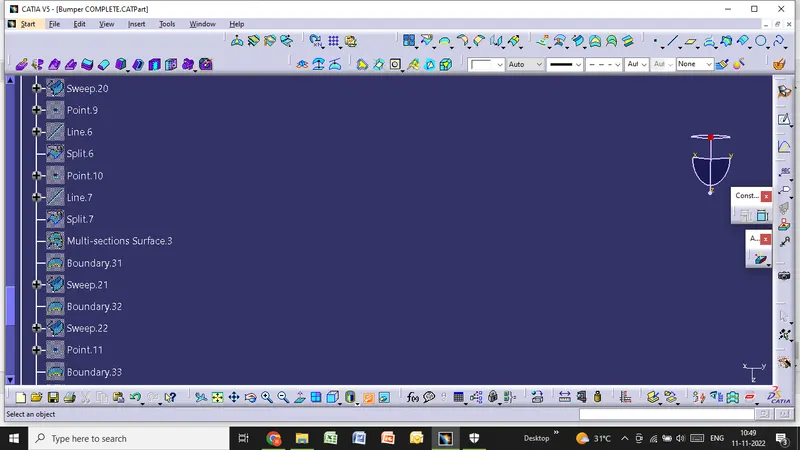
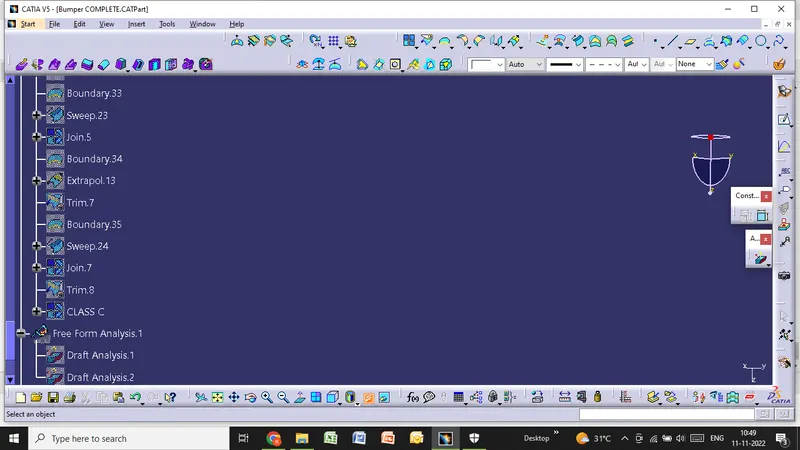
The expanded Tree Structure for the geometrical set and the Part Body :
DRAFT ANALYSIS OF FINAL BODY :