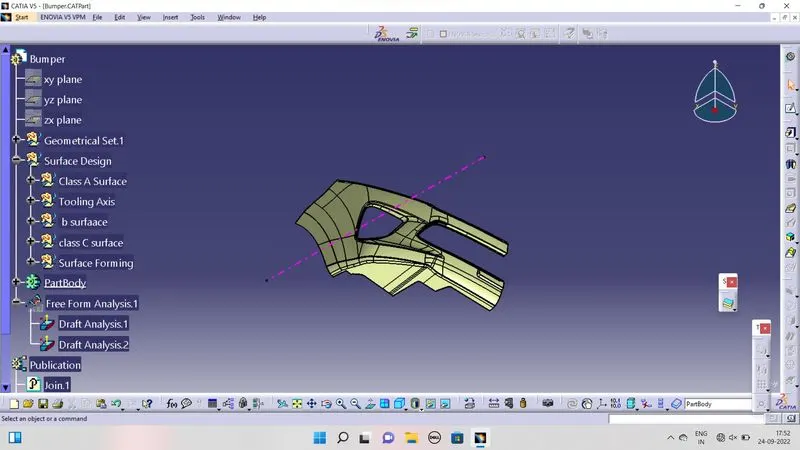
Week 8 - Challenge 4 - Bumper
Aim:
To create a Surface design of 3mm thickness with the given surface as input.
Report:
Creating Class A Surface:
- The give split surfaces are get join using join commend.
Creating Tooling Axis:
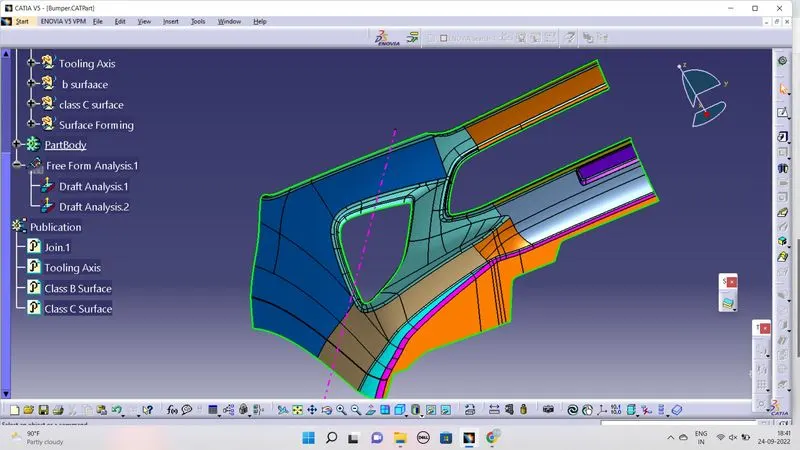
- In the class A surface there is a opening for light-Doom.
- We can create a tooling axis in these opening. because it is easy to construct.
- Now two points created on opposite faces of the Doom Cavity.
- Now a poin is create using between opction.
- Npw a line is drwawn in X axis.
- these line is our tooling axis.
Creating Draft Analysis:
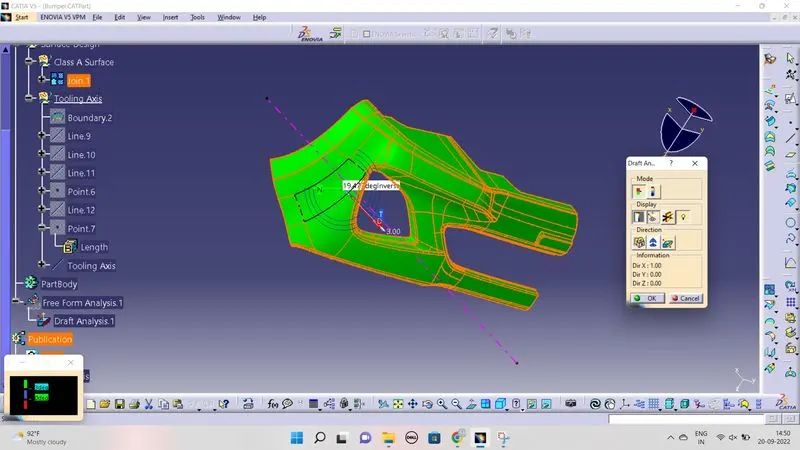
- With the tooling axis insert-->Analysis-->Fucture Draft analysis.
- Now select the tooling axis and insert the geomentric set to the axis that aling to tooling axis.
- then choose the Draft analysis Direction and lock the geometric set.
- now check the draft analysis angle to 2.5 deg to 3 deg.
Creating Class B Surface:
- Now select the class A and create a Offset of 3mm to reverse direction.
- since it is a complex shape some corners bend cann't be offset
- there are 4 area that cann't able to offset.
- the first area is near the top of bumper. now select the extruded part to extract (Note:Avoide the fillet area)
- Nou select the other side to extract without fillet.
- now we have two area of muli-extract.
- Multi extrat 1 is the progection area , multi extract 2 is flat area.
- now extrapolate the both surface edges to of surface.
- now split the projected surface to the flat surface .
- now trim the othe face to the projected surface.
- the next problem is at the bottoum of the bumper area.
- here the projection is near the fillet/bend area.
- first the projection surface get extract and untrimmed.
- then it get extrapolate the edges which is required.
- now trim it.
- like wise select the flat surface and extract the boundries and extrapolate it.
- now trim bot sutface.
Creating Class C Surface:
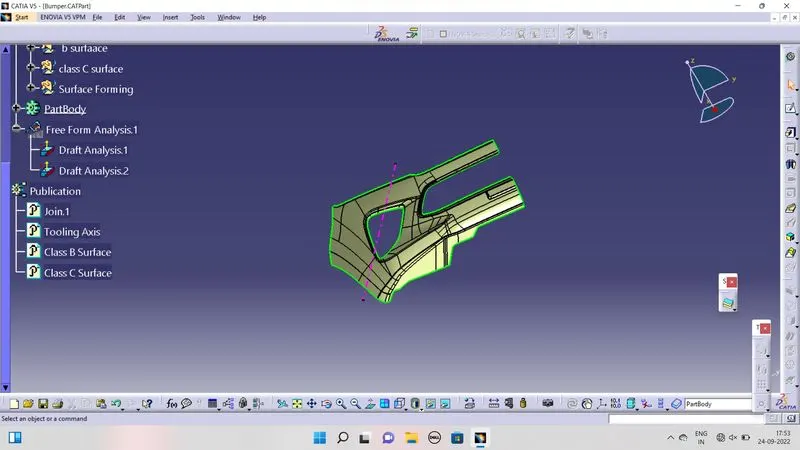
- Now select the boundries of class A and seperate in to patches.
- Extract the Edge surface respect to the boundary patches.
- now sweep this patch in to 90deg to inside direction.
- Now join each surface to get a single output.
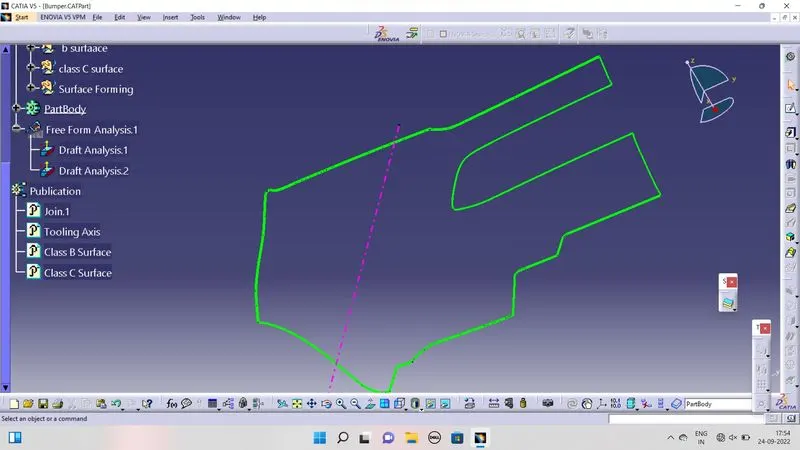
Surface Forming:
- Now join the class A surface to the Class C surface.
- Then trim the unites surface to the Class B surface.