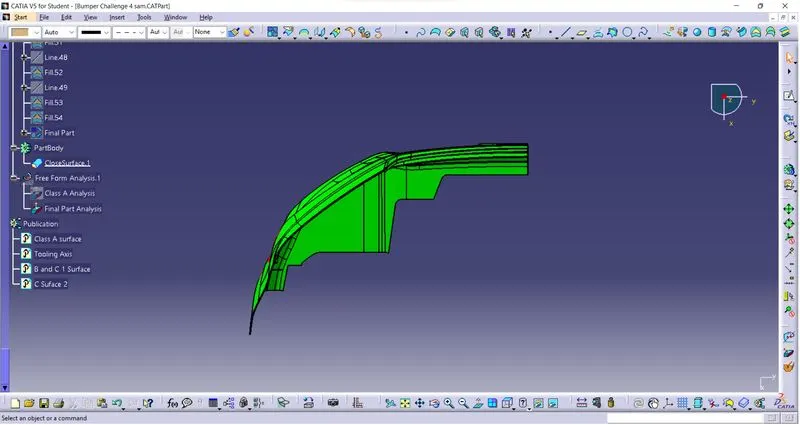
Week 8 - Challenge 4 - Bumper
OBJECTIVE:
To create the Bumper component through the given Class-A surface.
DESIGN METHODOLOOGY/APPROACH:
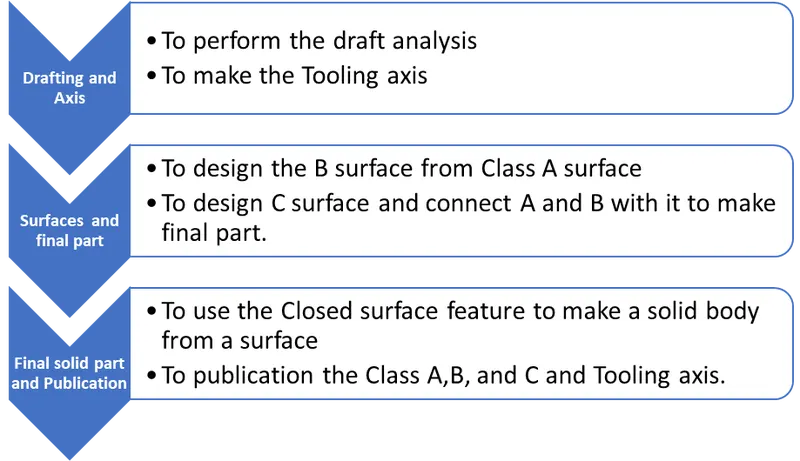
Draft Analysis:
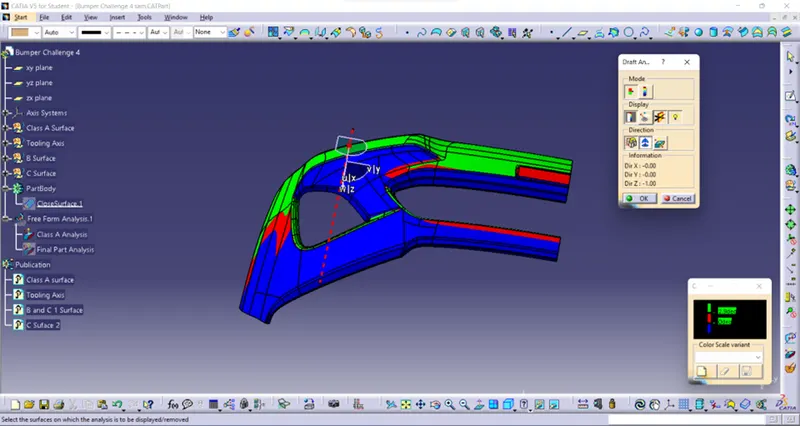
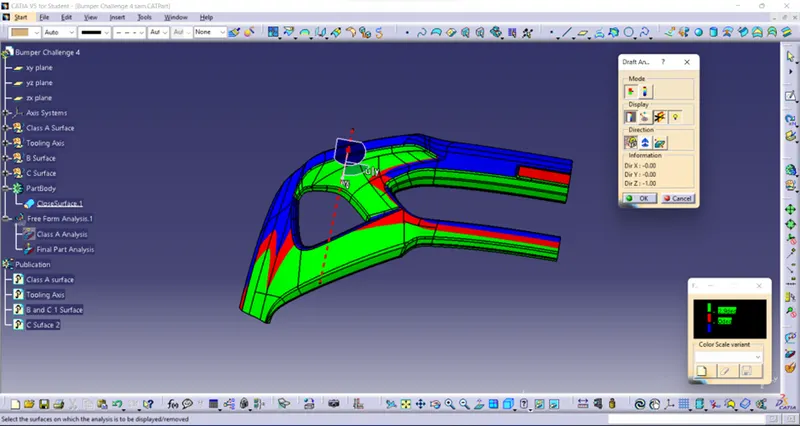
Draft analysis is the analysis to examine whether the designed part is exit from the mould smoothly or not. Generally, 3 degrees from the Class A surface to be drafted. In the below diagram draft analysis is performed by given Class A surface.
Draft Analysis of Class A:
Draft analysis of final part:
Tooling axis:
Axis which drafts the part from certain angle is called tooling axis. Initially the part is checked in all direction for tooling axis, the suitable direction for tooling to be selected considering reduce the mould cost. In this part considering all axis Y axis is best for tooling. Initially, intersect the Class A surface in ZX axis then draw the line lines as shown in figure.
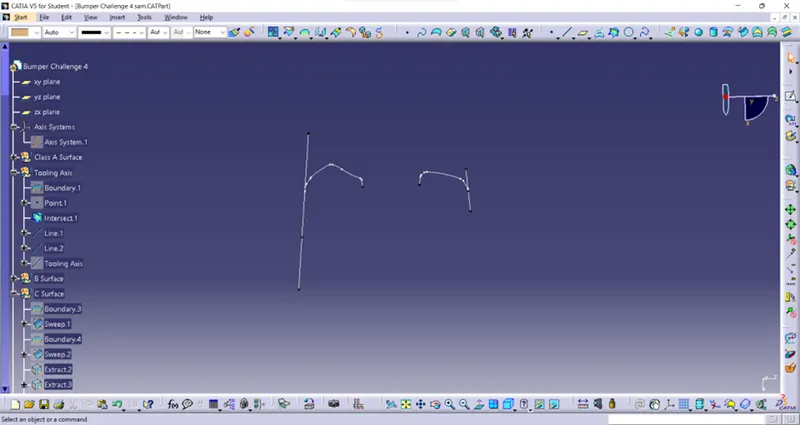
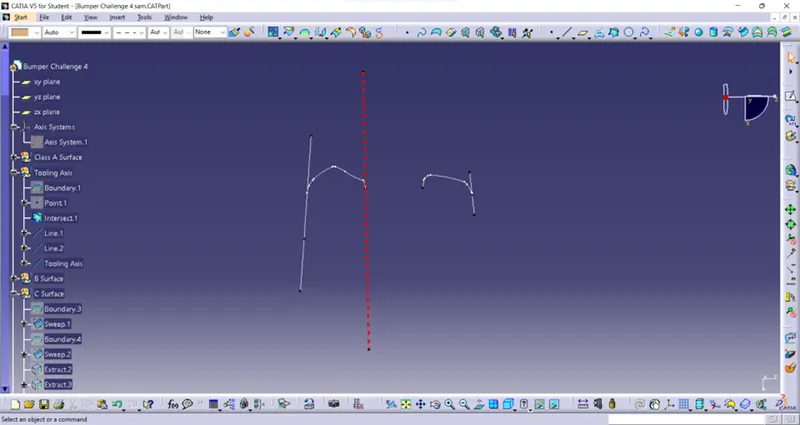
By using bisecting line command add these two lines and make the bisecting line, that line is Tooling axis.
The drawn tooling axis is shown below.
B Surface:
Offset and Corrected Surface:
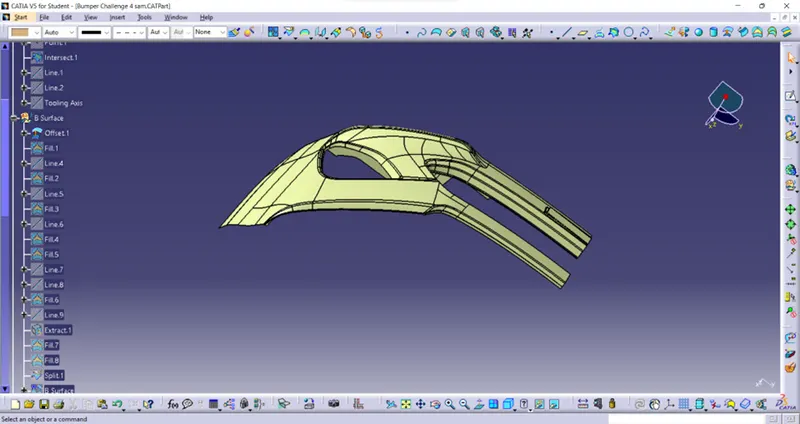
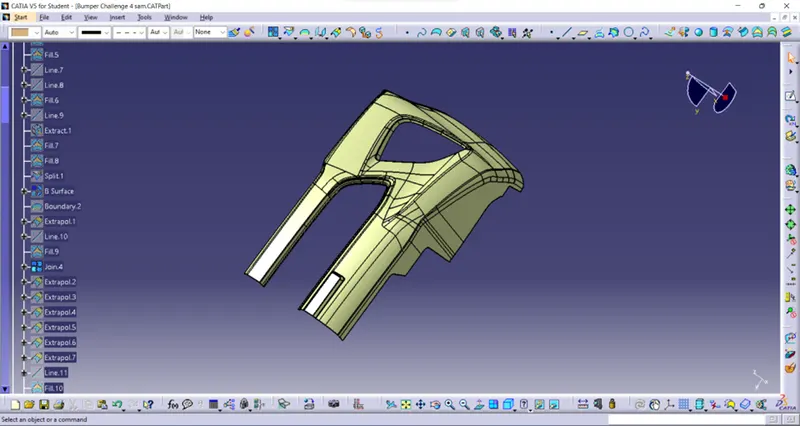
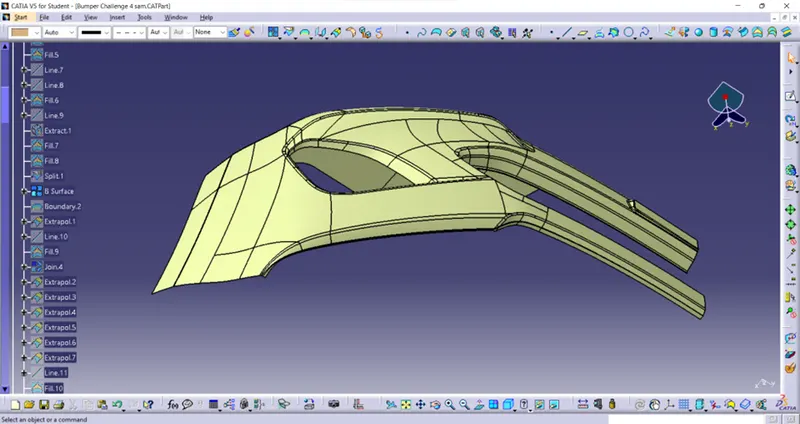
In this model class A surface is offset in 3mm for thickness. However, the surface has some errors such gap between the surface. By using boundary surface the gaps are filled by using line, extrapolate, extract commands and finally all are added in single surface as B Surface. The following image are shown how the making of B surface.
Offset surfaces:
Corrected surfaces:
B Surface:
C Surface:
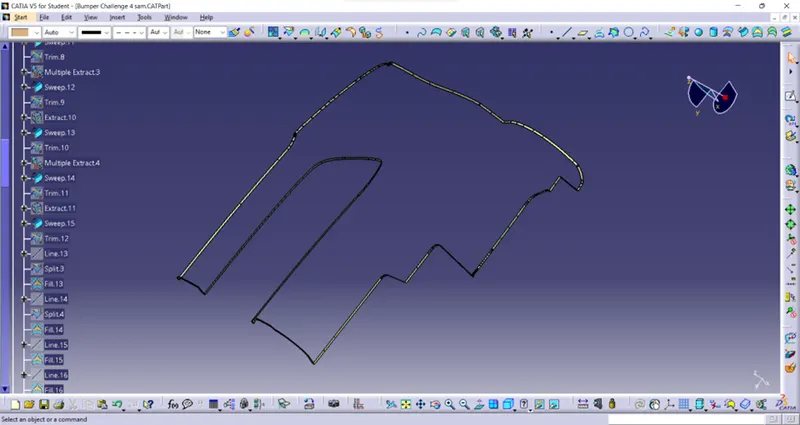
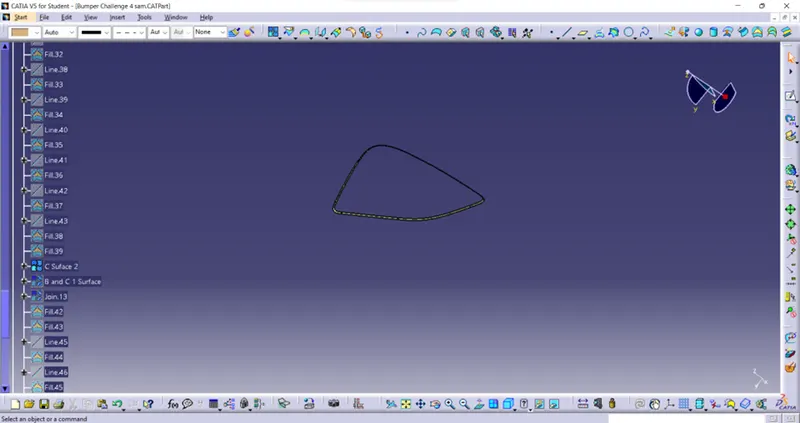
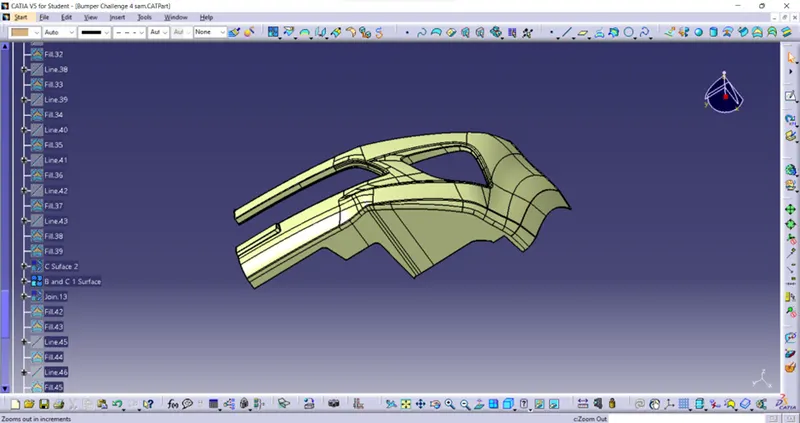
Surface which connects the A surface and B surface is called C surface. It is done by make the extract and Multiple extract in the Class A surface like boundary surface. The surface is individually extracted and sweep with reference surface at an angle 93 degree and 5mm length and trimmed with B surfaces. So, the C surfaces are automatically joined with B surface. In every corner there is a small gap is occurred by using fill command and fill it. The following images shown the design of C surface.
Final part:
After sweep there is a gap between them so they are extrapolating and trimmed to merge the gaps. The final C surface with A surface is shown in below. Final part is done by using the trim command in B surface and C surface. The final part is shown below.
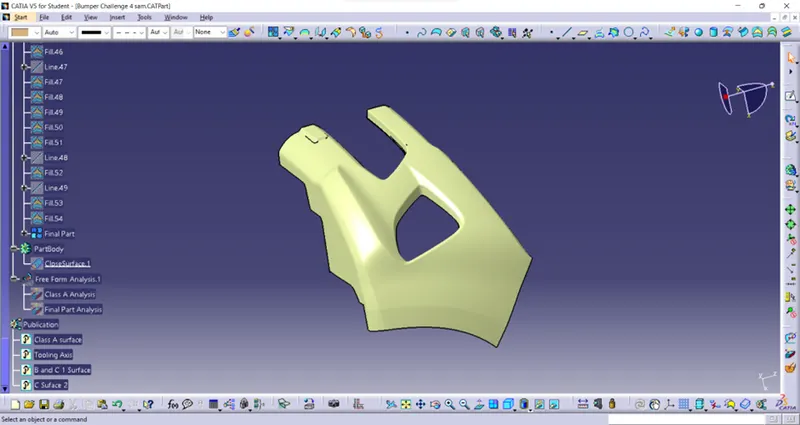
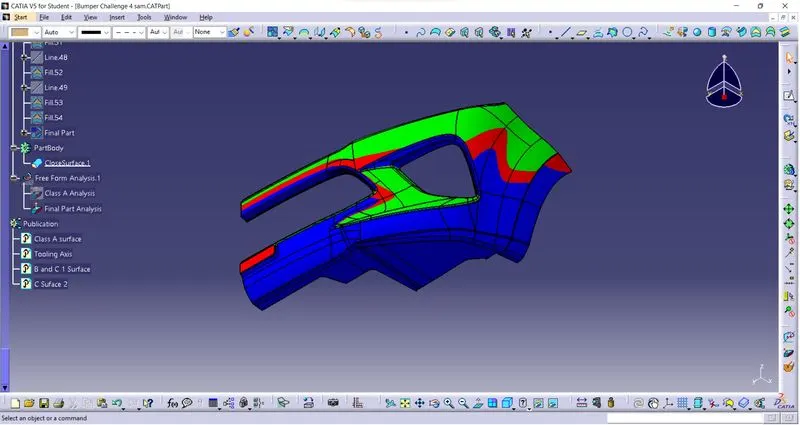
And define the part body then the surface is made into solid body by using Closed surfaces which is shown in below.
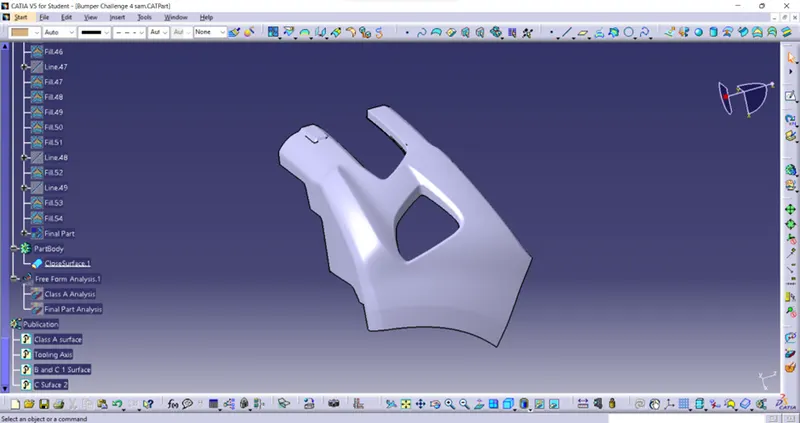
Then the Class A surface, Tooling axis, Surface B and surface C is published in feature tree.
Conclusion:
So, by using above method B and c surfaces are made from Class A surface and final part is made.
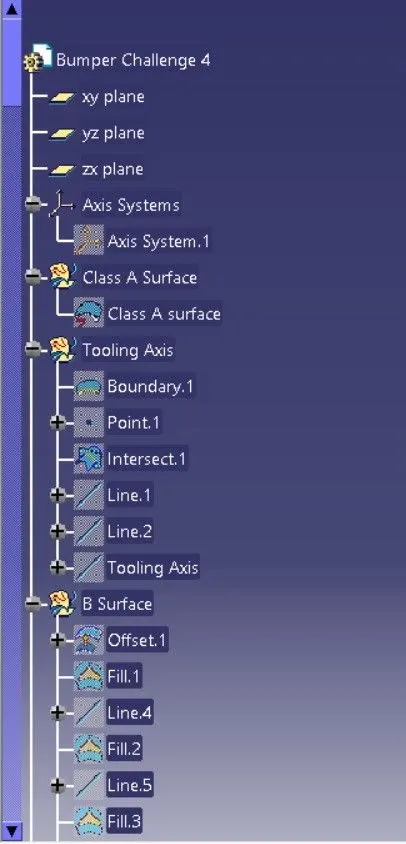
Expanded tree structure 1:
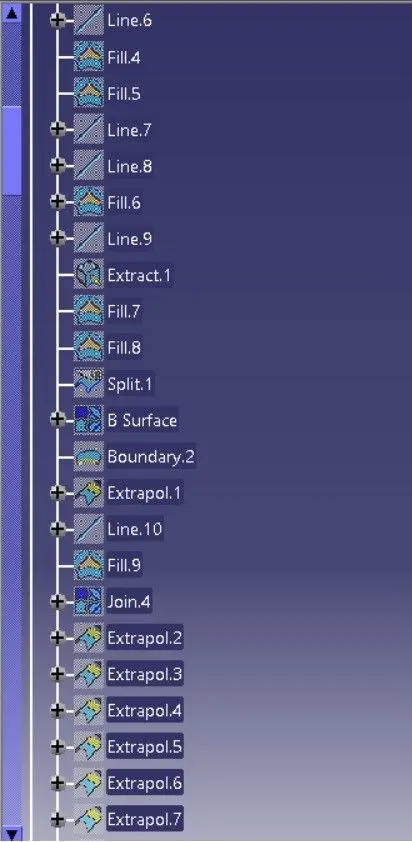
Expanded tree structure 2:
Expanded tree structure 3:
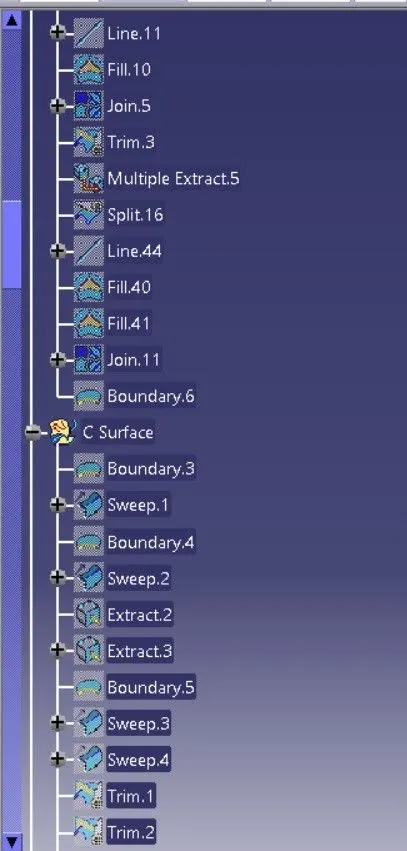
Expanded tree structure 4:
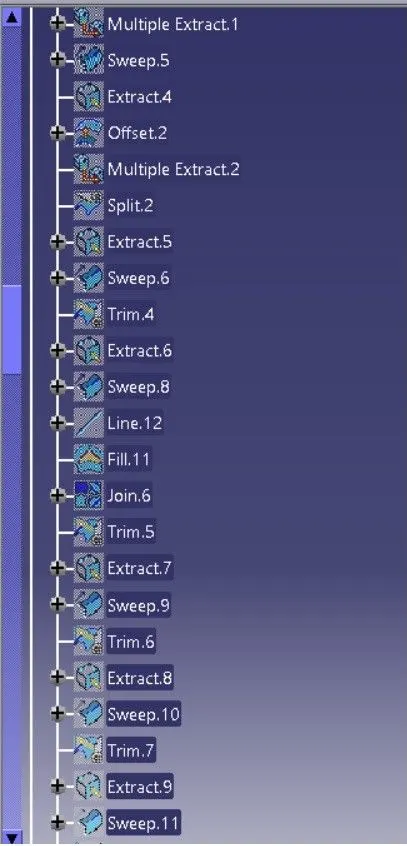
Expanded tree structure 5:
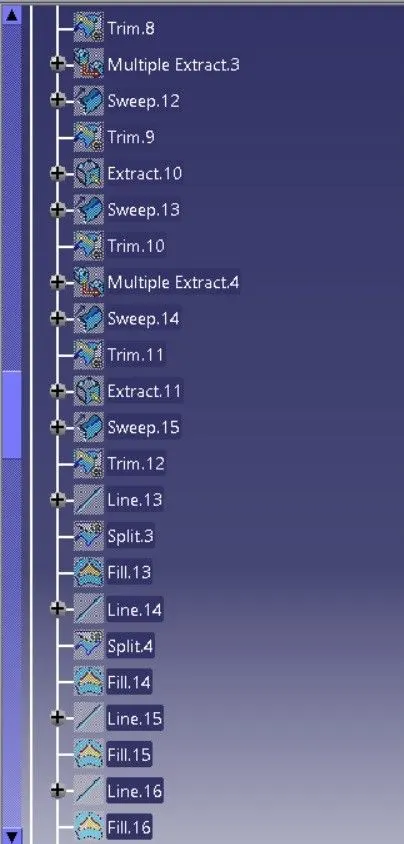
Expanded tree structure 6:
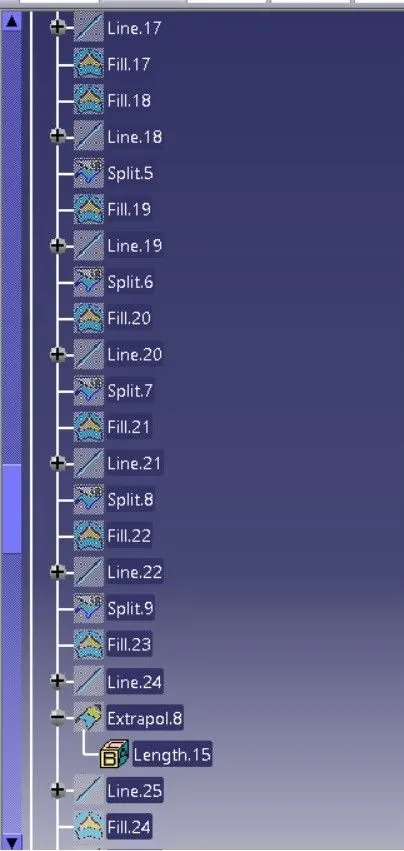
Expanded tree structure 7:
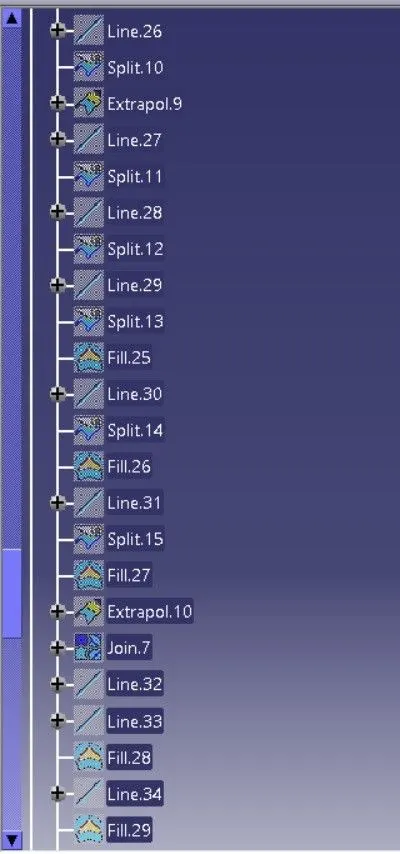
Expanded tree structure 8:
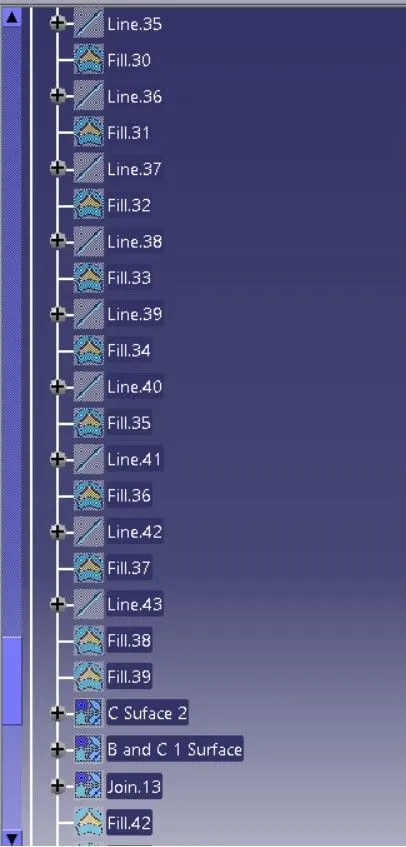
Expanded tree structure 9:
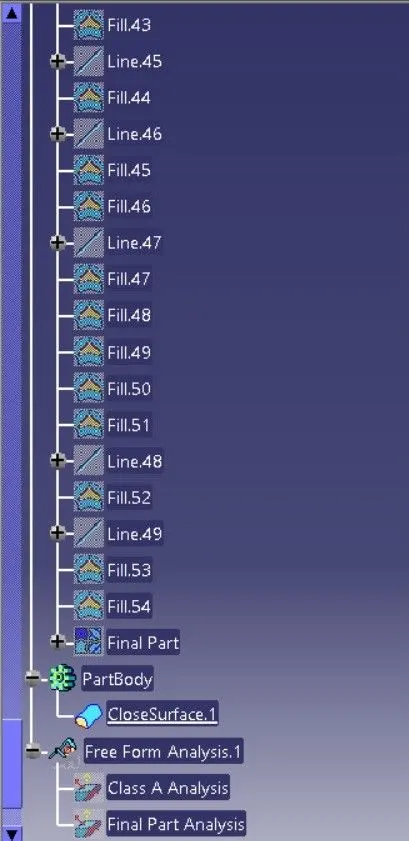
Expanded tree structure 10:
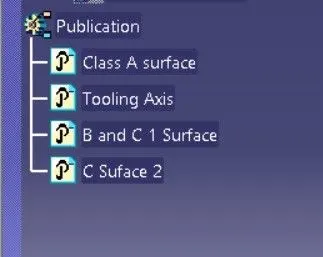
Isometric view:
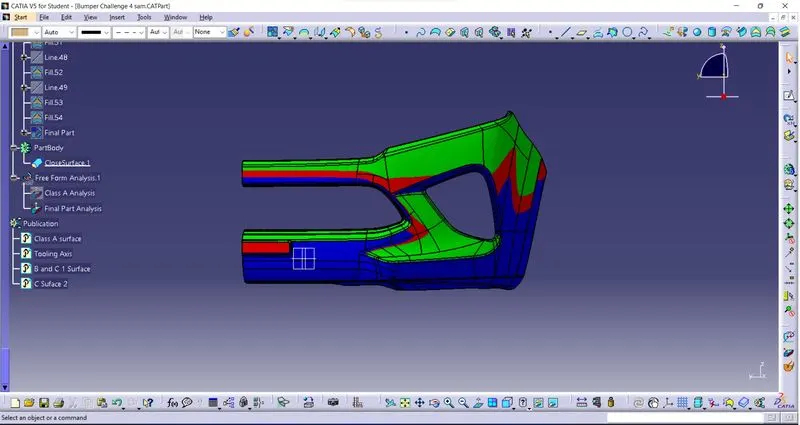
Front view:
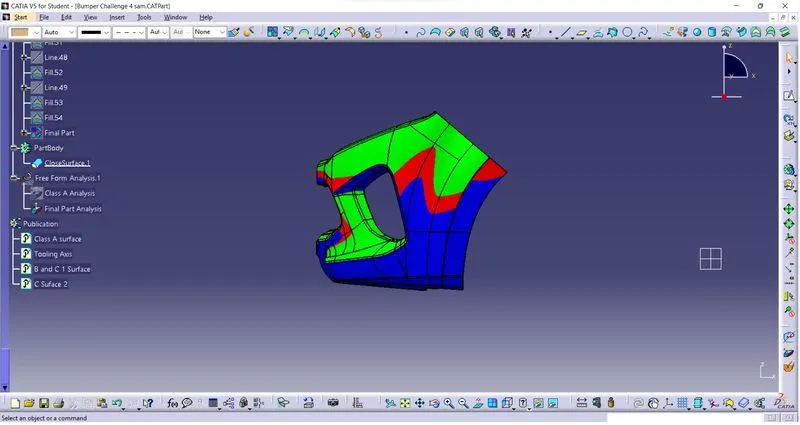
Side view:
Top view: