Week 8 - Challenge 3 - Switch Bezel Design
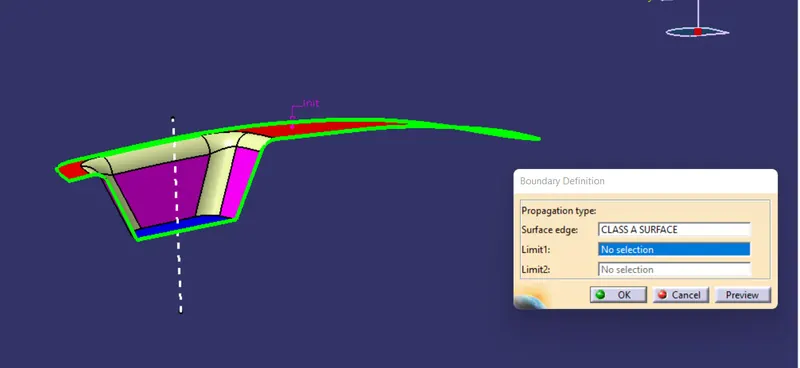
I. The first step is to check whether the boundary is closed or not. This can be done using the boundary option. The closed body is highlighted by a green line.
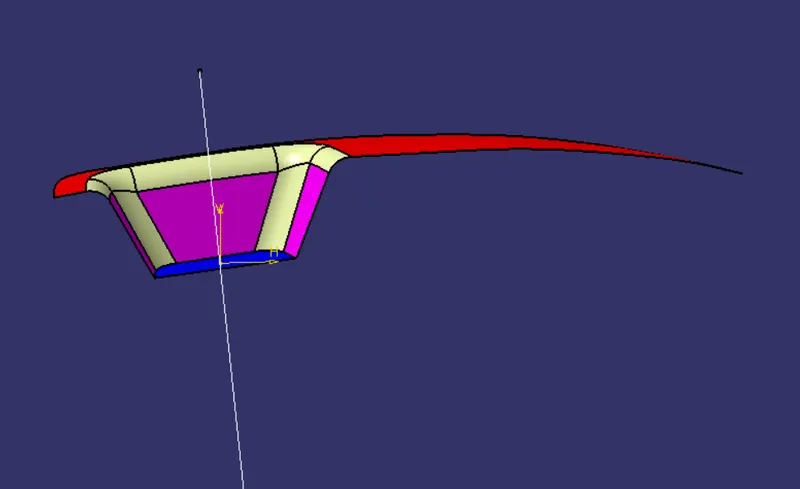
The next thing is to figure out the tooling axis for the core and cavity to move.
I decide on z as my tooling axis.
Then with the help of Bottom surface center, I created a Point. The final tooling axis is created by bisecting the parallel edges on y axis.
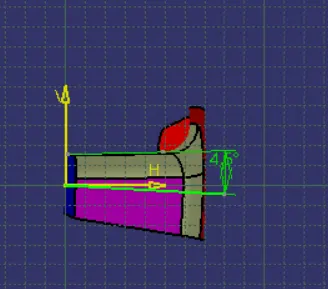
And on the x axis there is only one parallel face so we create a line that is 3 deg from the parallel line and point.
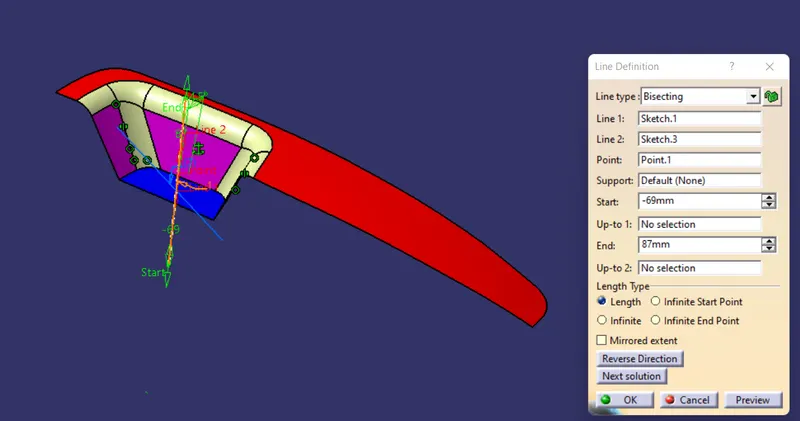
we proceed by creating a b-surface.
A B-Surface is an offset of class A surface. The offset distance is the thickness of the product.
Since the Class A surface has fillets in it, only the faces without fillets are extracted and untrimmed, Then extrapolated to get intersecting geometry and are trimmed, joined to get the final body
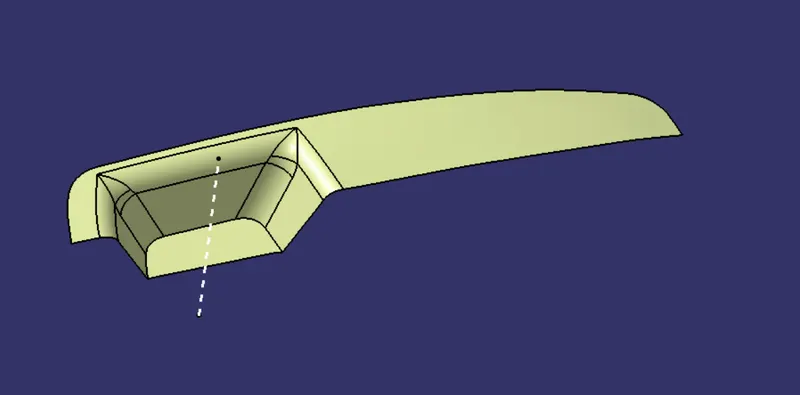
Next is to create a C surface.
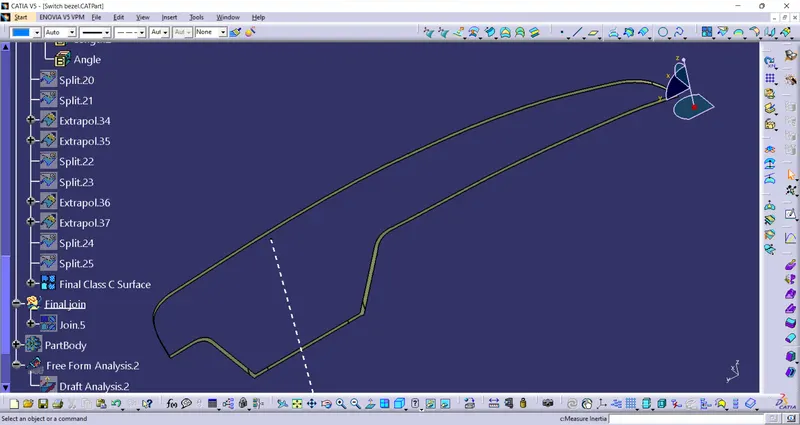
The boundary of class A surface is generated and they are swept with a draft angle i.e 3deg for some distance greater than product thickness.
Then Class C surface is trimmed with the class B surface and joined with the class A surface to get a final body.
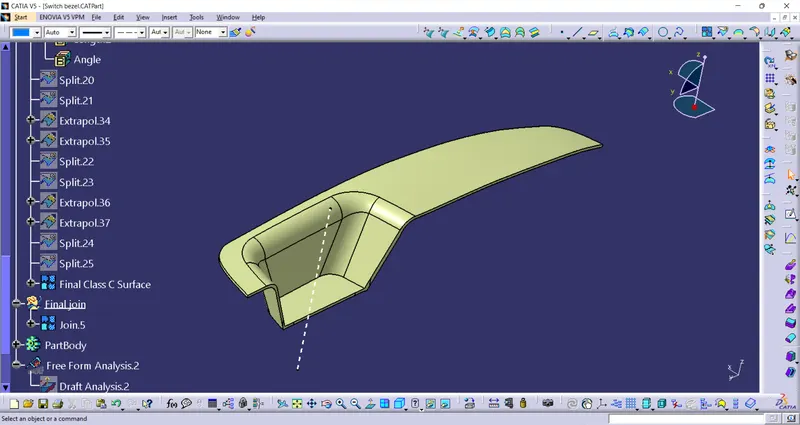
In part design workbench, There is a tool called closed surface which will create a final solid body.
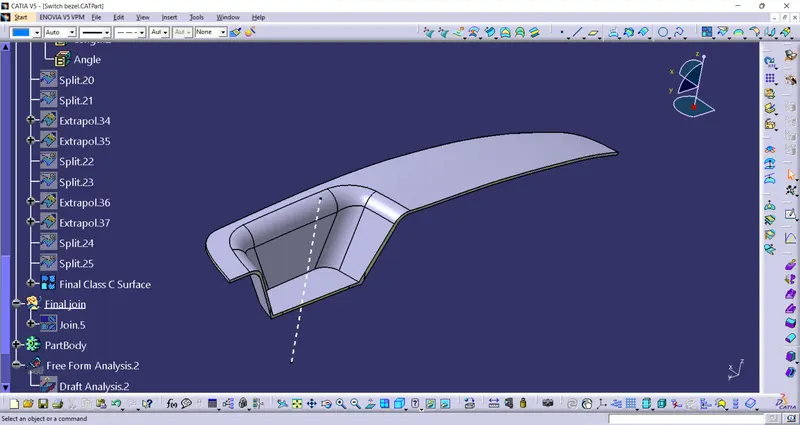
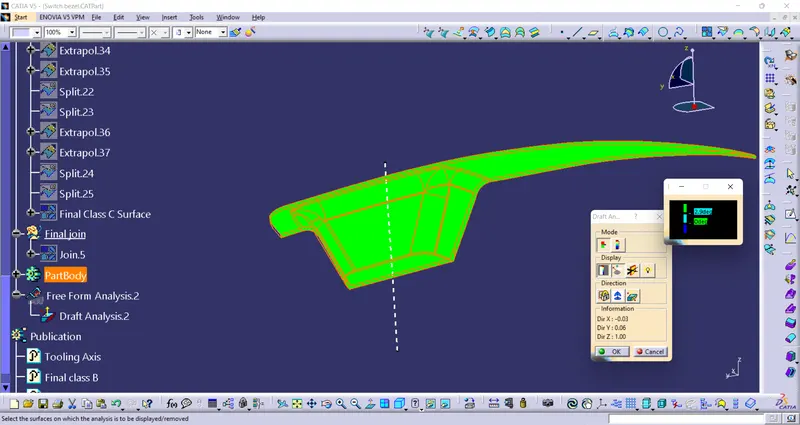
Insert feature draft analysis, use the tooling axis and check whether the component has enough draft angle.