Week 8 - Challenge 3 - Coin Holder Design
Aim:
To create a solid Con Holder solid part by given Class A surface.
Report:
Class A Creation:
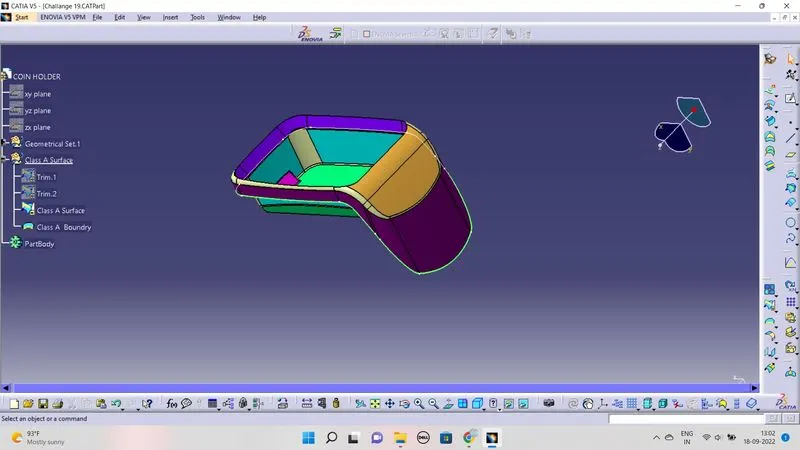
- First the given Class A surface are get organized as single class surface by trim commend.
Tooling Axis Creation and surface draft analysis
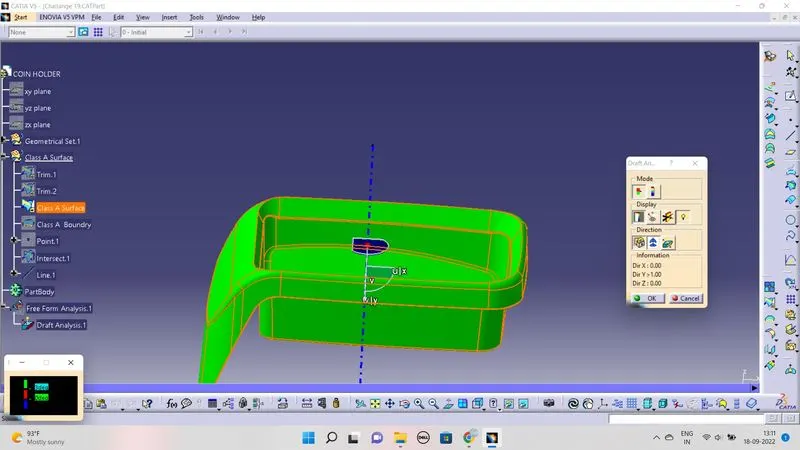
- After the Class A creation, point is created on the bottom of the surface. and a line is created on that point which is parallel to the side wall of the coin holder.
- Now insert the draft analysis tool bar to workbench and locate the compass on the tooling axis.
- then set the draft direction by with increase draft direction option.
- now check the draft angle with the input display.
- now the draft angle is checked for all the surface of the class A.
Class B Surface Creation:
- First the bottom surface of the coin holder is extract from the class A surface.
- This surface is got untrimmed and extrapolated to 10mm to point continuity.
- now these surfaces get offset to 2.5mm in reverse direction of the class A direction.
- then this surface got trimmed and named as Bottom surface.
- Now the side walls and chamfer get extract from the class A surface and offset to 2.5 mm.
- these surfaces get untrimmed and extrapolated.
- Now this surface is got trimmed.
- Now the top side wall and front wall surface get extract from class A Surface.
- The outside walls get offset to 2.5mm to the inside of the class A Surface. this surface is trimmed with the inner chamfer surface.
- now inner wall trim surface is trimmed with bottom Surface trimmed surface.
- then the outer surface is trimmed with the inner surface.
Class C Surface creation:
- the outer boundary of Class A is taken from Boundary Commend.
- The Adjacent walls to that boundary is Extracted from Class A.
- Now Sweep-->from Line-->with reference surface-->select the reference curve as the boundary-->ad set the sweep angle to 90 degree.
- the sweep length must to give 3 to 4mm. (Because if the length got to 6 to 10mm it will pop error while trim with surface B when Class C is joined to Class A.
Solid Forming:
- After the Class A, B and C surfaces are created, the class C is joined with Class A surface and formed as single form.
- Now this surface is get trimmed with the Class B surface.
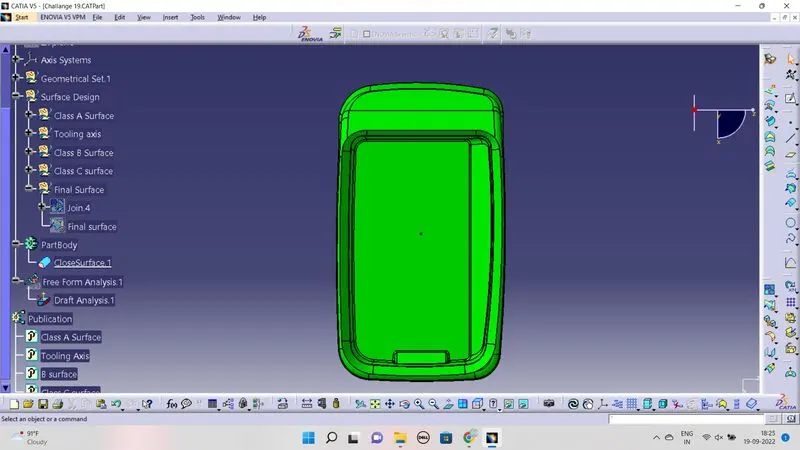
- Now the closed surface is created.
- Open the Part workbench and select the close body option and select the final close surface.
- Now the complete close surface is formed.
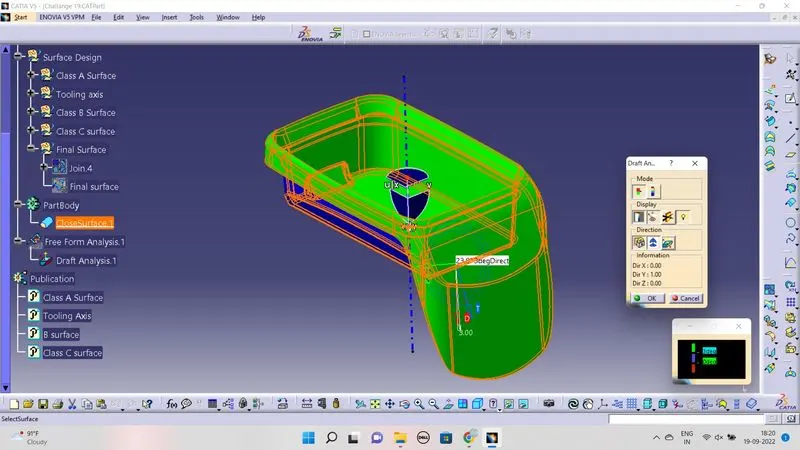
- Now again insert the draft analysis and done the draft analysis to 3 degrees.
Draft and solid component:
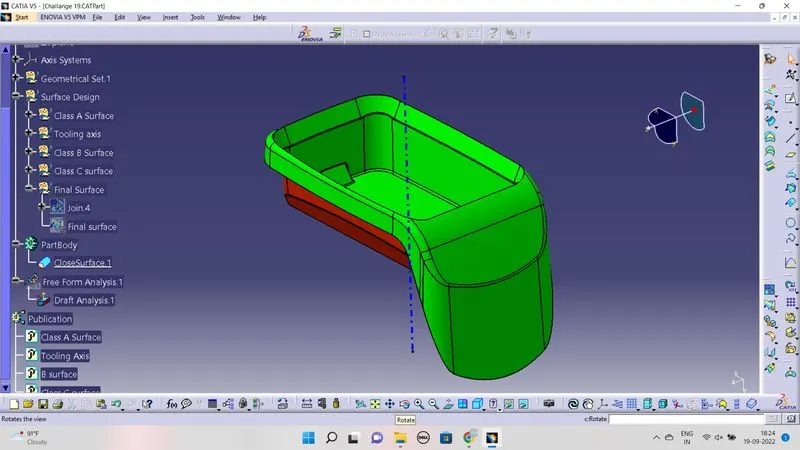
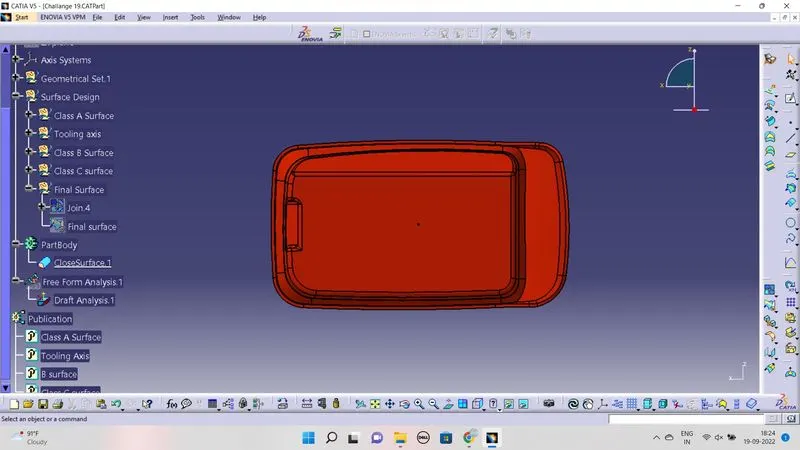
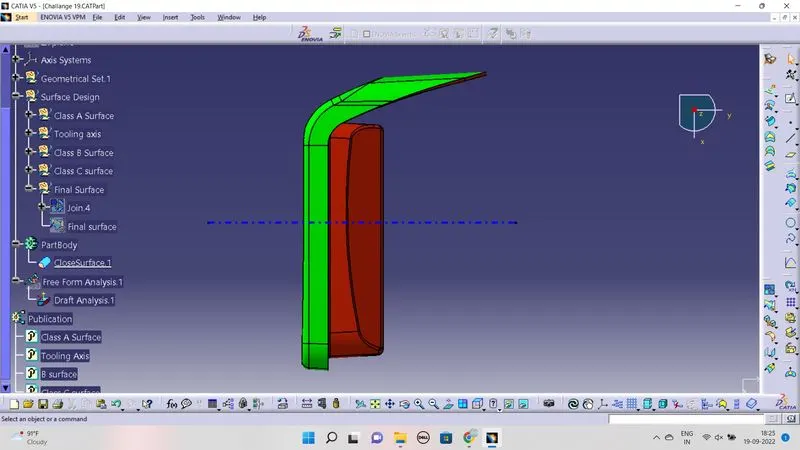
Result:
Thus the task has been completed