Week 8 - Challenge 2 - Switch Bezel Design
Aim : To create a switch bezel design using catia v5 and perform draft analysis .
objective :
The objective are as follow :
- To create class B and class C surface from given class A surface.
- To perform draft analysis .
- To create report of it .
Introduction :
- It is the fram part of the window switch that holds its switch cover and button place.
- Moulding is the method used to manufacture the plastic trims of an automotive by OEMS.
Class A surface :
- It is surface os asthethic look .
Class B surface :
It is for engineering purpose .
Design consideration :
Tooling axis creation :
- First the surface is checked for any irregularities .
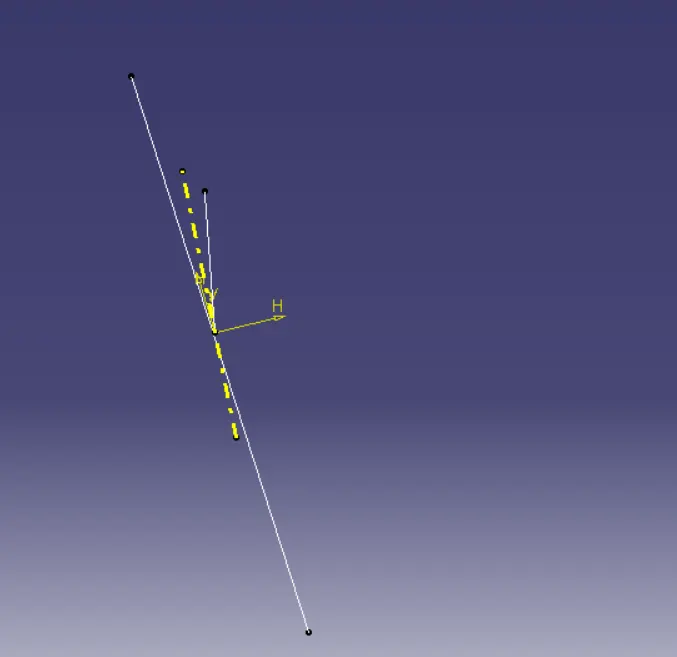
- First the base surface of class A is extracted and point is created at the centre and axis system is also created at that point .
- now using project intersection command , intersection of class A and yz plane is created .
- Now sketch command is used and drawn two lines coincides with interction .
- now using bisection command line is created which bisects the two lines.
- Now in xz plane there is only one surface so we have drawn a line having around 6 degree of draft angle .
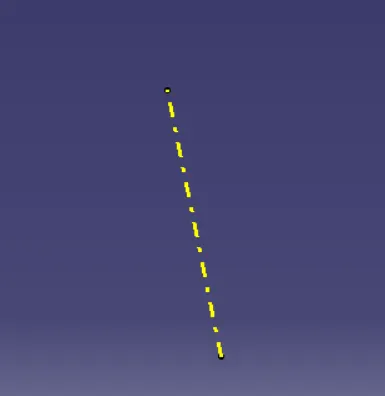
- Now tooling axis is created by bisecting above two lines.
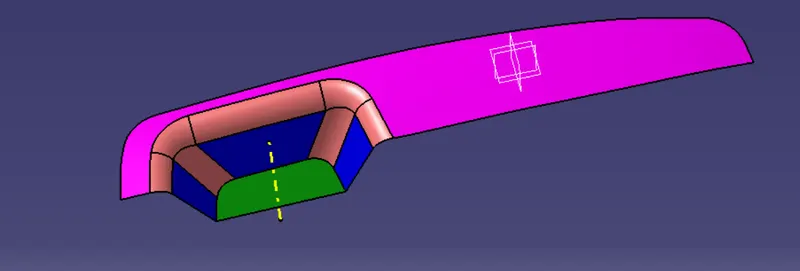
Given class A surface
Lines created in skectech and then by intersection method :
Final tooling axis :
Creation of class B surface :
- Following procedure is followed for vrersting class B surface .
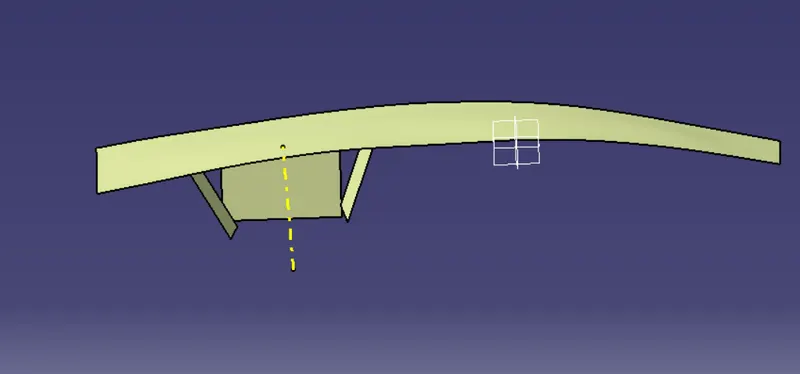
- First the using extract command to extract base , wall and surface .
- now untriming it.
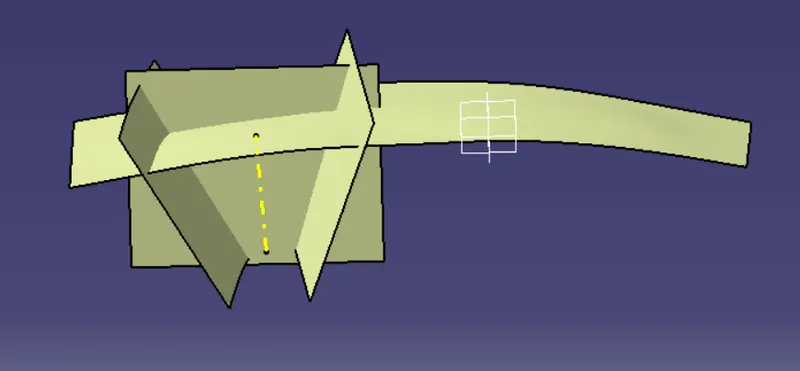
- now using extrapolation command .
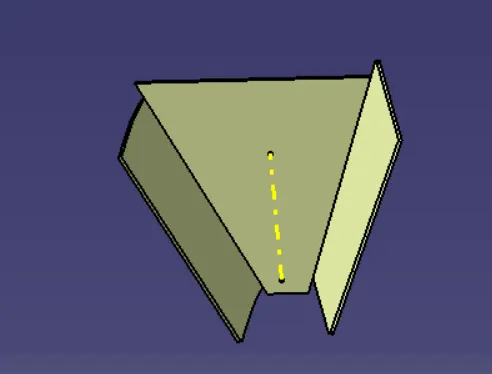
- now ofset it at 2.5 mm distance which is thickness .
- now untriming the surfaces .
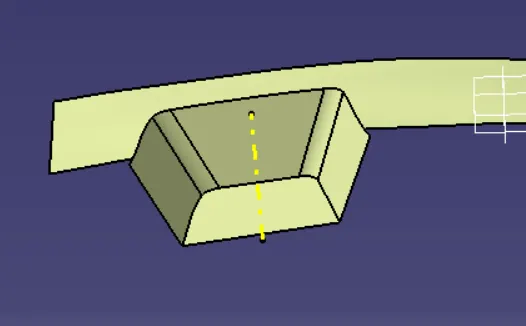
- finally fillet is created by meaure the fillet values of class A surface and giving the fillet value of radius minus the thickness .
Extraction :
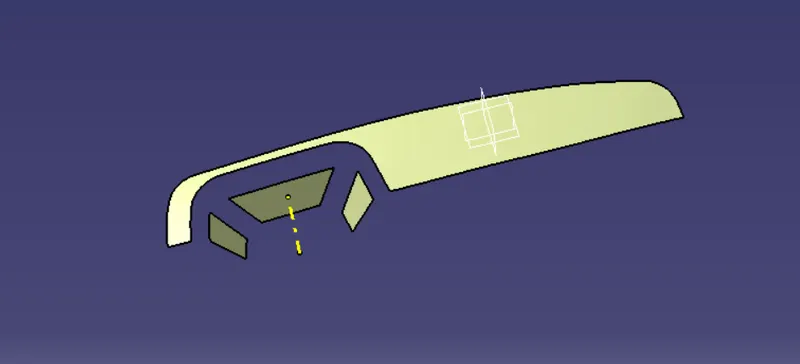
Untriming :
Extrapolating :
Triming :
Fillets :
Class B surface :
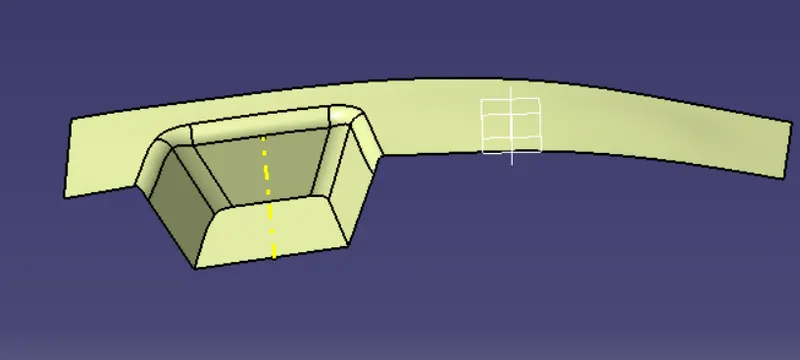
Class C surface :
- Boundry of outer edge of class A surface is extracted and to avoid patch we have use curve smooth option .
- by using sweep command the surface is created .
Extruction:
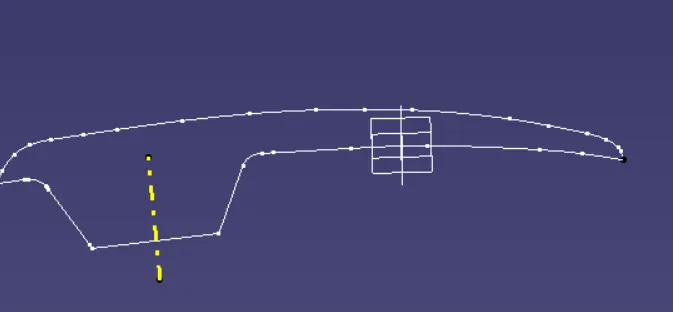
Sweep :
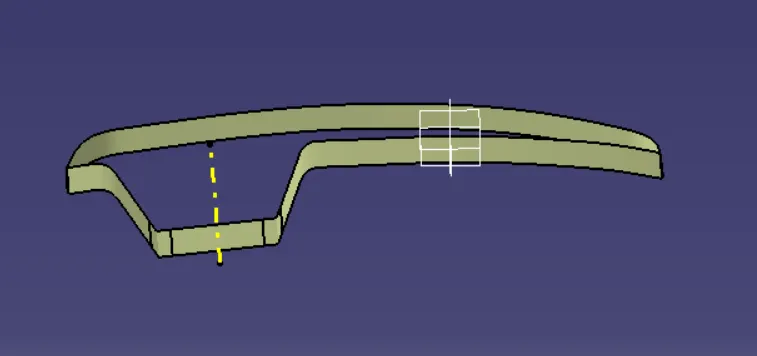
Final ClassC surface :
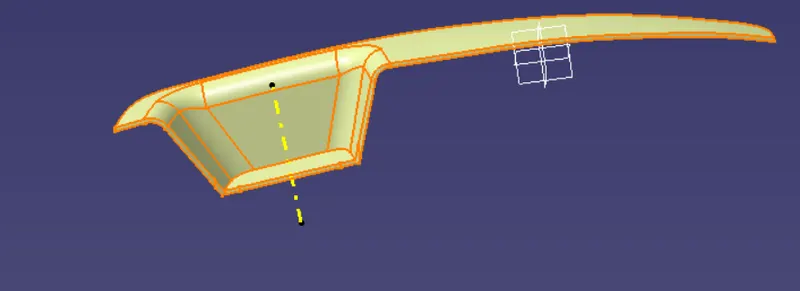
Closed surface creation :
- by using close surface command the close surface solid body is created .
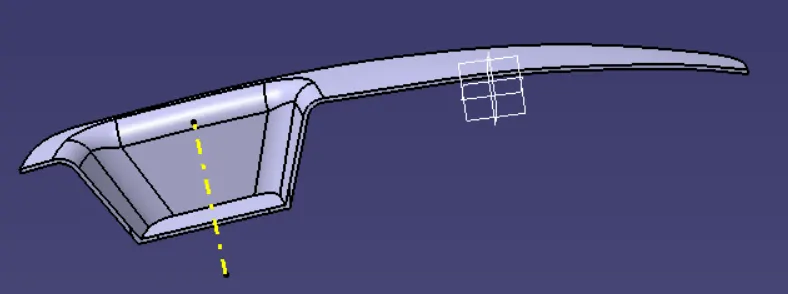
Procedure for draft analysis :
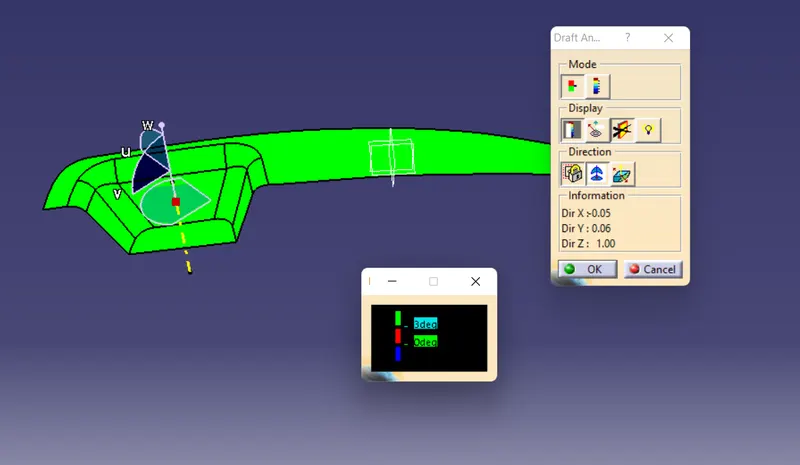
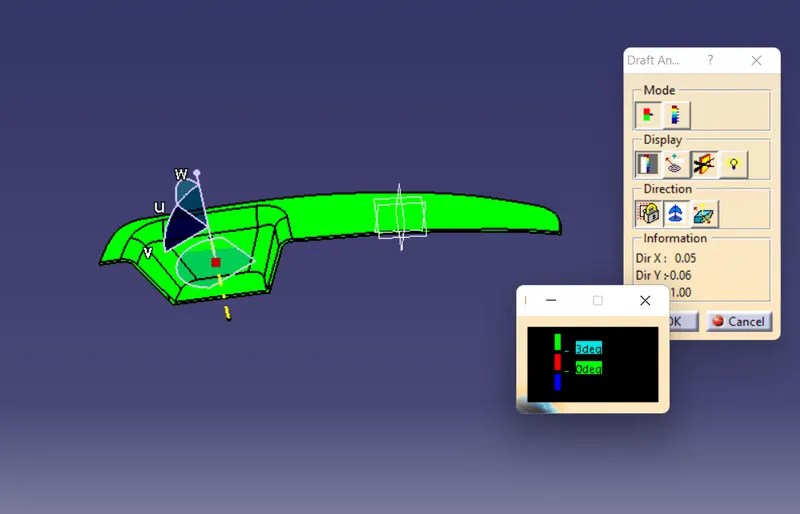
- First class A surface is check for draft analysis then final product is checked .
Steps :
- first we have change the view mode to custom view parameter in which select material.
- then activate compass and placed it alog with tooling axis and then locked it.
- Now click on the surface.
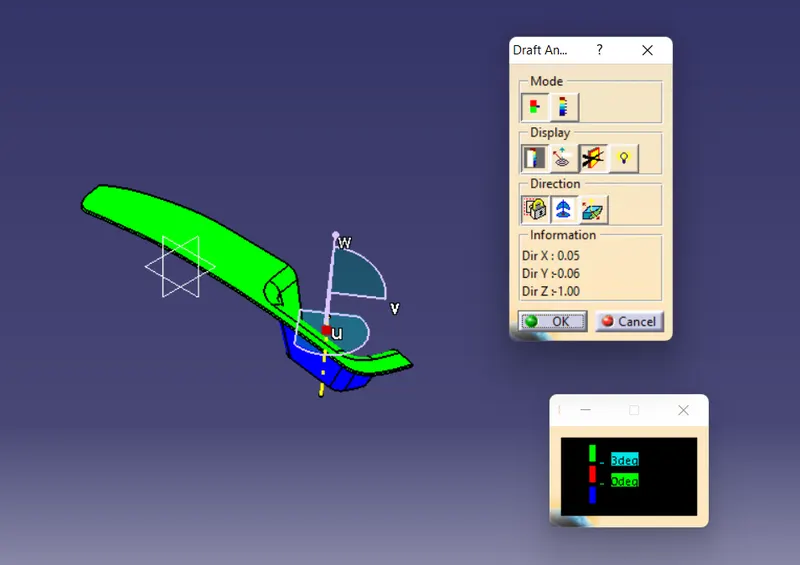
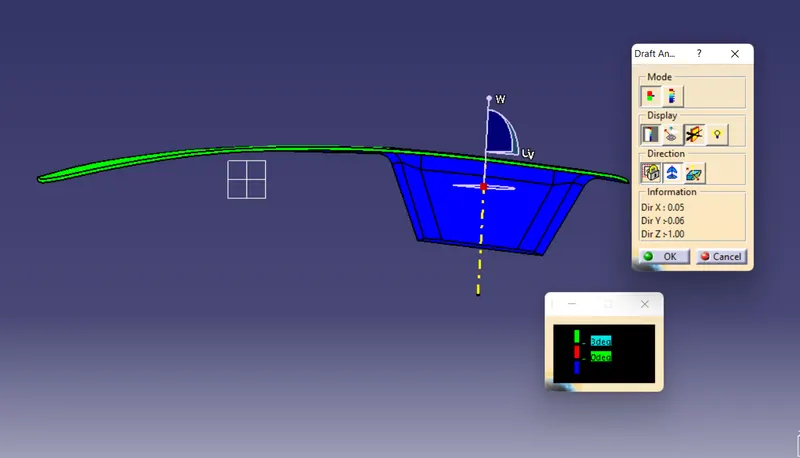
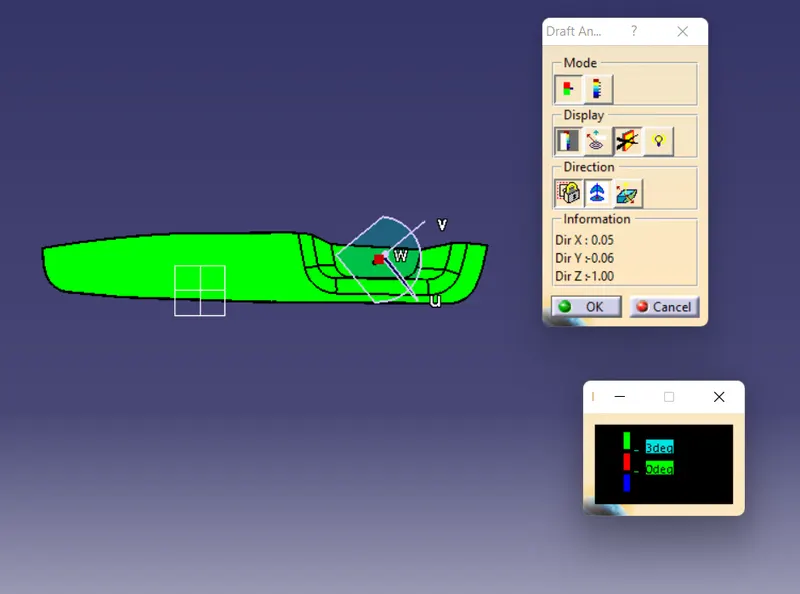
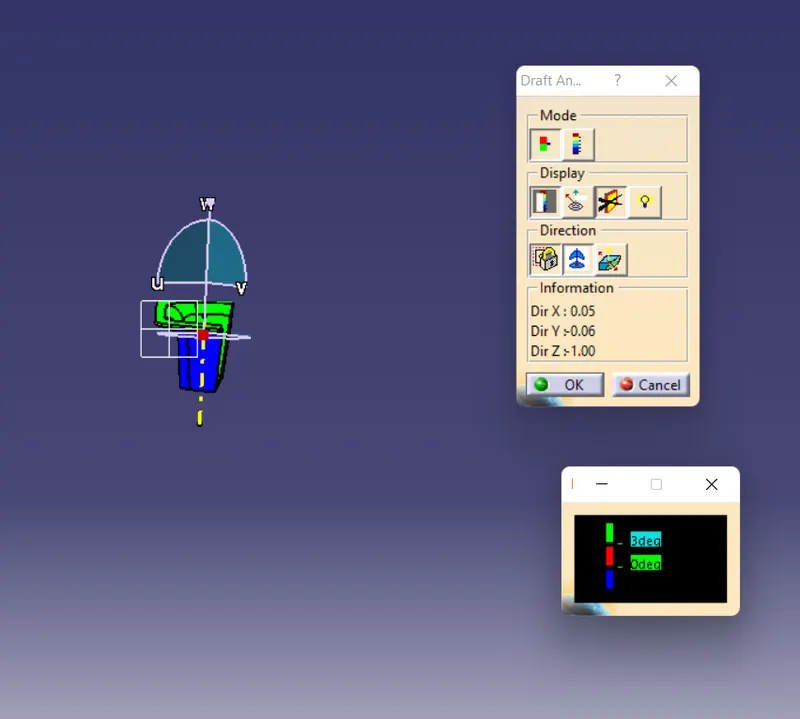
- It shows the green colour which means that it pass draft analysis which has angle of 3 degree which sufficient enough for manufacturing of the product .
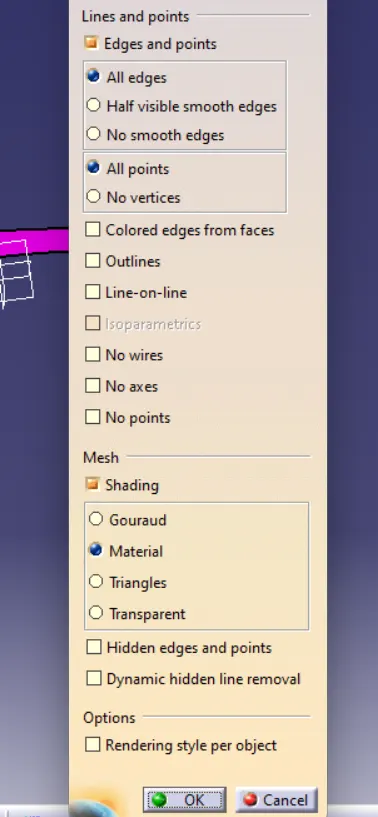
Class A :
Final product :
Different views :
ISometric view :
Front view :
Top view :
Side view:
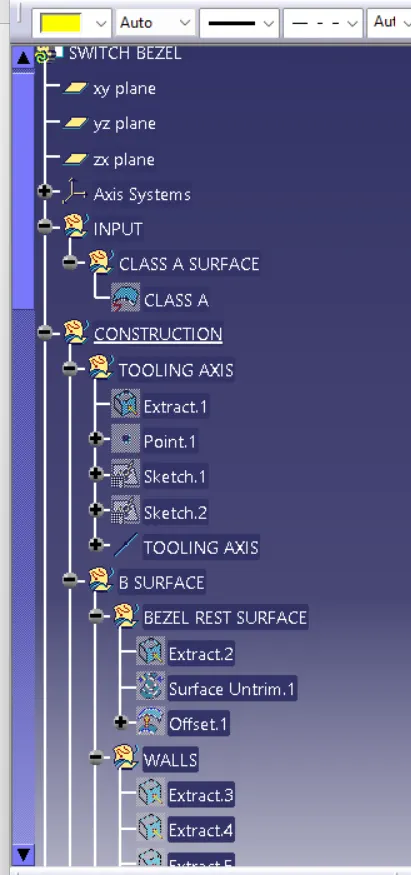
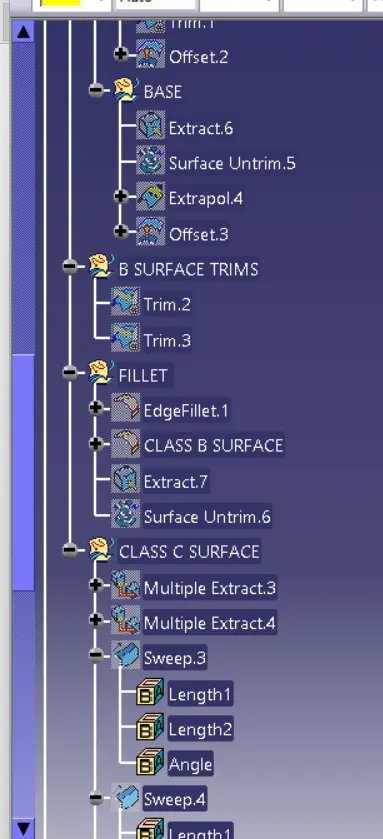
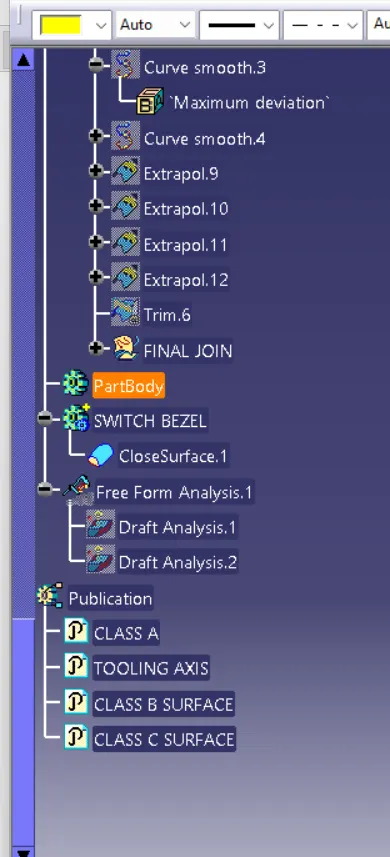
tree structure :
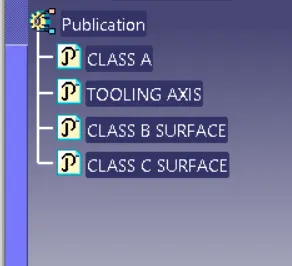
Publication :
COnclusion :
- We have created class B and class C surface from given class A surface .
- performed draft analysis.