Week 8 - Challenge 2 - Switch Bezel Design
OBJECTIVE:
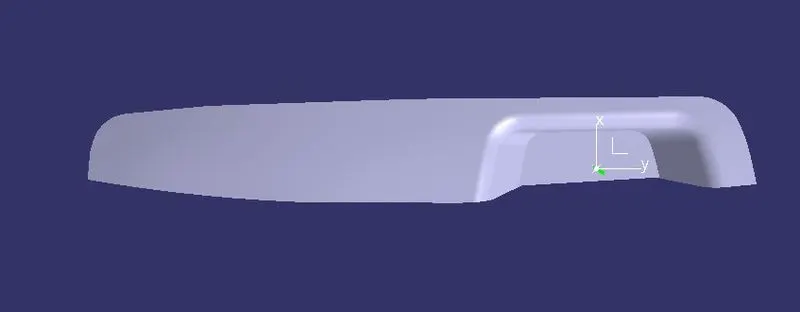
To create the Switch Bezel Plastic component through the given Class-A surface. As well as, creating the tooling axis for the given Class-A Surface which is meeting the requirements of the draft angle and at the end perform the Draft analysis oF the model.
SPECIFICATION:
Switch Bezel Thickness = 2.5mm
Minimum Draft Angle = 3 Degrees
TOOLING AXIS:
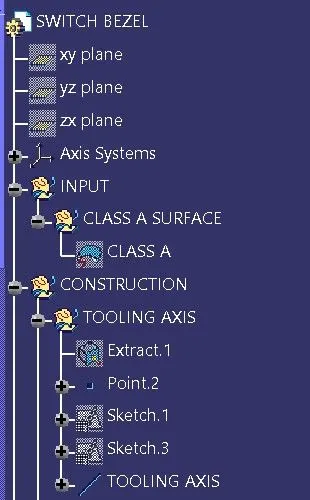
First of all for creating the tooling axis, we use the bisecting lines method. for that First,we decide the proper tooling axis direction with respect to the given component. here, in this case it is the Z-axis direction.
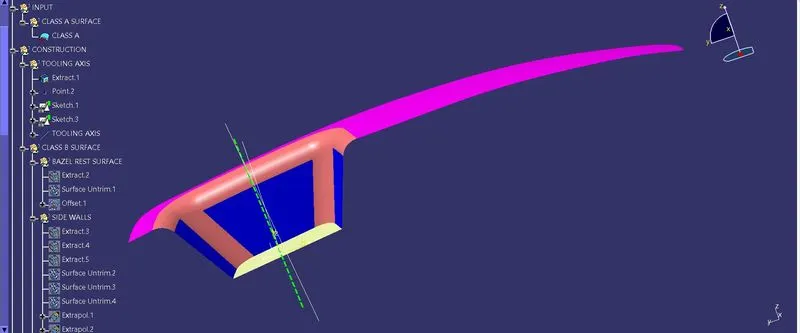
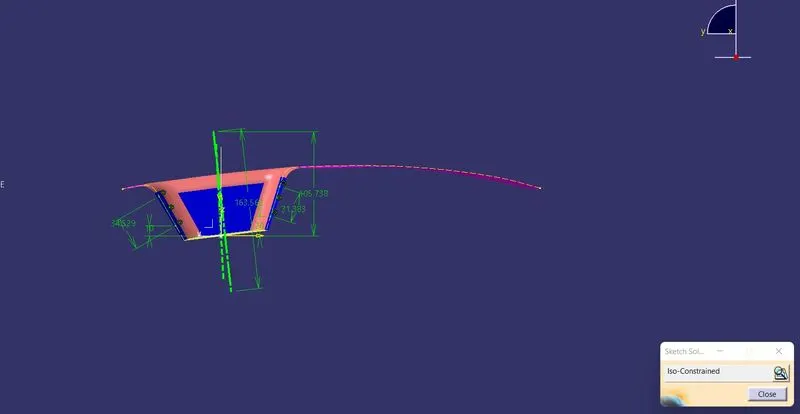
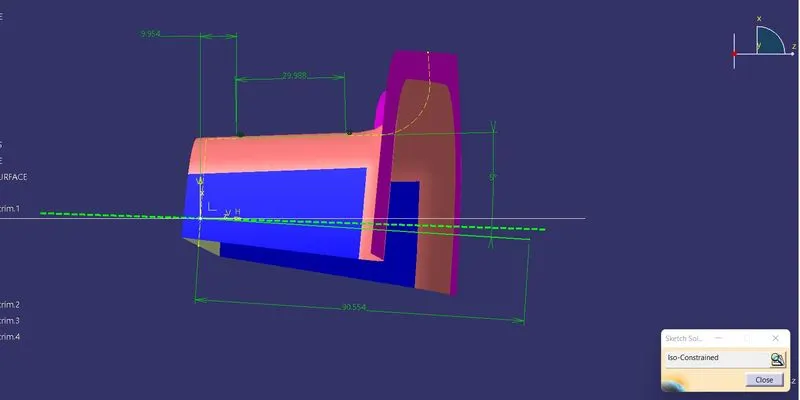
After that, we create a point and an axis system on the Class-A surface and then create two sketches on the zy and zx planes respectively. In the first sketch on the zy plane, we will draw two inclined lines coinciding with the intersection curve of the Class-A surface along the y-axis direction. and for the second sketch we take the manual line at the draft angle and Then we will create a bisecting line using these two lines.
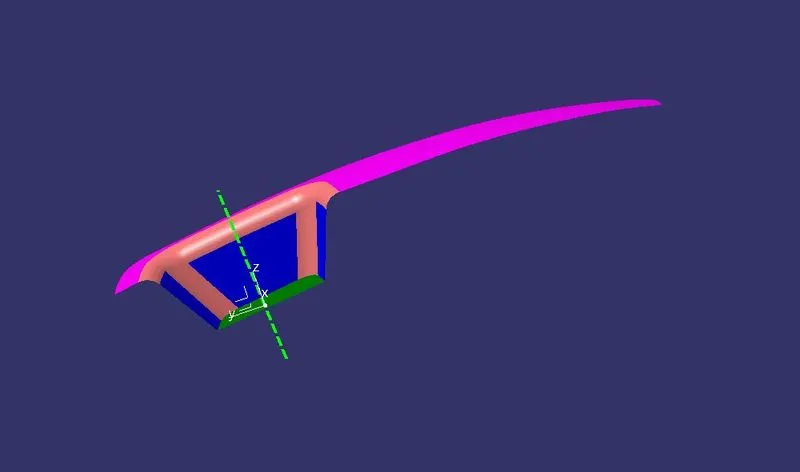
CLASS A SURFACE DRAFT ANALYSIS:
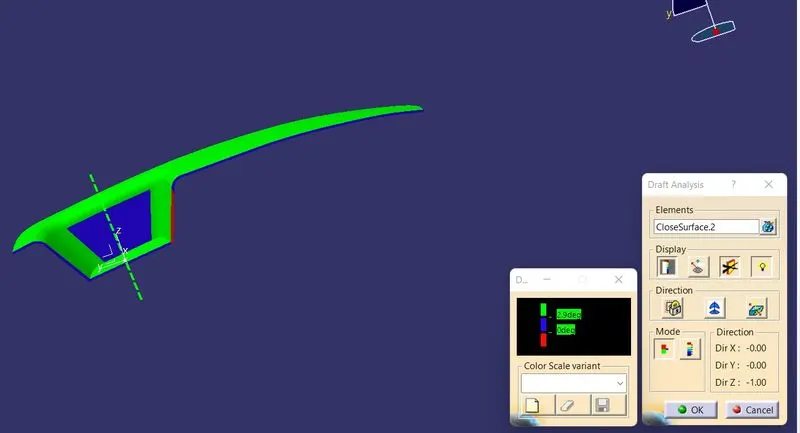
For performing the draft analysis of the class A surfface first of all put the axis to the incline of the tooling axis and lock the axis and then select the surface for analysis.
Now use the free point to see the different values of angles on the draft surface.
Here, in the below image I have shown the color code which I have used for draft analysis.
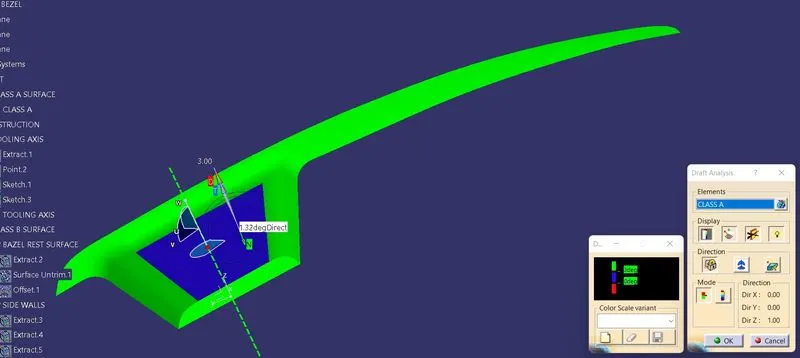
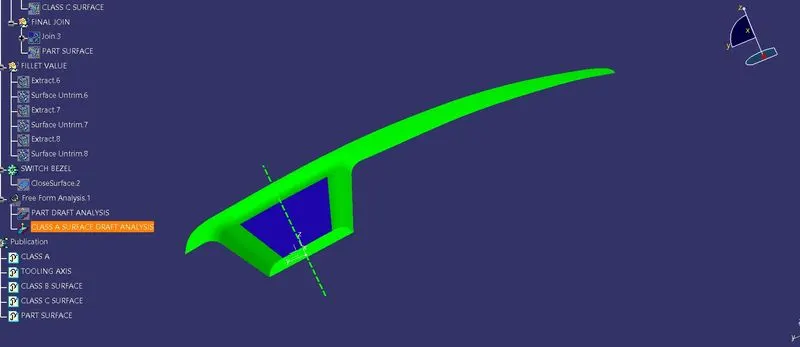
When done the analysis click on Ok button and we get the analysed surface as per below image.
CLASS B SURFACE:
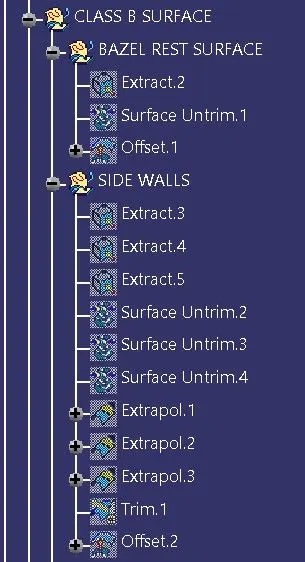
First, Extract the class A surface and then untri the surface after that Extrapolate the surface.
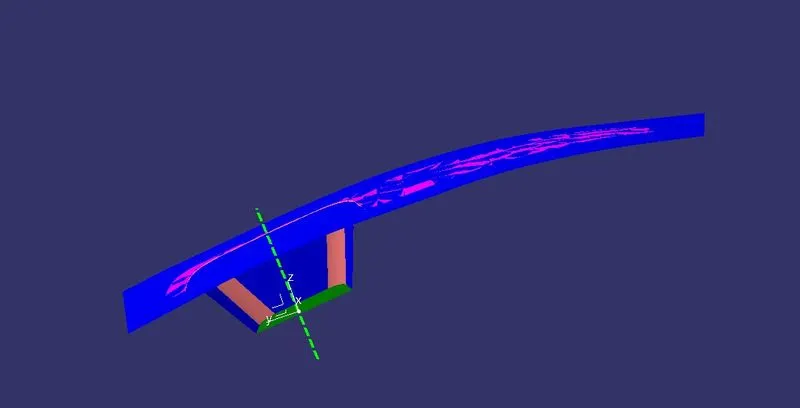
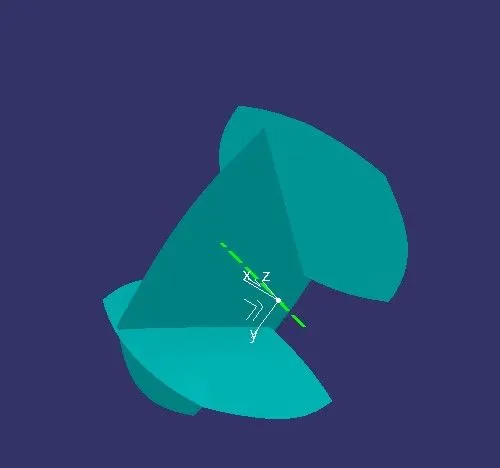
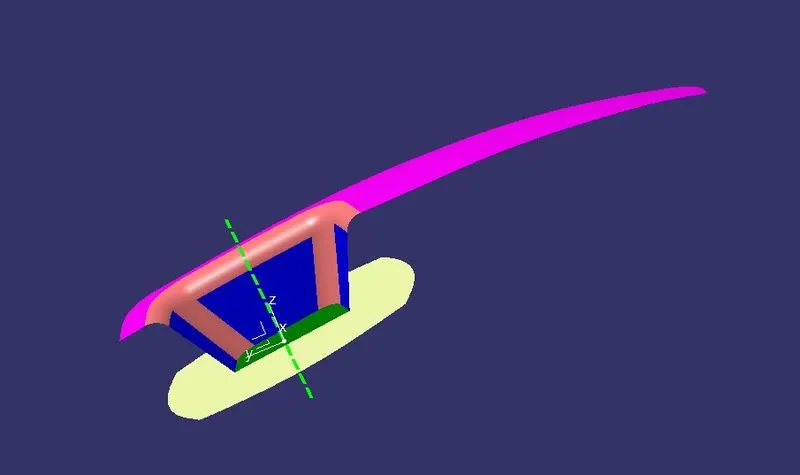
Here there are three surface bazel rest surface,side wall and base Surface. After Doing Extrapolation of all these three surface Trim the extra surface so we can get the class A surface which is Offset 2.5mm beacause the wall thickness is given ,and then we get the desired Class-B surface.
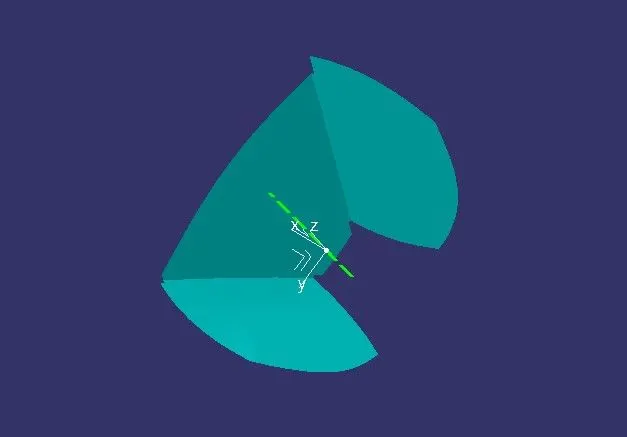
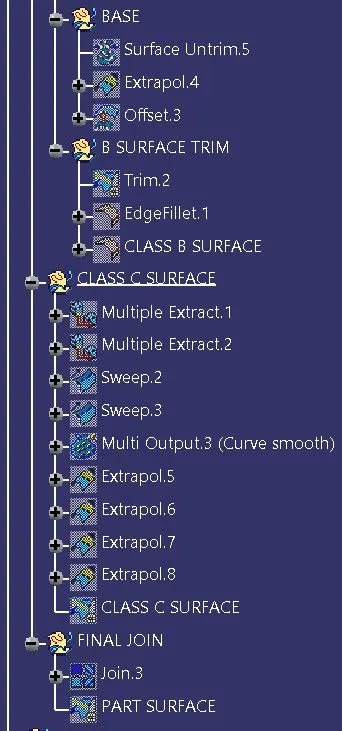
After that, we will use the Trim command to get out proper desired Class-B surface.
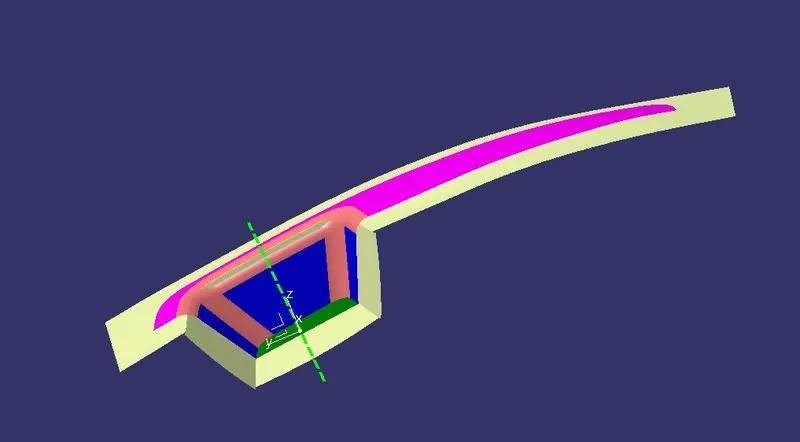
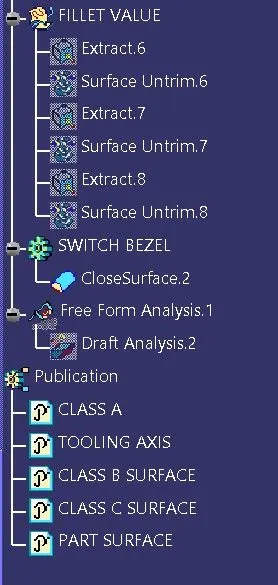
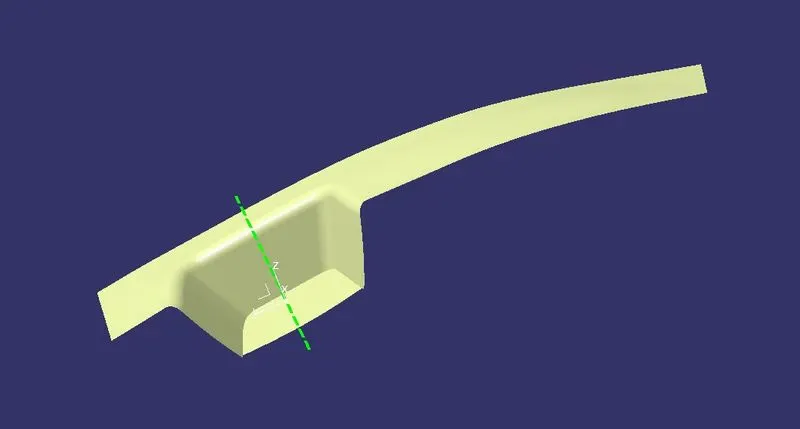
Now using the fillete command give proper fillets to the edges of the Class-B surface. Here before giving the value of edge radius measure the readius of the class A surface and according to that the radius value is given.
CLASS C SURFACE:
Here, we extract the outer edge boundary and inner edge boundary of the Class-A surface separately using multiple extract command.
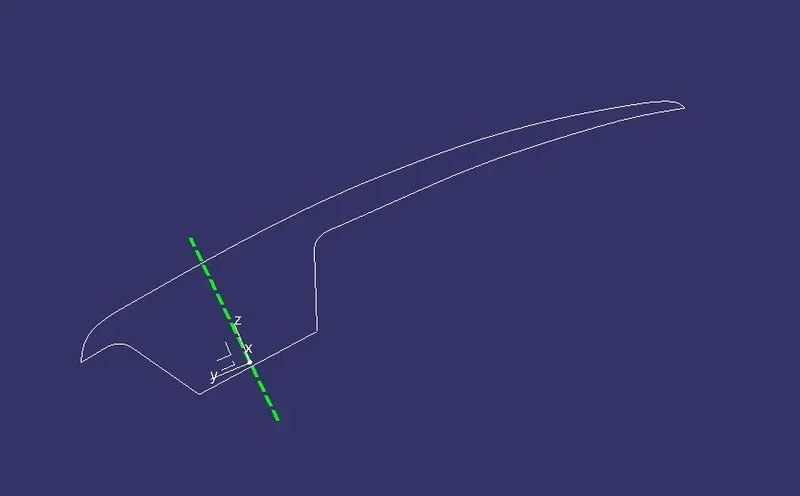
Then, Sweep each of these boundaries using the sweep command. and select the Line option on the sweep command menu,give the input as extracted boundaries as Guide curve 1 and the tooling axis as the draft direction and specify the draft angle as 3 degrees.
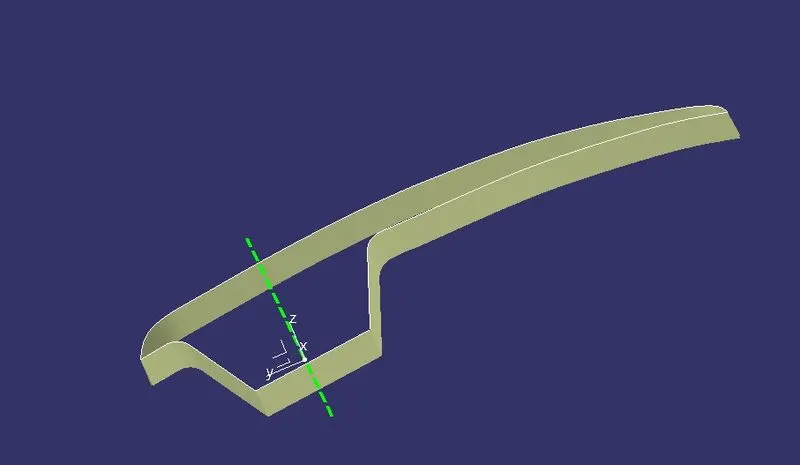
FINAL SURFACE:
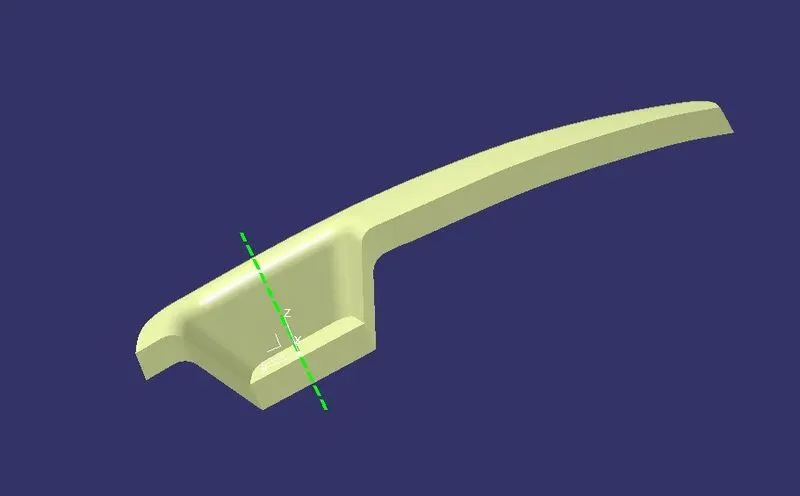
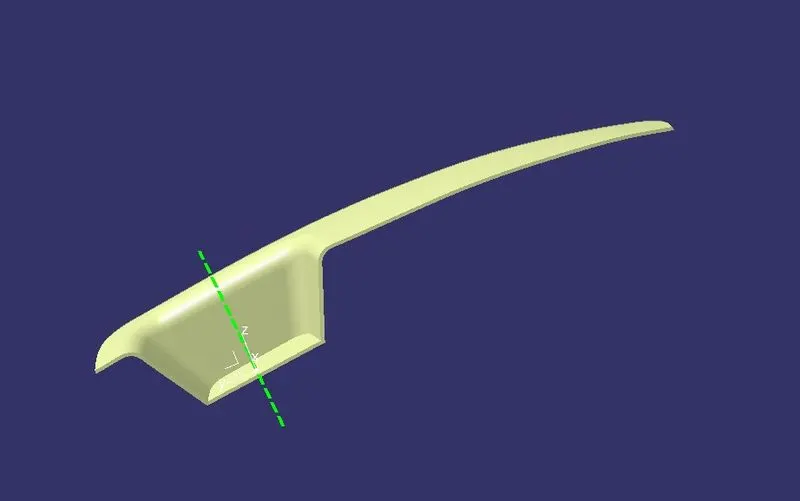
For creating the final part surface first join all the Class-C surfaces with the Class-A surface by using the Join command. and then use the trim command to join the Class A, B and C surfaces together and obtain the proper desired surface.
PART BODY:
For create the final solid body use the Closed Surface command. Go to Boundary command and click on the new surface. An error dialog-box should pop-up which mean the surface is closed. now, Go to the Part Design workbench. and Select the Closed Boundary option and then click on the generated surface.hear, we obtained closed solid body.
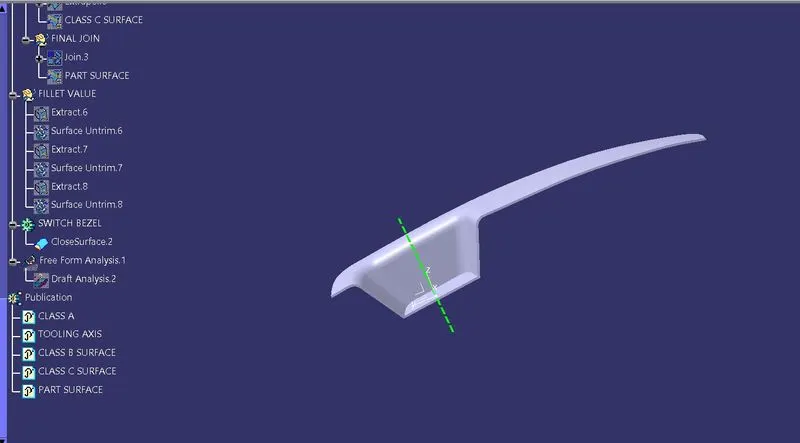
DRAFT ANALYSIS OF THE FINAL SOLID BODY:
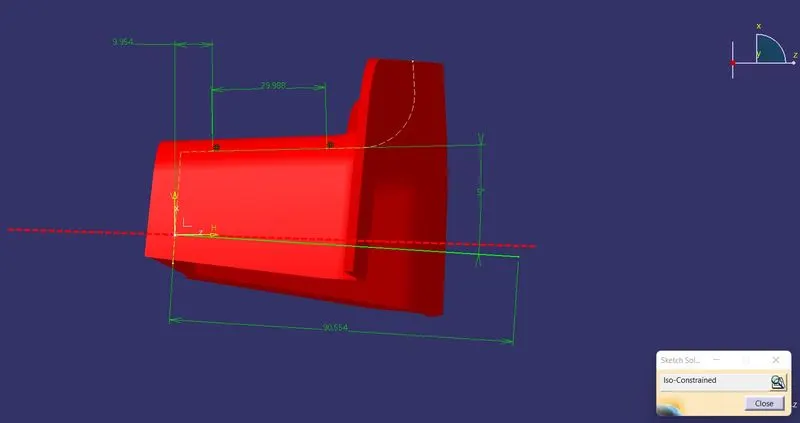
Since, the draft analysis is not giving us the desired result we must modify the inclination of the tooling axis to increase its inclination angle and thus by some trial and errors we get our desired value.
We change the inclination angle of zx plane line to 5 degrees.
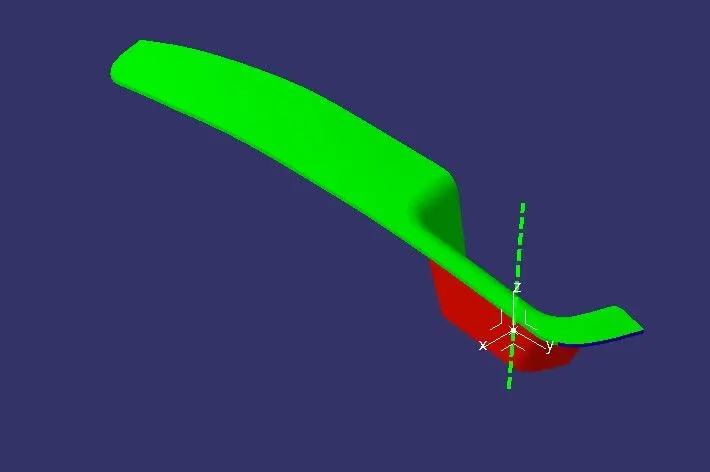
We now, get our desired output.
DIFFERENT VIEWS OF DRAFT ANALYSIS OF SOLID MODEL.
ISO VIEW
FRONT VIEW
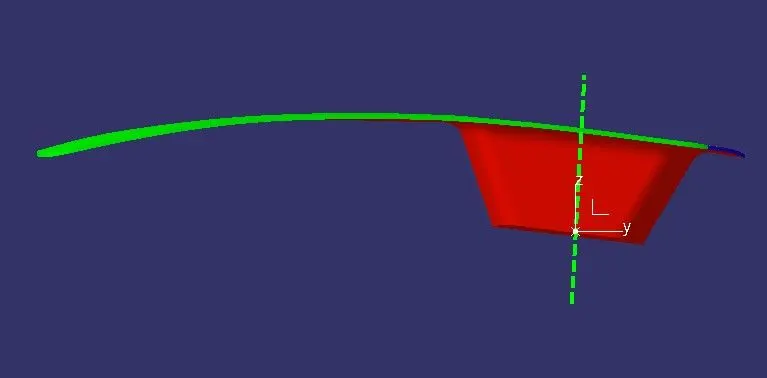
BACK VIEW
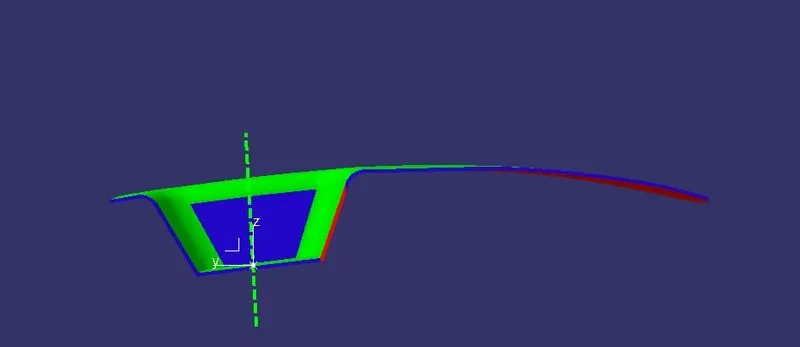
LEFT SIDE VIEW
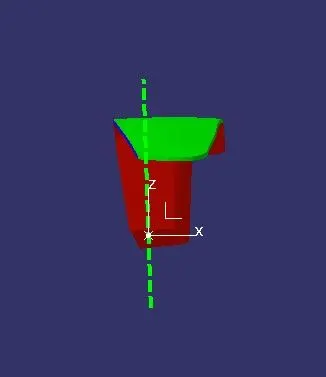
RIGHT SIDE VIEW
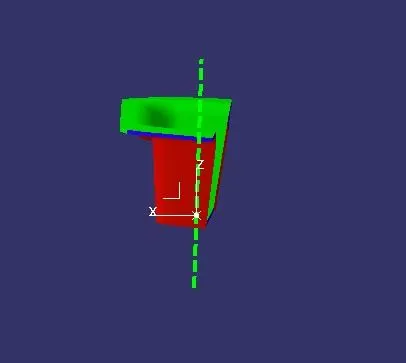
TOP VIEW
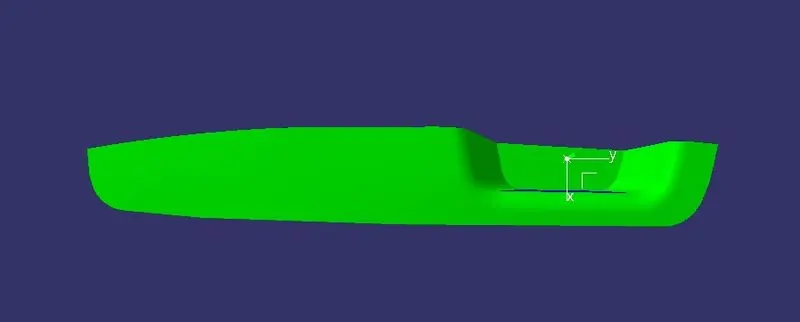
BOTTOM VIEW
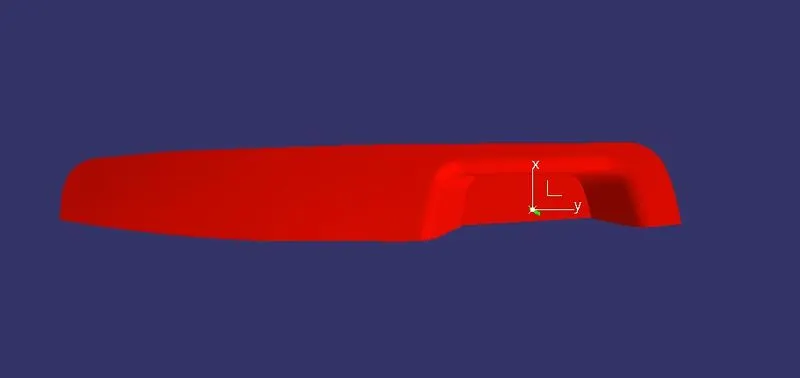
DIFFERENT VIEWS OF SOLID MODEL.
ISO VIEW
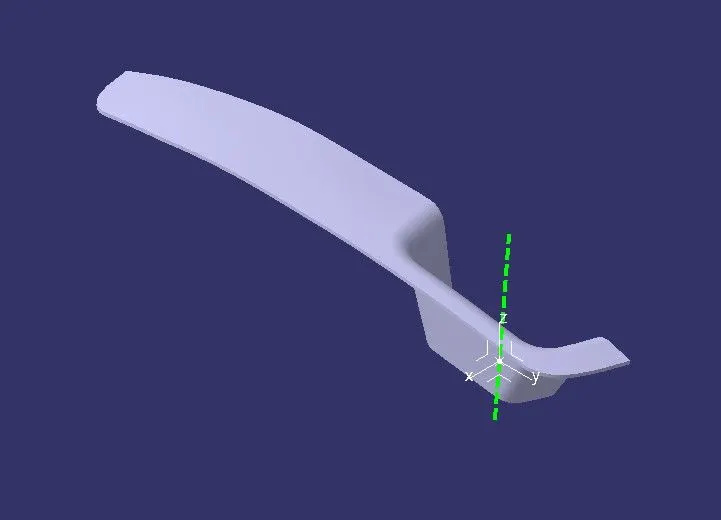
FRONT VIEW
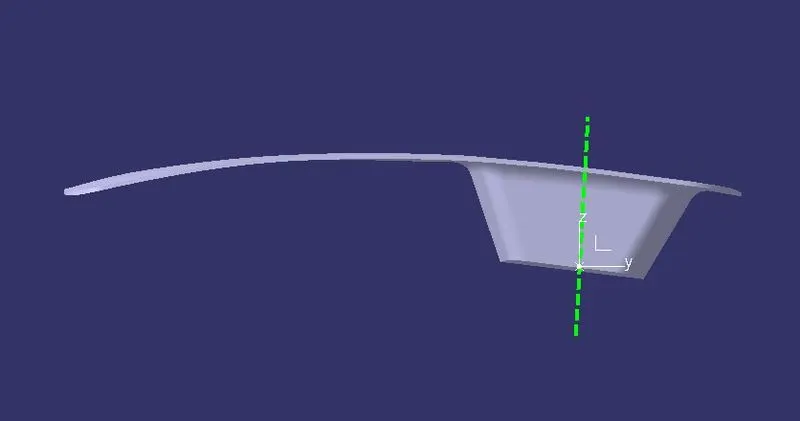
BACK VIEW
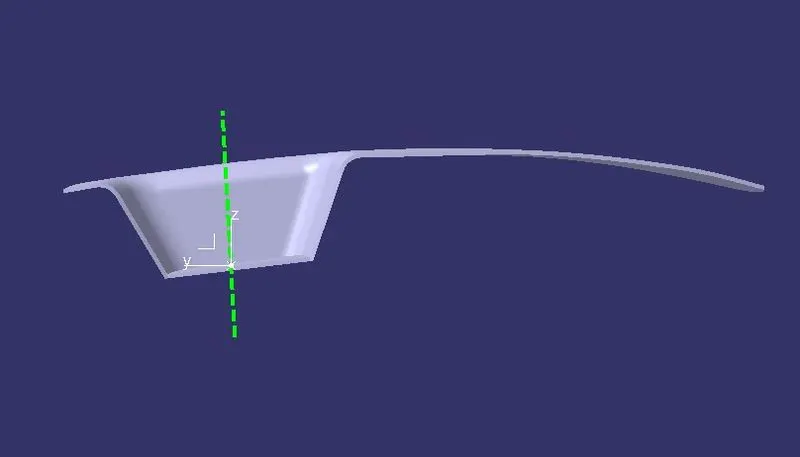
LEFT SIDE VIEW
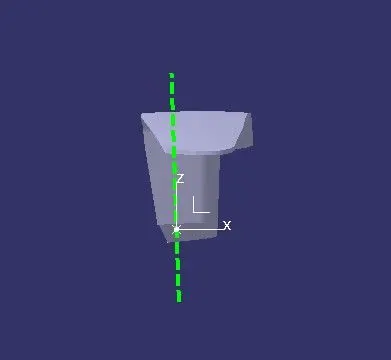
RIGHT SIDE VIEW
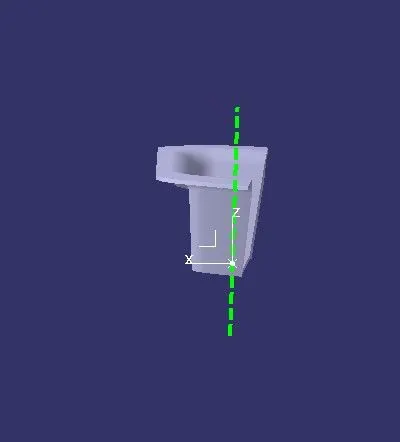
TOP VIEW
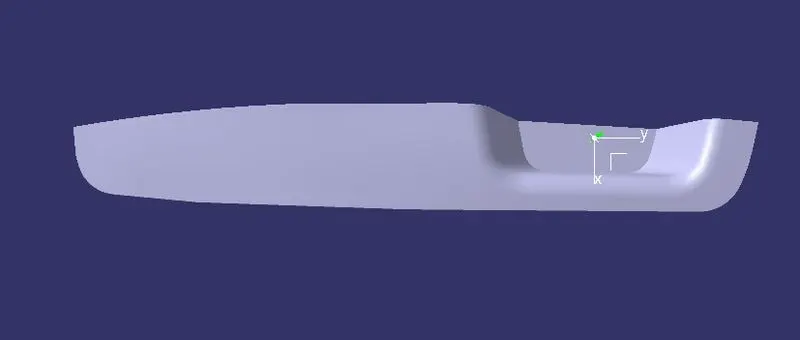
BOTTOM VIEW
TREE STRUCTURE: