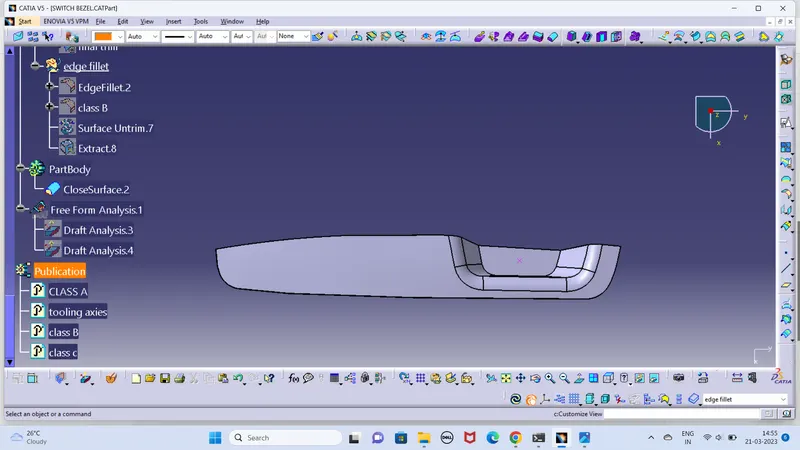
Week 8 - Challenge 2 - Switch Bezel Design
Tooling Axies:-
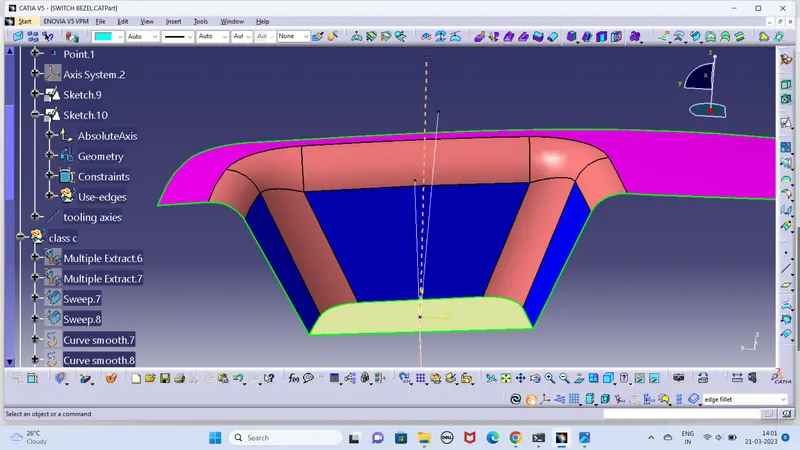
Tooling axies created for showing the component moving direction. so here we follow the steps for tooling axies creation.
Extract the bottom face and creat a point in the middle of the surface.
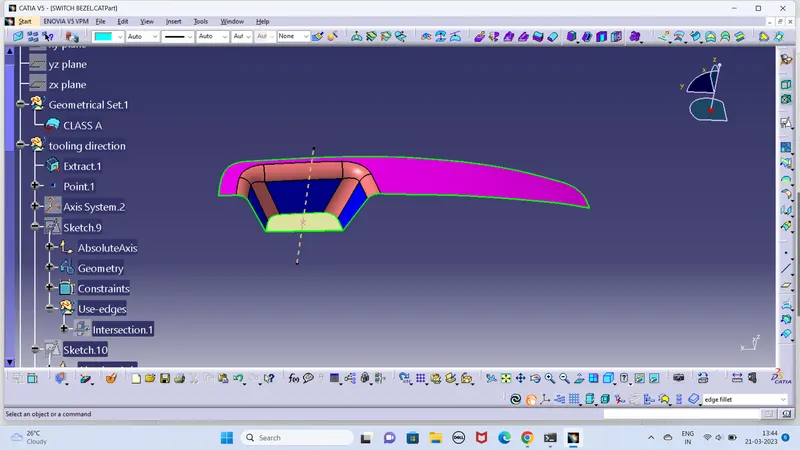
add intersection method on class A surfce and creating a line on both faces and we get a bisecting line between the two opposit face.
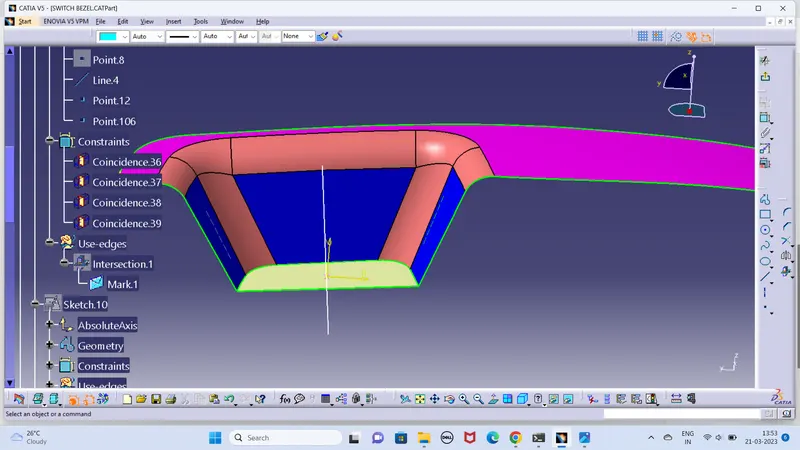
Creat another sketch of line which is 6 degree apart from the surface
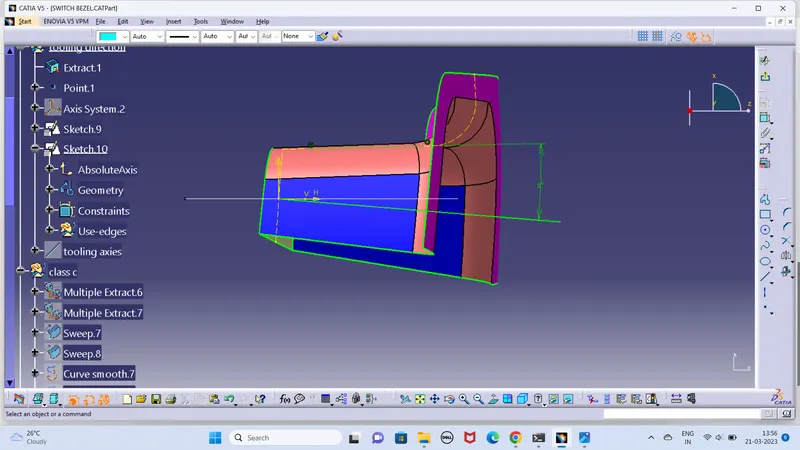
The tooling axies is attained with bisecting the sketch 9 and sketch 10 line .
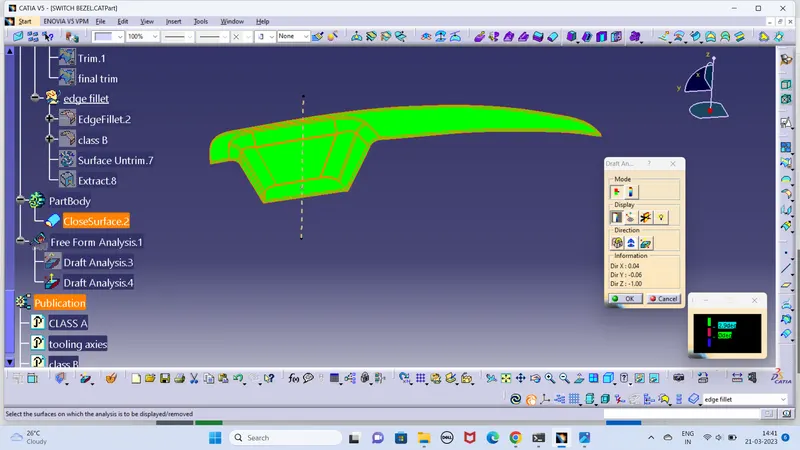
DRAFT ANALYSIS:-
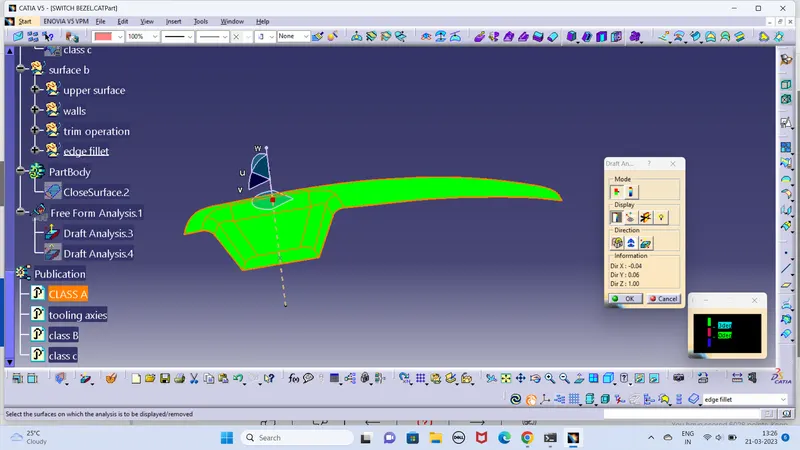
Draft is done on the class A surface .
change it to material is customise view .
click the draft analysis tool and click the surface and align the compass to tolling axies.
3 degree is the clearing angle.
B-Surface
B- surface created from class- A surface
apart from fillet we extract all the face
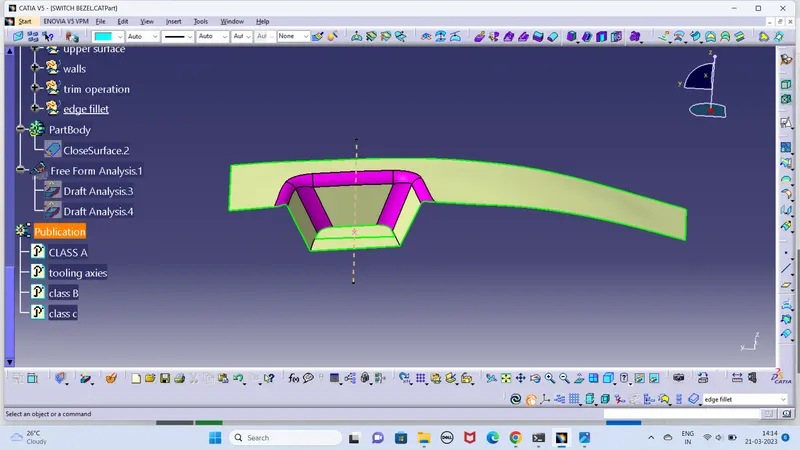
Hide class A and untrim the extract sides.
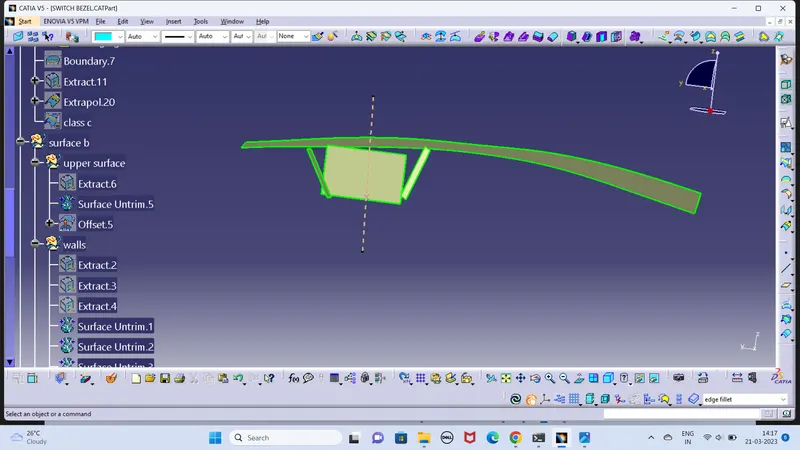
Extrapolate the sides so that all the faces touch eachn other.
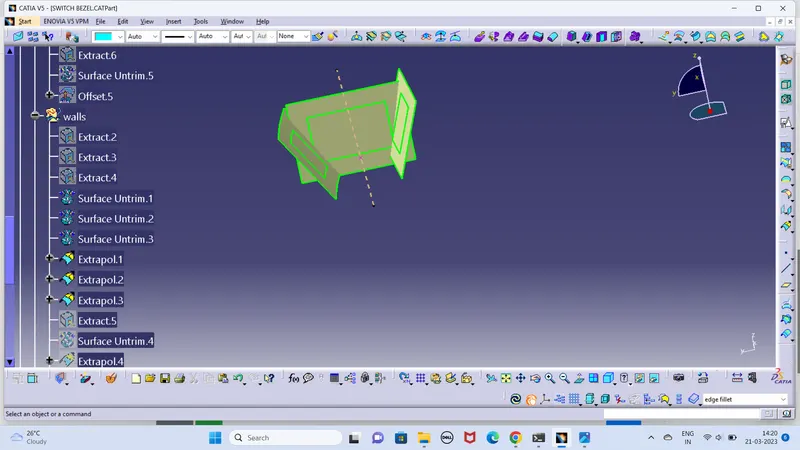
All the faces are offested downwards of 2.5 mm from the Class-A
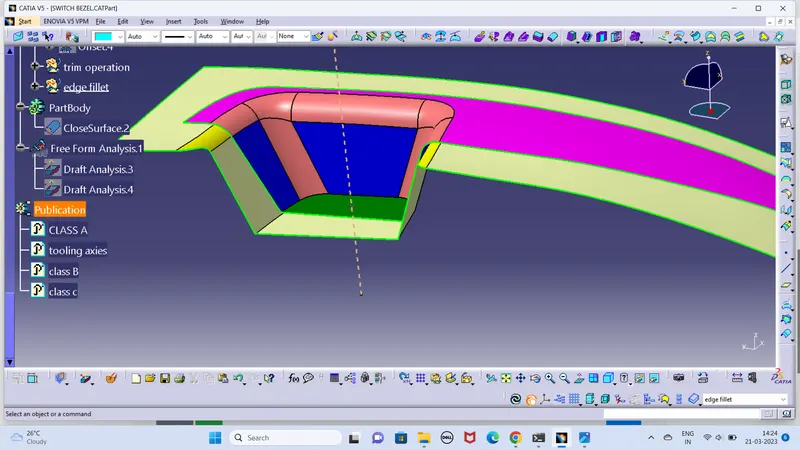
Trim the faces
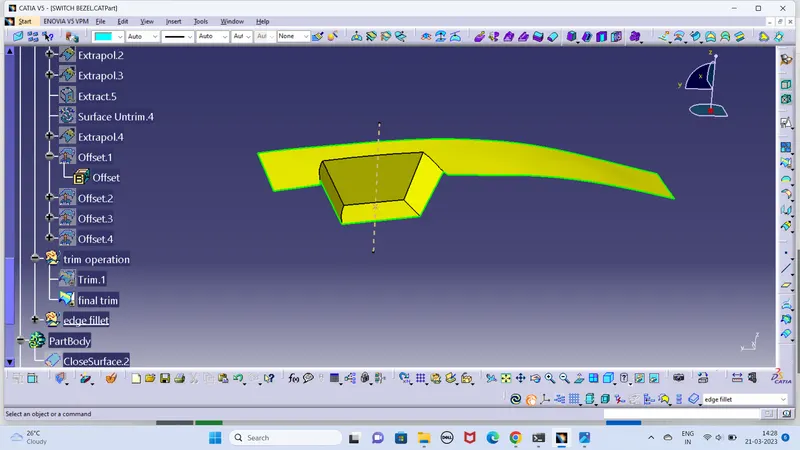
fillet are measured by extracting and untrimming the fillet portion of class-A
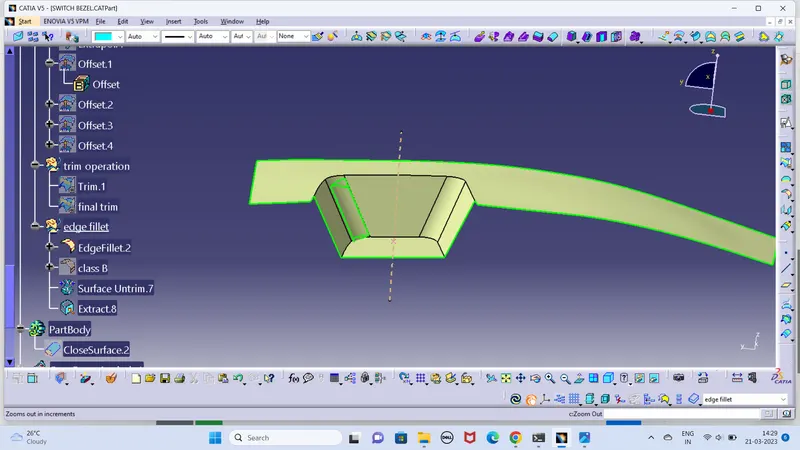
apply the fillet form Class-B
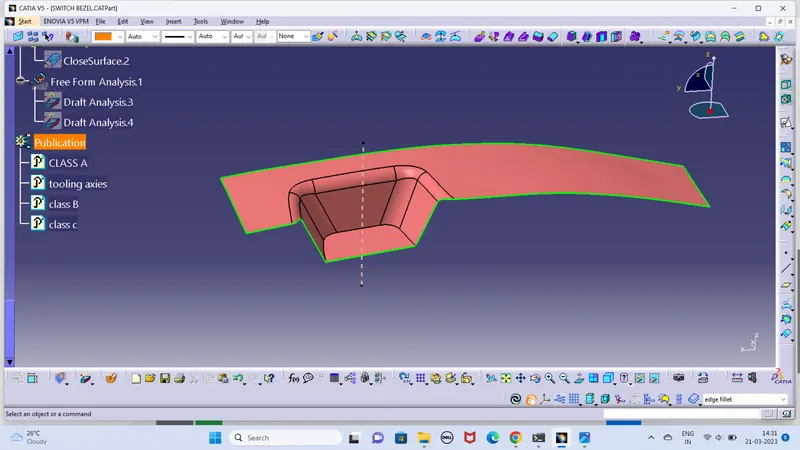
C-SURFACE
Outer edge of Class-A surface is taken as refrence boundry .
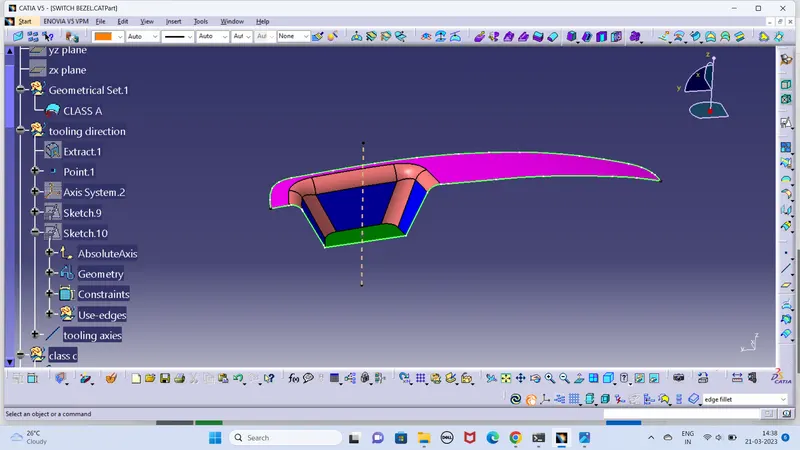
smooth curve is applied where ever needed to get a better surface.
sweep is used and extended downwards with 3 degree as draft outwards.
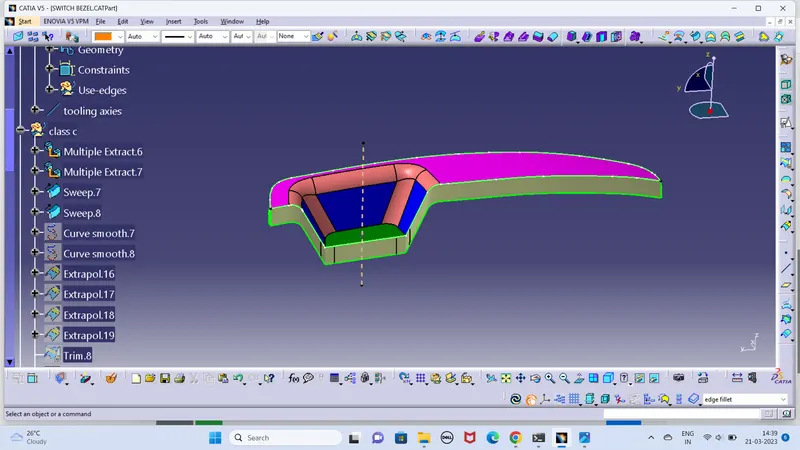
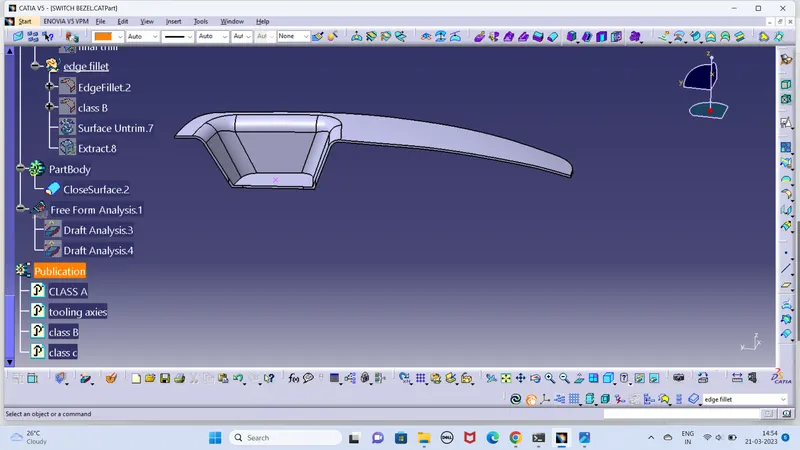
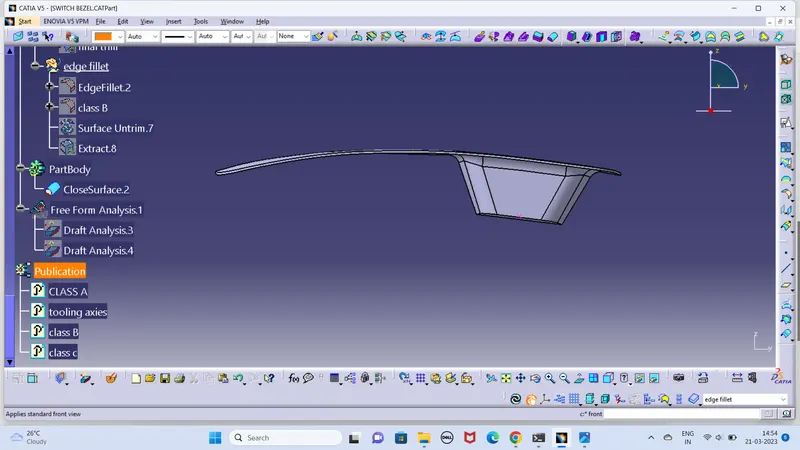
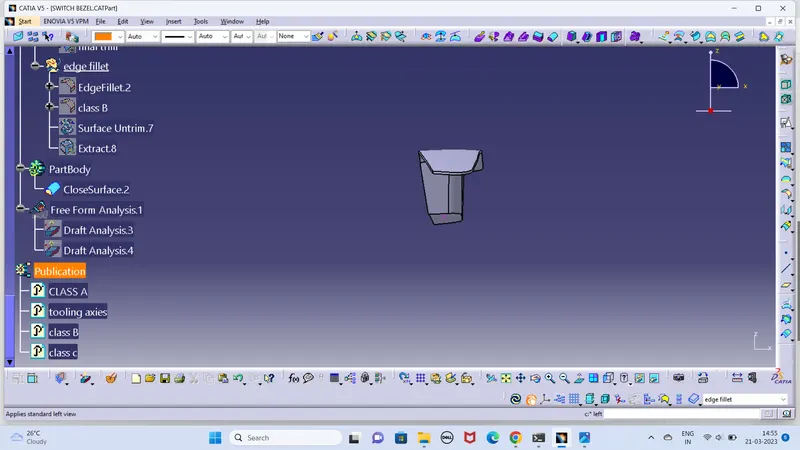
Final part
join Class-A and Class-C now.
trim the join section with Class-B
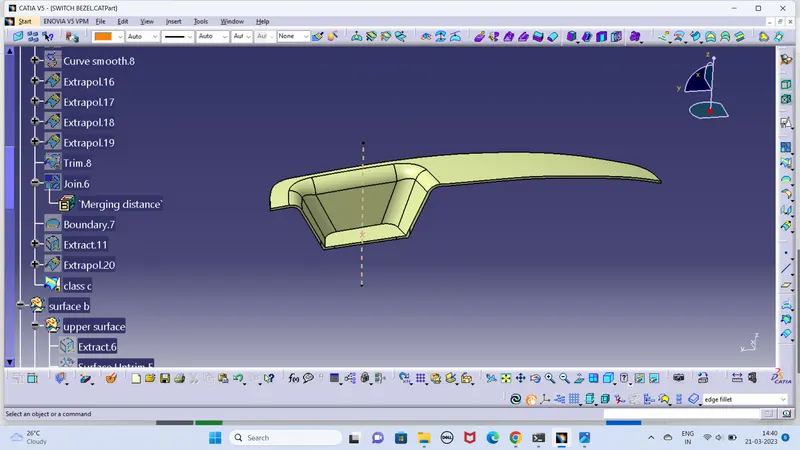
now got Class -C
now apply close body surface
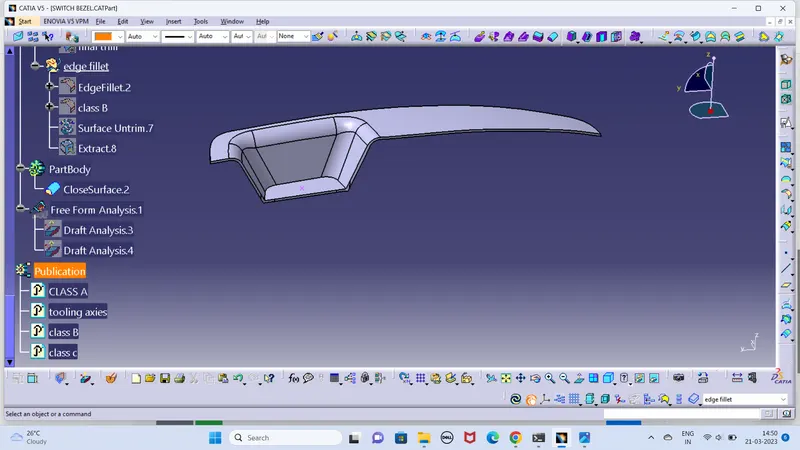
Draft analysis final part