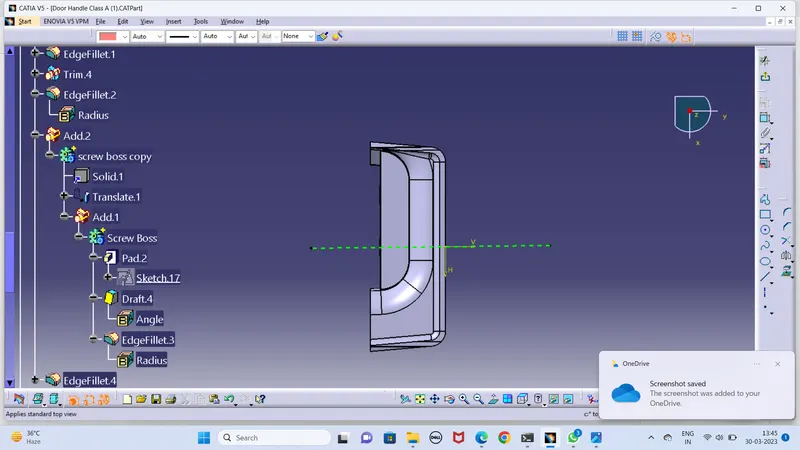
Week 10 - Challenge 1- Attachment Feature Creation (Ribs & Screw Boss)
AIM:--
To Create the Door Handle Component from the given Class-A surface.
To Create the tooling axis for the given Class-A Surface meeting the requirements of the draft angle.
To Attach B side Features in the component.
To perform the Draft analysis on the model.
To be able to create solid from the given Class-A surface, by considering tooling axis and draft analysis.
1.The given Class-A surface:--
WHAT IS CLASS A SURFACE ?
It is an Asthetic surface and which is visible to the customers ie, Top surface,
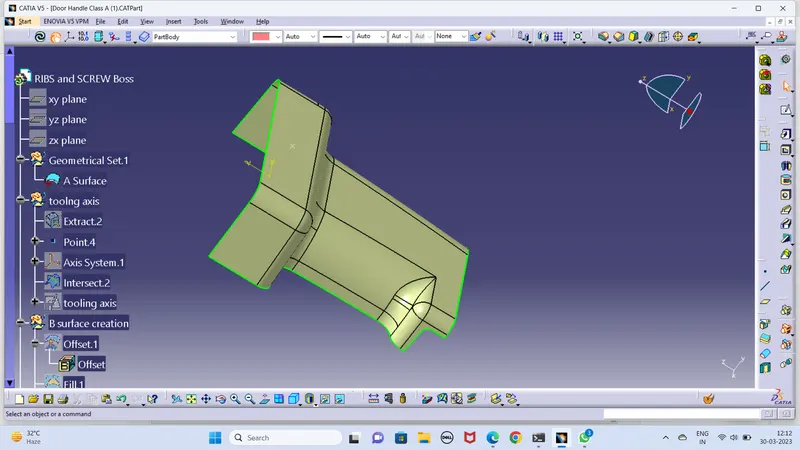
2. CREATING TOOLING AXIS :--
The Tooling Direction is basically the direction that the mold pulls a part. The mold is built in two separate pieces, basically. You have a Cavity side and you have the Core side. The Core pulls apart from the Cavity and that's the Dye line or the Tooling Direction.
TOOLING axis creation by bisecting method first extract surface from surface A taking a point on that surface now taken axis on the pont then intersection along axis XY plane apply
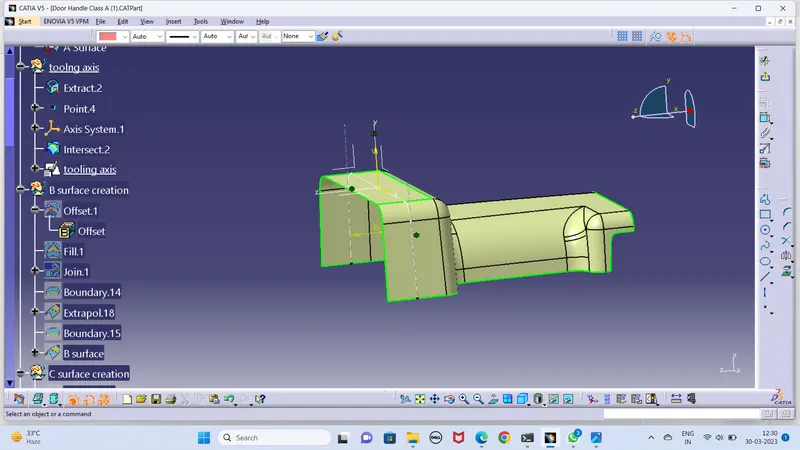
draw a line point to point method on intersection outer area now taken a bisection line between the both line thus draw a tooling axis.
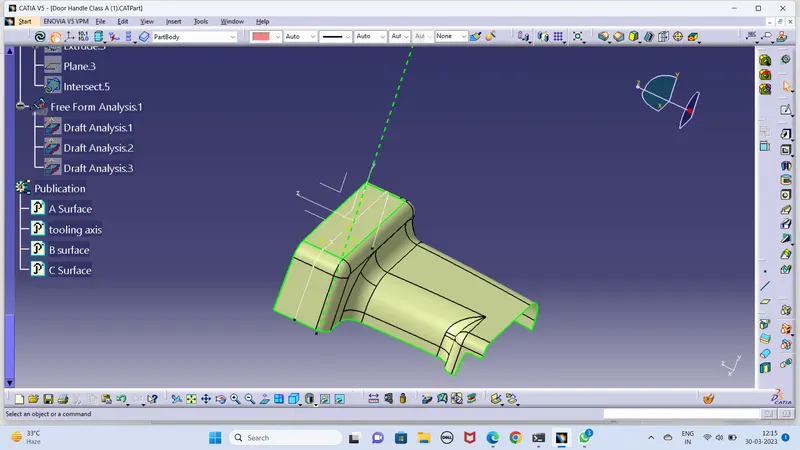
3. DRAFT ANALYSIS:--
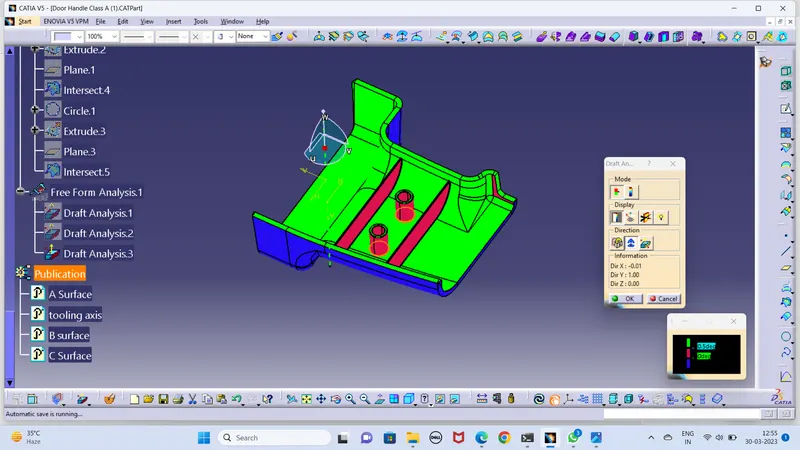
The Draft Analysis command enables you to detect if the part you drafted will be easily removed. This type of analysis is performed based on color ranges identifying zones on the analyzed element where the deviation from the draft direction at any point, corresponds to specified values.
Before going to drat analysis go to customized view parameter >under mesh >check material and then click ok.
Now for draft analyses go to insert » analysis » feature draft analysis.
Use the compasss to define the draft direction.
In the colour scale change the draft angle to 3 degree.
The component changes to green in indication of passing draft angle.
Use running point to check the angle on the component.
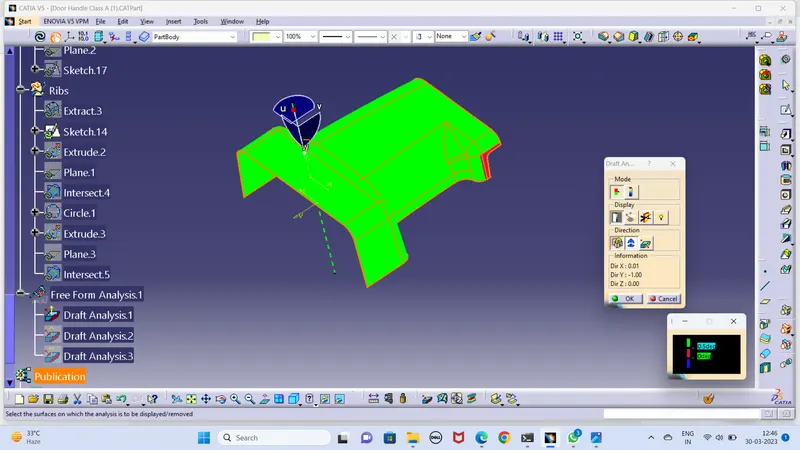
DRAFT analysis close surface
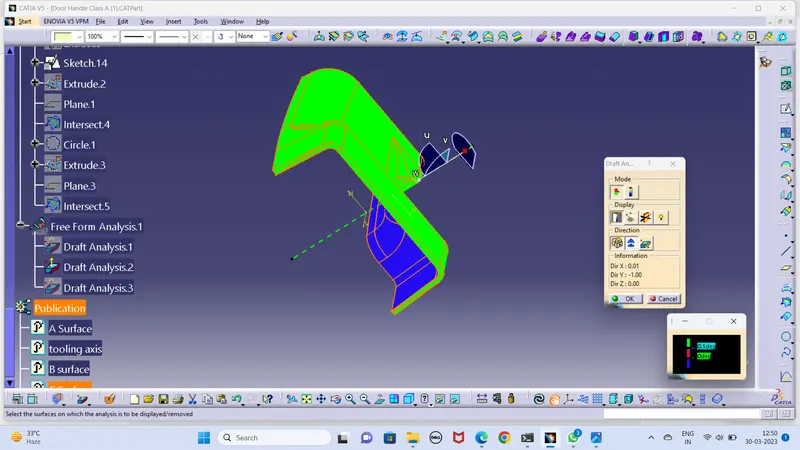
draft analysis after RIBS and screw Boss creation final body
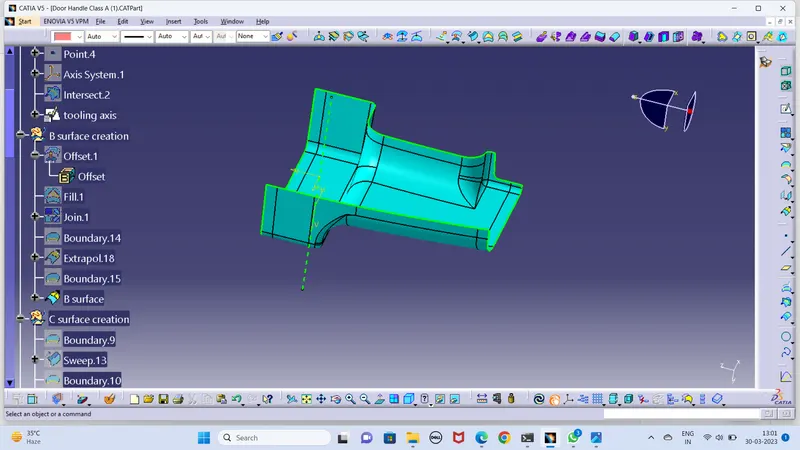
B - surface creation
taken offset from A surface 2.5 mm
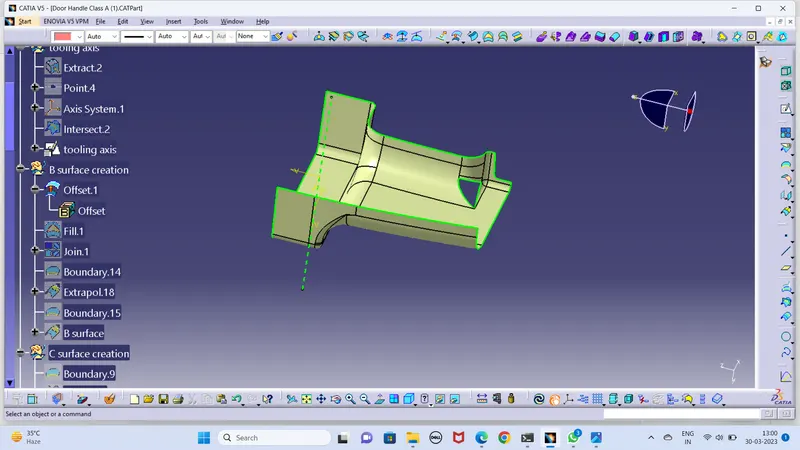
used fill command then join now now B surface ready
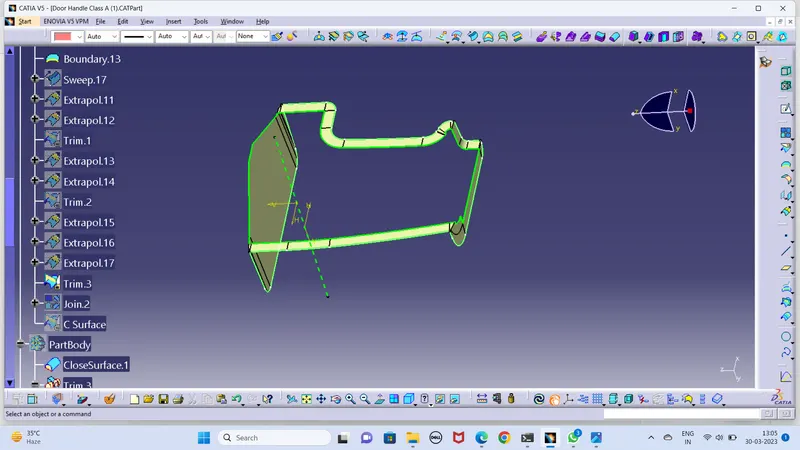
C - surface creation
extracting the outer boundy and sweep it 90 degree and 3 degree as face requirment
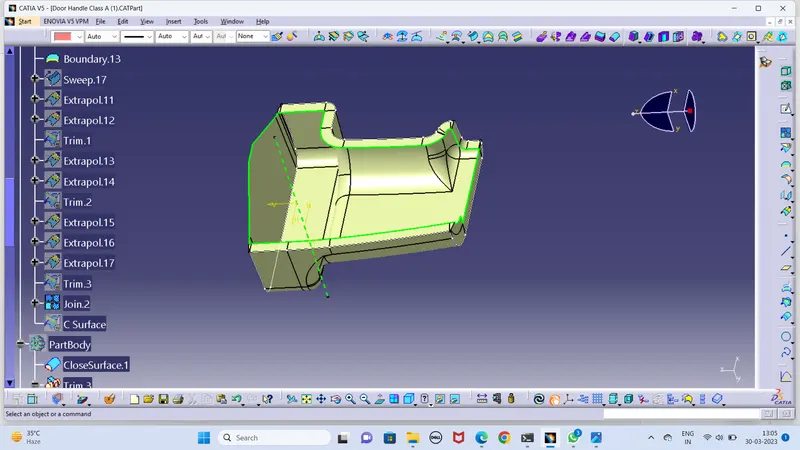
now join it with surface -A
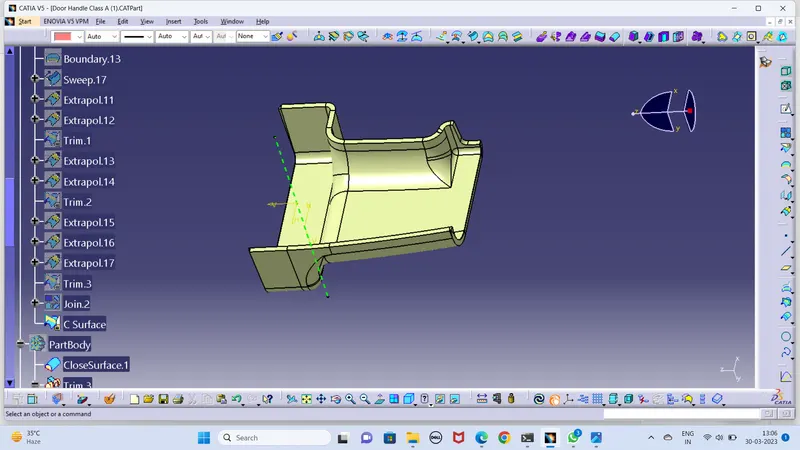
now take surface -B with A +C and trim it now got surface -C
RIBS creation
Ribs are thin wall protrusions that extend perpendicularly from a wall or plane. They are usually found in clusters offering support to a plane that would have otherwise been too thick, but can also be stand-alone support for a single wall. They are commonly used to provide additional support and strength to a part. Thickness and location are essential to rib design.
First, the base surface where the rib has to be created is extracted using the Extract command. A positioned sketch is created and the profile for the rib is drawn.
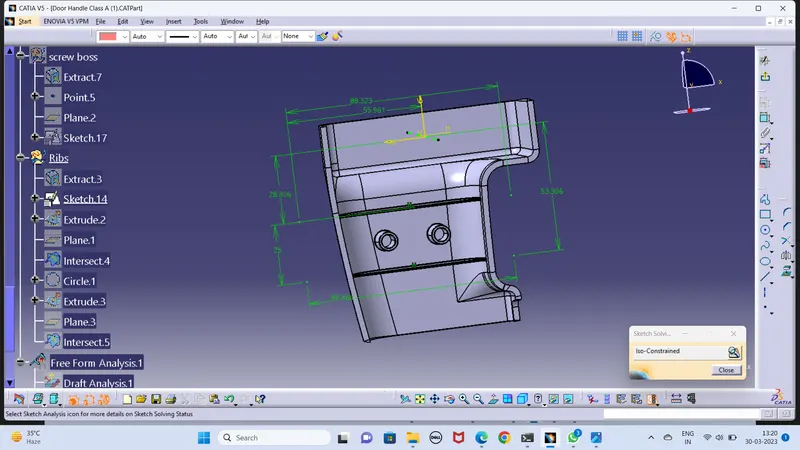
Next, the profile is extruded, to find the height,h=Wall thickness * 5
=2.5*5
= 12.5 mm
Therefore, the height is 12.5 mm
The extruded surface is thickened,
Thickness,w=0.4*t
=0.4 2.5
=1mm
Therefore, the thickness of the rib is 1 mm
The draft is applied to the sides of the ribs. As per the design rule, the ideal draft angle is 0.5 deg
Then fillet is applied to the faces of the rib. As per the design rule, the fillet can be 0.25 mm.
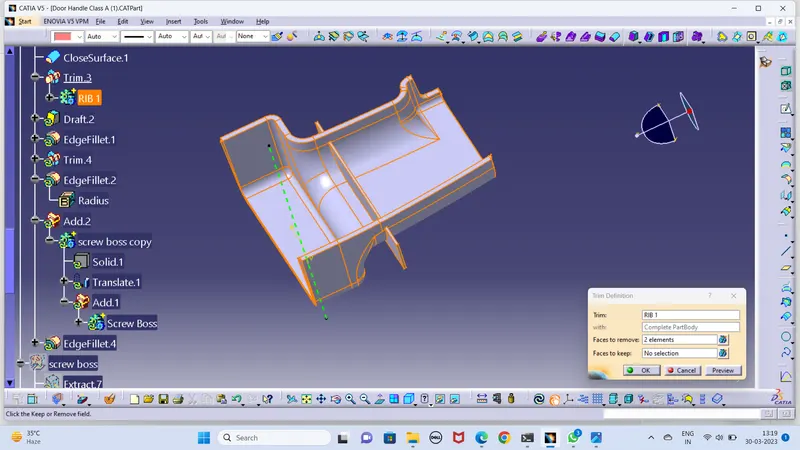
distace btween both ribs os 25
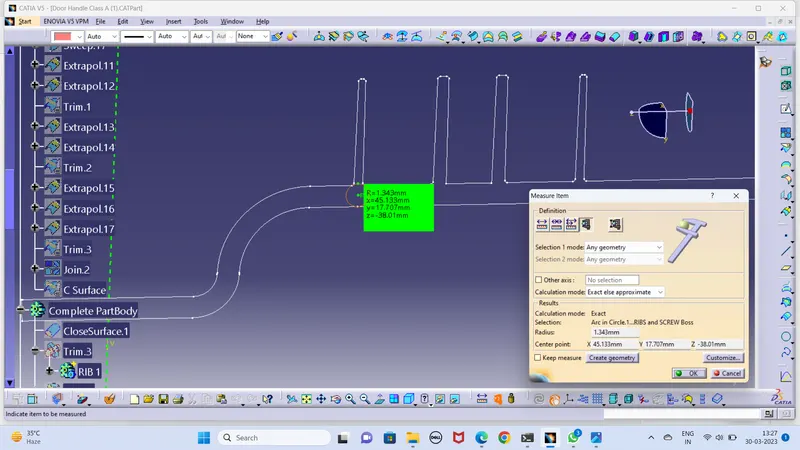
Now, we have to check for the Rib root thickness.
To check for the Rib root thickness, We have to take an Intersection with the XY plane and the Coin holder component. Once we get to the intersection we have to create a tri-tangent circle at the rib area and measure it. The value must be within 30% greater of the wall thickness
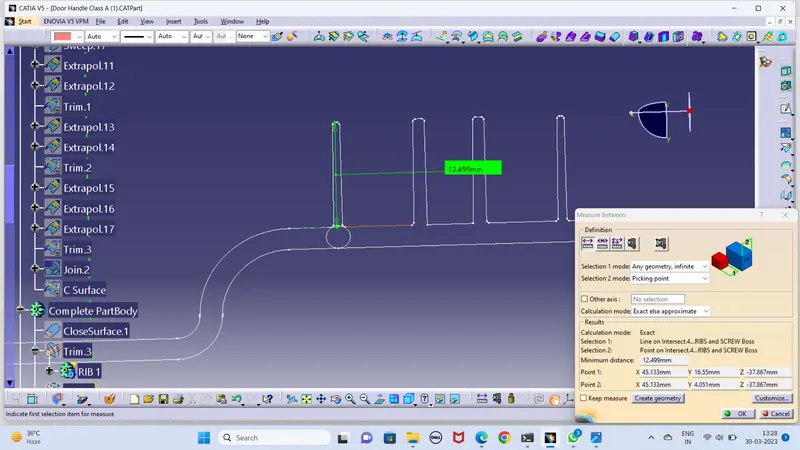
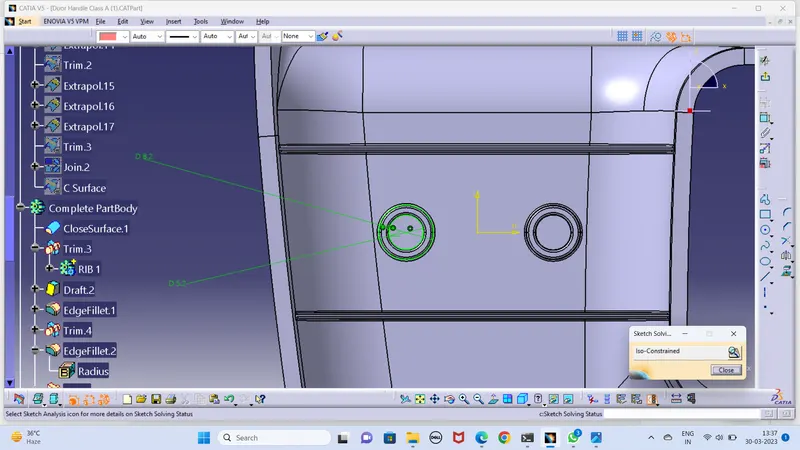
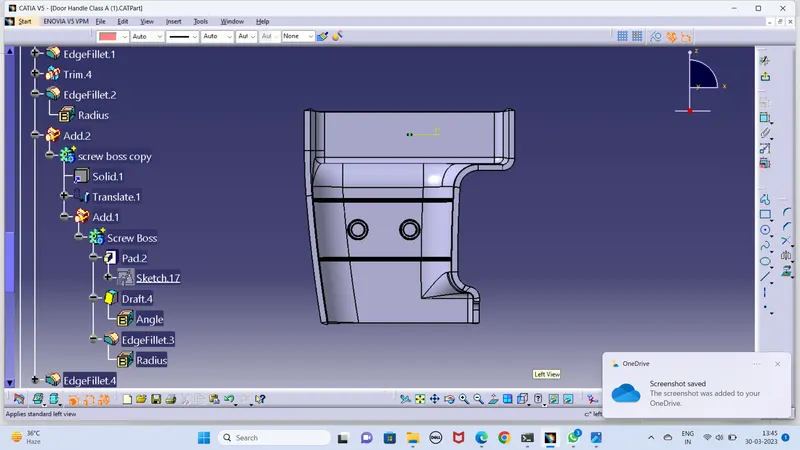
Creating Screw boss
first extract surface taken point and plane now create a sketch extrude it 3:1 Ratio heghts
Next, the draft is given to the boss. As per the design rule, the draft given for screw boss is 0.5 deg.
screw boss features are commonly found in injection molding designs. They are used to aid in the assembly of molded parts by providing a channel for a screw. Their primary use is to strengthen holes or slots in the surface present in the part model.
Design rules consider while creating a screw boss
• Thickness
• Draft
• optional radii
• Boss gussets
• Type of ejection
The construction process of creating the screw boss is explained below:
For thickness, the design rule is as follows,
Thickness,w=0.6*T
=0.6*2.5
=1.5 mm
Therefore, the thickness of the boss can be 1.5 mm per side.
In this case, we have considered the size of the screw boss as M06.
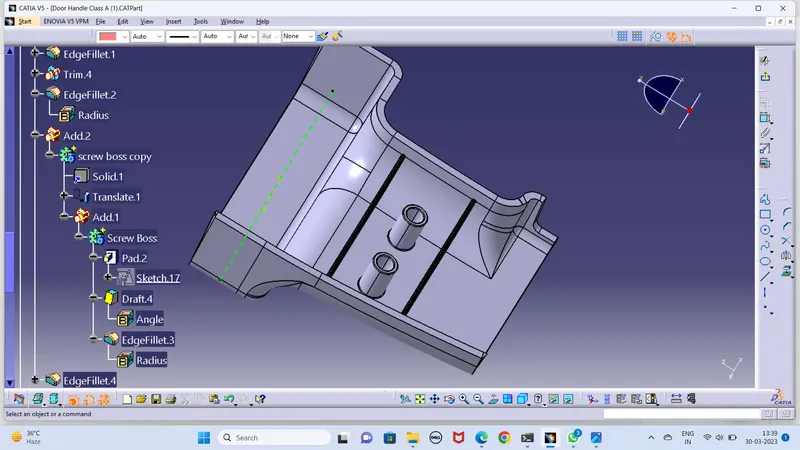
Views
Isometric view
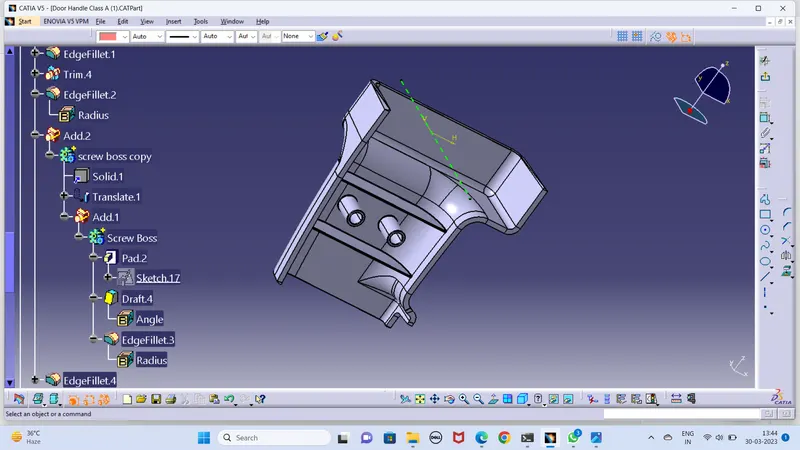
front view
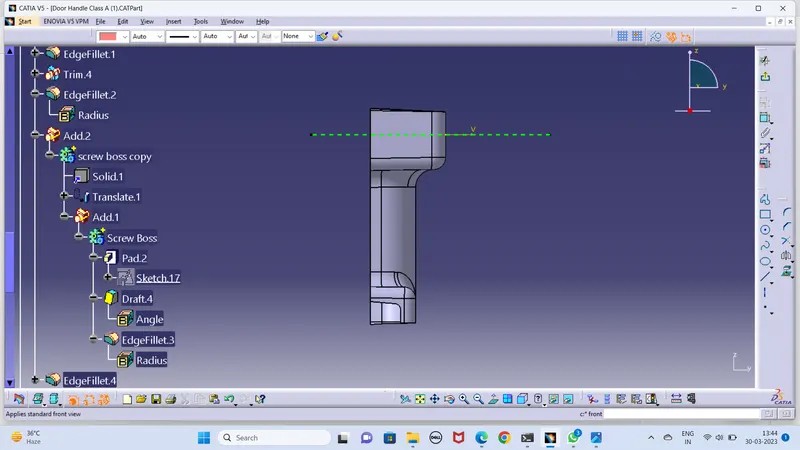
side view
top view