Week 8 - Challenge 2 - Base Bracket Design
OBJECTIVE:
Creating the Base Bracket Plastic component through the given Class-A surface.
Class A surface:
It is the visible aesthetic surface that has curvature and tangency alignment to the ideal aesthetical reflection quality of any automotive component. Class A
surface refers to those surfaces which are visible It is a requirement where aesthetics has a significant contribution.
Class B surface:
It is a surface that is offset below a certain thickness from the class A surface. All the features of the product are to be performed on the class B surface with
respect to the class A surface
Class C surface:
class c surface is the surface that is used to join both Class A and Class B. This surface connects both A and B surfaces along the Tooling Axis. It contains the
draft as per the design. It is basically the thickened surface between both A and B surface
First ensure the class-A surface is properly joined and has no discontinuity on it. For this we can use boundary command or join command.
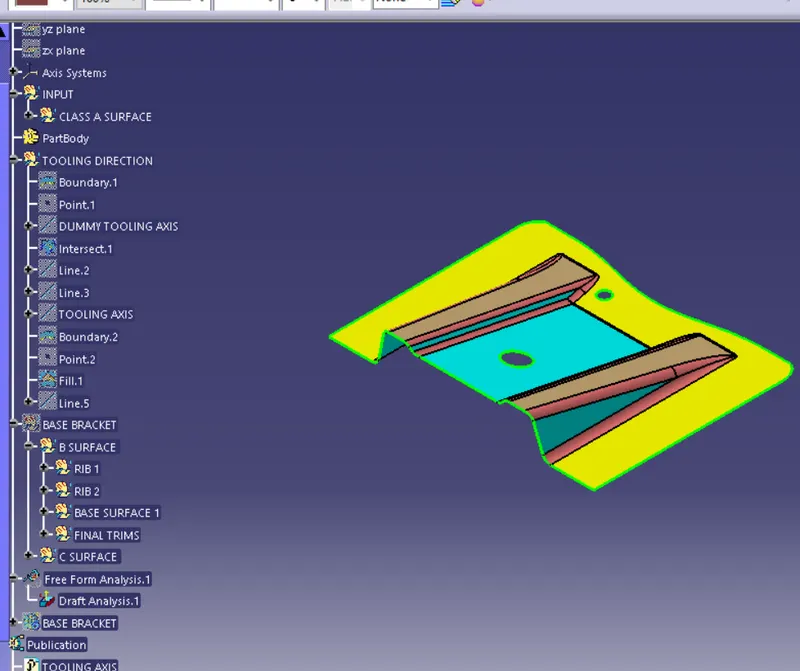
Analysis the model manually or visually to see which direction is most suitable for tooling axis.
Now we need to create the tooling axis for the base bracket model. Visually check which direction is better for creating tooling axis. First create a dummy
tooling axis in Z direction.
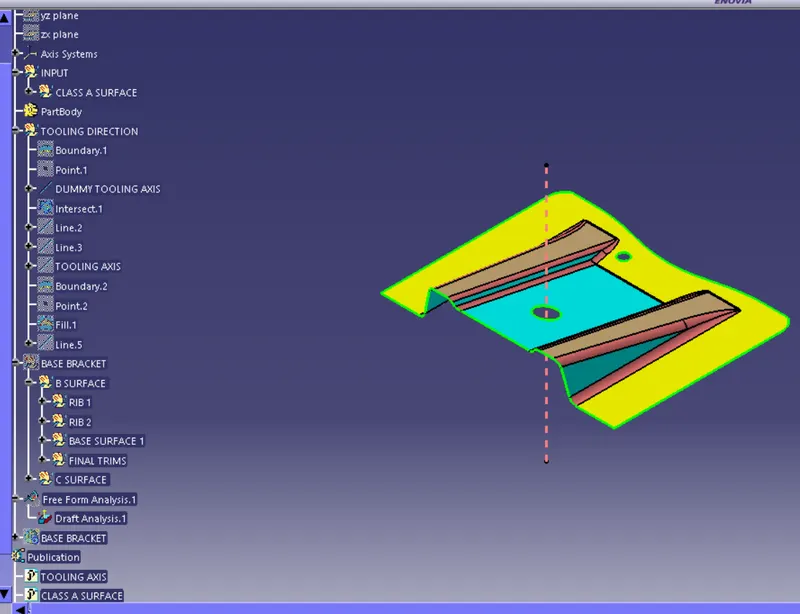
above line 1 is dummy tool axis.
now we shall create Axis system with help of point.
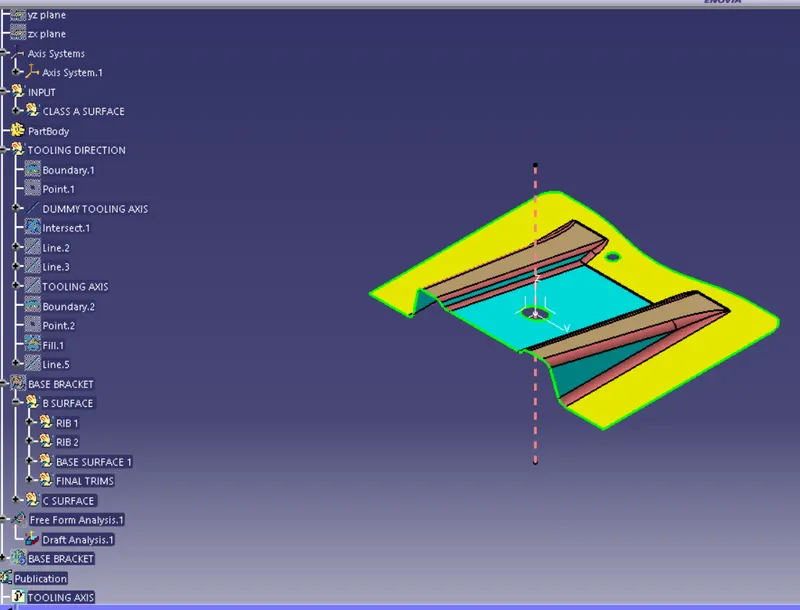
generate intersection line of bracket A surface with the help of Axis system.
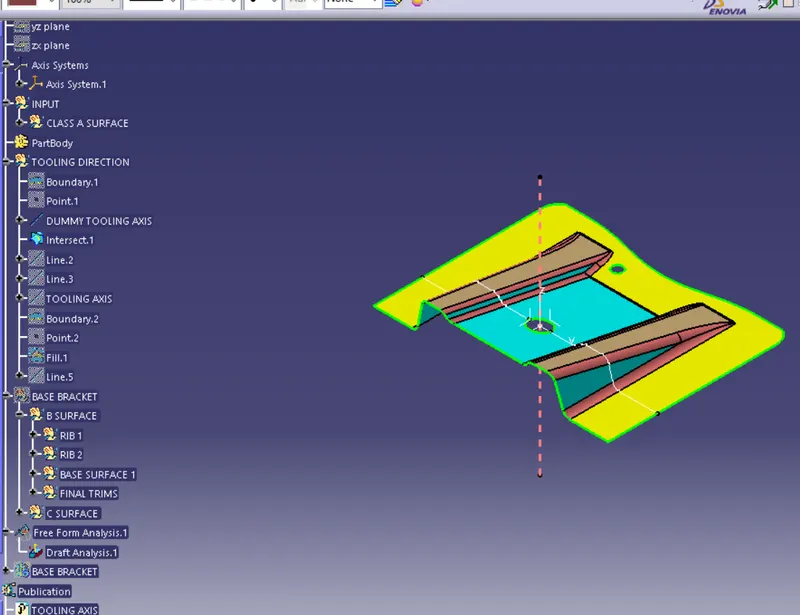
Now create lines through the walls of a base bracket using point to point option with the help of intersect 1 where you think the tooling might create
problem. And using these 2 lines create a bisecting line from reference point in Z direction. This will form a main tooling axis in Z direction.
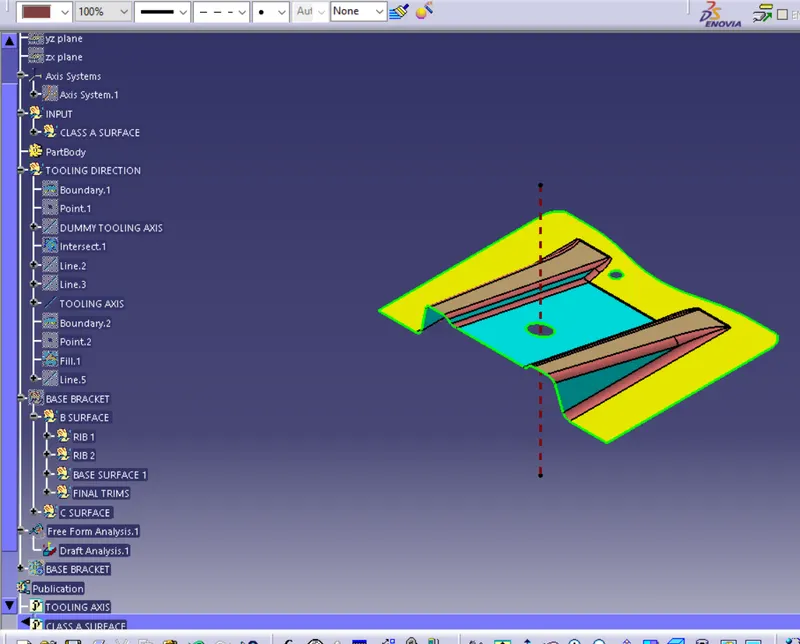
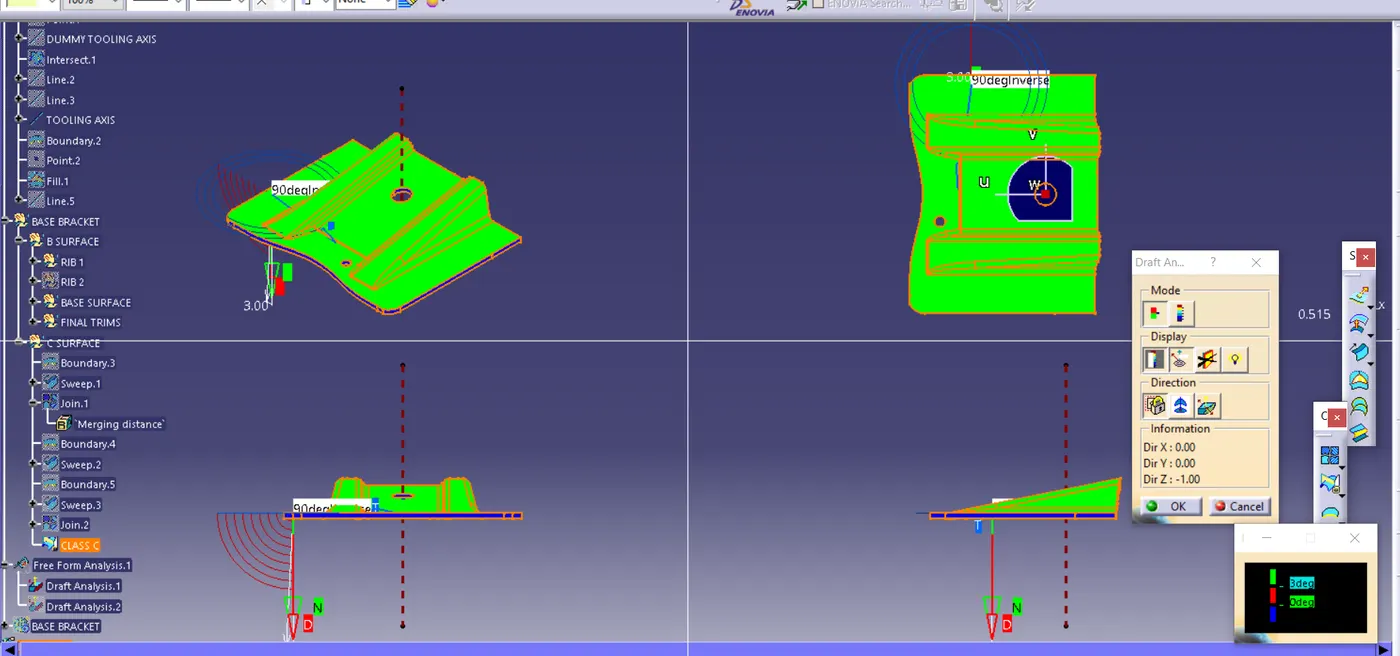
go for draft analysis and use compass for draft direction and select the tooling axis
The green colour in this analysis shows that our model is passed in the analysis and also indicated the drafting angle 2.9 deg and above 2.9 deg.
Red color indicates the angle 0 degree draft angle.
and blue color indicates the negative draft angle.
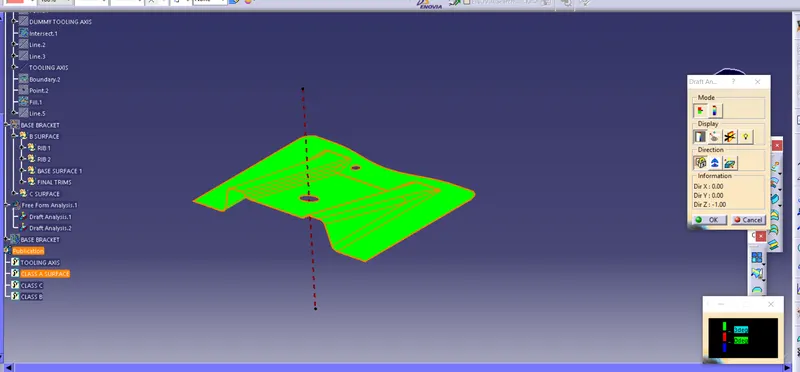
Lock the surface and analysis the running point
After that we have to create class B surface for that we need to extract the different surfaces of class A then we have to untrim it and then we have to
extrapolate the surface and then using the trim tool we have to trim extrapolated surface to get required design.
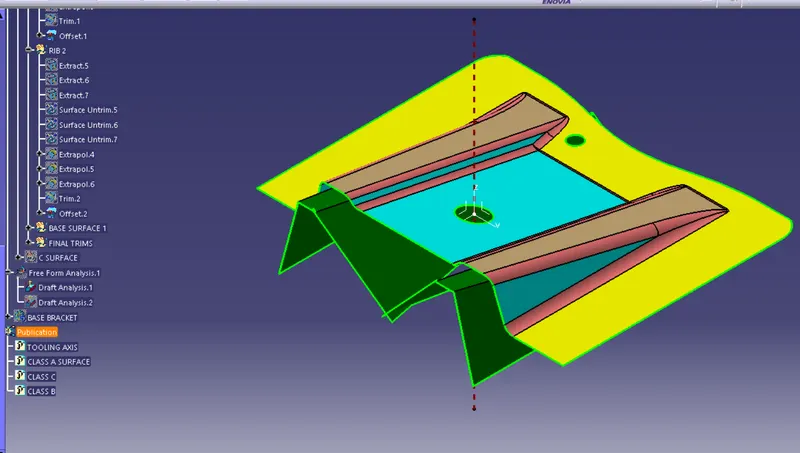
Now offset the obtained trim for the thickness of 2.5mm do the same for both side
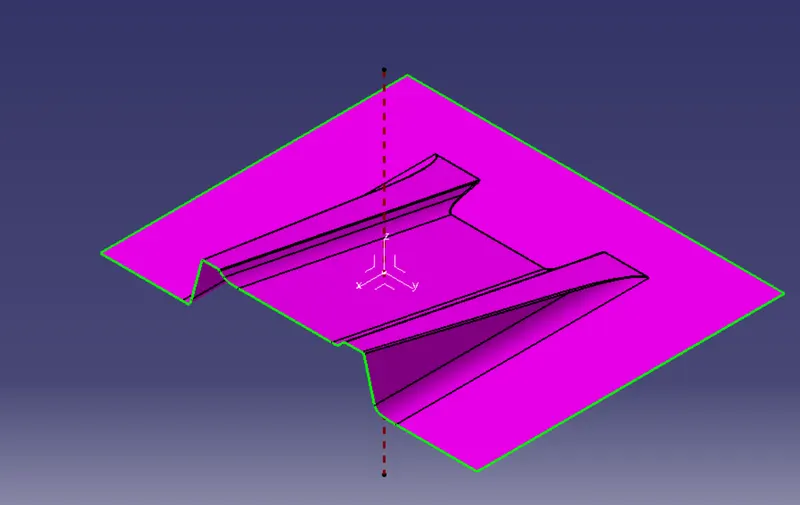
do trim to all sharp edges at final B- Class surface.
Create boundary for class a surface and also for holes and.
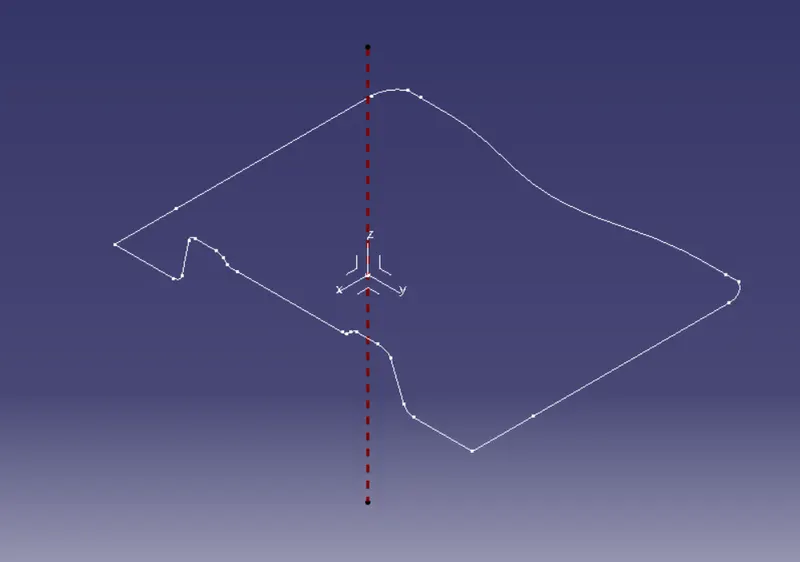
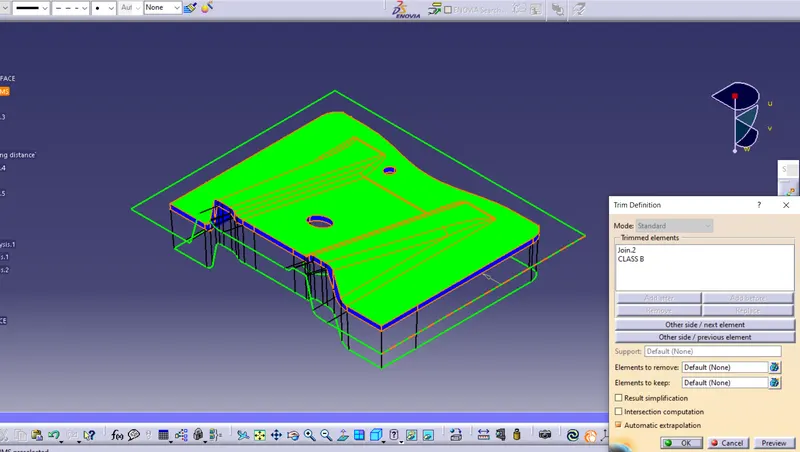
Then join class A and class c surface using join command and Then trim the joined surface with the Class B surface.
Then use close surface boundary to make closed surface solid
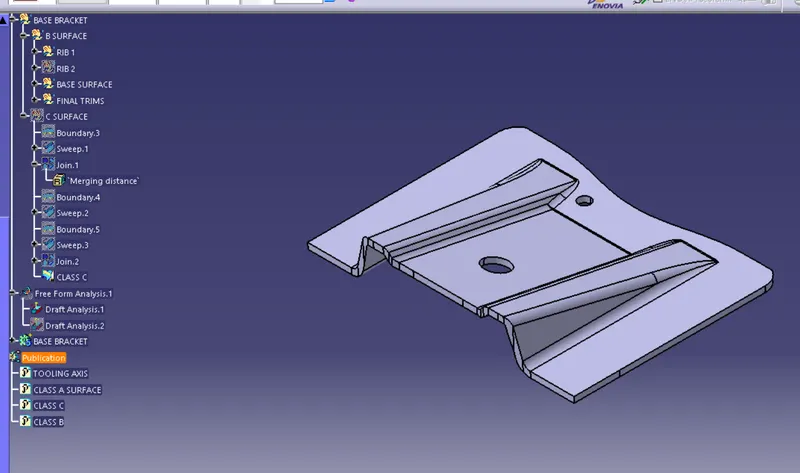
Isometric, Front, SIde, Top View