Week 8 - Challenge 1 - Draft Analysis on a Fan Cover
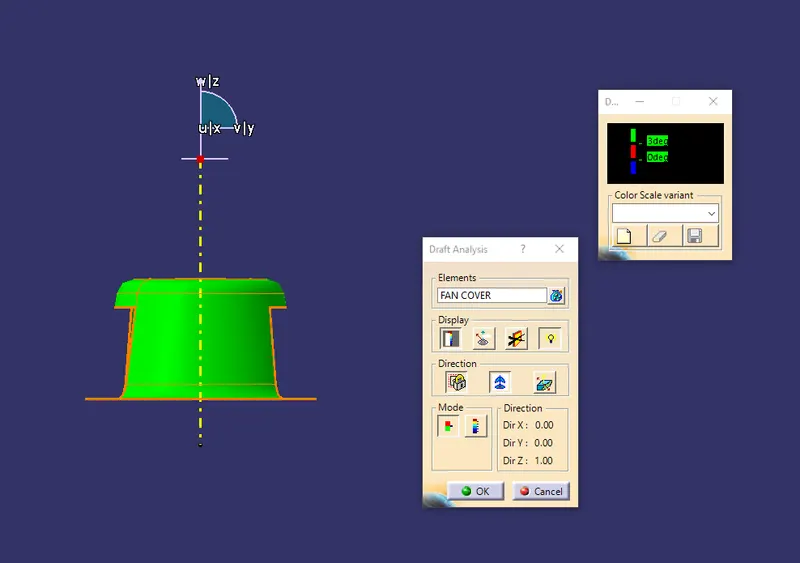
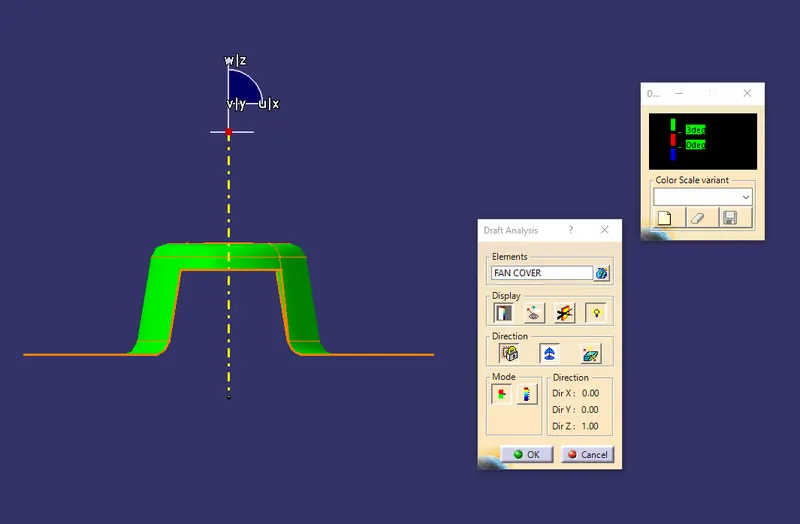
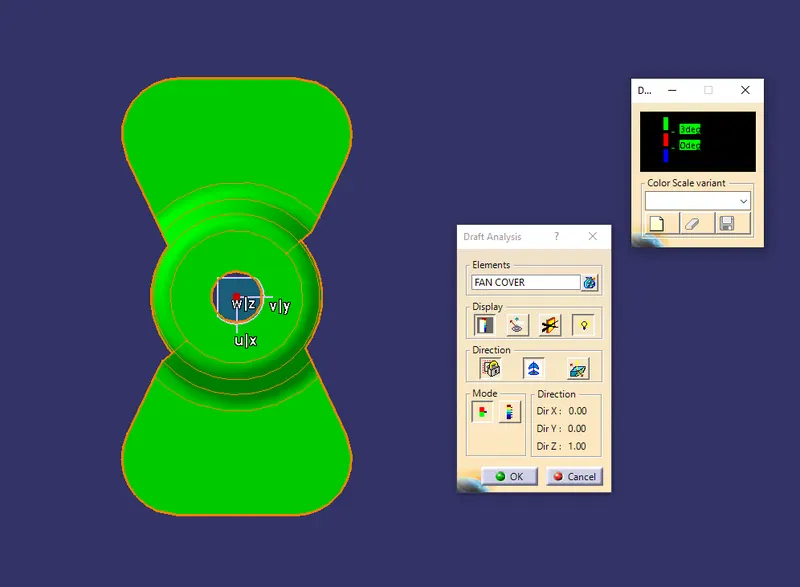
Draft Analysis Creation:-
Introduction
Draft analysis is done after completing the design before starting the production. For plastic parts easy to eject from mold, to reach high productivity the draft angle is an important role in this production. so we did the draft analysis after completing the design. In this draft analysis, we check whether the draft angle for all the surfaces is suitable for production or not.
Tooling Axis:-
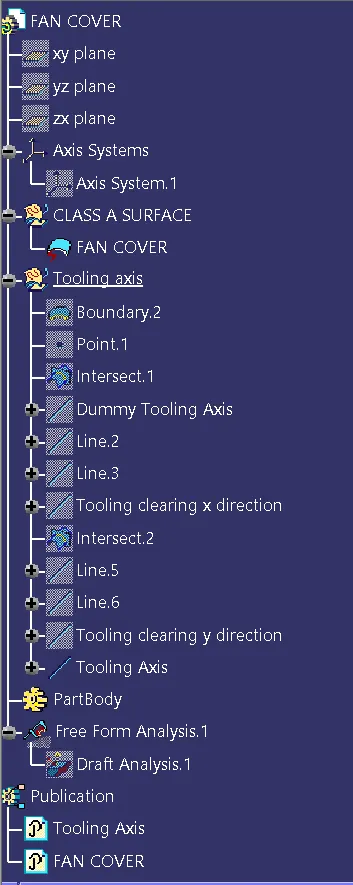
First, we confirm the tooling axis whether the tool opens upside down or side opening along the part. After that, we create the tooling axis in part. For tooling axis intersection points we found out. So first we check the given class A surface is fully closed, any other open is there.
Intersection curve created along the X-direction. In that intersection, the curve selects the line which intersects the x Direction. Draw a separate line parallel to that line. After that center point is created. Now draw the line using the option bisecting. For that bisecting line exits two lines are selected and the center point is selected for travel through select the required direction & press ok. Rename that line as tooling clearing axis x-direction.
What we do for the X direction will do the same for the Y direction. In that bisecting line rename it Tooling clearing axis Y direction.
BY that two lines create another bisecting line. That is the tooling axis rename the line as Tooling Axis.
Draft Analysis:-
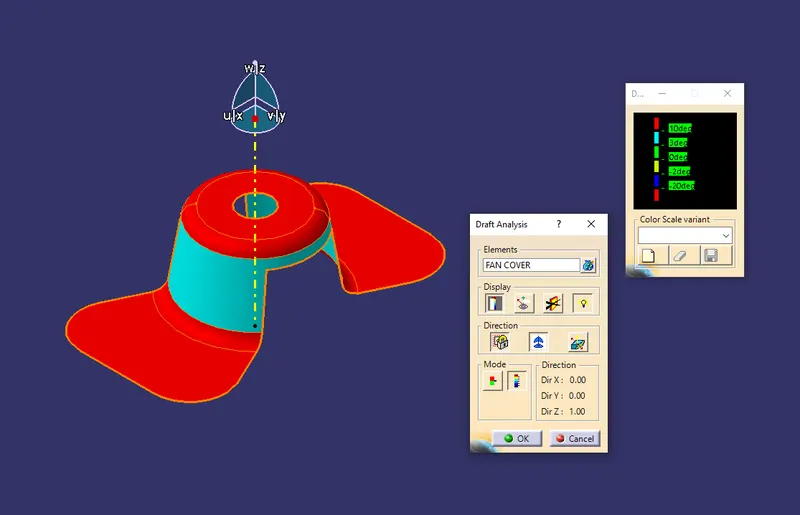
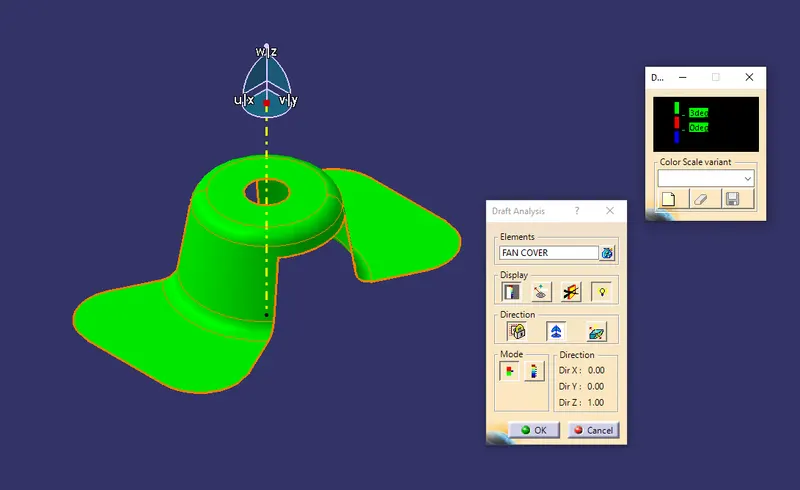
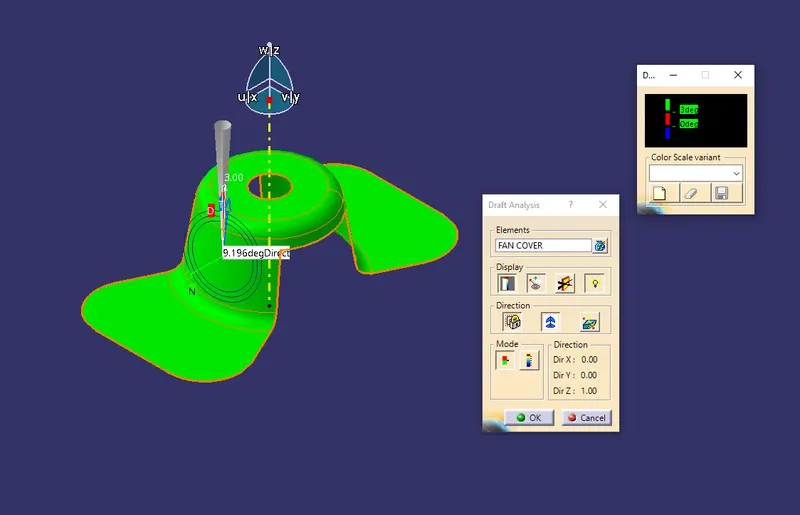
For that Go to insert select analysis in that select feature draft analysis. In the draft, analysis select Use the compass For current draft direction option. Drag the compass and put it on the tooling axis. Now click on the lock option to lock the compass. Now using the mode's set draft angle it shows the color variation on the surface. By that color difference, we found the draft angle difference in the surface.