Week 8 - Challenge 1 - Draft Analysis on a Fan Cover
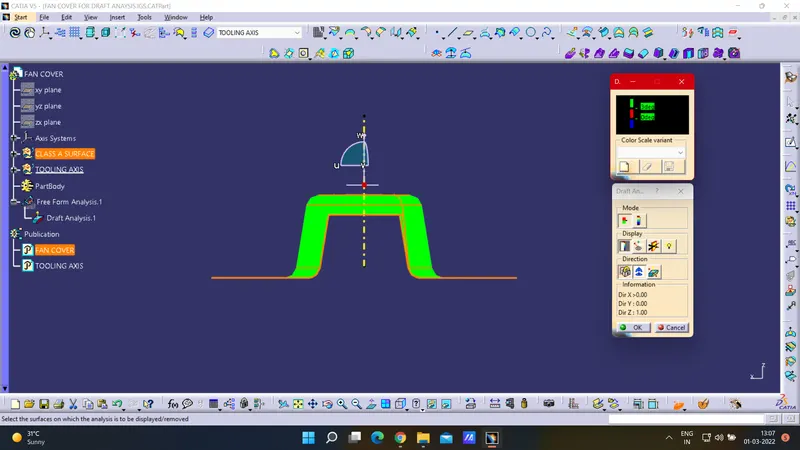
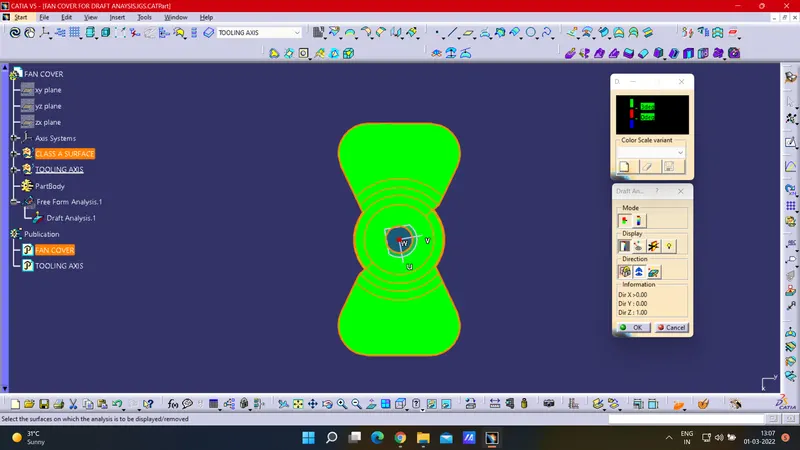
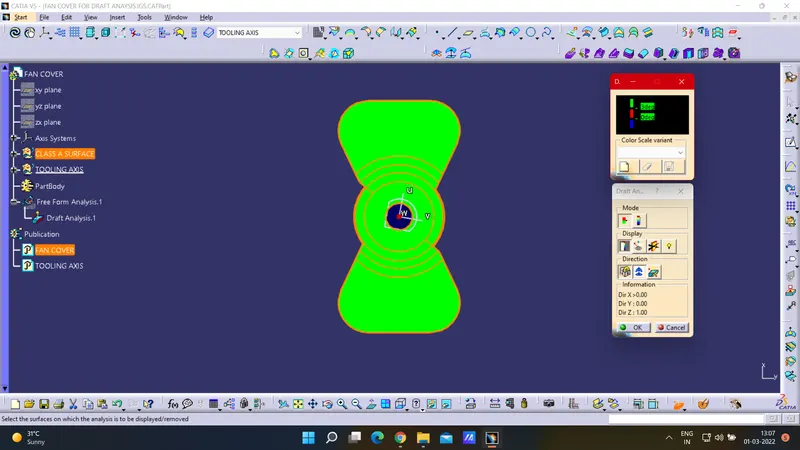
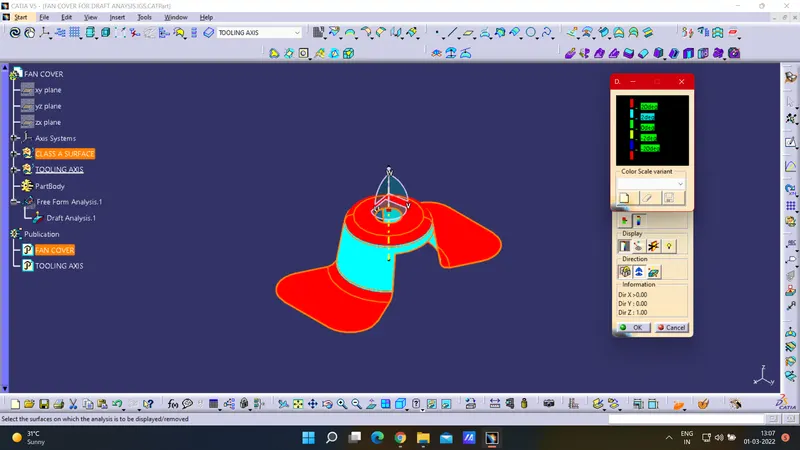
Screenshots of the Draft analysis report:
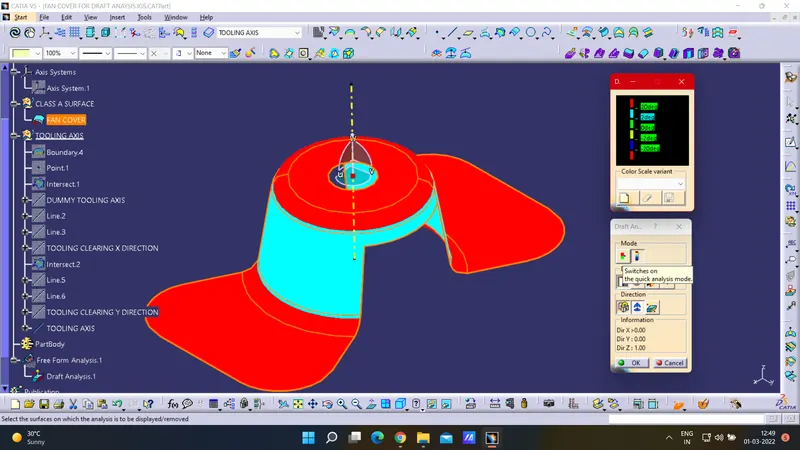
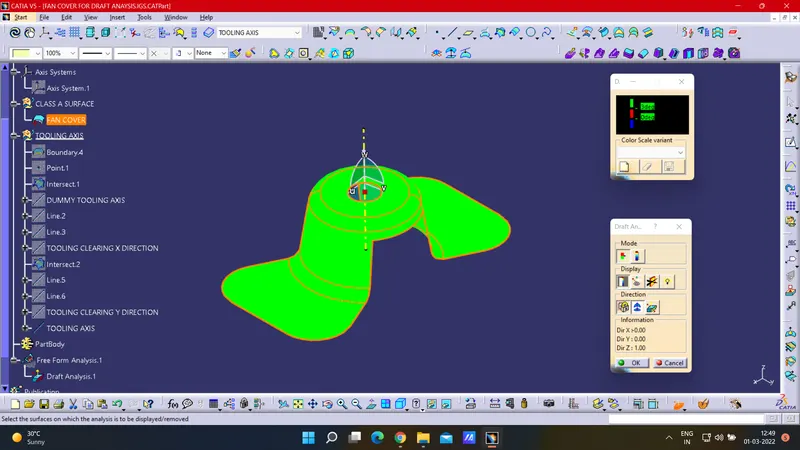
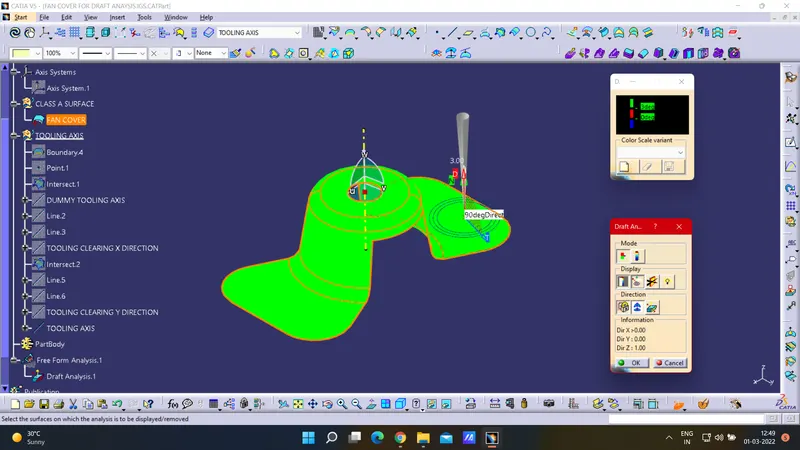
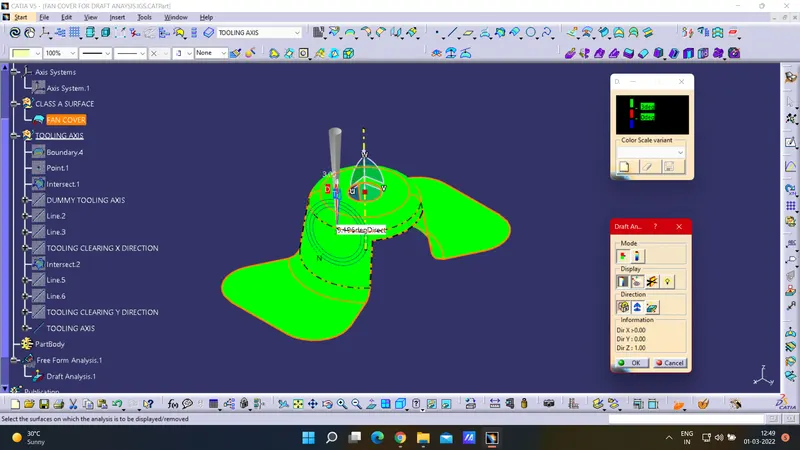
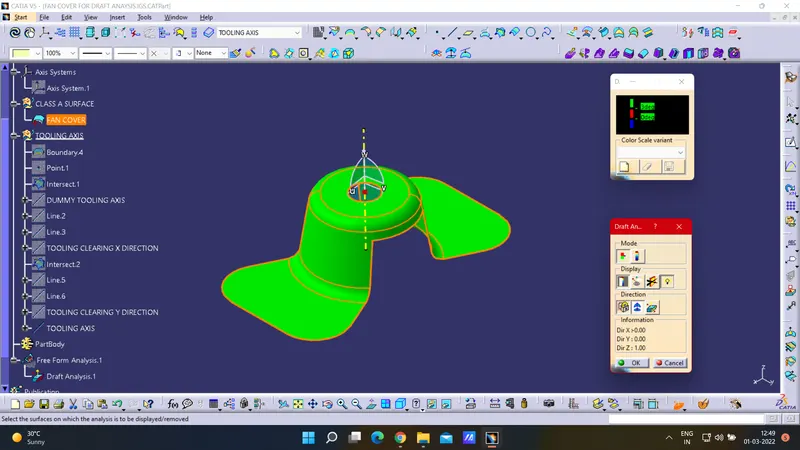
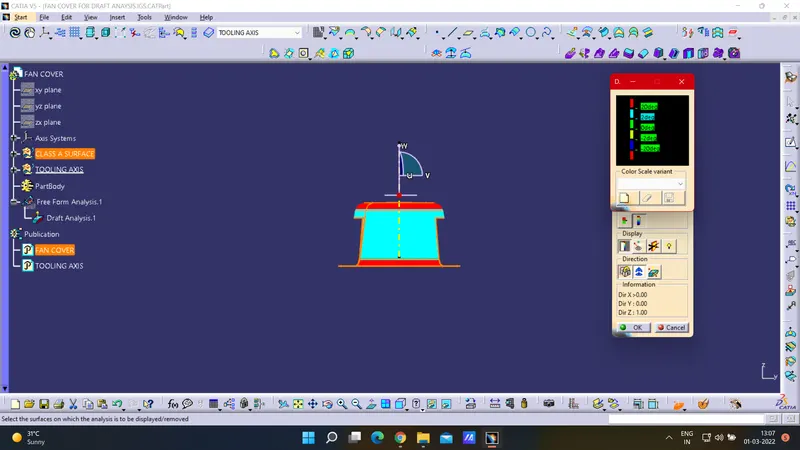
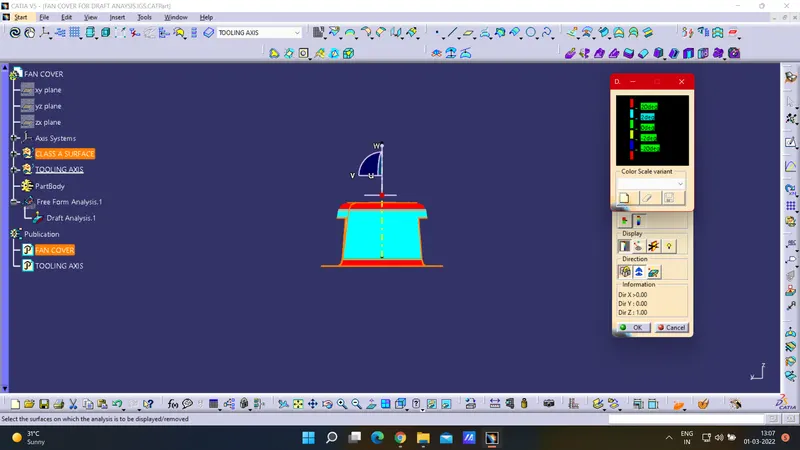
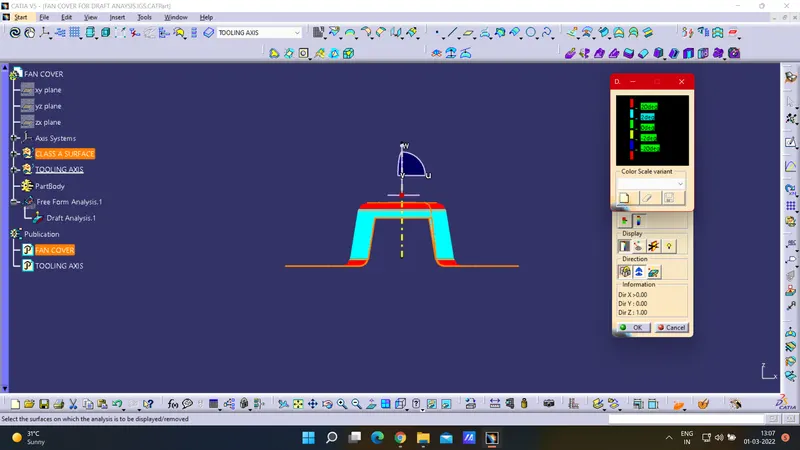
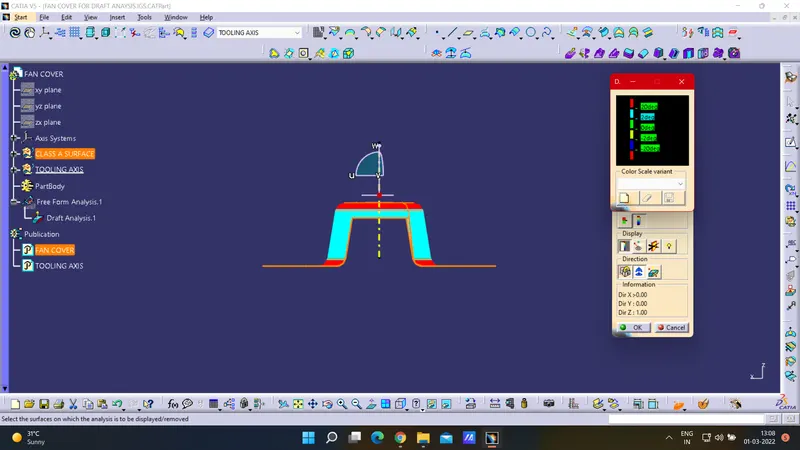
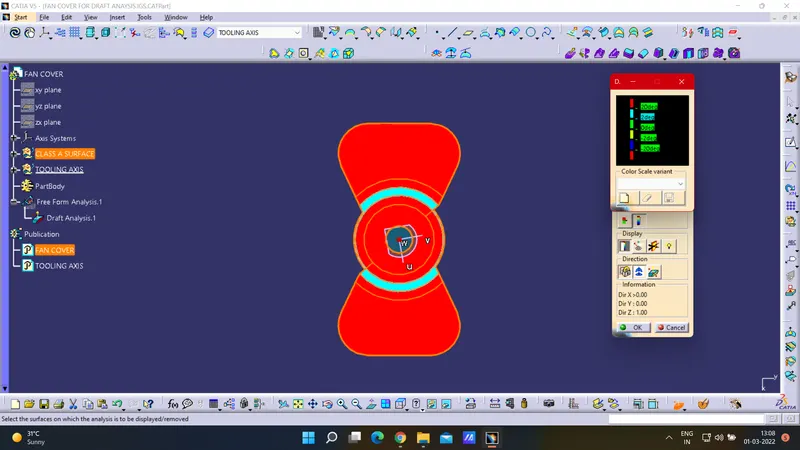
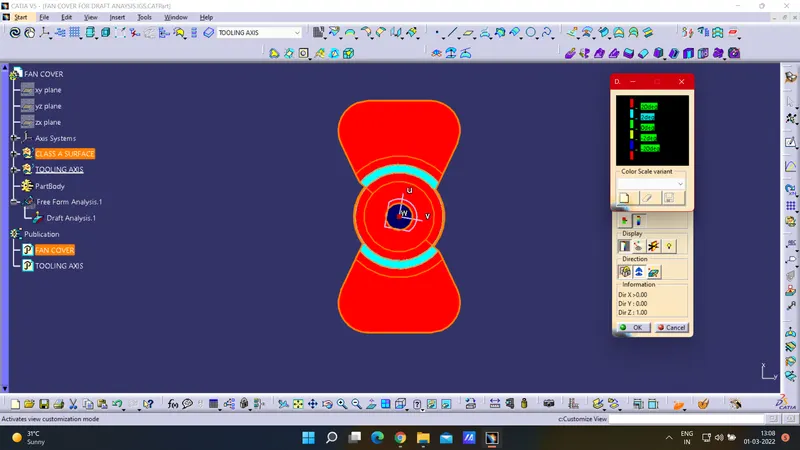
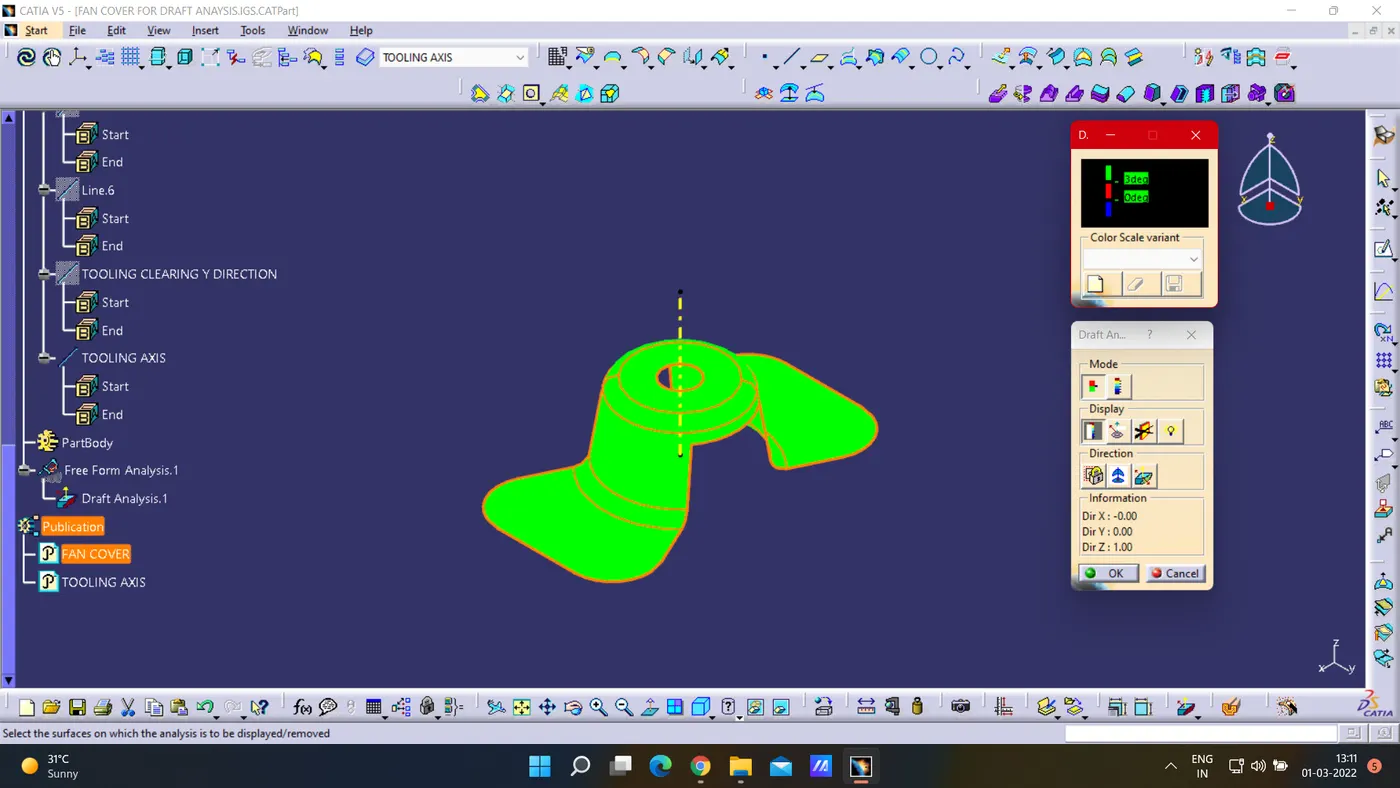
Screenshots of the model with the proper color code of the draft angle in various orientations
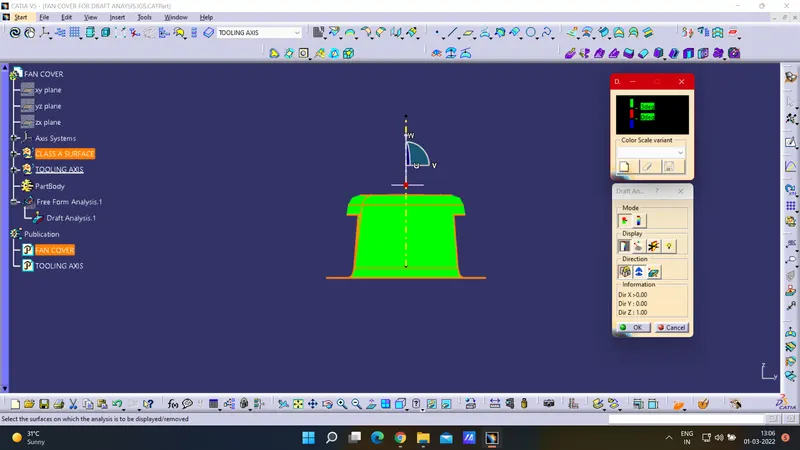
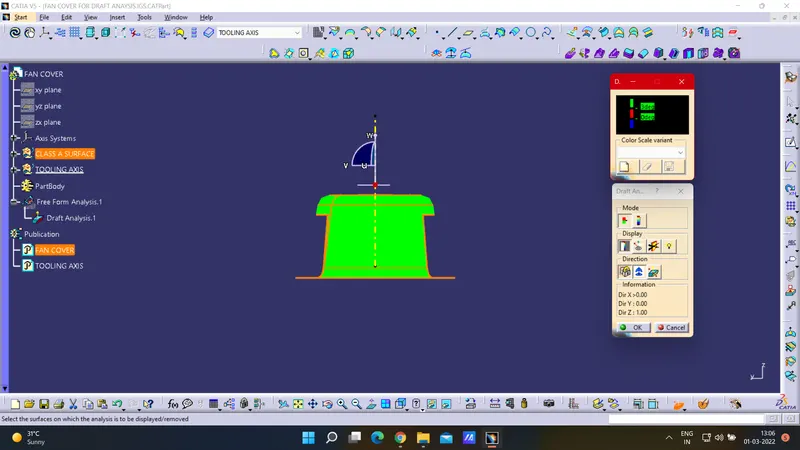
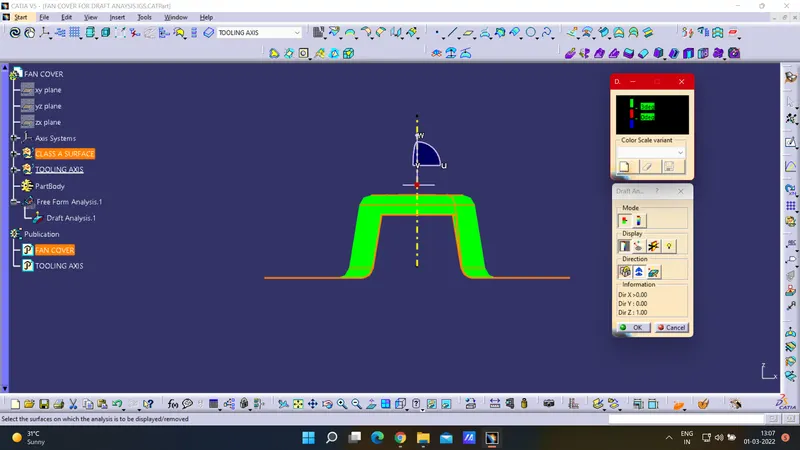
Expanded Tree:
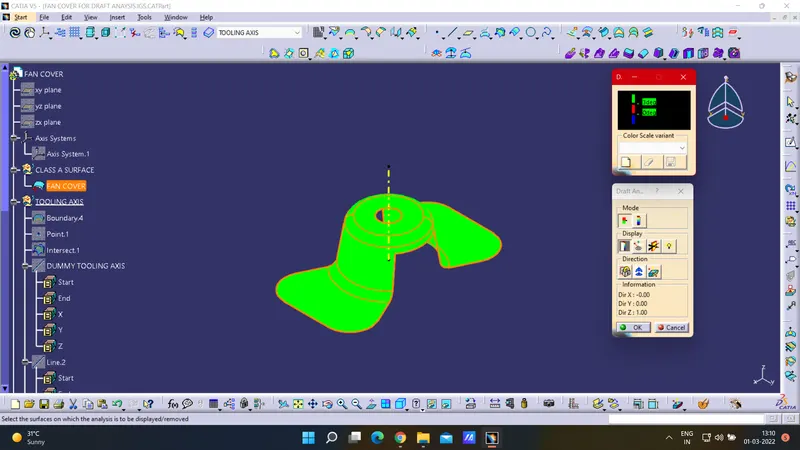
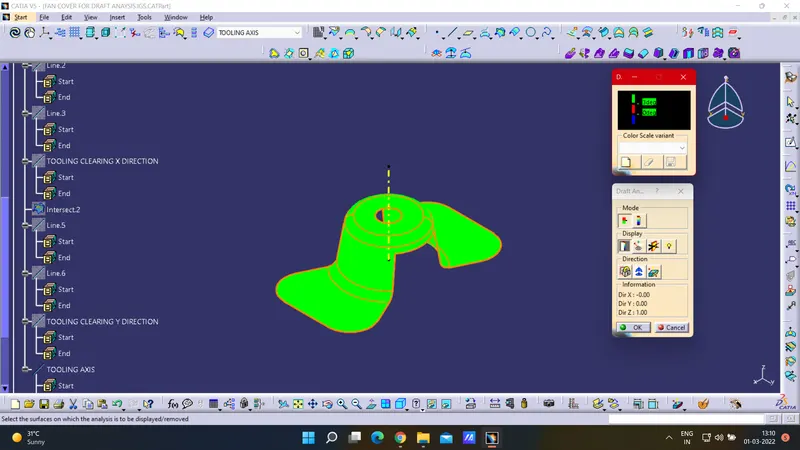
REPORT:
As we know, no part can be ejected from the tool if having 90-degree profile. So, we provide some draft angles to make it easier to come out from the tool.
Here I have done the draft analysis of the class-A surface in 3 steps:
Step-1
First of all, I started the draft analysis by checking the continuity of class-A, here checking if there is any gap or not.
Checking all the boundaries, for better view disassemble command is used to divide the boundary outer and inner.
Step-2
Now, for the draft analysis, we need to have a tooling direction so we can perform the draft analysis without any errors.
Checking the Class A surface we need to decide the tooling direction. so in here, I decided to go with Z-direction as it will not create any errors as x and y will give it.
So, an axis system is inserted to get the Z direction. And a dummy axis is created to make it easier for draft analysis.
Now, we will draw the extra line with the help of the points of the parallel line of the class-A surface.
Bisecting Line:
Here, We will select the two extra lines and the axis point with the help of two lines and a point we will create a bisecting line along the z-direction. Again we will repeat this step to create one more bisection line for the ZX direction.
Now, After creating both the bisecting lines. we will hide all except the bisecting lines. And again we will create a common bisecting line.
We will select both the ZX-ZY bisecting lines and the point and create a common bisecting line along Z-direction.
Now, The common bisecting line is our tooling axis for the draft analysis.
Step-3
Now, We will unhide the class-A surface and the tooling axis.
We will change the appearance of the class-A surface to material.
Now, With the Feature draft analysis, we will perform the draft analysis.
After selecting quick draft analysis mode in feature draft analysis. we will drag the compass to the tooling axis facing upward.
After that, the compass will be locked.
Now, we will change the angle as given in our design.
And we will perform the draft analysis. And if the part is full green then the part is ready for tooling.
And We will use the publication command for publishing Class-A surface and tooling axis.