Week 8 - Challenge 1 - Draft Analysis on a Fan Cover
Draft Analysis on a Fan Cover
Objective :-
The objective of the project is to carry out a draft analysis by creating the tooling direction for the given class- A surface.
Introduction :-
This task shows how to analyse the draft angle on a surface. The raft analysis command enables you too detect if the part you drafted will be easily removed.
This type of analysis is performed based on color ranges identifying zones on the analyzed element where the deviation from any point, corresponds to the specified value.
Procedure :-
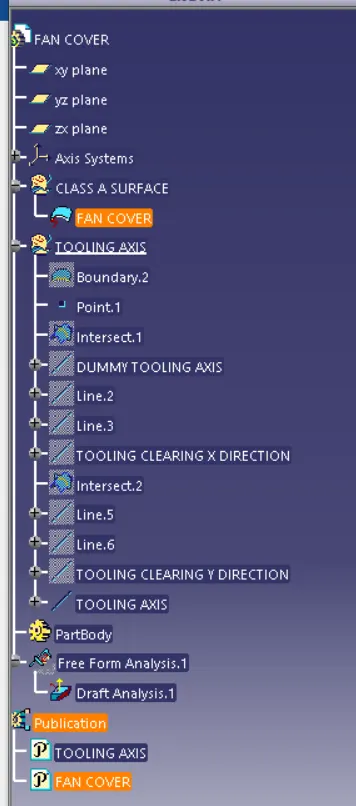
Creating Tooling axis
- First, Checked for irregularities by using join, Boundary and disassemble option.
- By using the boundary option the boundary of the hole was created and the enter point was marked.
- Then a dummy tooling axis was created with te center point inn the z- direction.
- By using the axis system the intersection curves were created over the xz plane and then the sid were extended by using point to point line then by using bisecting lines the tooling axis in X direction was created.
- Then by using zy plane the intersection curves were created as shown below and the same procedure was followed for creating the tooling axis in the Y direction.
- Bisecting lines were used to get the exact medium from the two sides so that maximum positive draft angle can be achieved.
- Finally by using the bisecting line option the tooling axis were created by selecting the tooling axis X direction axis.
Draft Analysis
1.Select a surface
a. Click the Draft Analysis icon: The Draft analysis dialogue box is displayed . It gives information on the display (color scale), the draft direction and the direction values.
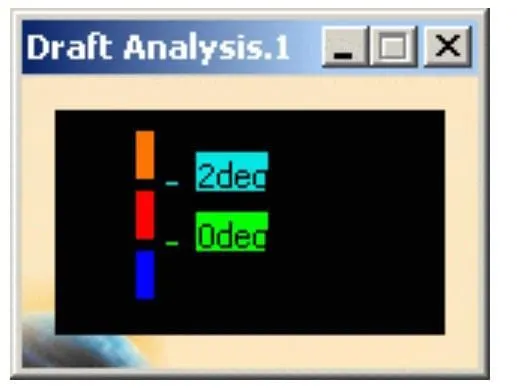
The Draft Analysis.1 dialog box showing the color scale and identifying the maximum and minimum values for the analysis is displayed too.
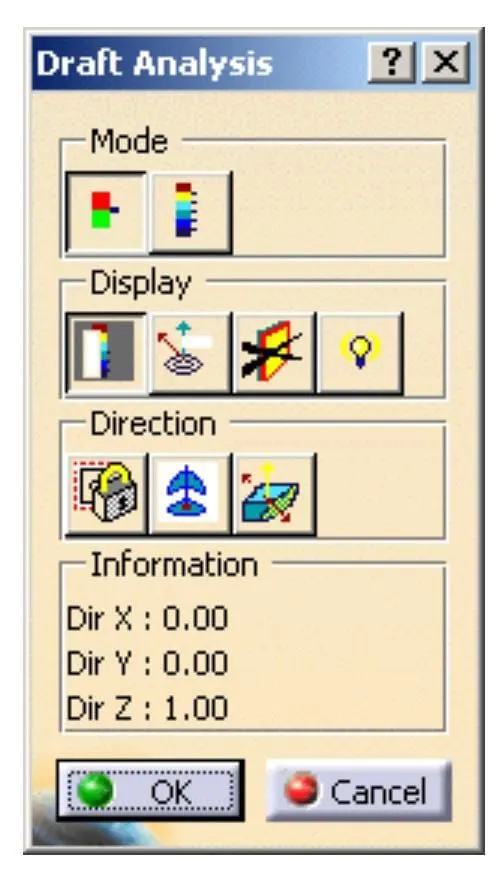
Mode option
The mode option lets you choose between a quick and a full analysis mode. These two modes are completely independent.
The default mode is the quick mode. It simplifies the analysis in that it displays only three color ranges.
- Quick mode
- Full mode
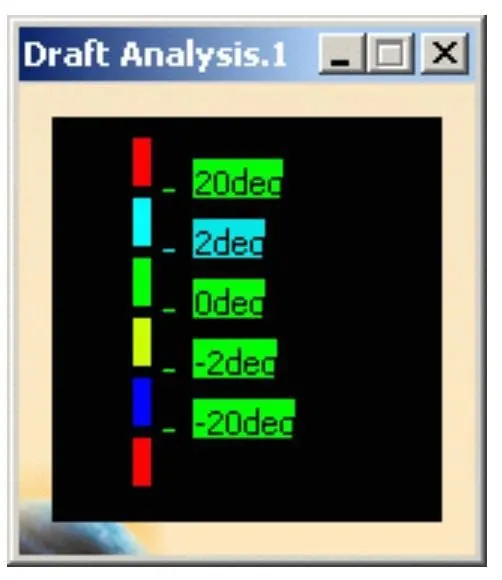
Double-click on the value in the color scale to display the Value Edition dialog box.
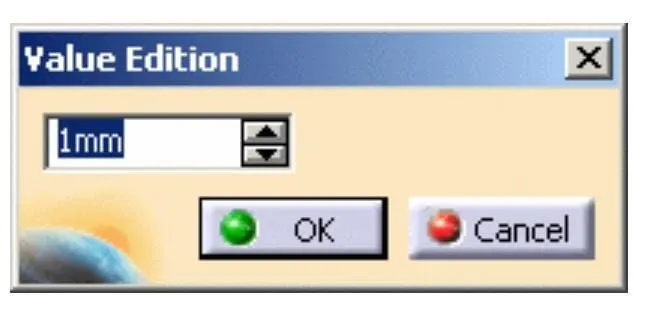
Enter a new value (negative values are allowed) to redefine the color scale, or use the slider to position the distance value within the allowed range, and click OK.
Display option
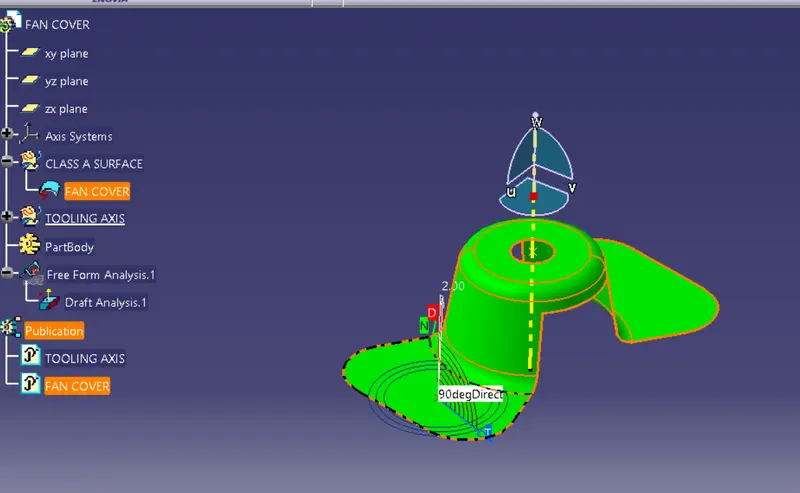
Uncheck the Color Scale checkbox to hide the Draft Analysis. dialog box, this dialog box only appears in edition mode. Activate the On the fly checkbox and move the pointer over the surface. This option enables you to perform a local analysis. Arrows are displayed under the pointer, identifying the normal to the surface at the pointer location (green arrow), the draft direction (red arrow), and the tangent (blue arrow). As you move the pointer over the surface, the display is dynamically updated. Furthermore, circles are displayed indicating the plane tangent to the surface at this point. The displayed value indicates the angle between the draft direction and the tangent to the surface at the current point.
- No highlight representations - To set the display option of highlight effect sources as "on/off". When checked "On" the surfaces are selected but they will not be seen in the specification tree.
- Light effect - Analyse the colors of the analyzed elements react to the light source.
Direction
By default the analysis is locked, meaning it is done according to a specified direction: the compass w axis.
In P1 mode, the default analysis direction is the general document axis-system's z axis.
- Locks or Unlocks the draft direction icon- Select a direction (a line, a plane or planar face which normal is used), or use the compass manipulators, when available.
- Compass - To define the new current draft direction.
- Inverse - To automatically reverse the draft direction. When several elements are selected for analysis, the draft direction is inverted for each element when the button is clicked. In case of an obviously inconsistent result, do not forget to invert locally the normal direction via the Inverse button. The pulling direction defined in a Part Design's Draft is not taken into account. In case of inconsistency with the draft analysis orientation, click Inverse.
ISOMETRIC VIEW
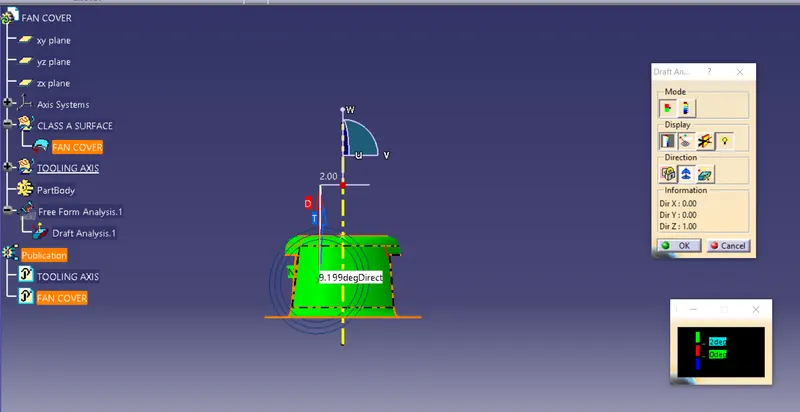
FRONT VIEW
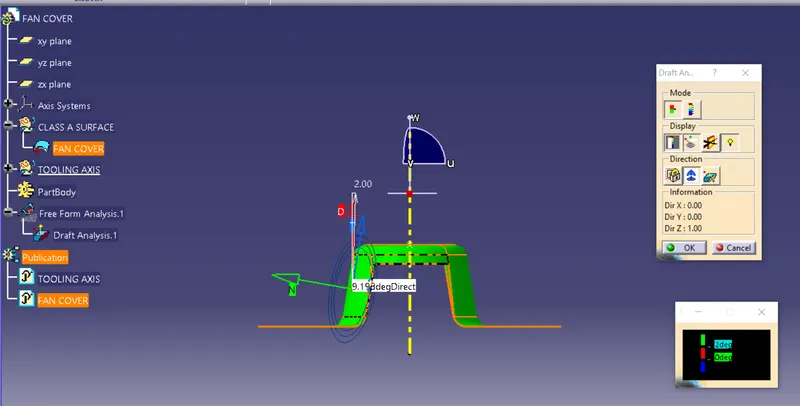
SIDE VIEW
TOP VIEW
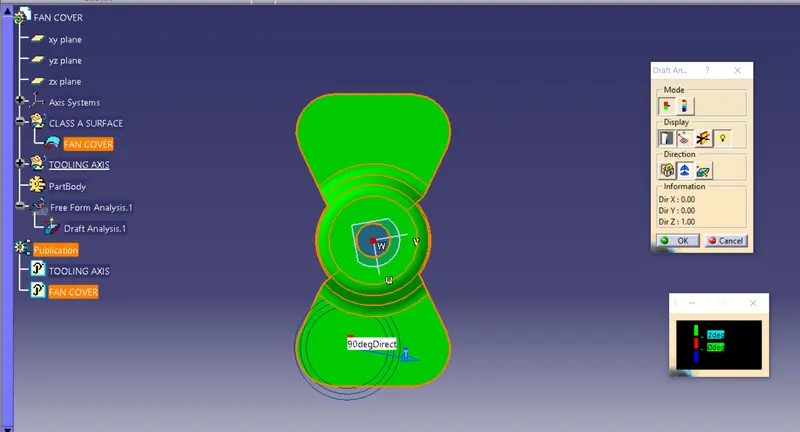
DRAFT ANALYSIS
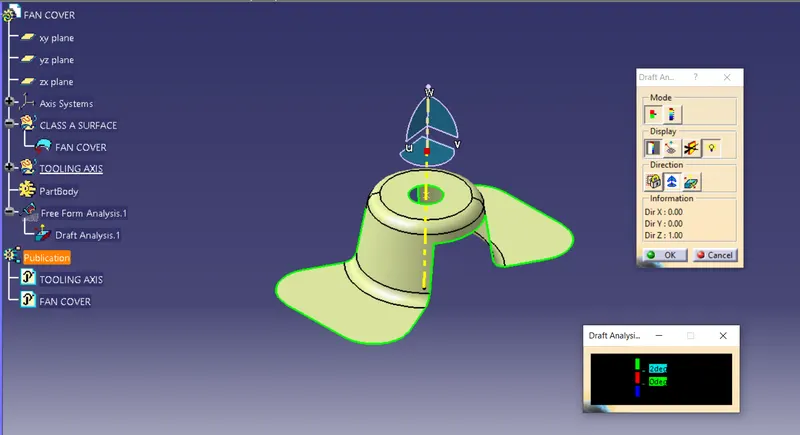
COLOR SCALE
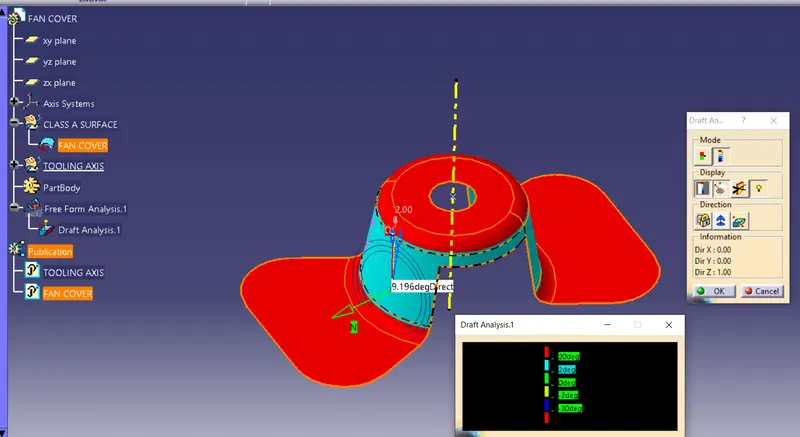
Conclusion :-
The draft analysis for fan cover was carried out by creating the perfect tooling direction and the given class- A surface was ready to move on further operations.