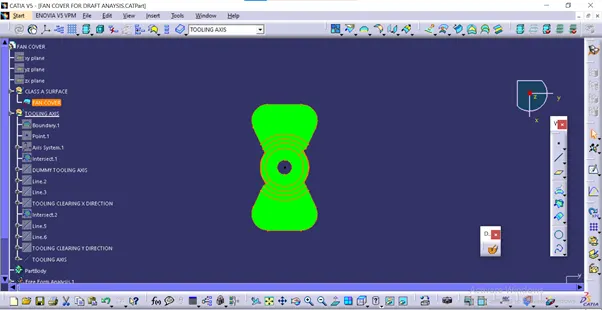
Week 8 - Challenge 1 - Draft Analysis on a Fan Cover
DRAFT ANALYSIS ON A FAN COVER
Objective: Main objective is to perform draft analysis to check if the part has the given draft on its all faces, and to determine the tooling axis.
Some terms to define before proceeding to the analysis are as follows:
Draft: Draft is an angular tapering given at the design stage to every plastic component that has to be manufactured. It is given in the direction of the mould movement. The draft allows the parts to release easily from the mould without creating friction between the surface of component and the core and cavity plates.
When a plastic component cools down inside the mould, the natural tendency of it is to shrink and attach to the core or cavity half. The movement of mould opening causes friction on the walls of the component as well as the core/cavity blocks. This reduces the life of the mould as well as the component itself. The component may also have rough surface finish as well as weak structure due to this. This problem can be solved by giving draft to the component.
Most application require minimum draft angles of around 0.5 to 1 degree, however 3 degree draft angles are widely accepted for cost saving purpose, 7 degree draft angles are given to textured surfaces like instrument panels. Minimum possible draft angles are given to screw bosses, ribs and stiffeners due to their critical nature.
Tooling Axis: Tooling axis is the direction in which the mould open and closes. Part drafts are given along this axis.
Draft Analysis: Draft analysis is a tool in CATIA which identifies the zones which deviates from the specified values of angles along a defined draft direction using colour codes. It highlights the regions of draft using colours. Draft analysis is the first step performed after receiving the class A of the component.
Class-A Surface: In automotive design, a Class A surface is any of a set of freedom surfaces of high efficiency and quality. It is the visible aesthetic surface of any automotive component.
Procedure to be followed:
CLASS-A (INPUT)---------CREATION OF TOOLING AXIS--------DRAFT ANALYSIS
Draft Analysis on Fan Cover:
Step1: Design check on class-A:
- After receiving the class-A surface for the fan cover check for the connectivity of the surfaces on it. Use join operation, boundary operation and disassemble. The check is over if any discontinuities do not arise. Delete the operation after the check.
Step2: Determine the Tooling Axis:
- Create a dummy tooling axis along the best possible direction as per the class A as shown in figure. In this case we have chosen Z axis as dummy as it doesn’t interfere with any slots or holes.
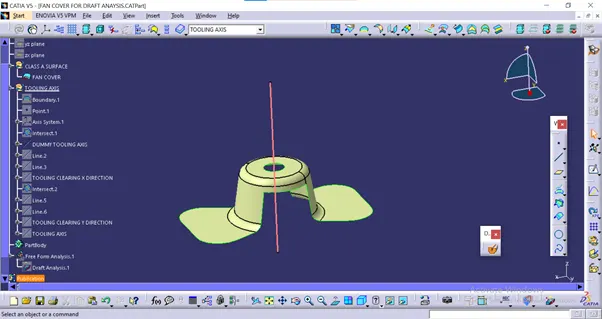
- Create an axis system on this line and suitable point
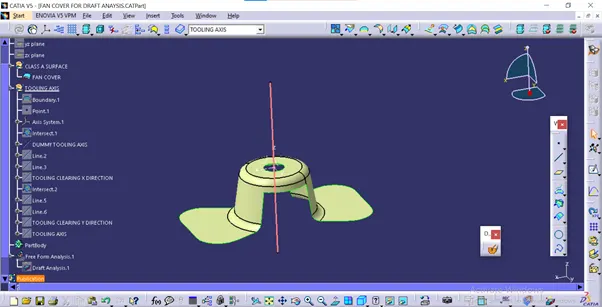
- Create an intersect between the two planes and Class-A surface i.e., the XZ and YZ plane intersection with the fan cover.
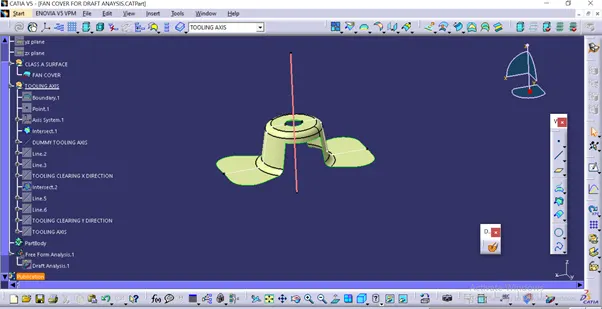
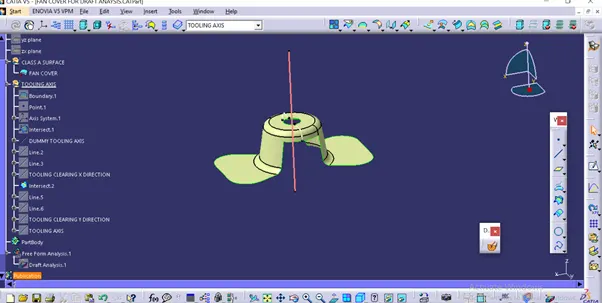
- Create extended lines for the faces which may create problems in terms of draft angles. In this case the lines are created for each intersect.
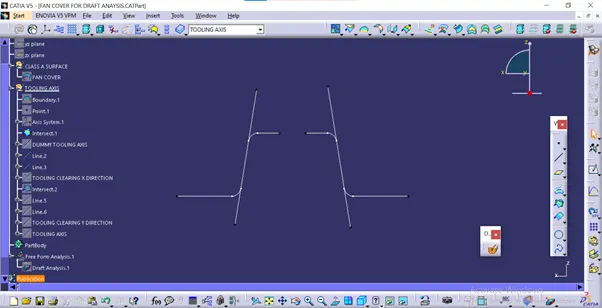
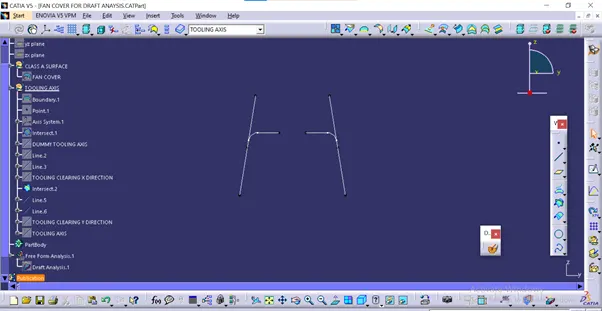
- Create a bisecting line for the extended lines along the center point on both the planes and name it as Tool Clearing X and Tool Clearing Y.
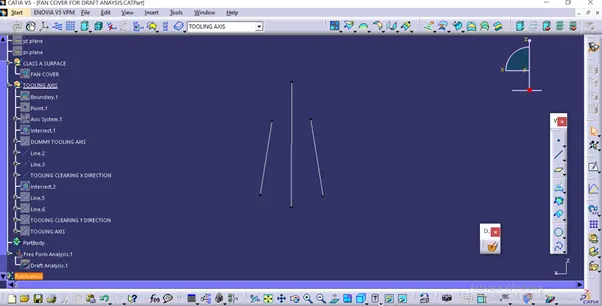
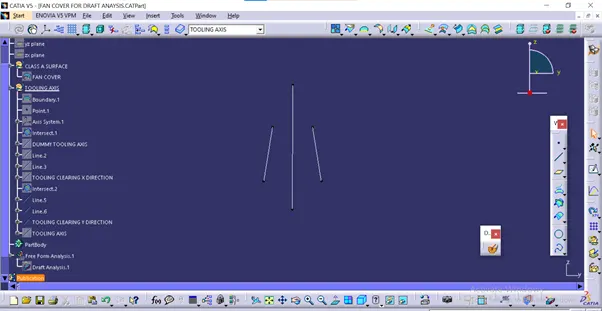
- Create a bisecting lines between tool clearing for X and tool clearing Y along the center point. This is main tooling axis required. Name it as tooling axis and publish it using insert---Publication.
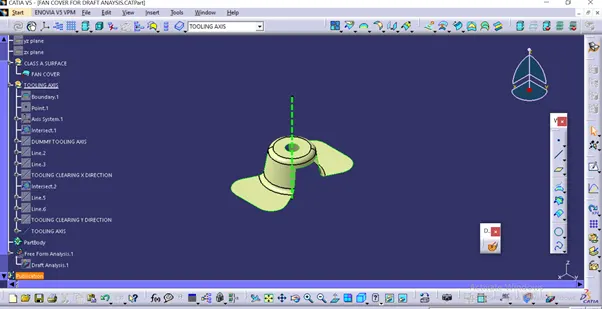
Step3: Performing Draft Analysis:
- Go to Insert --- Analysis ---- Feature Draft Analysis and move the compass to the tooling axis. Change the range to 3 degrees then apply.
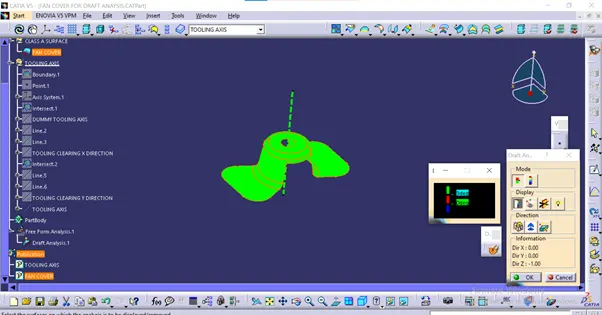
TREE STRUCTURE:
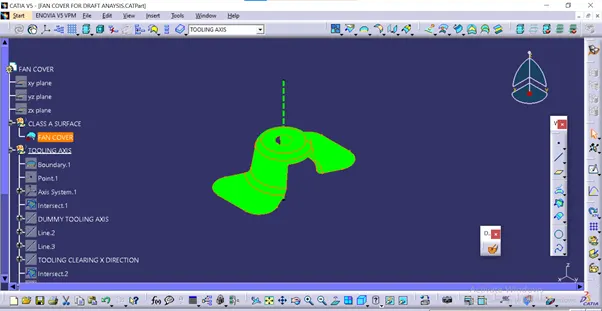
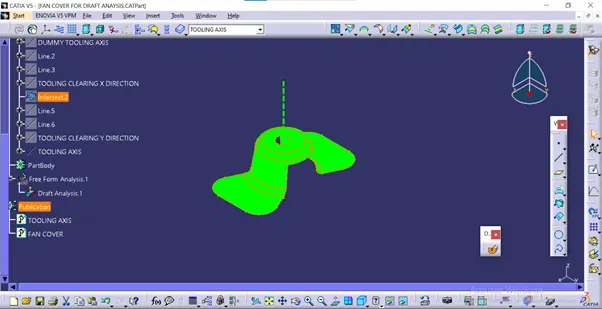
ISOMETRIC VIEW:
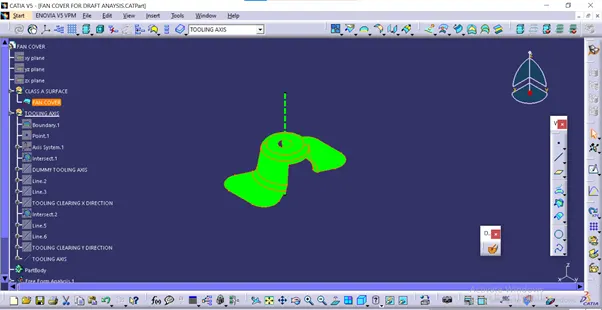
FRONT VIEW:
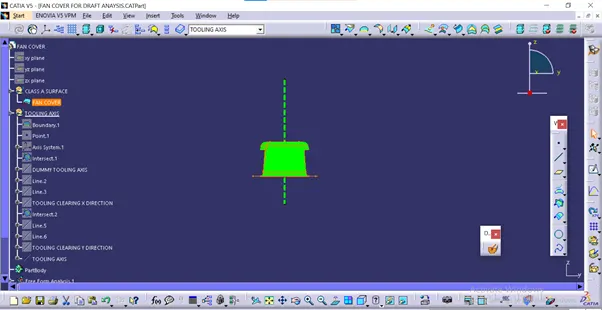
SIDE VIEW:
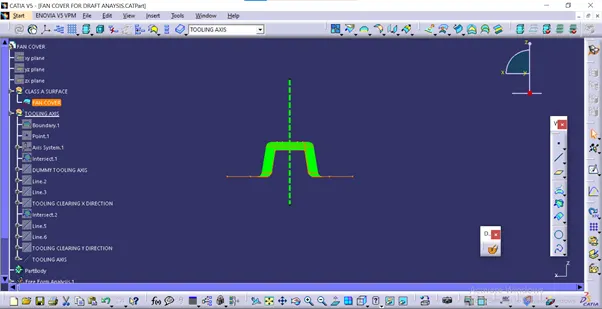
TOP VIEW: