Assembly and Render of Yacht
ASSEMBLING AND RENDERING OF YACHT
Introduction: Yacht, a sail- or power-driven vessel, usually light and comparatively small, used for racing or for recreation. In recreation, the term applies to very large craft, originally powered by sail and later by steam or internal-combustion engines.
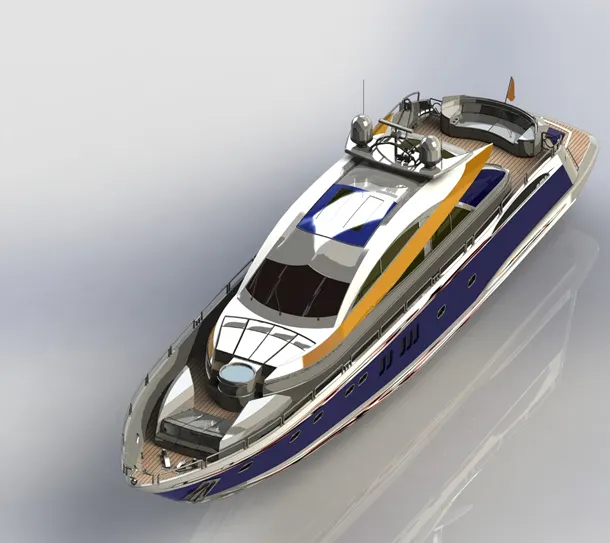
Yacht
Objective: To design, Assembling and Rendering of Yacht by using a solid works software. The main purpose of project is to understand all commands in depth that we use in this and to create a full yacht with all its components and bring it realistic as possible. Realistic means giving the structure of yacht with all equipment’s like sofas, flags, tables etc….
Design: To design yacht I used the bottom up approach which defines that the components are created and assembled with proper mates. For design of yacht we use blueprint setup of the yacht.
Components of Yacht:
- Hull
- Super structure.
- Radar Mast.
- Front, Middle and Rear seat.
- Garage door.
- Propeller
- Radar
Explanation of components:
A. Hull: A hull is the watertightbody of a ship or boat. The hull may open at the top or it may be fully or partially covered with a deck. A top the deck may be a deckhouse and other superstructures, such as a Radar mast. The line where the hull meets the water surface is called the waterline.
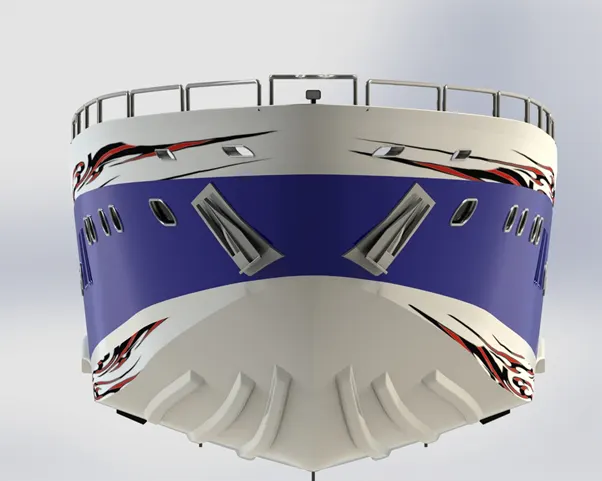
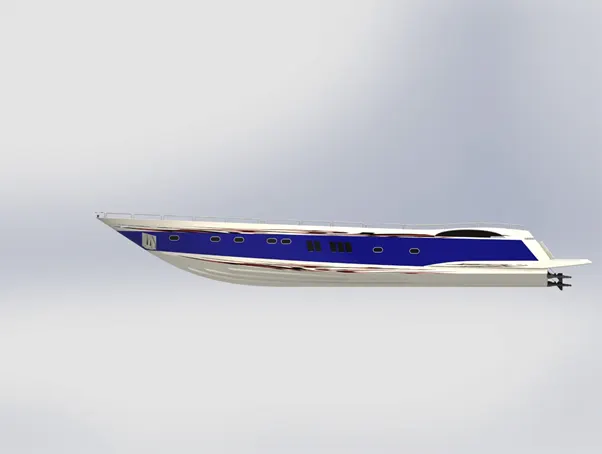
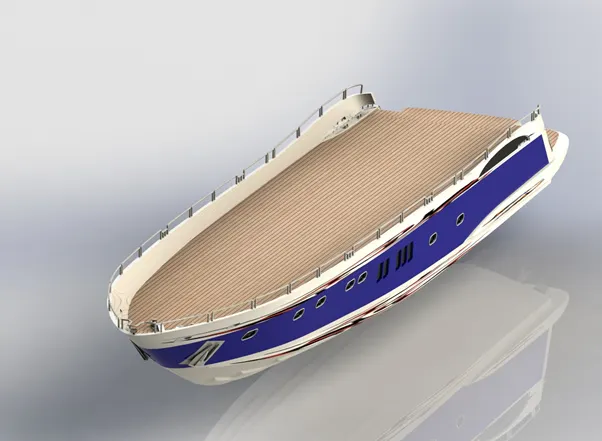
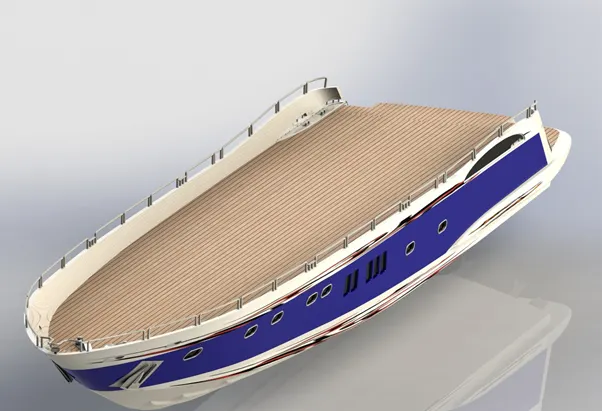
Hull
B. Superstructure: A superstructure is an extended construction of any building or platform that rises above the rest of the building or platform in a distinct manner. Thus, superstructure means to add a construction to an already existing structure. In ships this is the name given to the part of the ship emerges from the deck. In many ships the superstructure is broader and bigger in size and area.
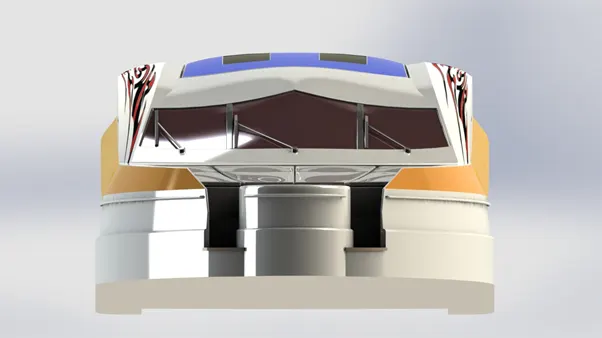
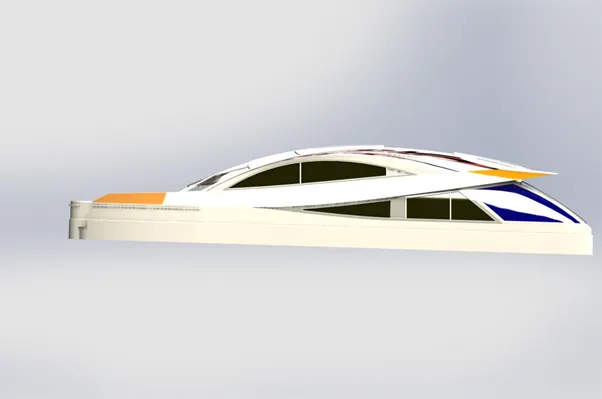
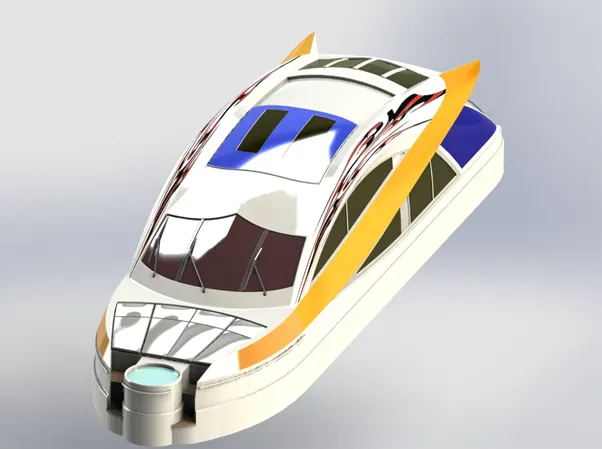
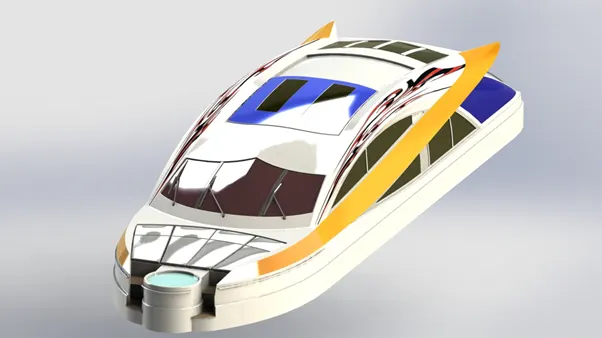
Superstructure
3. Radar & Mast : A Radar marine device acts as a major navigation aid for boaters. It helps in detecting boats, birds, landmasses, and weather systems - even if the visibility is less than usual. Radar is a vital navigation component for safety at sea and near the shore.
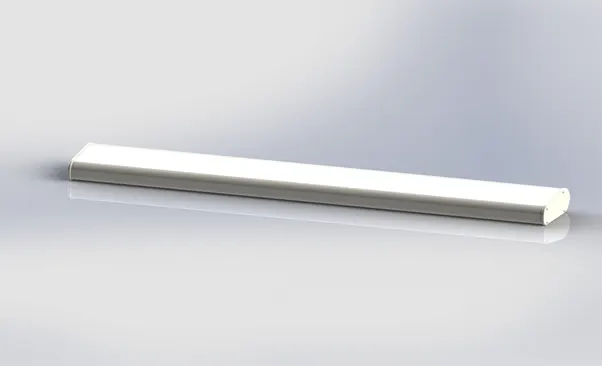
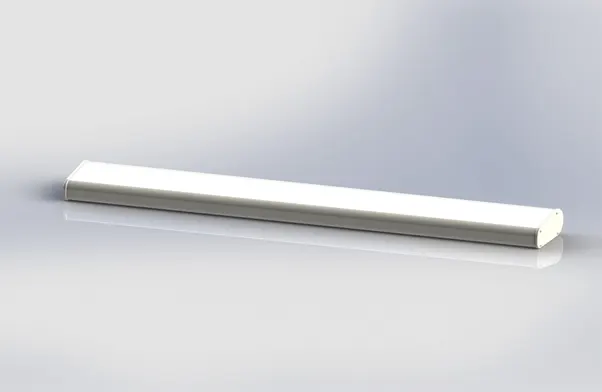
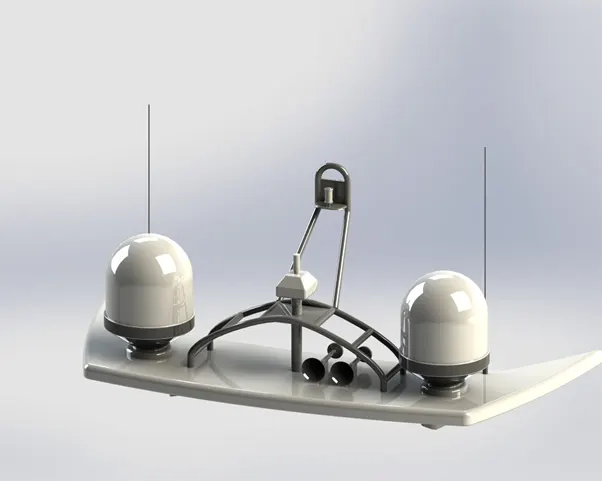
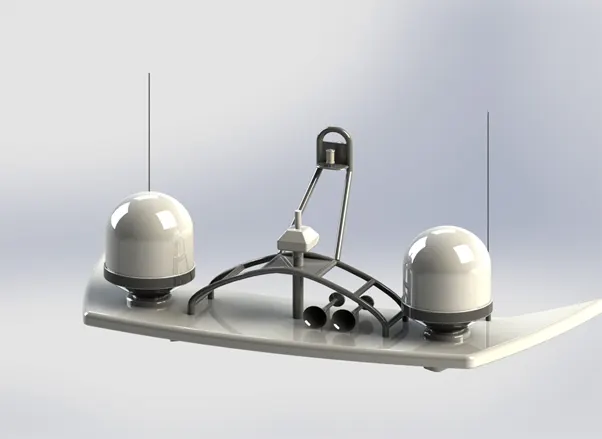
Radar & Mast
4. Garage door: Garage door is used for store the materials, items and etc...
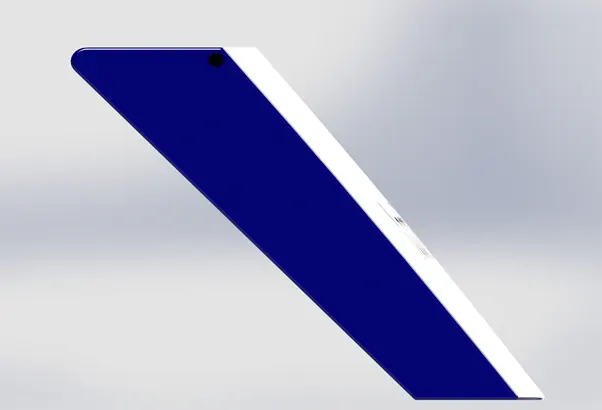
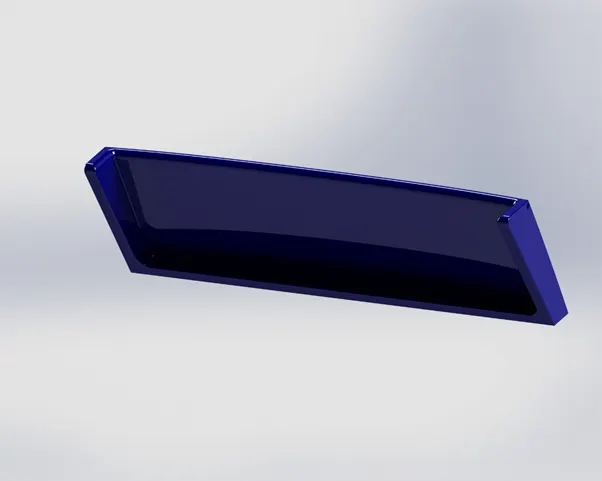
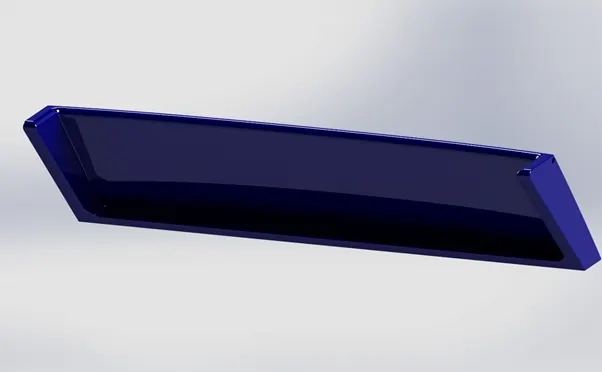
Garage door
5. Propeller: Propeller blades displace water, to create the forces that move a boat forward. The basic propeller shaft creates the torque, or energy required to turn the blades. But, the design of propeller blades is what creates the displacement of water. The displacement of water is what creates forces that move a boat forward.
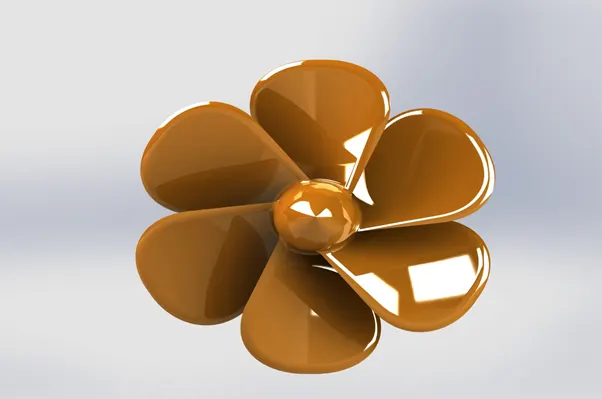
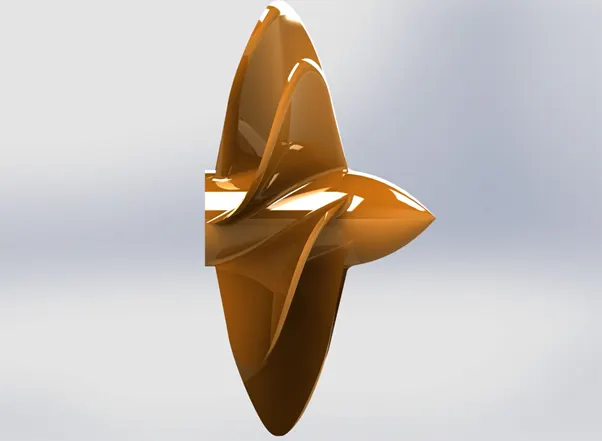
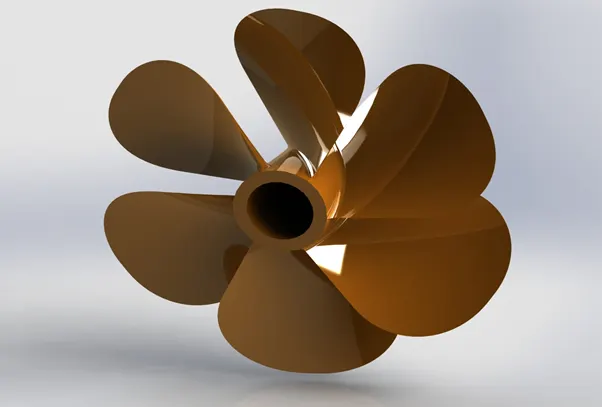
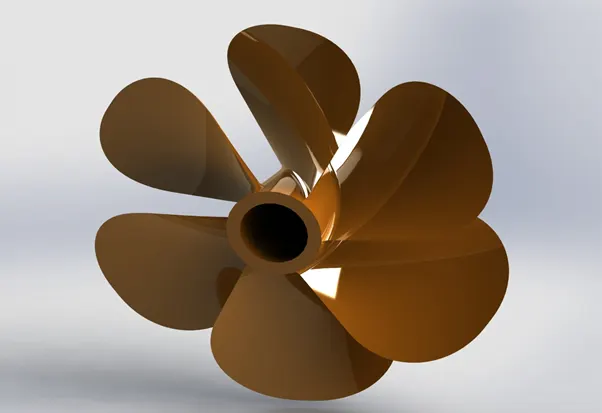
Propeller
6. Front, Middle & Rear seat: There are three types of seats arranged in yacht. The front seat accommodated with two persons, middle seat accommodated with three persons, and rear seat is provide accommodated with more persons.
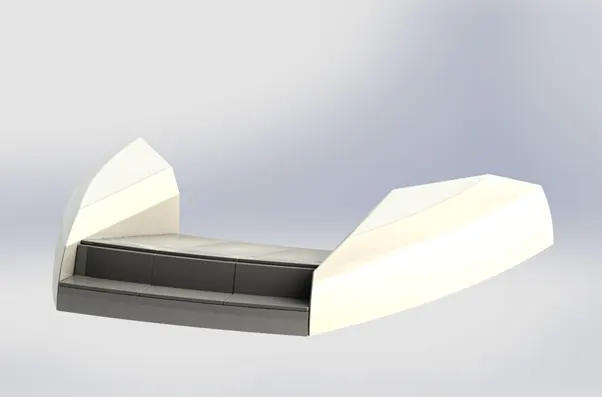
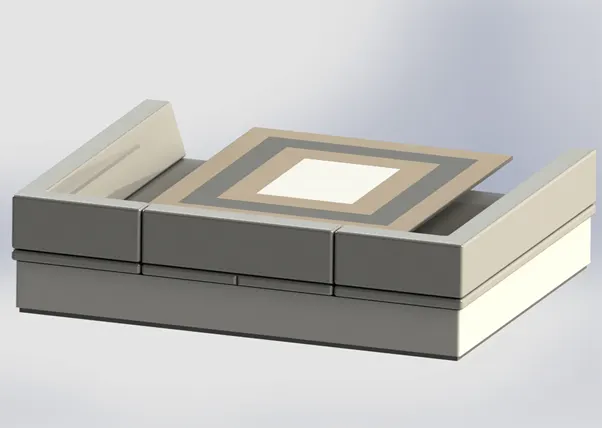
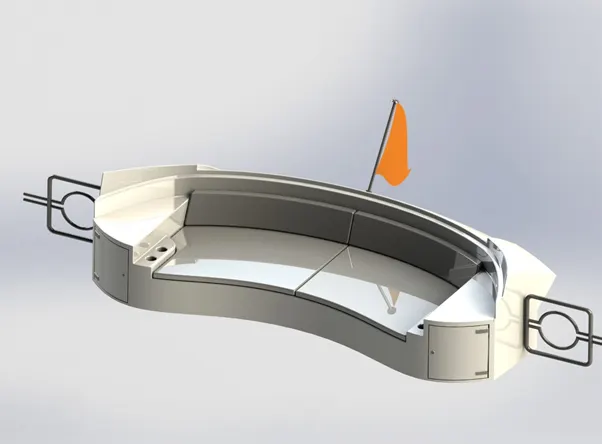
Front, Middle & Rear Seat
Procedure of creating parts:
- First open solid works window then select part file.
- Then to create a parts of yacht like hull, superstructure, radar mast, front, middle and rear seats, propeller and garage door, we have to create blue print setup as we required.
- Then unhide all blue prints, and select plane as we required for drawing a sketch, by using all sketch tools and surface tools.
- Give all dimensions as we required to fully defined the sketch.
- Repeat all the process for each of components.
Assembly:
- For assembling of yacht first we have to fix the hull portion then fix the superstructure, Radar mast, front seat, middle seat gets mated automatically.
- For fixing of rear seat we used coincident and distance mate with hull portion.
- Then fix garage door by using concentric mate.
- Then fix propeller by using concentric and coincident mates.
- Then fix radar by using concentric and coincident mates.
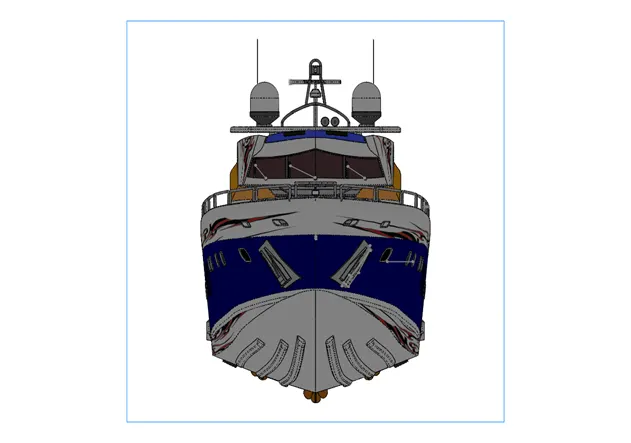
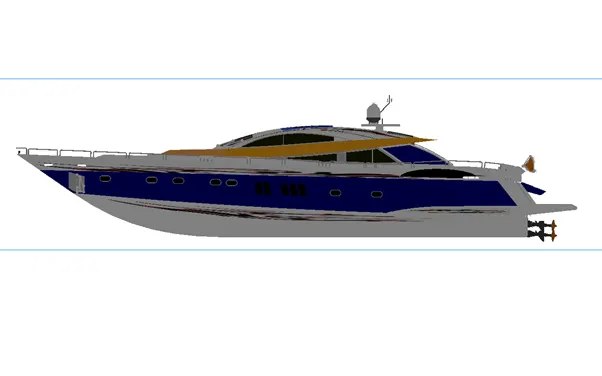
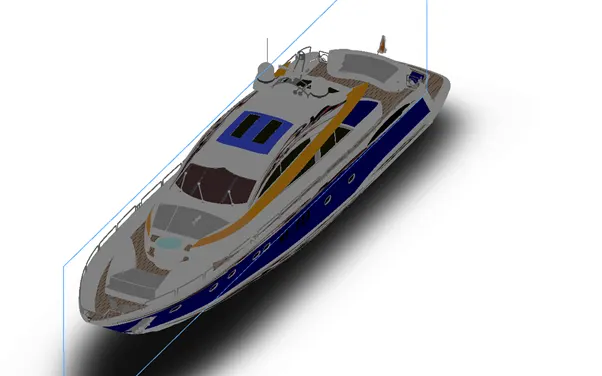
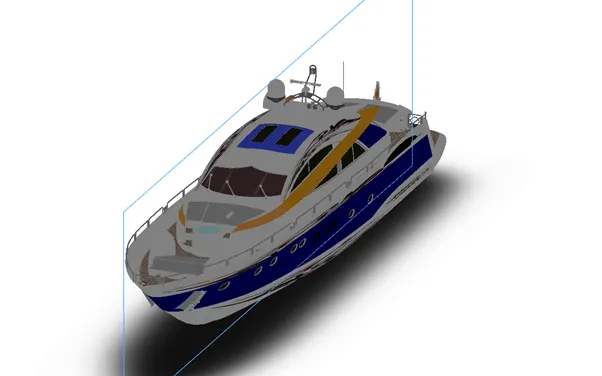
Assembly of Yacht
Rendering: Photo View 360 is a SolidWorks add-in that produces photo-realistic renderings of SolidWorks models. The rendered image incorporates the appearances, lighting, scene, and decals included with the model.
Steps involved In Rendering of Yacht in Photo view 360:
- After assembling of yacht, we have to open solid works Add ins, enable photo view 360.
- Then add decals to assembly.
- Then add cameras to assembly as per we required for rendering.
- Then add background and environment scenes to the assembly.
- Then edit the cameras and scenes set up.
- After adding cameras and scenes then do preview render before final rendering.
- After preview render You can use the Final Renderwindow to make detailed adjustments to your renders, compare two renders, and view rendering statistics.
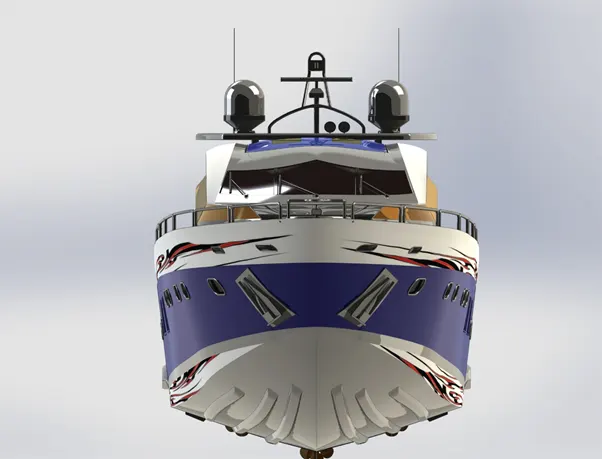
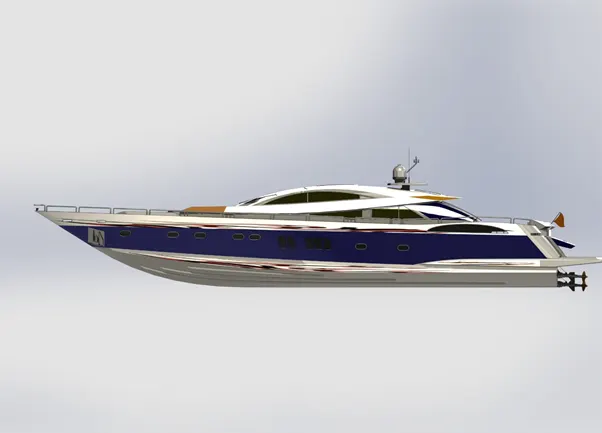
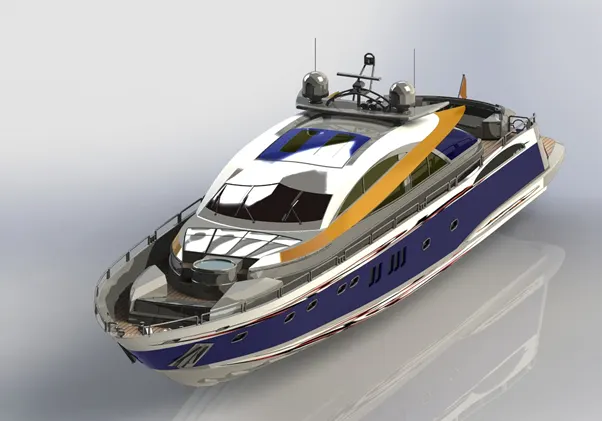
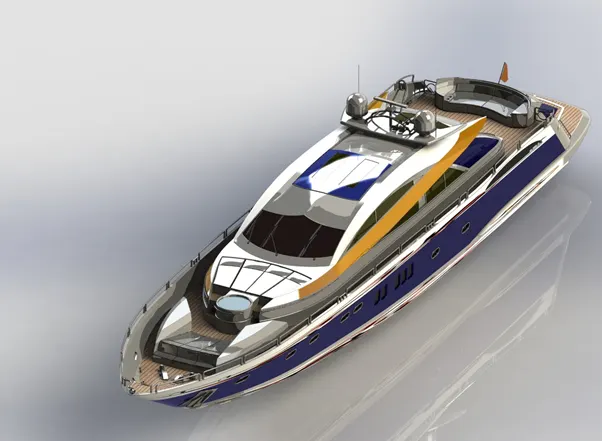
Final render of Assembly Yacht