Week 8 - Challenge 1 - Base Bracket Design
NOTE: I have Attached the Report, Photos and CADpart in the Attachment
Week 8 - Challenge 1 - Base Bracket Design
AIM:
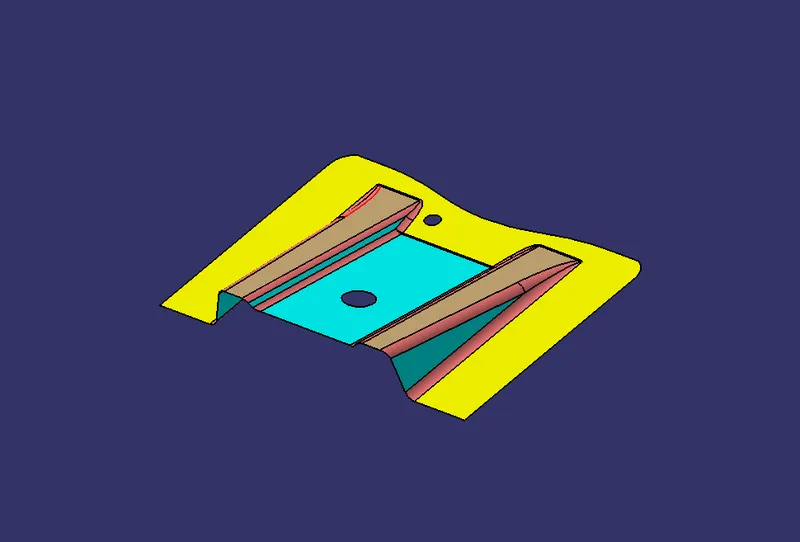
To Create the Base Bracket Plastic component through the given Class-A surface. Create the tooling axis for the given Class-A Surface by meeting the requirements of the draft angle and at the end perform the Draft analysis on the model.
OBJECTIVE:
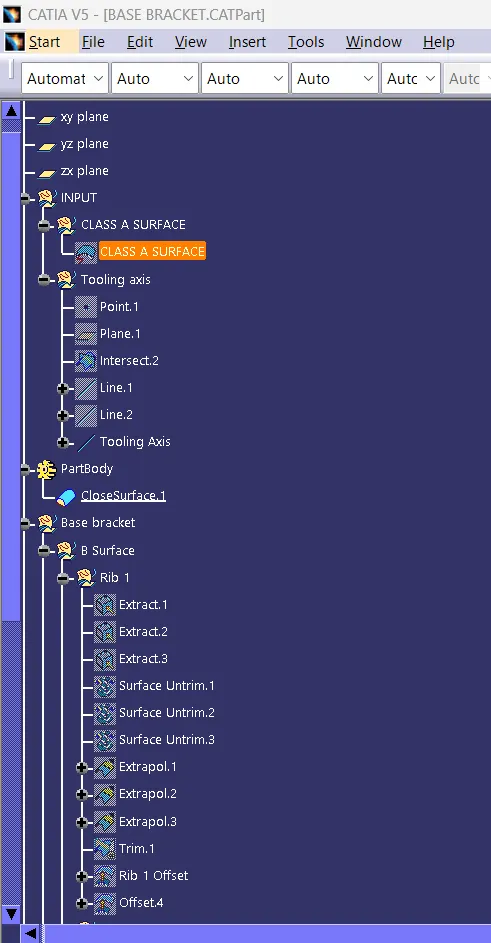
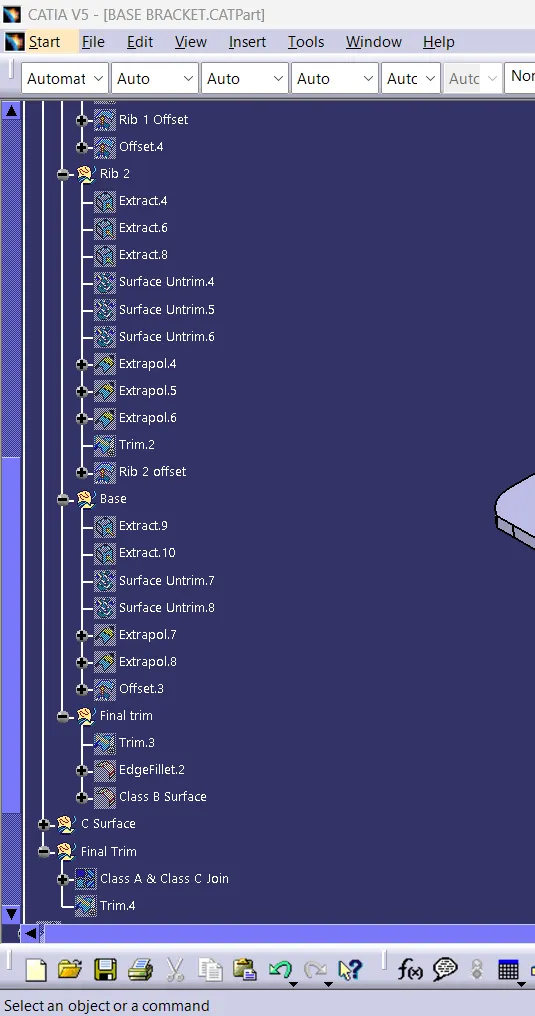
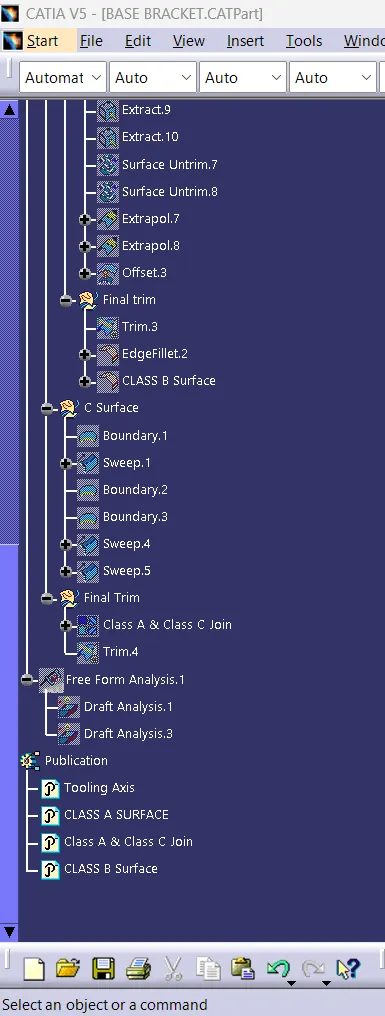
- Tree Structure
- Ensure Proper Tree Structure
- Geometrical sets should have a proper name based on the sketches present inside of it
- All the sketches should be created under the Geometrical set
- Use the Close Surface feature to make a solid body from the surface.
- Publications: Use the publication option and publish the below
- Tooling Axis
- Class A, B, and C surface
- Report
- A detailed report should be done explaining the draft analysis and the tooling axis creation.
- An explanation should be given on the way of creating the tooling axis, particularly the Bisecting method.
SOFTWARE USED : CATIA
INPUT:
CAD DATA is downloaded and Opened with CATIA. You can open the file here
TOOLING AXIS:
Tooling axis is defined as such all the featres of the part can be manufactured easily. so here we followed the below steps to create the tooling axis.
- Create a point in the middle of the circle.
- Create a plane at the same circle so that we can take the intersection of the part.
- Intersection line with reference to plane is created.
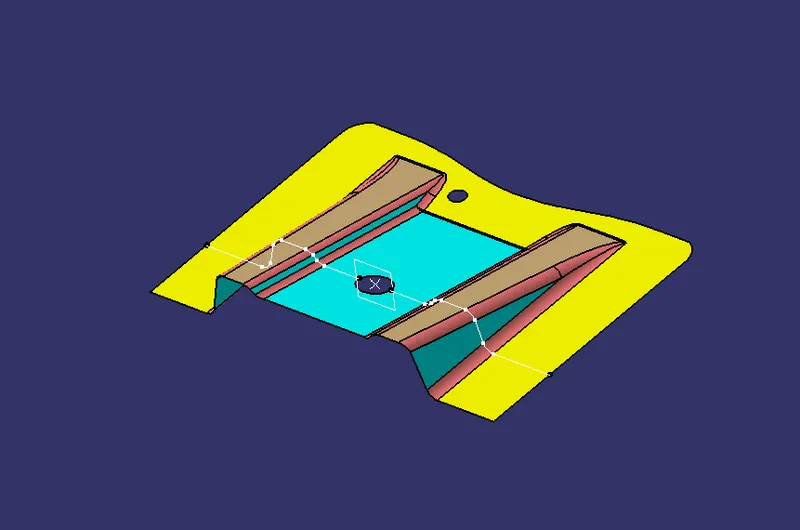
- After creating the intersection line. Hide the Class A Surface.
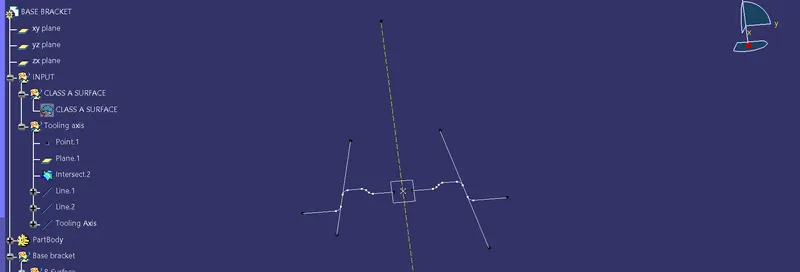
- Draw two lines by point to point line creation.
- Now create a Bisecting line by taking the two lines drwan as reference.
- So this is our tooling axis.
DRAFT ANALYSIS:
- Draft is done on the Class A surface.
- Change it to material in customise view.
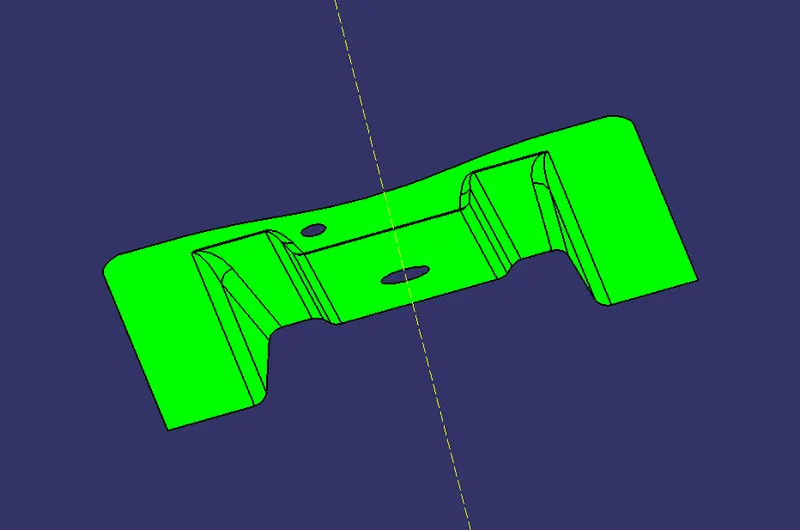
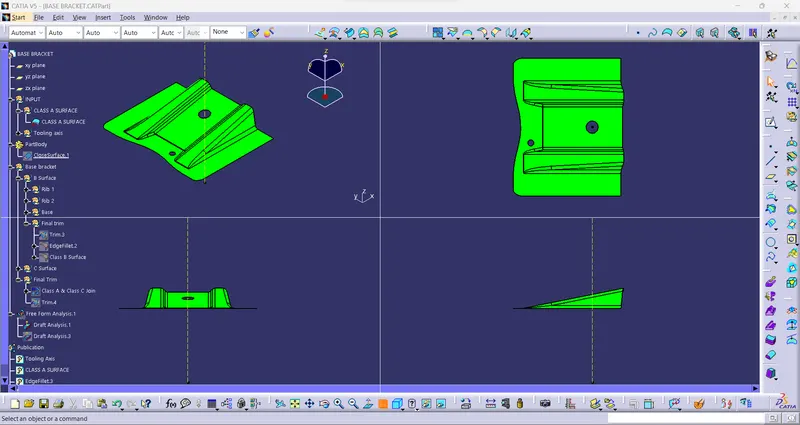
- Click the Draft analysis tool and click the surface and align the compass to tooling axis.
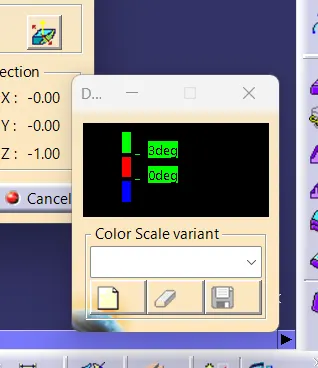
- 3 degree is the clearing angle
- So here is photo of cleared (Green) draft
B SURFACE:
- B surface is created by using the given Class A surface.
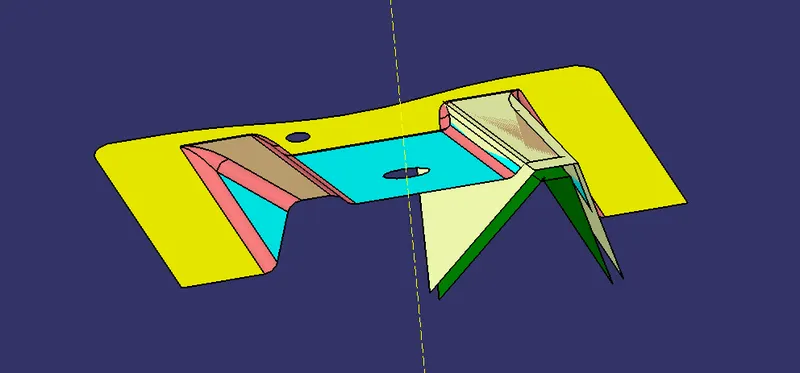
- To make it simple. It is done in simple sub parts. Rib 1, Rib 2, Base.
- Rib 1 is refered to any one side of Rib.
- Extract the sides of rib.
- Hide the Class A and Untrim the Extracted sides.
- Extrapolate the sides so that all the 3 faces touch eachother.
- Trim the rib as per the Class A
- Offset it to 2.5 mm Downward
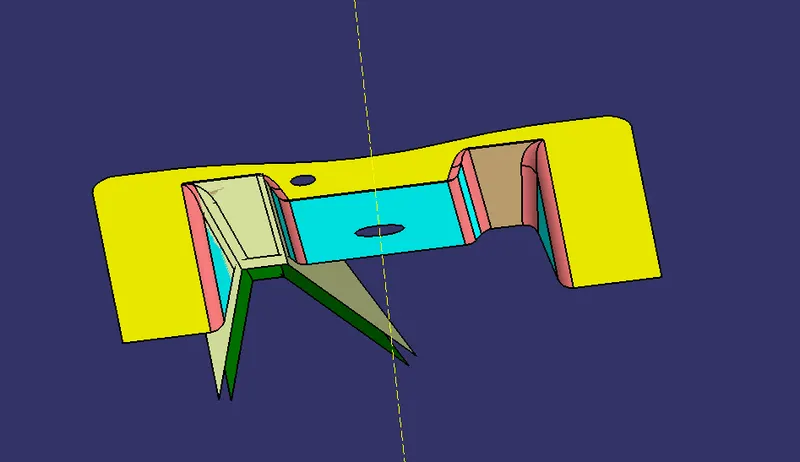
- Rib 2 is refered to other side of Rib.
- Extract the sides of rib.
- Hide the Class A and Untrim the Extracted sides.
- Extrapolate the sides so that all the 3 faces touch eachother.
- Trim the rib as per the Class A
- Offset it to 2.5 mm Downward
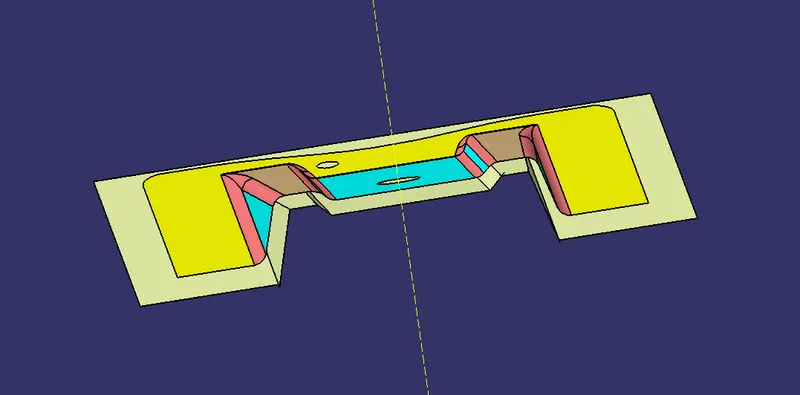
- Base is refered to the outer base part and the base that connects both the ribs.
- Extract the outer base part and the base that connects both the ribs.
- Hide the Class A and Untrim the Extracted sides.
- Extrapolate the sides so that all the faces touch eachother.
- Trim the rib as per the Class A
- Offset it to 2.5 mm Downward
- Trim with the Rib 1 and Rib 2.
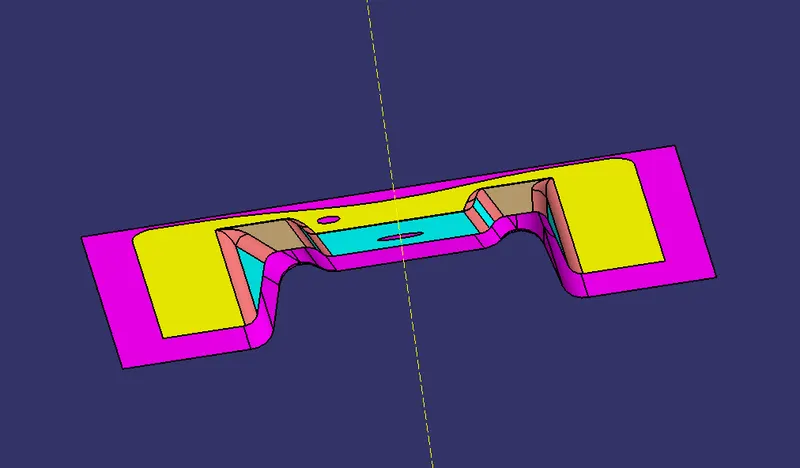
- Fillet should be made now as per the Class A.
- Measure the fillets and replicate the fillet on B surface.
- As the section is below the original fillet we must add the thickness with the fillet and apply to the Class B.
- Give different color to identify the Class B surface easily.
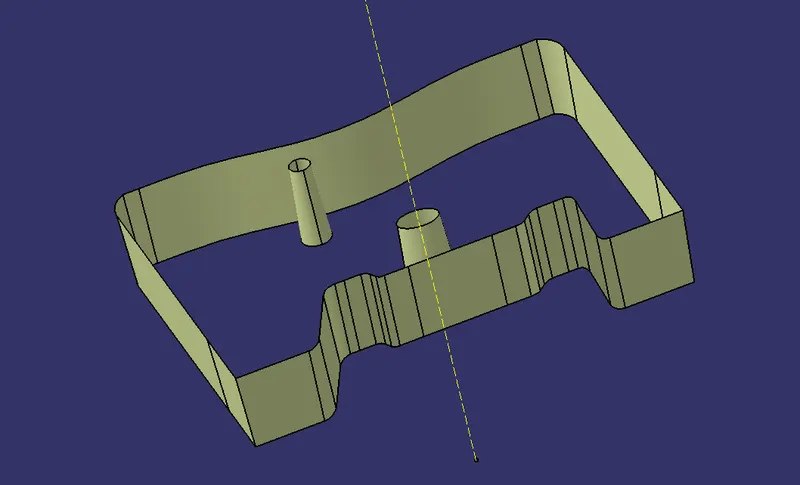
C SURFACE:
- The outer edge of the Class A surface is taken as reference boundry.
- This includes the two circles also.
- Swept command is applied on the boundries created with draft angle of 4 Degree and extended downwards above 2.5mm.
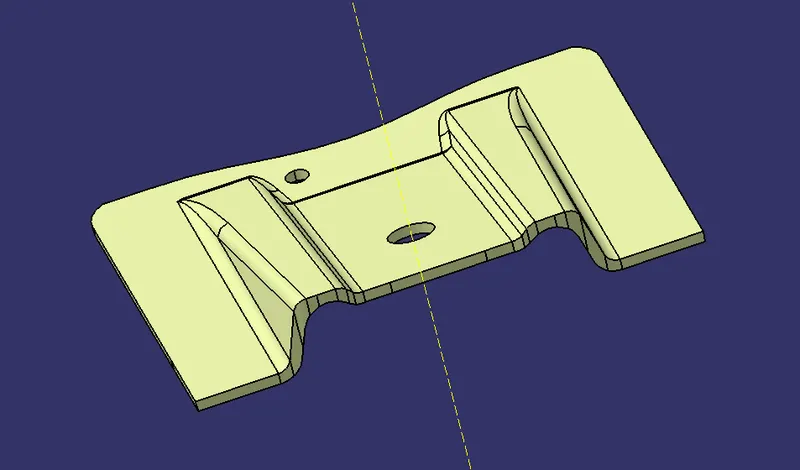
FINAL PART:
- So now we have Class A, Class B and Class C surfaces.
- We can join the Class A and Class C surface now.
- Trim the Joined section with Class B.
- Here we form the enclosed section of the part.
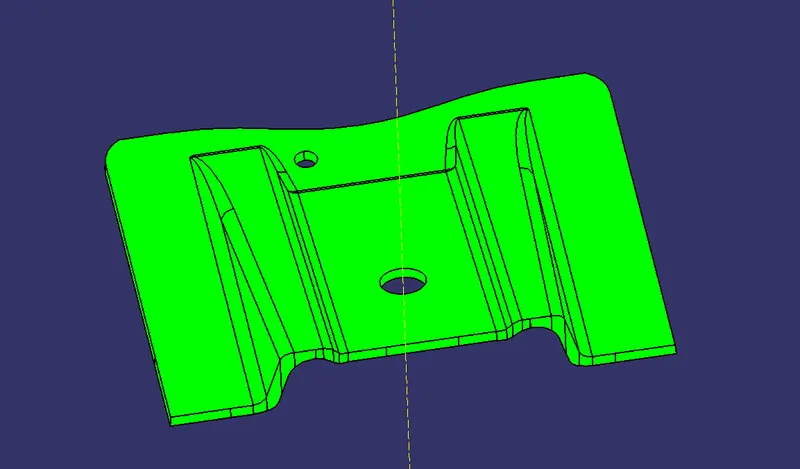
DRAFT ANALYSIS:
- Draft is done on the Final Part.
- Change it to material in customise view.
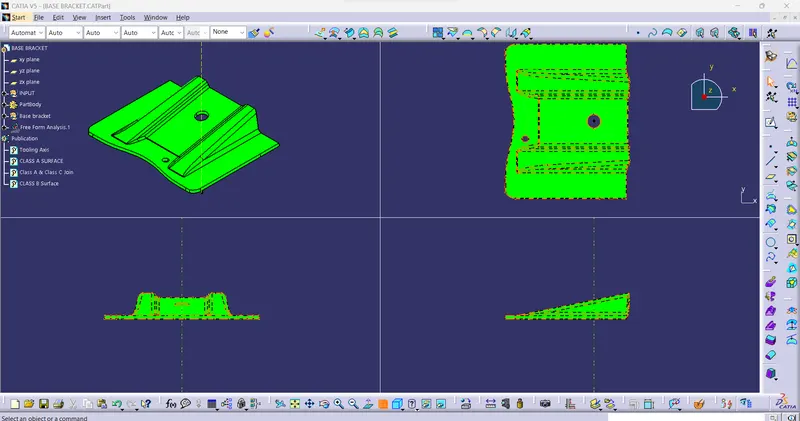
- Click the Draft analysis tool and click the surface and align the compass to tooling axis.
- 3 degree is the clearing angle.
- So here is photo of cleared (Green) draft.
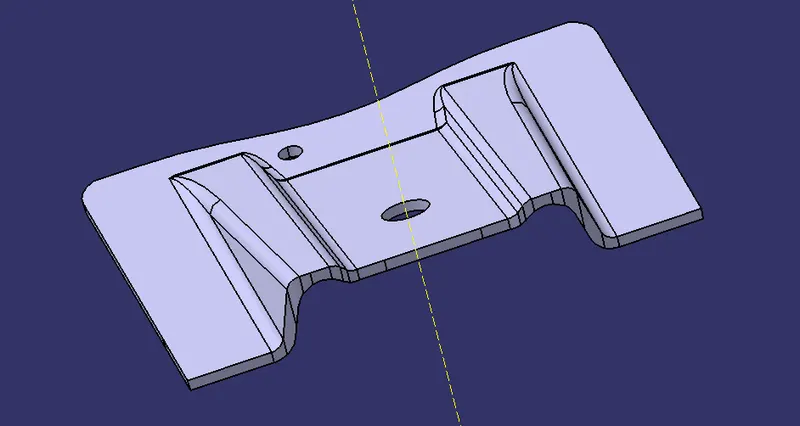
CLOSED BODY:
- Open the Part Design.
- Use the closed body command and create a solid Body of the Base bracket.
RESULT:
Thus we have created the Base Bracket and done the draft analysis. Here are few photos of it.
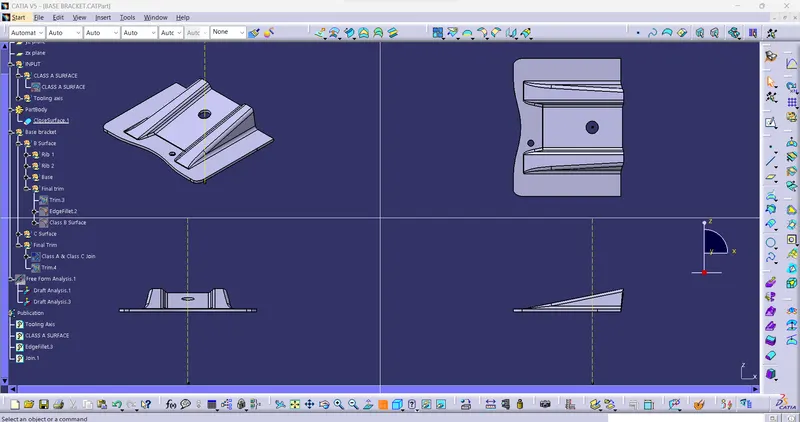
Color Varient used