Week 8
Aim:
To perform geometry cleanup and morphing techiniques on the given model as per requirement.
Procedure:
- First open the model by clicking on File > Open. Then model will be opened as shown in image.
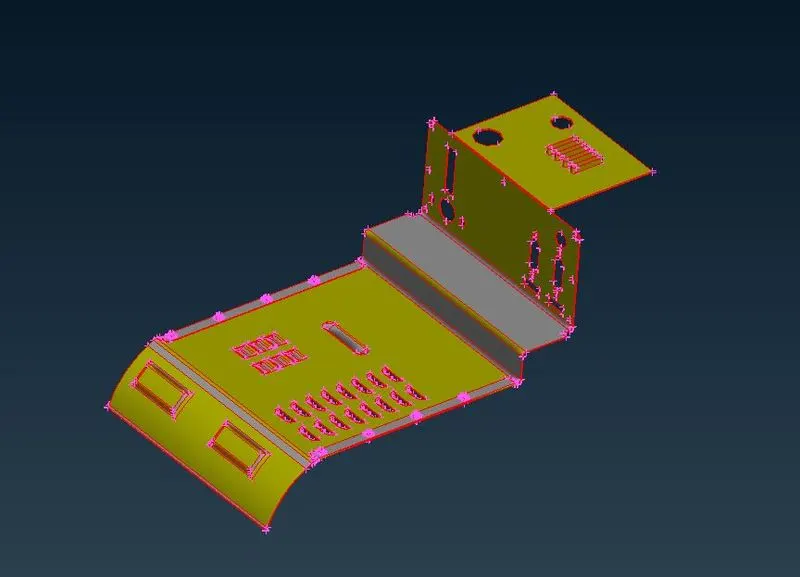
Fig :1 Showing the intial model (without Topo)
- Next perform Topo for the given model for stitching the surfaces. It will result in converting single cons to double cons wherever two surfaces are getting attached. This can be done clicking on Topo option in Faces tab in Topo module.
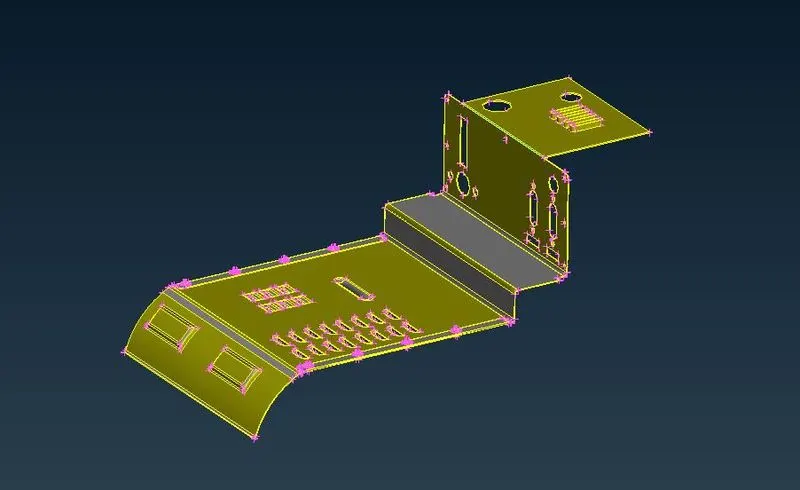
Fig :2 Showing the model after Topo has been performed
- Next step is to make the geometry free from errors. This can be done by clicking on Tools > Checks > Geometry. Then errors in the model will be displayed as follows which can be solved by clicking on fix option.
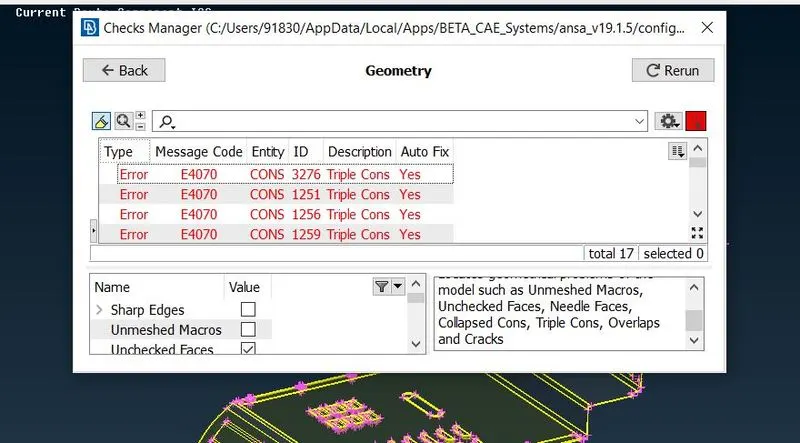
Fig :3 Showing errors in the model
- For performing Morphing, switch to Morph module. In that click on New > Ortho. Here Ortho indicates box type. Then made a box selection to the area which ever needs to be morphed. A box will be generated over the selected area having Nodes at 8 corners of the box. These nodes are used for moving the selected area in desired direction. These technique of changing geometry or FE is called Morphing. For moving the nodes, Select the Node which needs to be moved by clicking on Move option in Box Morphing tab.
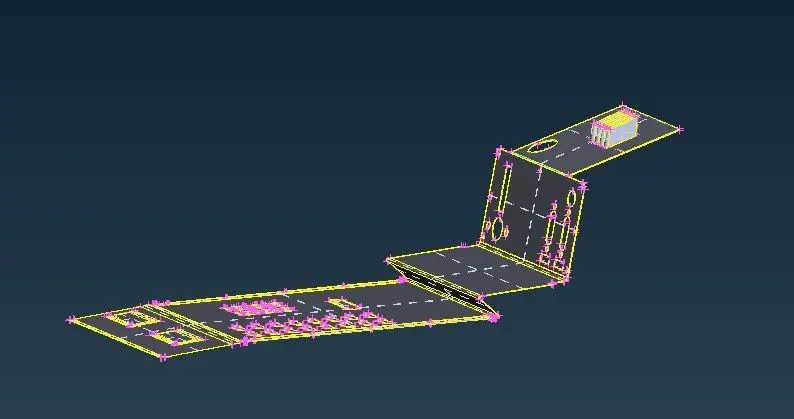
Fig :4 Showing Model after it is morphedConclusion:
Conclusion:
In conclucsion, any model can changed by using morphing techniques.
Fig : 5 Showing initial model Fig :6 Showing final morphed model
Learning Outcomes:
- Perform Morphing techniques.