Week 3
AIM:
- To check for geometric errors and perform geometric cleanup in the given model if necessary. Also extract the midsurface, mesh the extracted mid surface and assign thickness as per geometry.
PROCEDURE:
- First open the model by clicking File-Open. Switch to PID mode for better understanding of model. Also use FINE option in Auxiliaries tab to refine various geometric features.
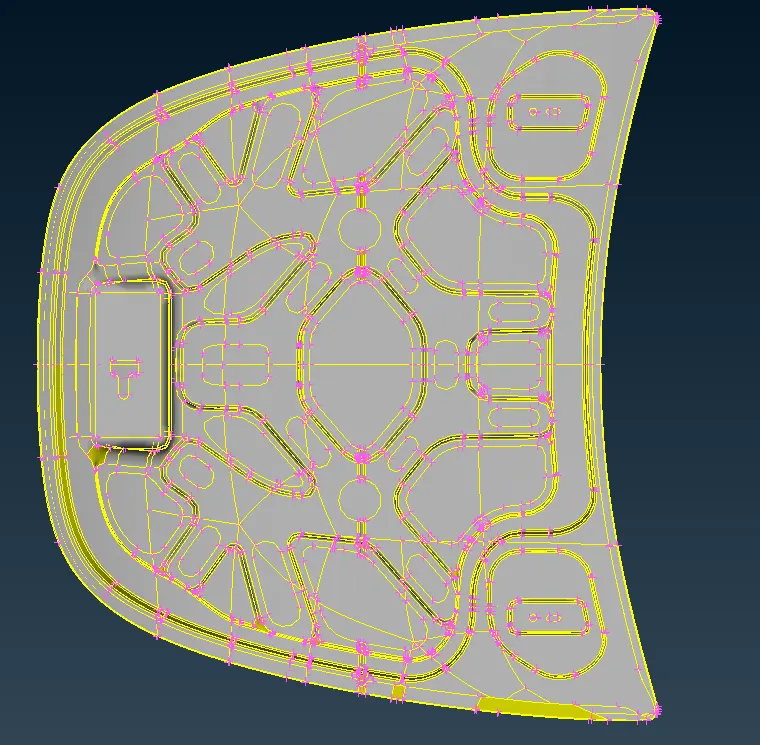
Fig-1: Showing model in ENT mode.
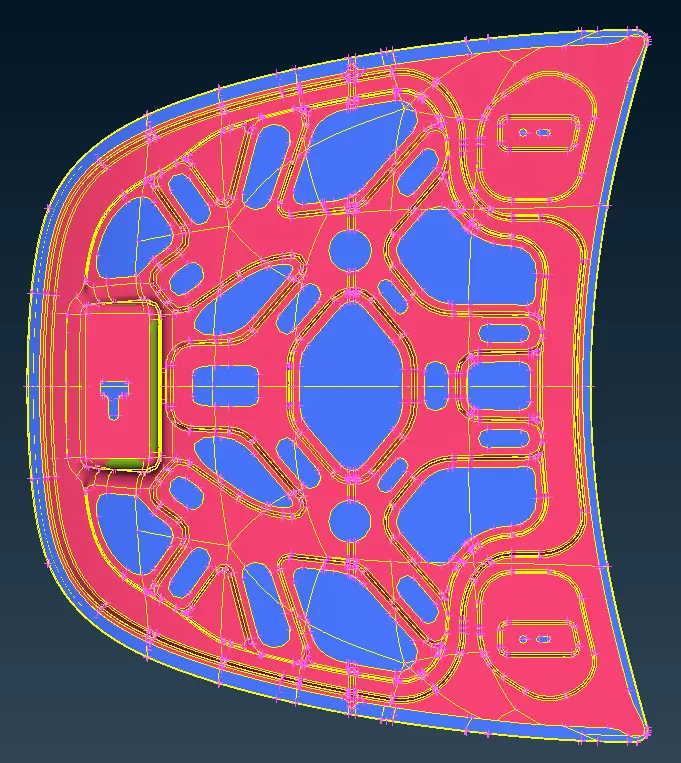
Fig-2: Showing model in PID mode
- After enabling PID mode, geometry will be shown as per their respective property colour as shown in Fig-2.Then show only any individual part and understand the model. After, use Fine option for refining geometry and check for any geometric errors like needles faces, triples cons etc.we can find the geometric errors by clicking Tools-Checks-Geometry or by manually examining the model.
- After Refining the geometry check for errors in geometry. If there are any needle faces or triple cons we can fix them by using Topo module. This Geometry cleanup can be done automatically by using checks-geometry and then uncheck unmeshed macros and single cons options and press Execute option. Then it will show geometric issues. These geometric issues can be fixed by right click on specific issue or by selecting all issues and then right click to tap on fix option. All these issues are fixed as per ANSA understanding.
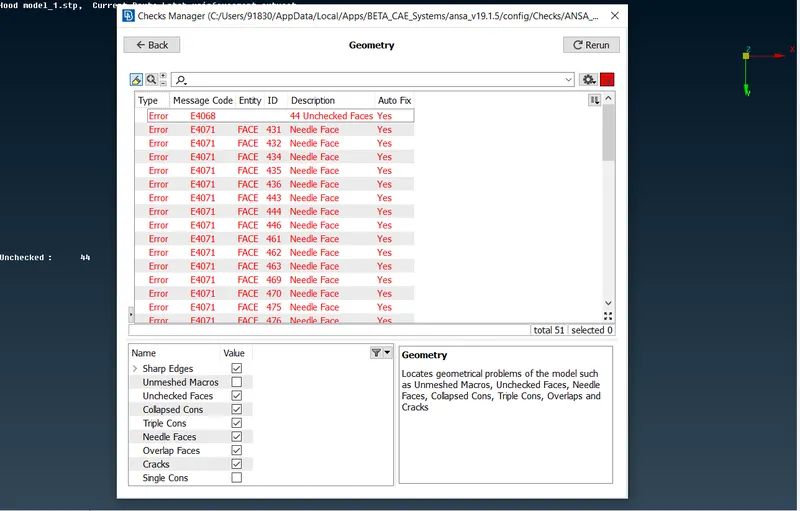
Fig-3: Geometry checks window showing errors in model (before cleanup)
Fig-4: Showing Model after performing geometry cleanup.
- After geometry cleanup, proceed further by extracting midsurface. Midsurface can be extracted manually or automatically by using midsurf option in Faces tab. In this case midsurface is extracted manually by using Offset option in Faces tab. After taking each surface manually, these all surfaces are connected by using Topo option in Faces tab.
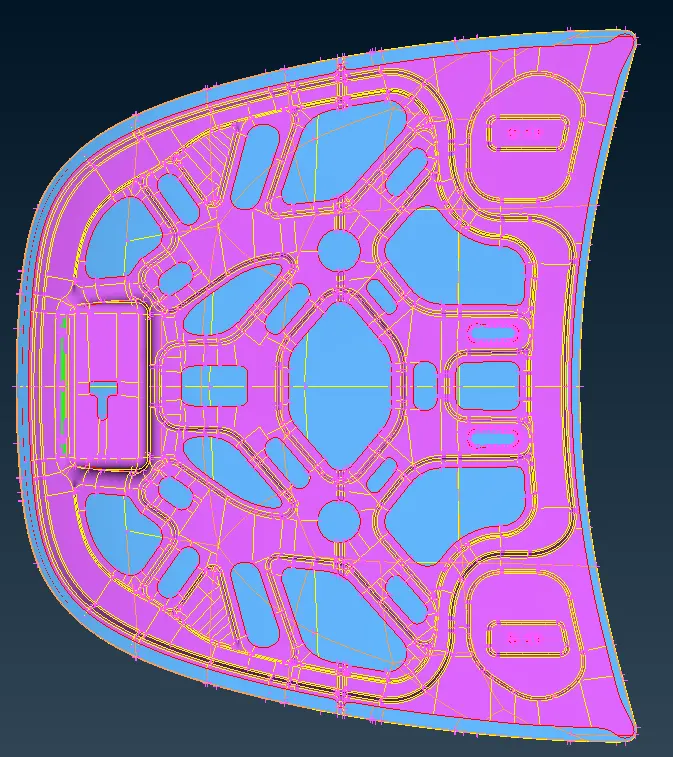
Fig-5: Showing midsurface of given model
- Next step after midsurface extraction is to key in Quality parameters as prescribed in challenge. For giving Quality criteria press F11 or by clicking on Utilities-Quality criteria.
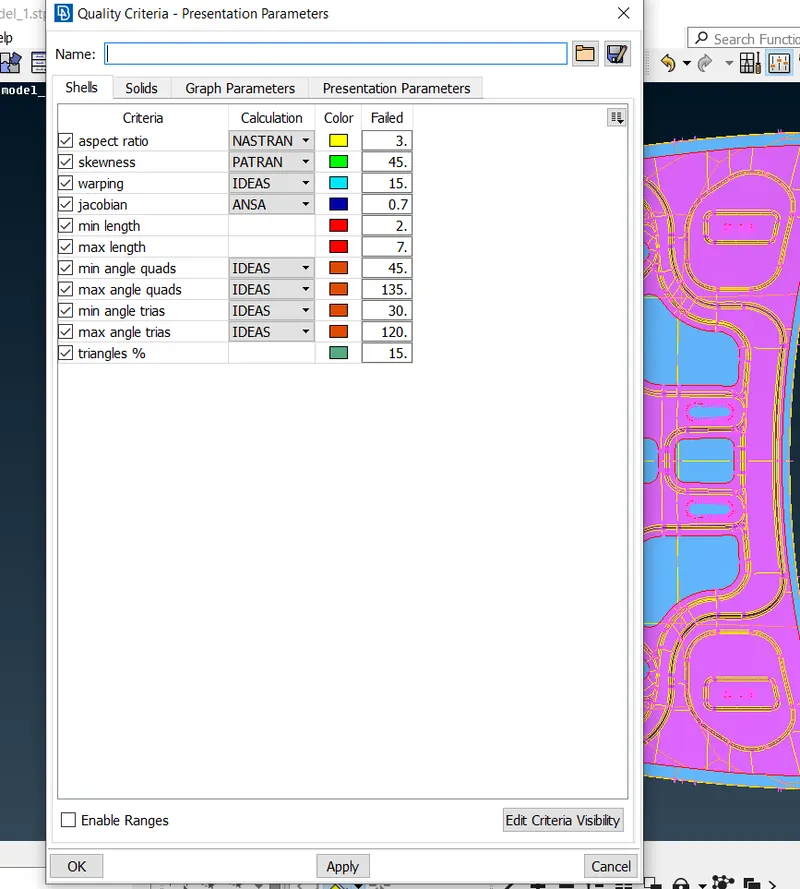
Fig-6: Showing quality criteria of given model
- After giving quality criteria, proceed further by meshing the model using Mesh tab. During meshing elements might fail if they are beyond quality criteria limits. In such cases geometry can be adjusted without losing any geometric specifications. Geometry should be adjusted in a proper manner to get better mesh flow by splitting and joining surfaces whenever it is required.
- Mesh can be created by clicking on Best option in Mesh generation tab. For better mesh flow, mesh can be adjusted by using Smooth and Reconstruct option in Shell mesh tab. These options will show us the best possible mesh for the given condition.
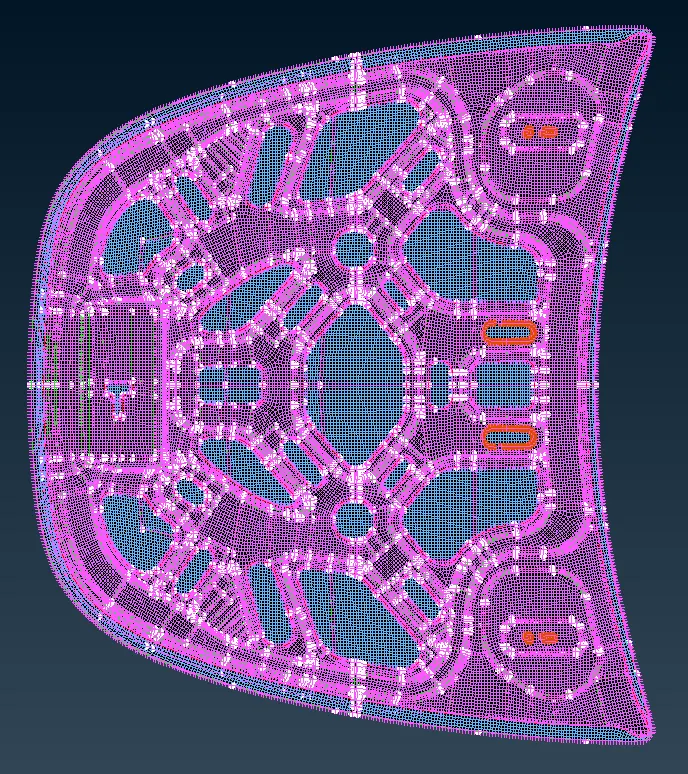
Fig-7: Showing FE model (without showing thickness)
- While meshing, in order to get good mesh flow trias needs to be eliminated whenever it is possible.this can be done by proper usage of split,join and swap option in Elements tab.
For showing thickness in FE model, open Quality criteria then click on Presentation parameters. In that check the Draw shell as solid option.
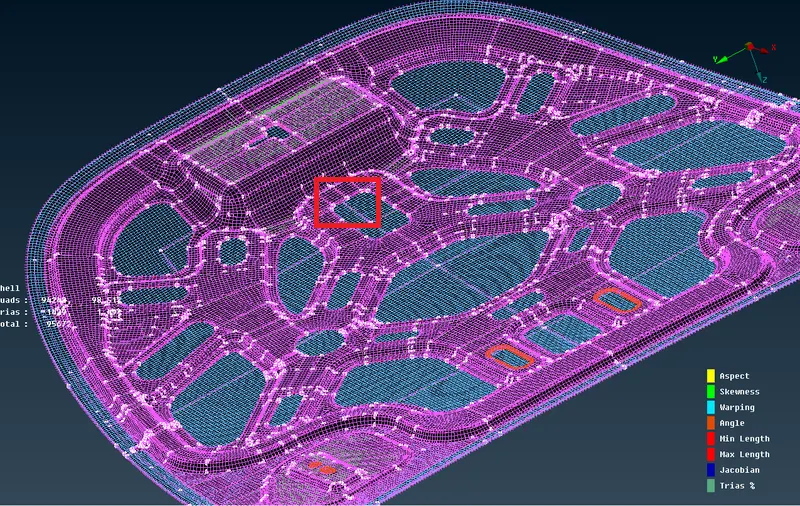
Fig-8: showing FE model with thickness
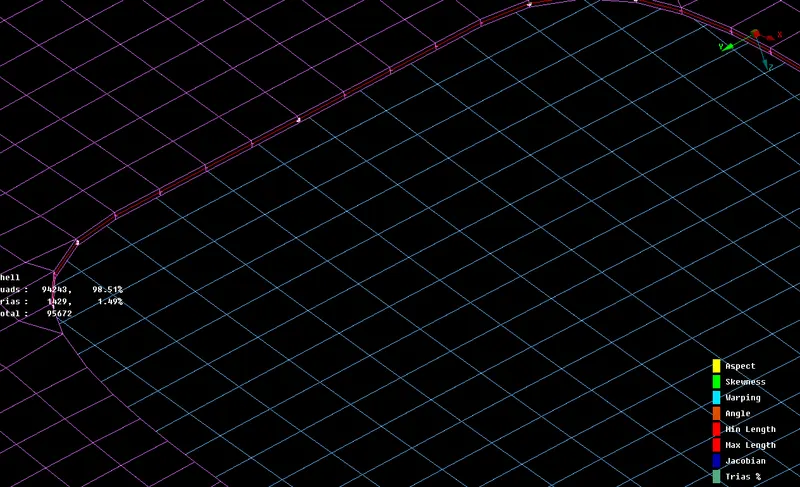
Fig-9: showing FE model with thickness. (enlarged view)
CONCLUSION:
- At last, check for the no of OFF elements in the FE model. The total no of OFF elements must be zero.For proper meshing, geometry should be free from various errors like needle faces etc. and mesh should be generated with less trias which will give good flow through out the model.
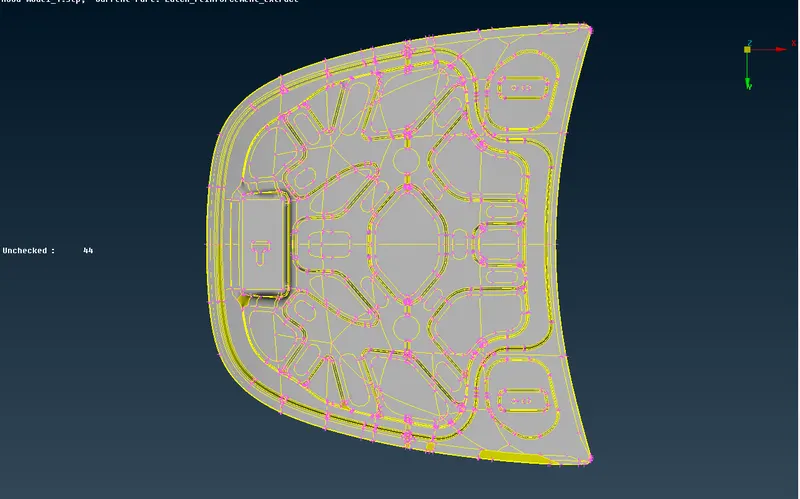
Fig-10: Showing intial model (input data)
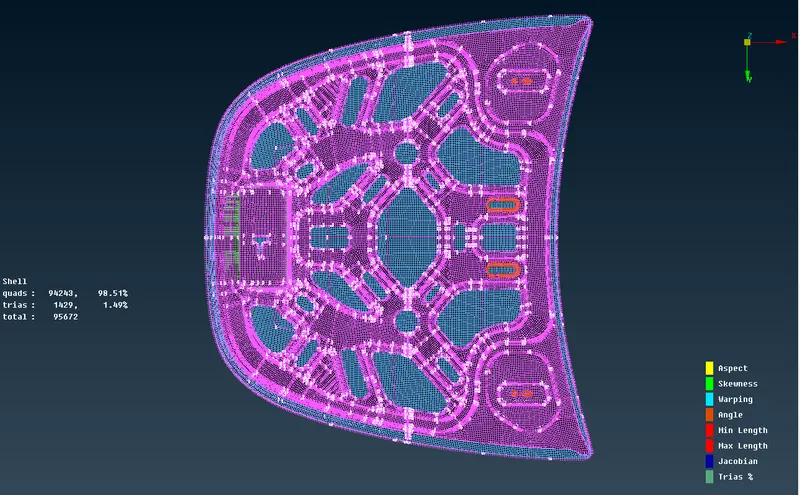
Fig-11: Showing final FE model (output data)
OUT COMES:
- cleaning up the given geometry.
- Extracting the midsurf manually.
- Assigning quality criteria.
- Adjust the geometry to avoid element failure.
- Meshing the midsurf.
- Checking mesh for OFF elements and do necessary actions to eliminate OFF elements.