Week 8-3D Tetra Meshing Challenge
1.
OBJECTIVE: To create a tetra mesh for the given housing component using 2D to 3D conversion and by following the specified quality criteria.
PROCEDURE:
- Firstly, the component is opened with Hyperworks 2020 and the file is saved for saving any further progress.
- The imported CAD model image is shown below.
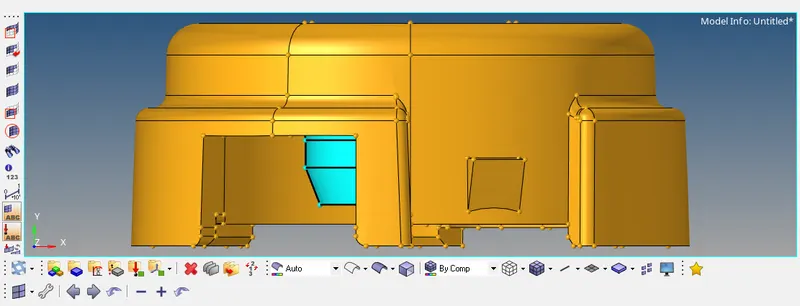
- Going forward, auto cleanup is performed by Geometry | Autocleanup option to clear geometrical inconsistencies and best define the geometry based on the element size restrictions.
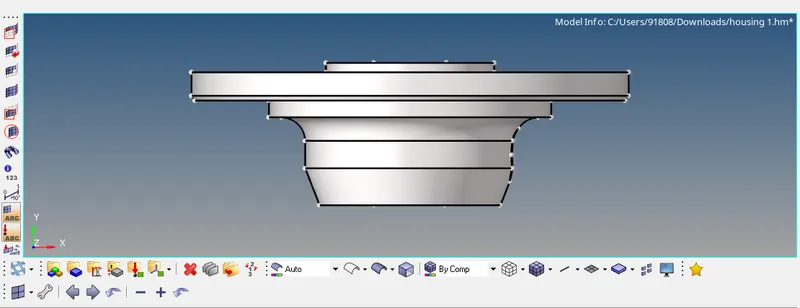
- One of the components undergoing auto cleanup is represented below.
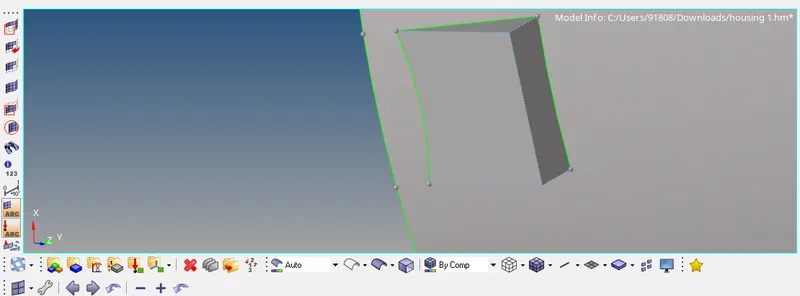
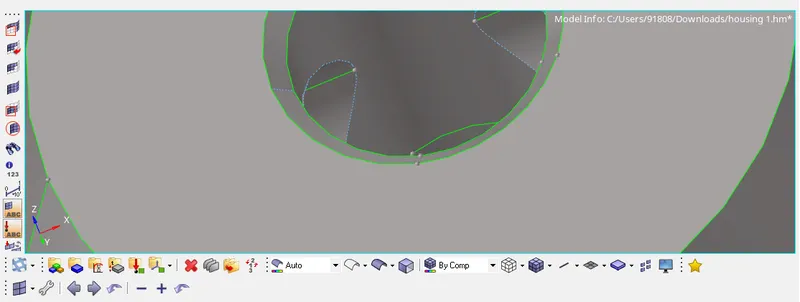
- Next, the edges where elements can fail when meshed (as indicated below) are suppressed before meshing. As the minimum prescribed element size is 2mm, any lines with less than a 2mm gap are selectively suppressed while retaining the initial structure of the component. This can be done either by the "Geometry | Edge edit | Toggle" or the "Geometry | Quick edit | Toggle edge" option.
- Now, 2D meshing is performed using the 2D | Automesh option. Here, the element type needed and target element lengths are chosen. In this case, a specified element size of 5mm is chosen along with triangular elements.
- Each element is carefully investigated using the "Tool | Check elems | 2-D", "2D | Smooth | Plates" and "2D | Quality check" options. Elements can also be re-meshed in the "2D | Automesh" window or the "2D | Rebulid mesh" option.
- The above process is iteratively followed to obtain zero errors in elements and a good quality mesh.
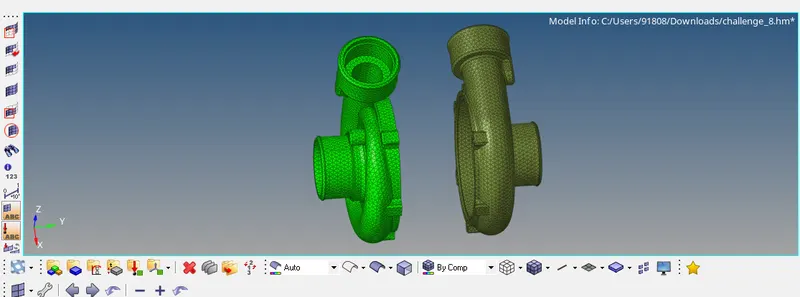
- After meshing, the two components appear as follows.
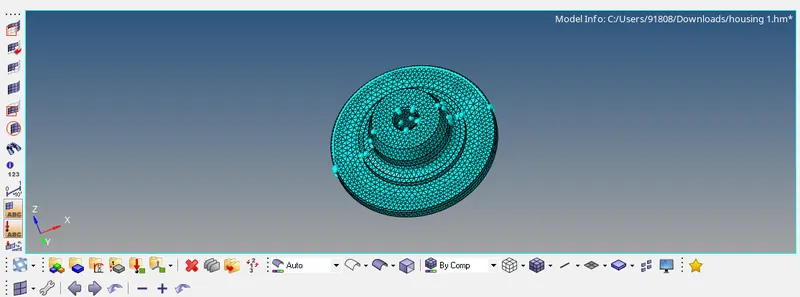
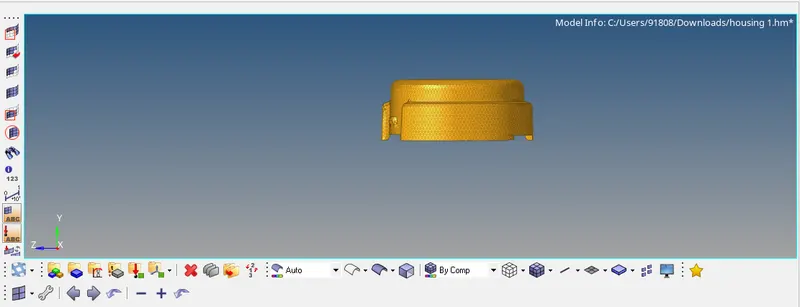
- Further, on the basis of the previously created mesh, a tetra mesh is created by using the 3D|Tetramesh option. It is best beforehand to check the tetra mesh parameters and define tet collapse to greater than 0.15, so, as to obtain elements satisfying the indicated criterion.
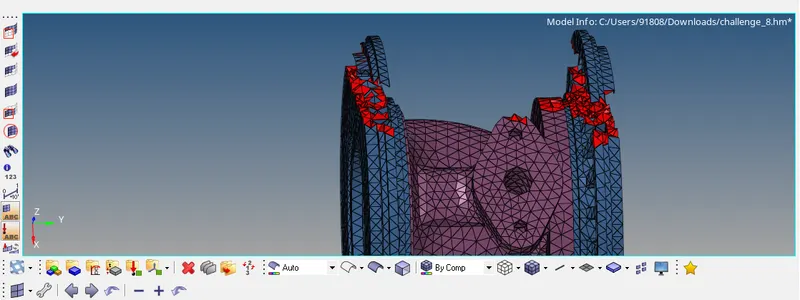
- Similar to 2D meshing, each element is carefully investigated using the "Tool | Check elems | 3-D" option. Error elements are singled out by masking all elements and unmasking the surrounding elements using Tools | Mask. Elements can also be re-meshed in the "3D | Tetra remesh" window. Tet collapse value can be marginally increased to ensure that the elements will conform to the quality criteria.
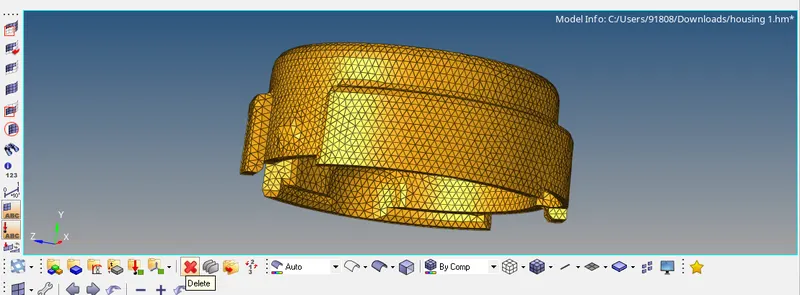
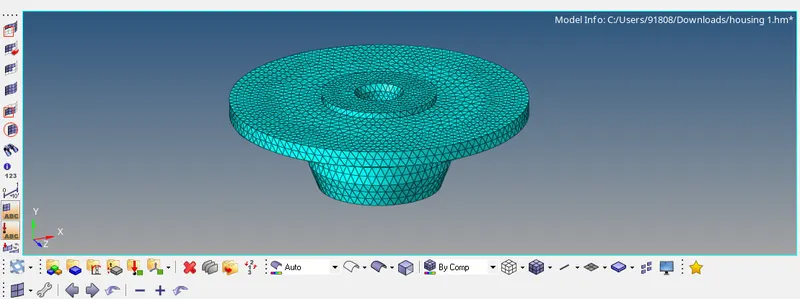
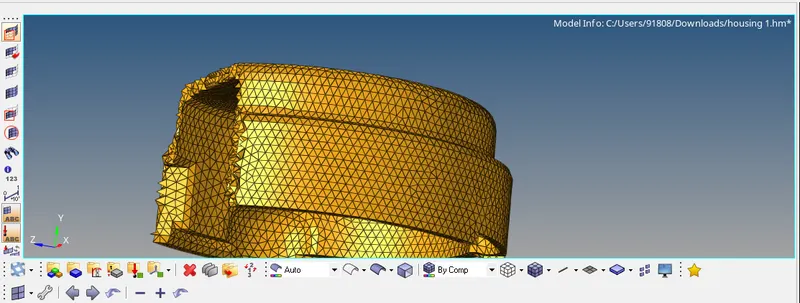
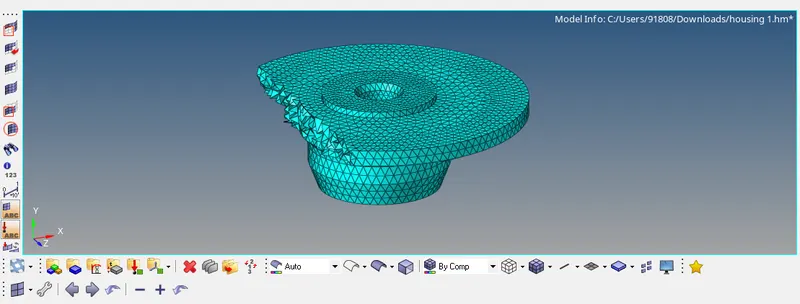
- Finally, both the components are tetra meshed as indicated.
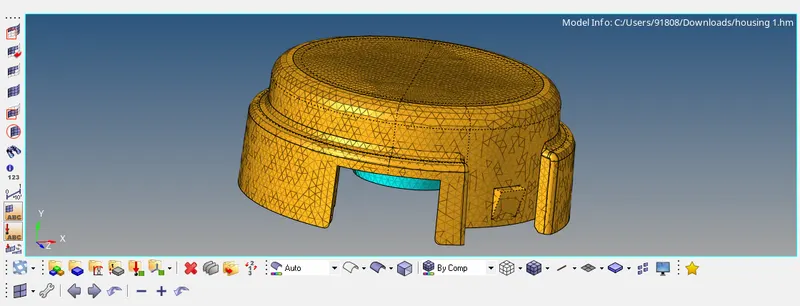
RESULT:
The given components are 3D meshed from their 2D meshed surfaces by following given quality standards with a tet collapse value of more than 0.15mm.
2.
OBJECTIVE: To create a 3D tetra mesh for the given model using Quick Tetra Mesh/ Volume Tetra Mesh and by following the mentioned quality criteria.
PROCEDURE:
- First of all, the model is opened with Hyperworks 2020 and the file is saved for saving any further progress.
- The imported CAD model image is depicted below.
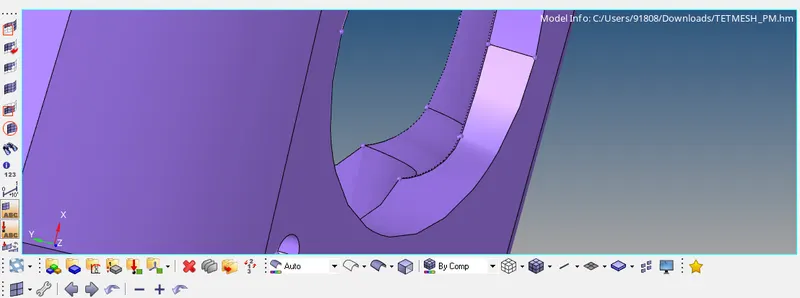
- Next, auto cleanup is performed using the "Geometry | Autocleanup" option for consistency in geometry and to define the geometry based on the given element size restrictions.
- Auto cleanup of the imported model is represented below.
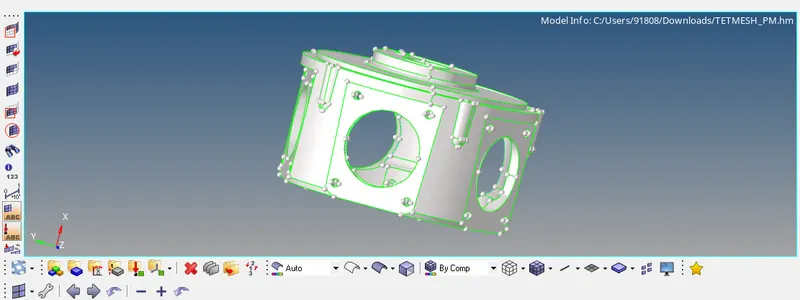
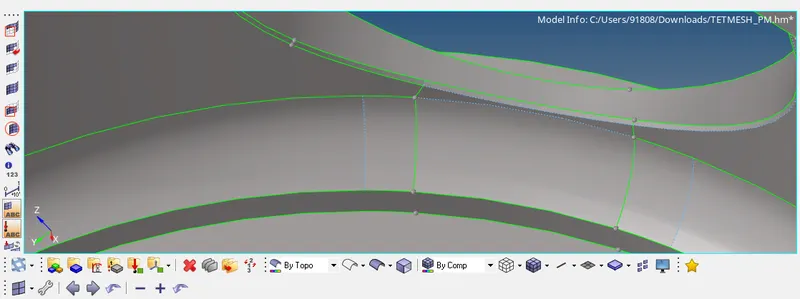
- Here, as indicated in the figure below, there are certain sides to be suppressed and certain others to be unsuppressed to avoid failing in further meshing steps. This can be done by the "Geometry | Quick Edit | Toggle edge" or by the "Geometry | Edge edit | Toggle" options.
- Going ahead, the suggested method is Quick Tetra Mesh/ Volume Tetra Mesh. Both methods can be followed, but, here Volume Tetra Mesh is accessed by "3D | Tetramesh | Volume Tetra". Before meshing, it's best to check for tet collapse greater than 0.15 in tetra mesh parameters and 3mm element size.
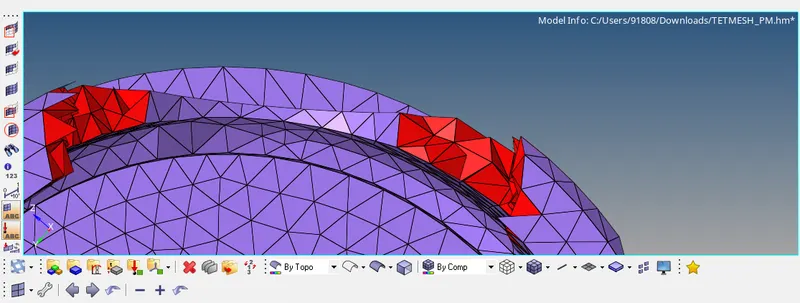
- Every element is carefully investigated by using the "Tool | Check elems | 3-D" option. Non-conforming elements are separated by masking all elements and unmasking the surrounding elements using Tools | Mask. Elements can be re-meshed in the "3D | Tetra remesh" window. Tet collapse value can be marginally increased, as needed, to ensure that the elements will conform to the stipulated quality criteria.
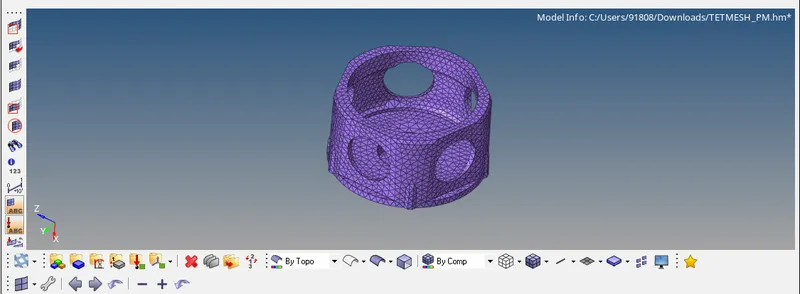
- Finally, the model is tetra meshed as indicated.
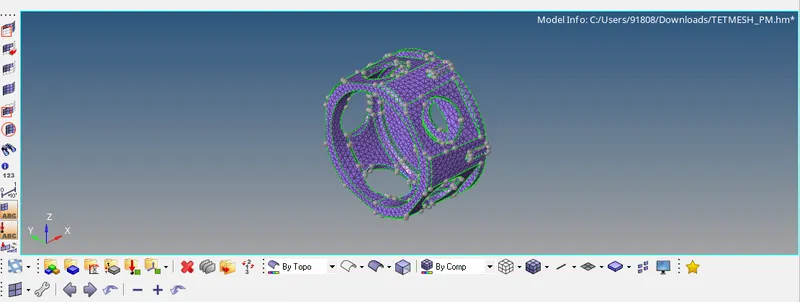
RESULT:
The given component is 3D meshed by following the suggested methods and given quality standards with a tet collapse value of more than 0.15mm.
3.
OBJECTIVE: To create a 3D tetra mesh for the given model using Quick Tetra Mesh/ Volume Tetra Mesh and by following the mentioned quality criteria.
PROCEDURE:
- Initially, the model is opened with Hyperworks 2020 and the file is saved for recording any further progress.
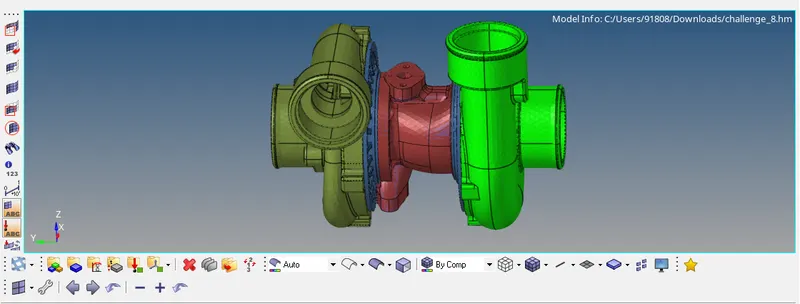
- The imported CAD model image is depicted below.
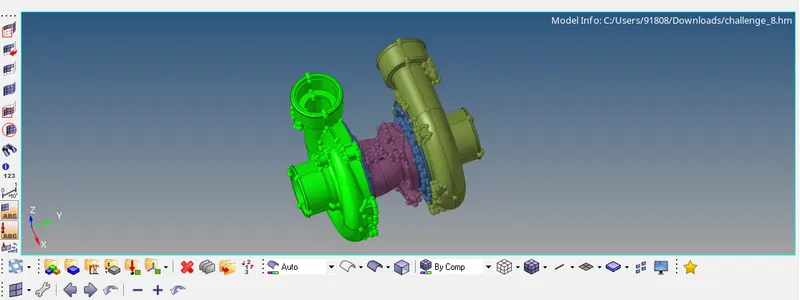
- Autocleanup is performed on surfaces and then solids to initially define the geometry based on given parameters.
- One of the components undergoing auto cleanup is shown below.
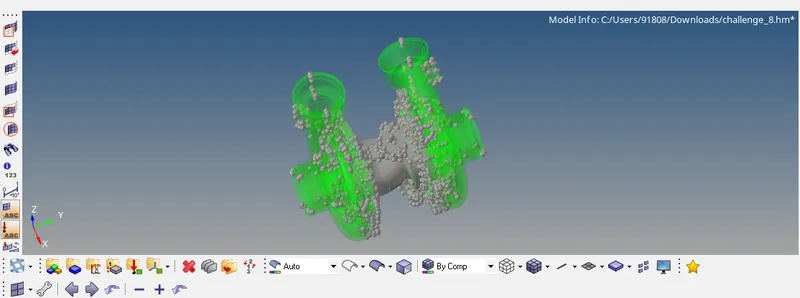
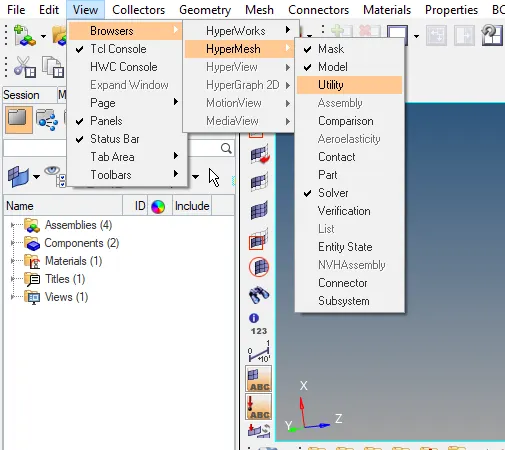
- Going ahead, after further toggling the lines, the suggested method is Quick Tetra Mesh/ Volume Tetra Mesh. Both methods can be followed, but, here, since 4 different components are present, both methods are explored. Volume Tetra Mesh is accessed by "3D | Tetramesh | Volume Tetra" and Quick Tetra Mesh is accessed by clicking on "View" in the menu bar, then, hovering onto Browsers>Hypermesh>Utility. Before meshing, it's best to check for a tet collapse greater than 0.15 in tetra mesh parameters and 4mm element size.
- Every element is carefully investigated by using the "Tool | Check elems | 3-D" option. Non-conforming elements are separated by masking all elements and unmasking the surrounding elements using Tools | Mask. Elements can be re-meshed in the "3D | Tetra remesh" window or accessing the Quick Tetra mesh window but performing cleanup only. Tet collapse value can be marginally increased, as needed, to ensure that the elements will conform to the stipulated quality criteria.
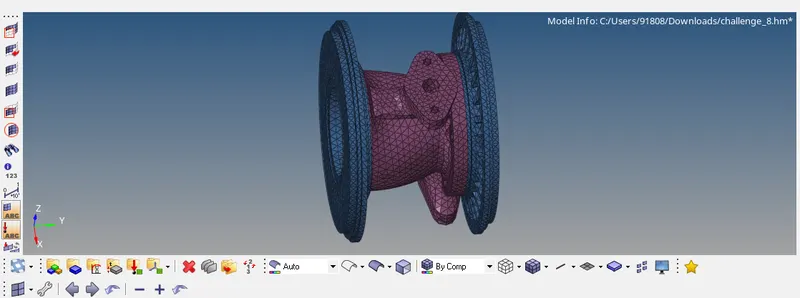
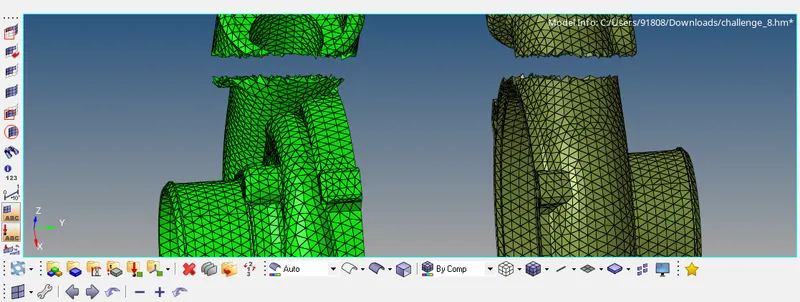
- Finally, the model is tetra meshed as indicated.
RESULT:
The given component is 3D meshed by following the suggested methods and given quality standards with a tet collapse value of more than 0.15mm.