Week 12:Project 2-Meshing of Rear Wheel Holder challenge
Aim: To extract a mid surface and meshing the given component.
Objectives:
- To perform the geometric clean up on the model for any error on it.
- To extract a mid surface of the given model.
- To clean and defeature the mid surface so as to avoid any minimum length errors while meshing the model.
- To mesh the mid surface while trying to minimize the number of trias and its concentration.
- Checking for element quality criteria for failing elements and correcting them.
- To assign thickness to mesh accordingly to the model.
- At last checking for the free edges.
Procedure:
- To begin with the meshing process on the model, the very first step is to geometrically clean up the model after importing it to the workspace as their might be some surface defects while importing the component.
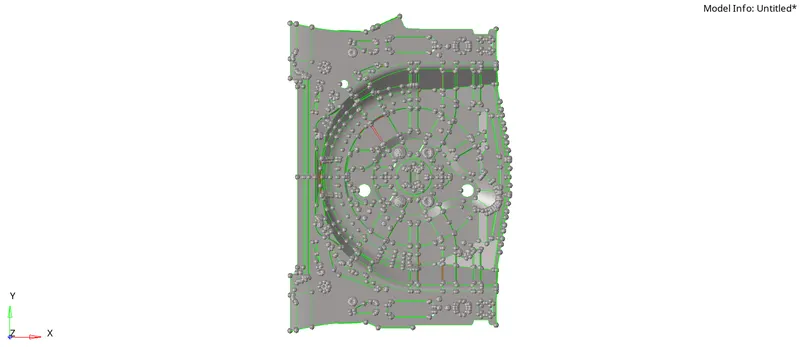
- After these geometric clean up like filling the surface and connecting the free points we will rectify all the geometric imperfections on the model to make it prepared for the mid surface extraction.
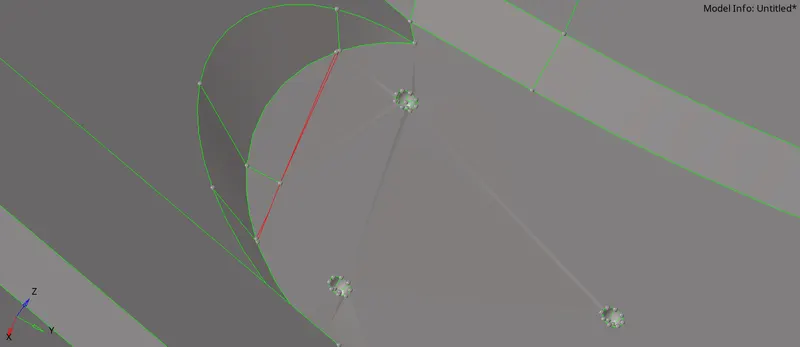
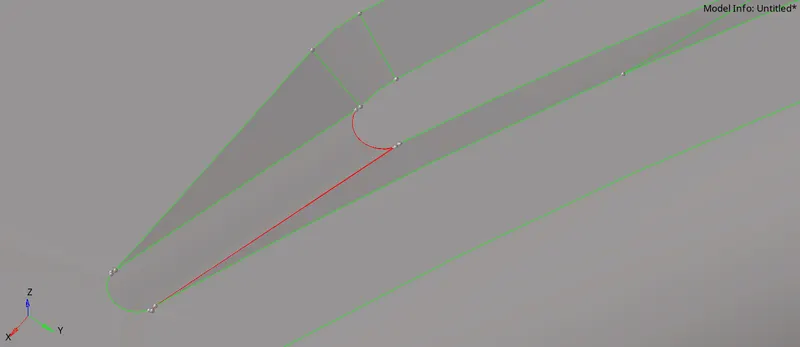
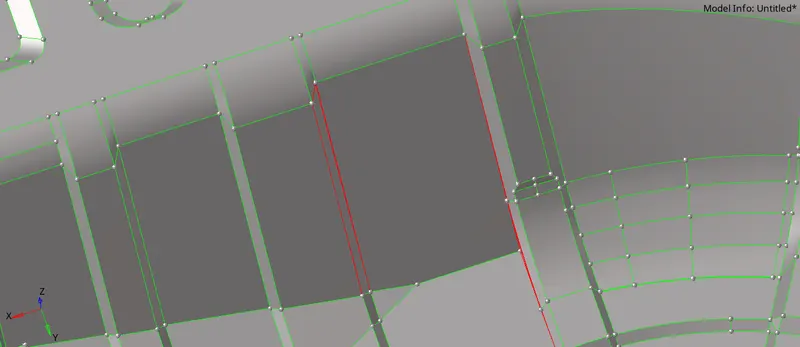
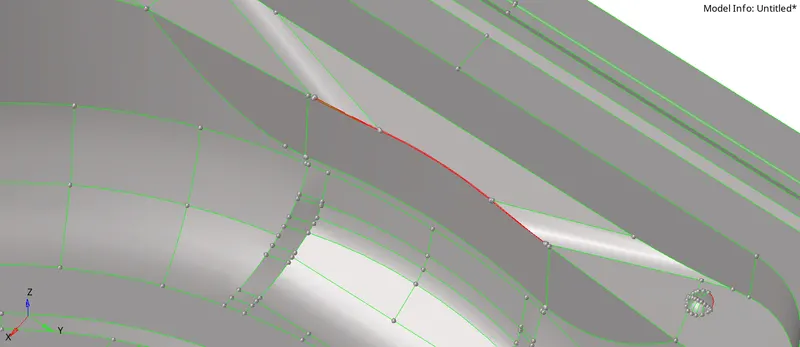
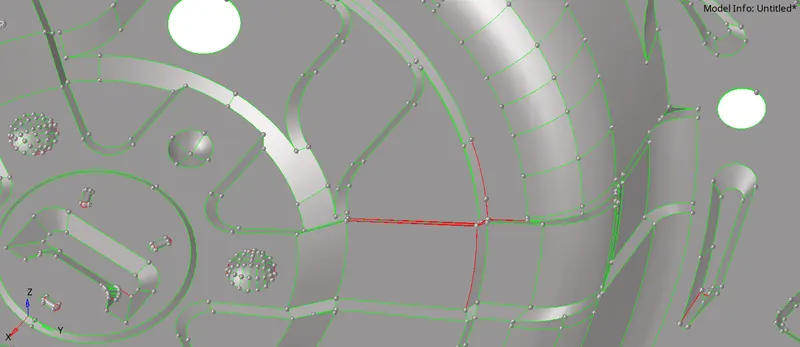
- After clean up we will go for mid surface extraction as the thickness is more or less uniform we can directly go for auto mid surface then selecting the surface then in mid surface command we need to change the extraction option to offset+plane+sweep then go for extract.
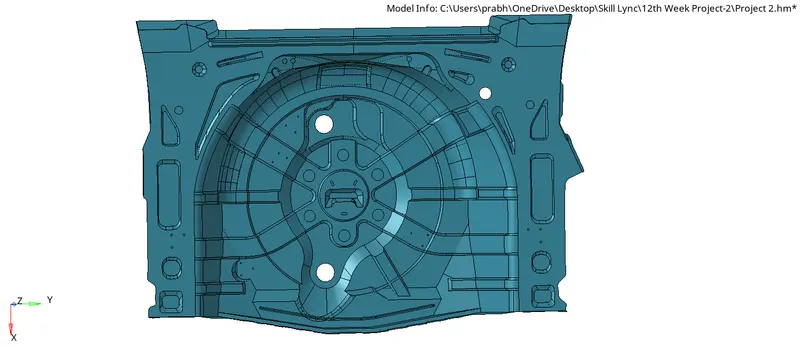
- After the mid surface extracted, then we need to proceed to clean the mid surface for any line which may cause to get minimum element length error. To do this we firstly need to measure the distance between two points on the surface where we might get an element which might fail for minimum length. To measure the distance, we need to use the distance command in geometry tab.
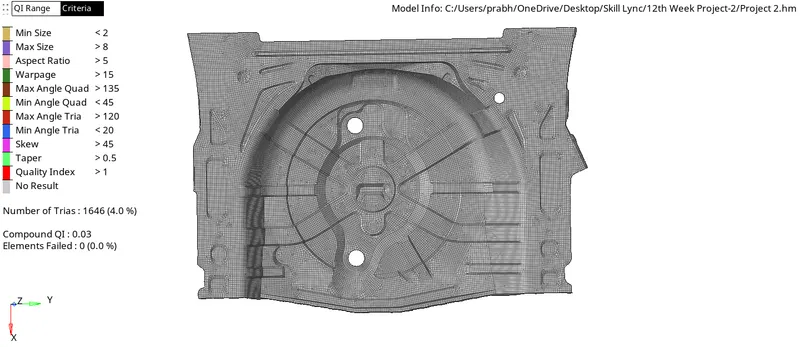
- Before we can start meshing, we need to set the quality criteria for the meshing process. To do this, we need to use the preference tab and use the option of criteria file setting. Here we need to fill in all the necessary quality criteria values such as the value of minimum and maximum length and even the value for warpage and etc.
| S. No. | Quality Criteria | Value |
| 1 | Target Element Length | 5 |
| 2 | Aspect Ratio | 5 |
| 3 | Skewness | 45 |
| 4 | Warping | 15 |
| 5 | Min. Length | 2 Units |
| 6 | Max. Length | 8 Units |
| 7 | Min. Angle Quad | 45 |
| 8 | Max. Angle Quad | 135 |
| 9 | Min. Tria Angle | 20 |
| 10 | Max. Tria Angle | 120 |
| 11 | Tria % | 10 |
| 12 | Taper | 0.5 |
- After the quality criteria is set, we need to proceed to mesh the mid surface. To perform meshing on the component, we need to use the command Automesh under 2D Tab. In this command we need to change the element length to 5mm as per quality criteria. Alaways keep the option tick as flow align and size as it will give a much better mesh flow on the component.
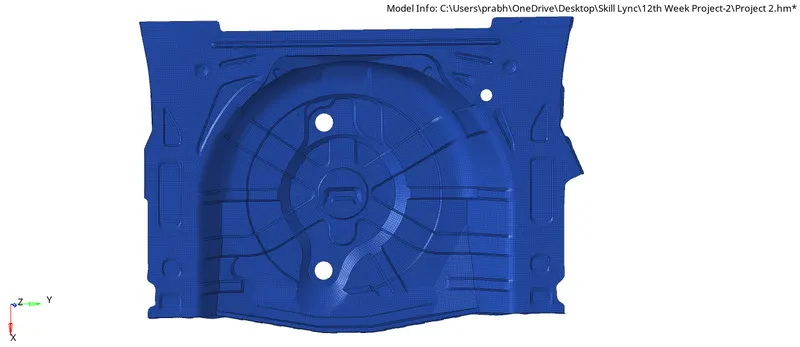
- After the meshing is done, the next step is to check for element that have failed the quality criteria set earlier. To check this, we need to see at two different places, the first one being in the 2D tab under the command of quality check. Here we can see all the elements that are failing for any Quality criteria such as the min. length or even the aspect ratio.
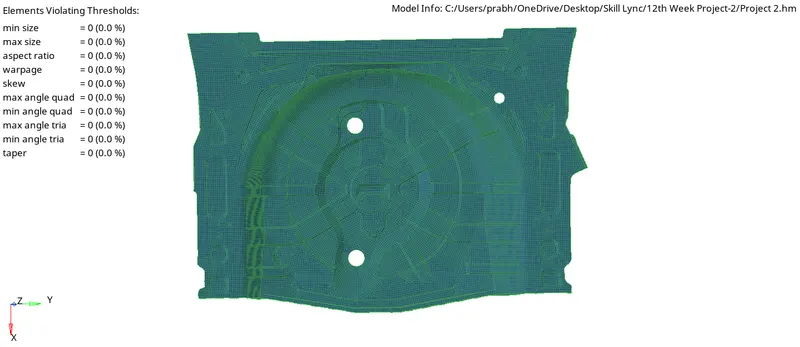
- The other place to check for is the quality check. We simply need to give all the values according to the element quality criteria. Then click on the quality criteria individually and view the total number of element that have failed that perticular quality criteria. All the element that are failing for the set quality criteria are to be resolved before going ahead with the further steps.
- We will also check for the free edges on the meshed component to understand better connectivity among elements.
- Now after checking all the quality parameters and rectifying all the failing elemets, the next step is to assign thickness to the model. The first step when assigning thickness to the model. The first step when assigning thickness is to measure the thickness at various spots in the model.
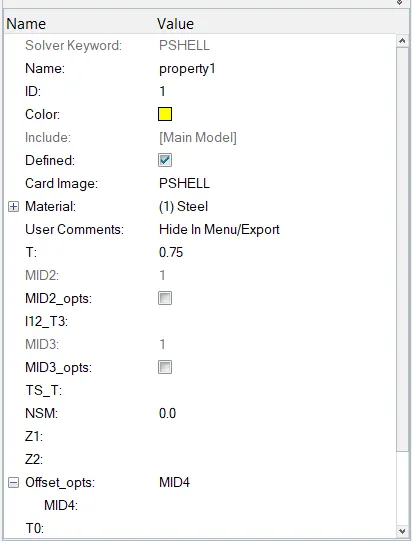
- After this we will now assign proper thickness to the elements, we need to create properties and change the value of thickness as 0.75.
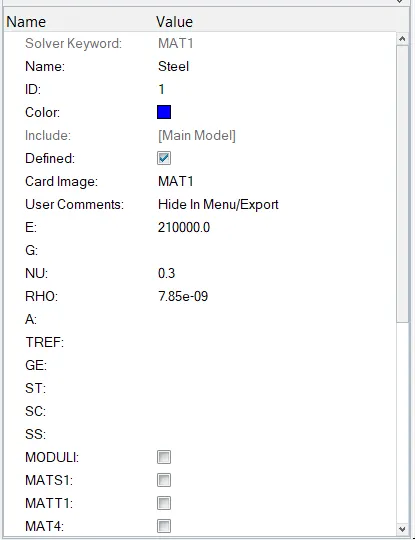
- And also we can assign material for this component as steel.
Conclusion:
This project helped me to understand various tools need to used for geometric cleanups and preparing model for meshing with minimum errors.