Week 8-3D Tetra Meshing Challenge
Model1:
OBJECTIVE: To Create a Teramesh from 2d tria mesh to 3d tetramesh for Housing component with the given quality criteria and mesh parameter.
PROCEDURE:
Step1: To import the model give model to the interface or GUI.
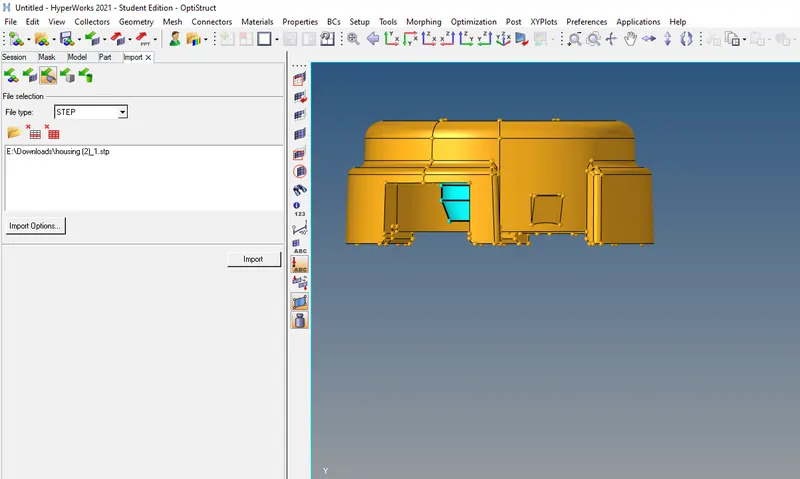
- Import>import the model select the file type and import.
Step2: Deleting the solid from the component.
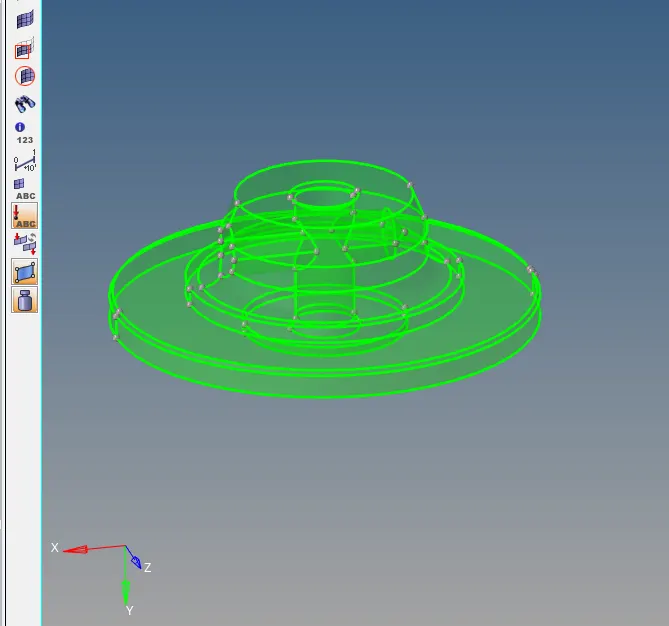
- F2 >solid from the drop down> delete entity.
Step3: Performing the geometry clean up and removing the surface fillets.
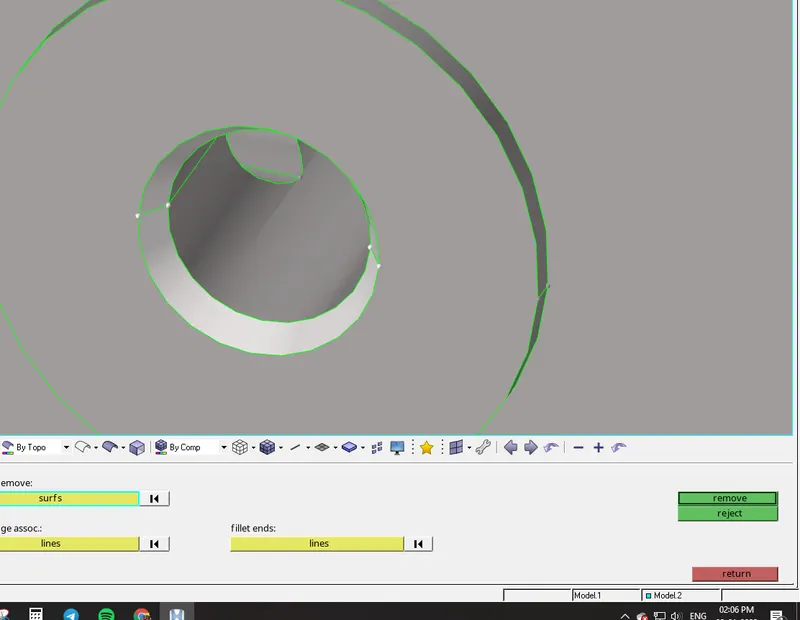
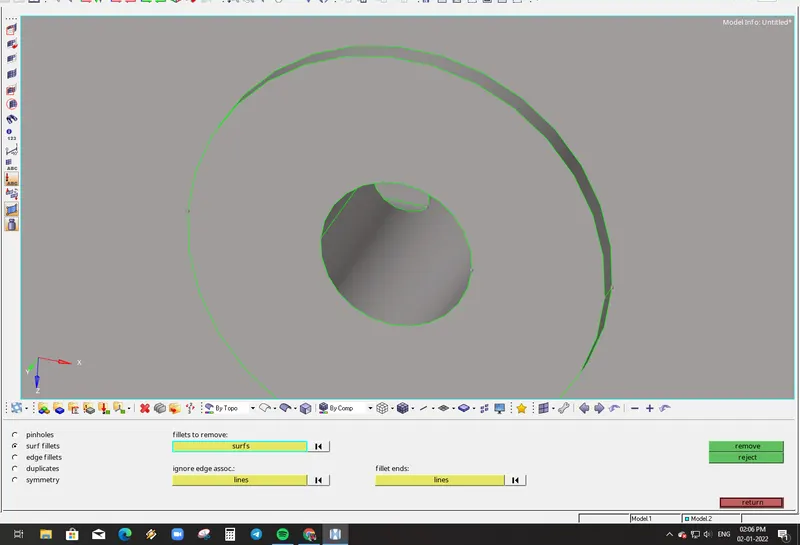
- Geom>defeature> Surface fillet> selecting the fillet>find>remove.
Step4: Generating the tria mesh on the surface which is the 2D mesh.
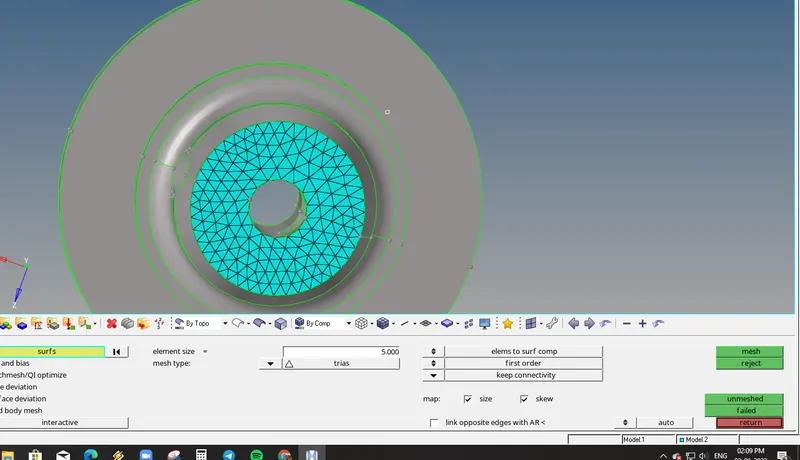
- 2D>Automesh>surface> element size=5units> meah type=Tria>Mesh.
- 2D Tria Mesh is generated on the surface.
Step5: To check the quality of the mesh.
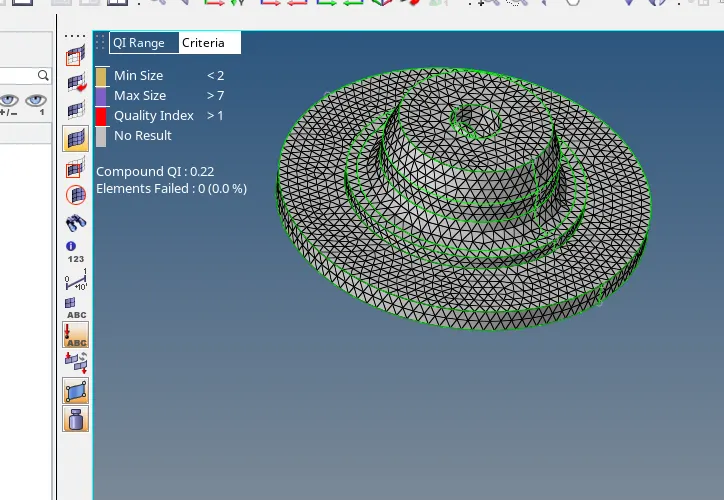
- Using element quality option to check for min or max tria element in 2D mesh.
Step6: Now generating the 3d mesh for the components.

- 3d>tetramesh>Selecting the 2d elements > Mesh
- The 3d Tetra mesh is generated.
Step7: Checking for tet collapse which is the element is failure in 3D mesh.
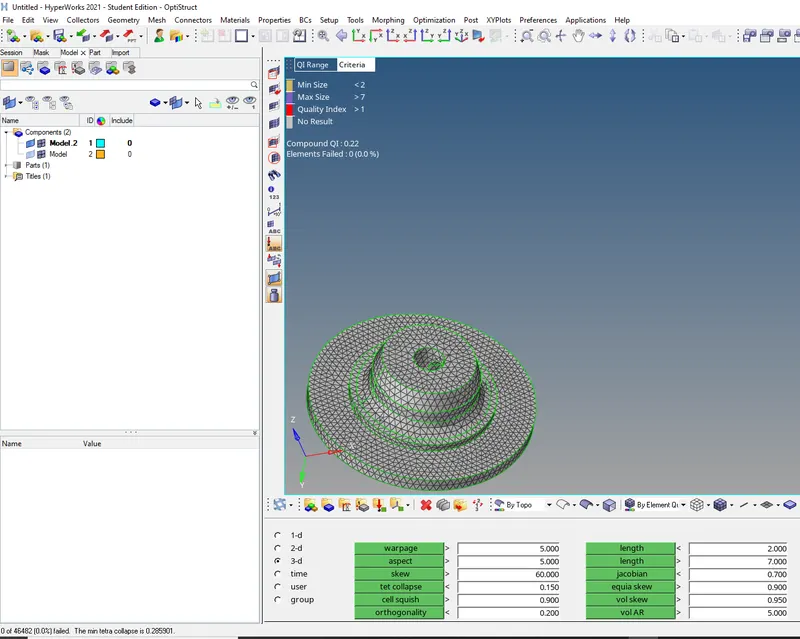
- F10 or Tools>check elements>entering the tet collapse value>selecting the tet collapse>save failed.
- F5 or Tools>mask>elements>retrive>mask>reverse.
- The failed elements are shown
- Removing Tet collapse by translate option and tetra remesh option
Step8: Following the same procedure for the rest of the component.
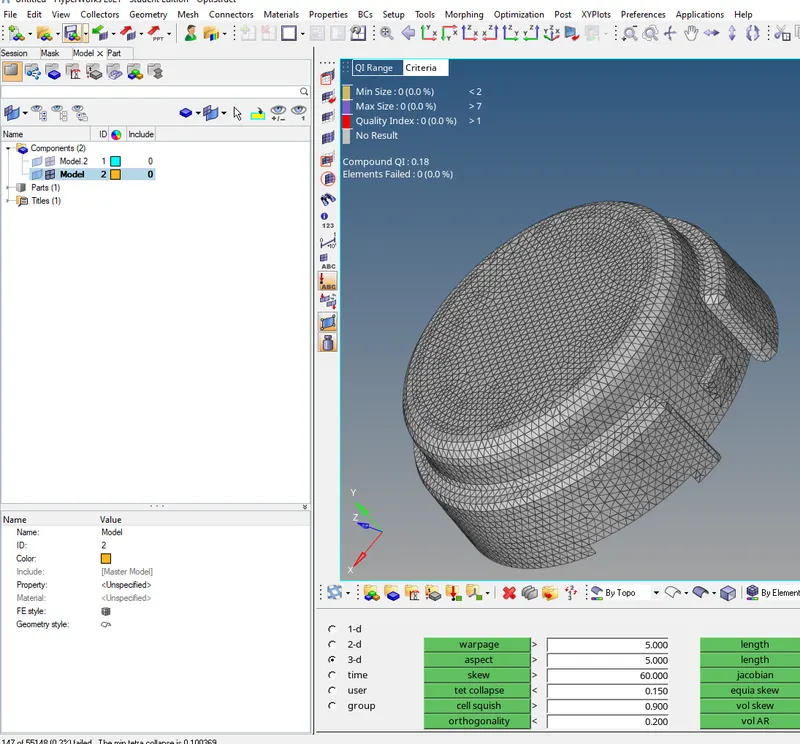
Final Pictures of the Model:
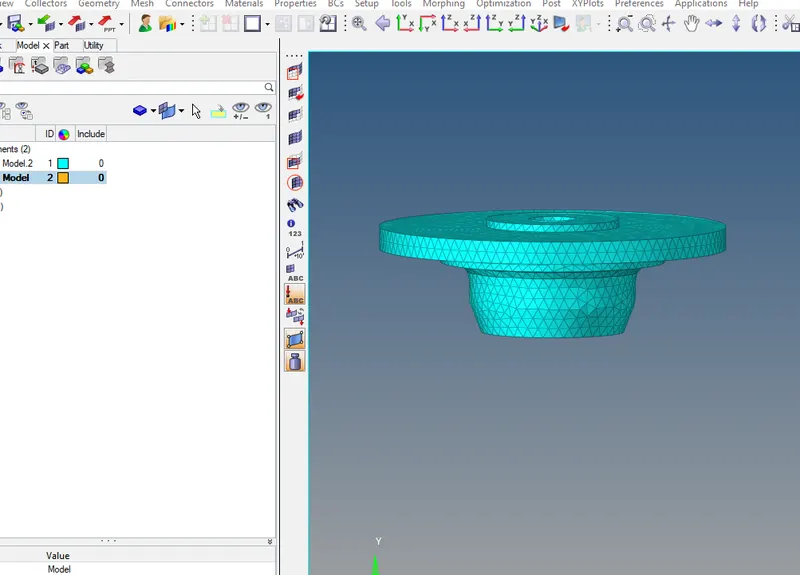
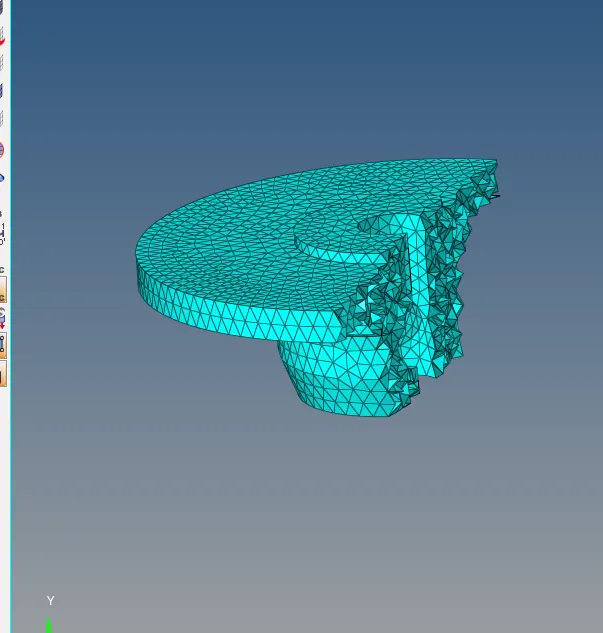
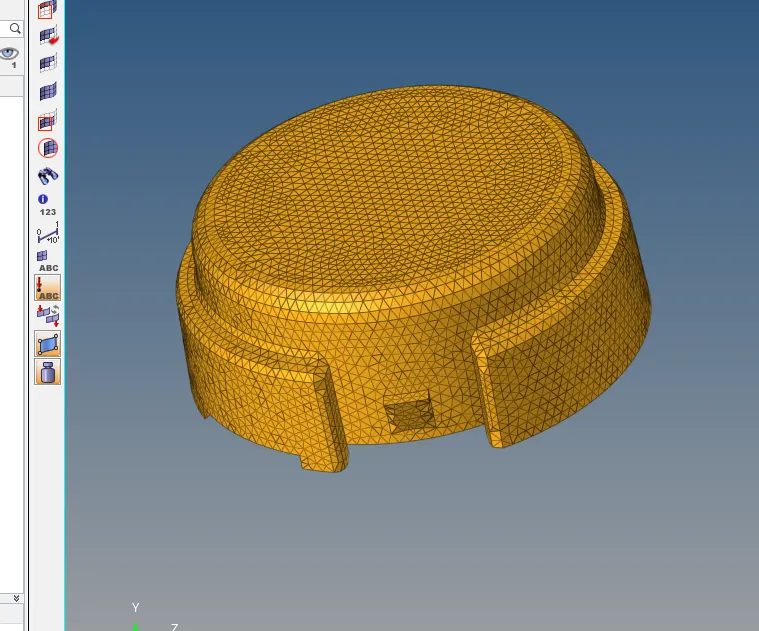
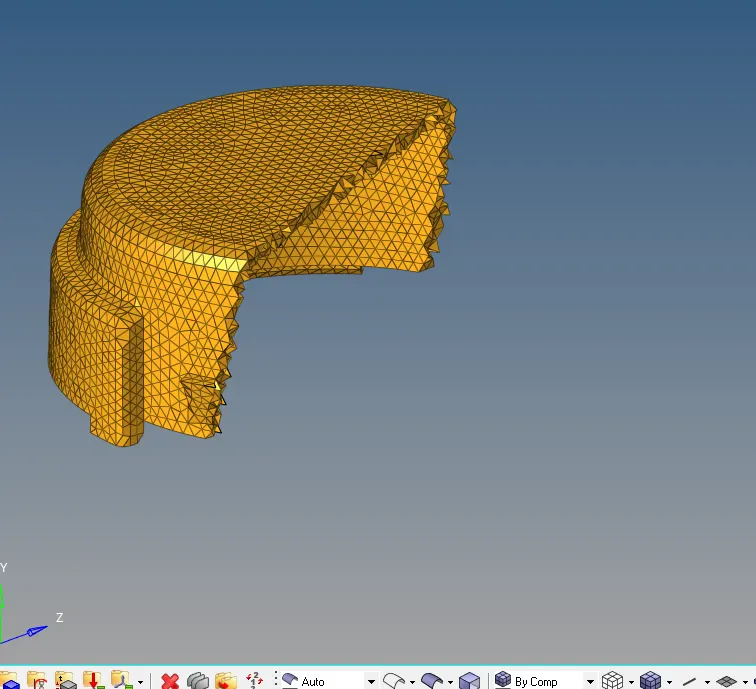
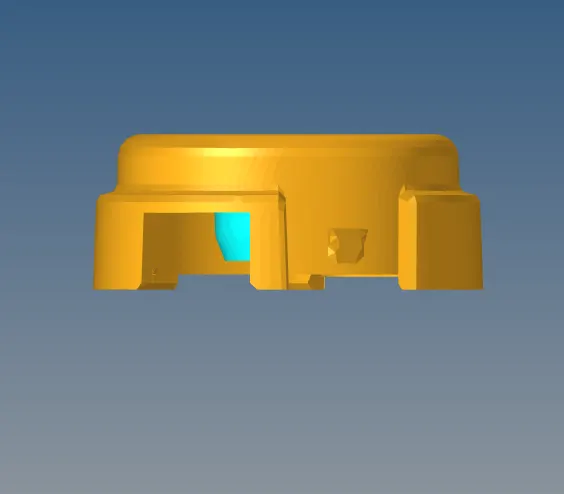
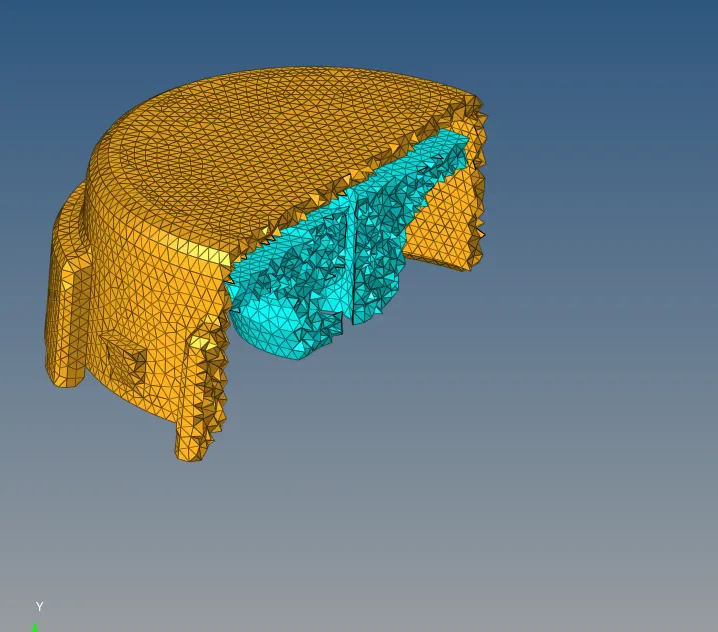
RESULT: Successfully meshed the components with a tria element (2D) and then converted into tetrahedral or 3D mesh with the given Quality and mesh parameters.
Model 2:
OBJECTIVE: To mesh the component with the quick tetramesh or the Volume mesh with the given quality criteria.
PROCEDURE:
Step1: To import the new model to the deck.
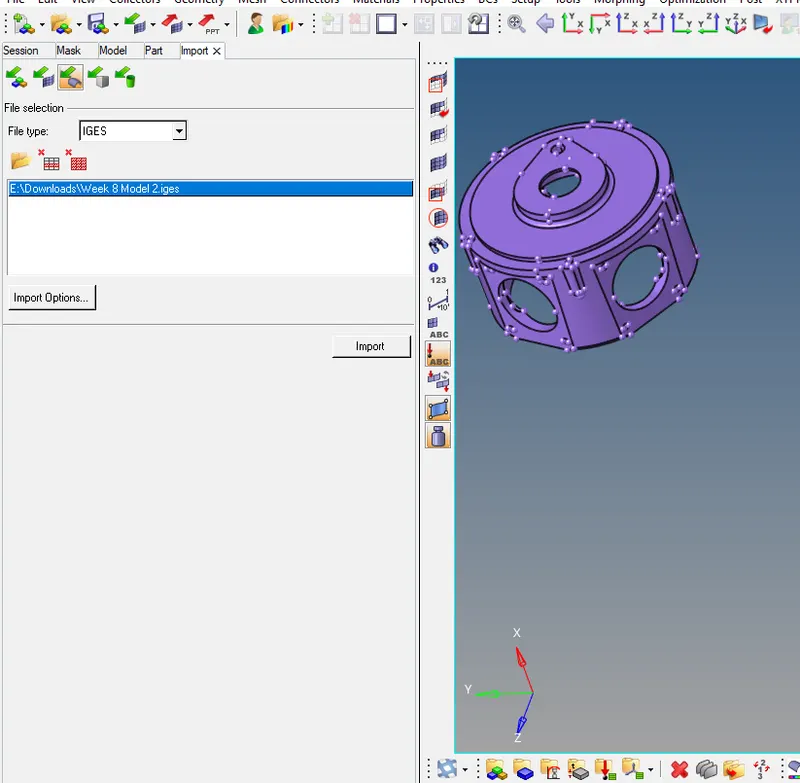
- File>new model> Will clear the existing model.
- Import>import the model select the file type and import.
Step2: To generate the volume mesh for the given model
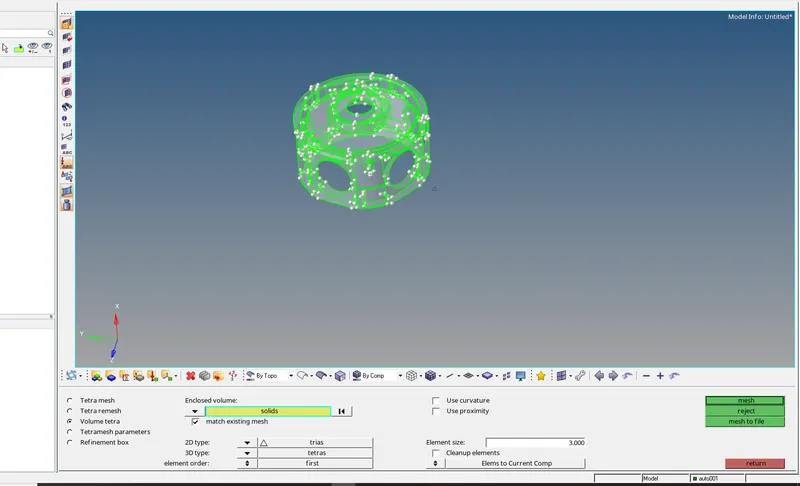
- 3D>tetramesh>2D type as Tria> Element size 3 units> Mesh.
- The mesh is generated with separate collector.
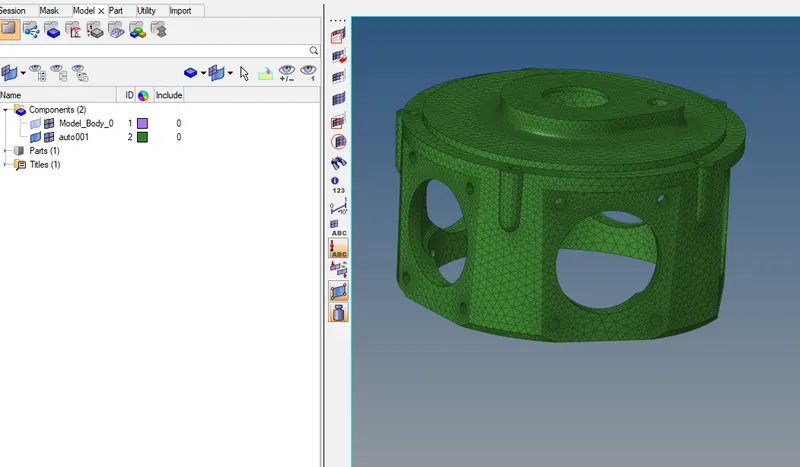
Step3: To check for tetcollapse for the given component .
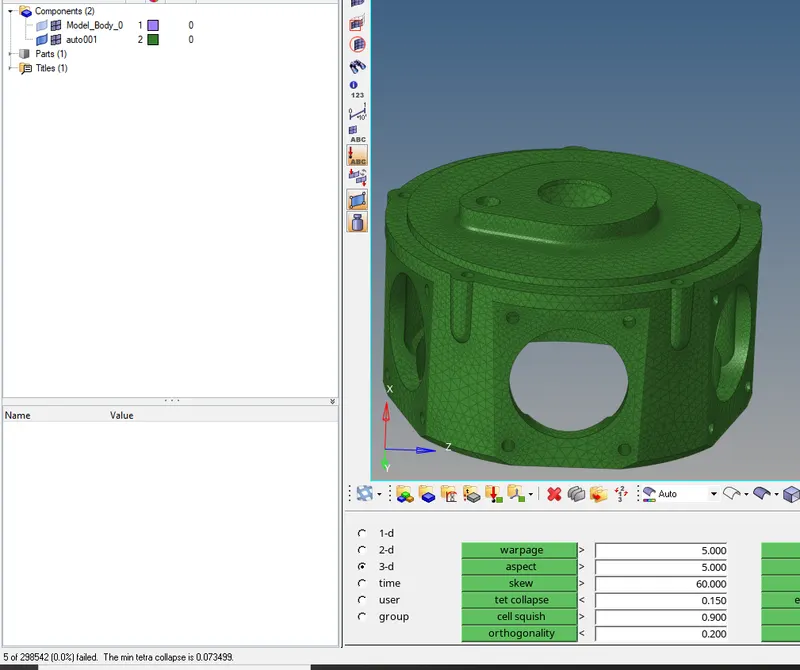
- F10 or Tools>check element quality >3D>Tetcollapse.
- 5 elements are falling for tetcollapse.
Step4: To clear the failing elements.
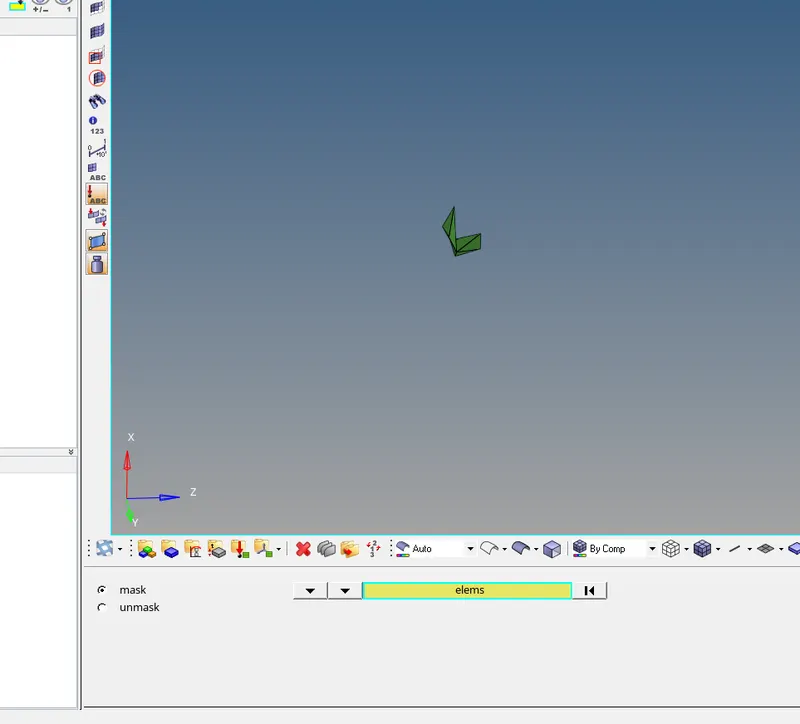
- To view those elements , F10 or Tools>check element quality >3D>Tetcollapse> save failed.
- F5 or Mask>elements>retrieve >mask>reverse. the elements are shown .

- 3D>tetramesh>tetramesh parameter. tetcollapse as 0.15 and giving thw max element size as 7.

- 3D>tetramesh>tetra remesh > the quality is fixed.
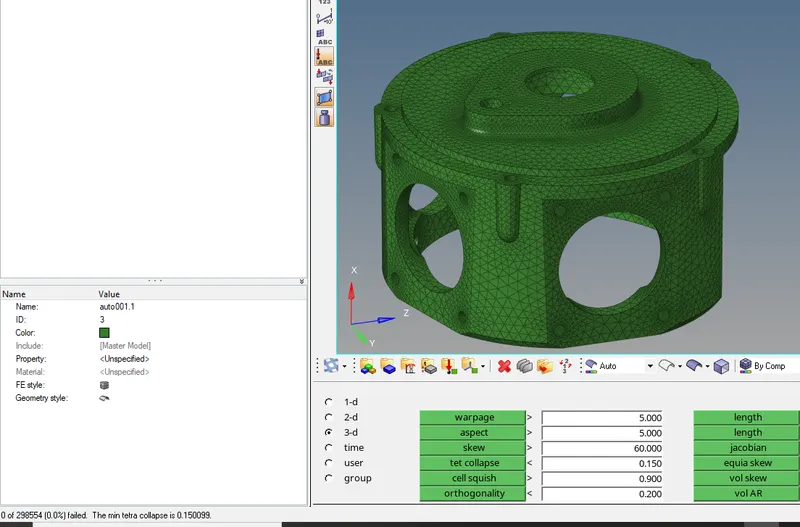
- Now the quality is fixed,cleared the tetcollapse.
Final Model Images:
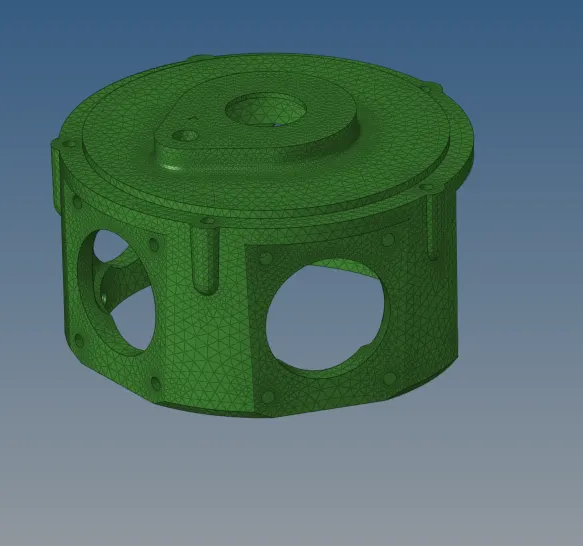
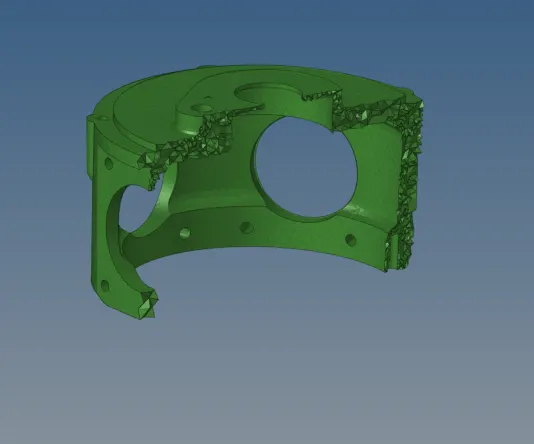
RESULT: Successfully meshed the components using a volume mesh with the given Quality criteria and mesh parameters.
Model3:
OBJECTIVE: To mesh the component with the quick tetramesh or the Volume mesh with the given quality criteria.
PROCEDURE:
Step1: To import the new model to the deck.
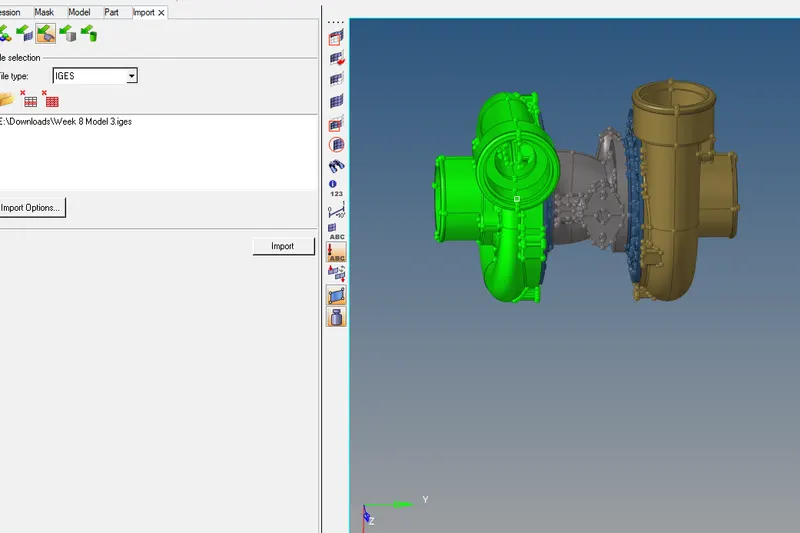
- File>new model> Will clear the existing model.
- Import>import the model select the file type and import.
Step2: To generate the volume mesh for the given model.
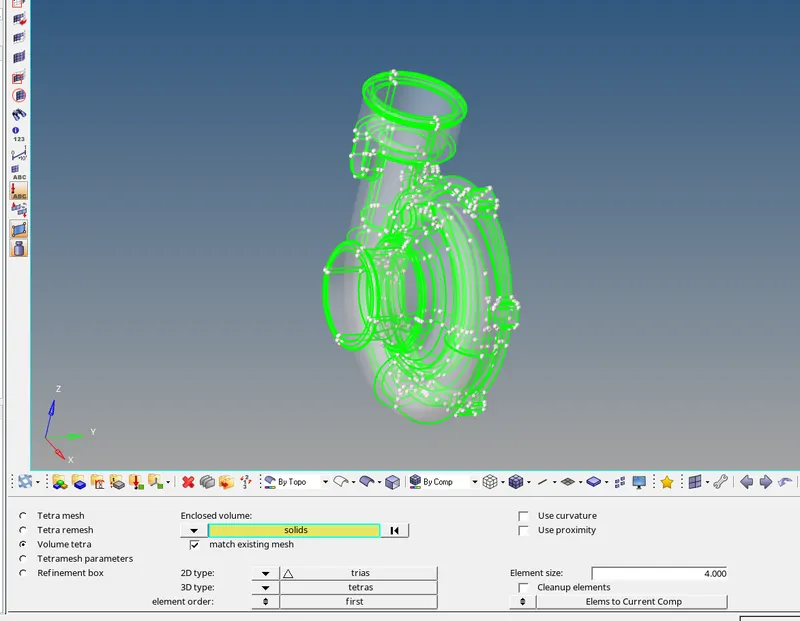
- 3D>tetramesh>2D type as Tria> Element size 4 units> Mesh.
- The mesh is generated with separate collector.
Step3: To check for tetcollapse for the given component.
- F10 or Tools>check elements>entering the tet collapse value>selecting the tet collapse>save failed.
- F5 or Tools>mask>elements>retrive>mask>reverse.
- The failed elements are shown
- Removing Tet collapse by translate option and tetra remesh option.
Step4: Following the same procedure for the rest of the components.
Final Model Images:
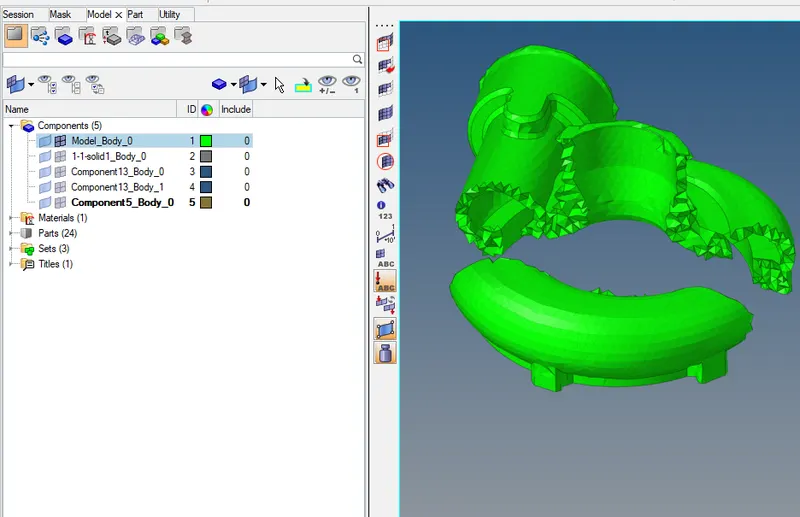
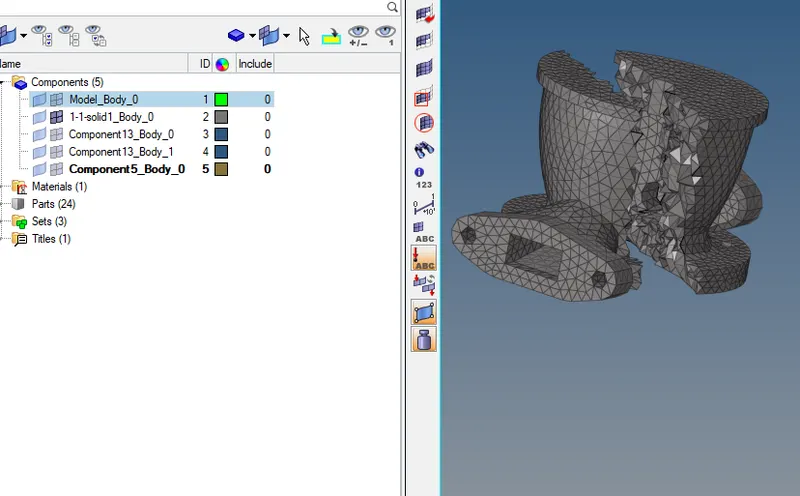
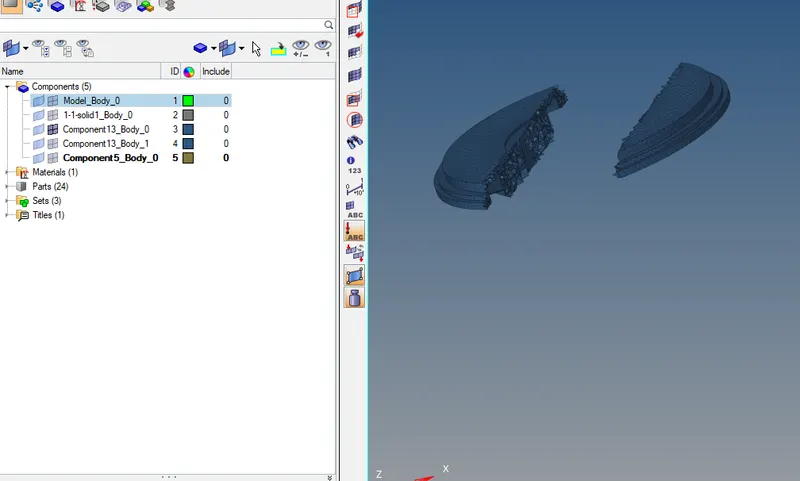
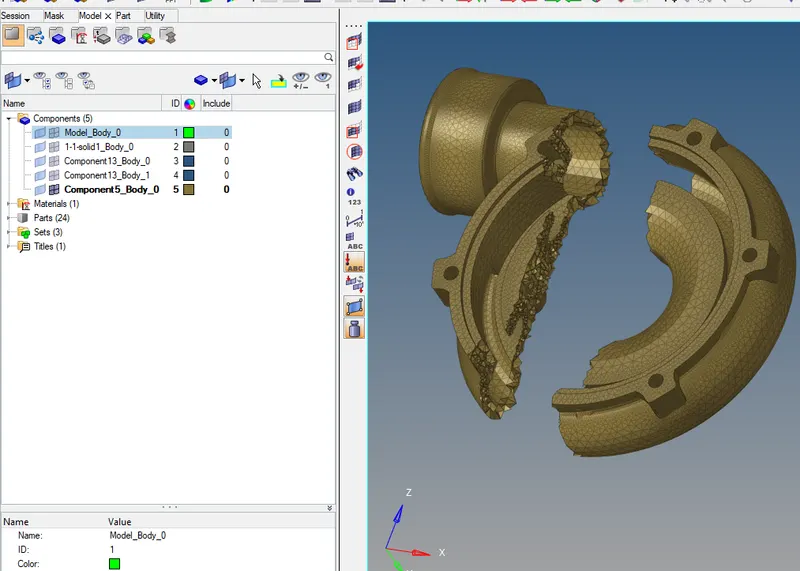
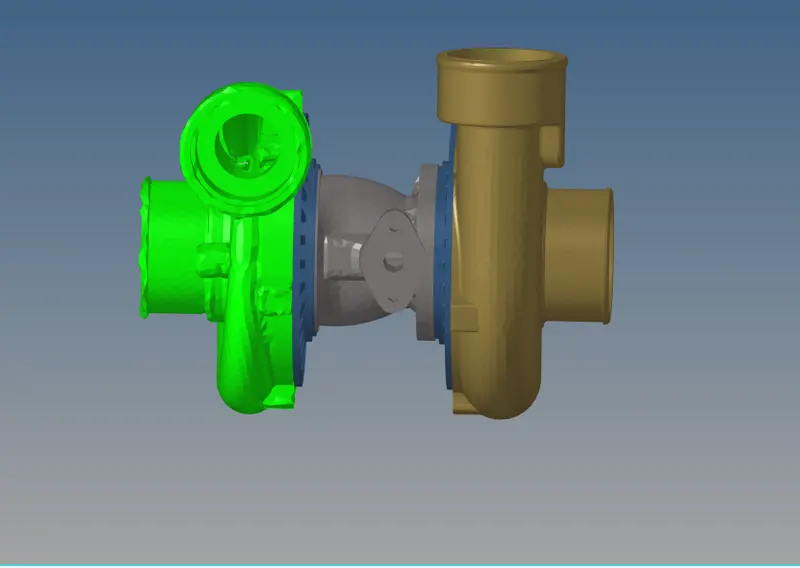
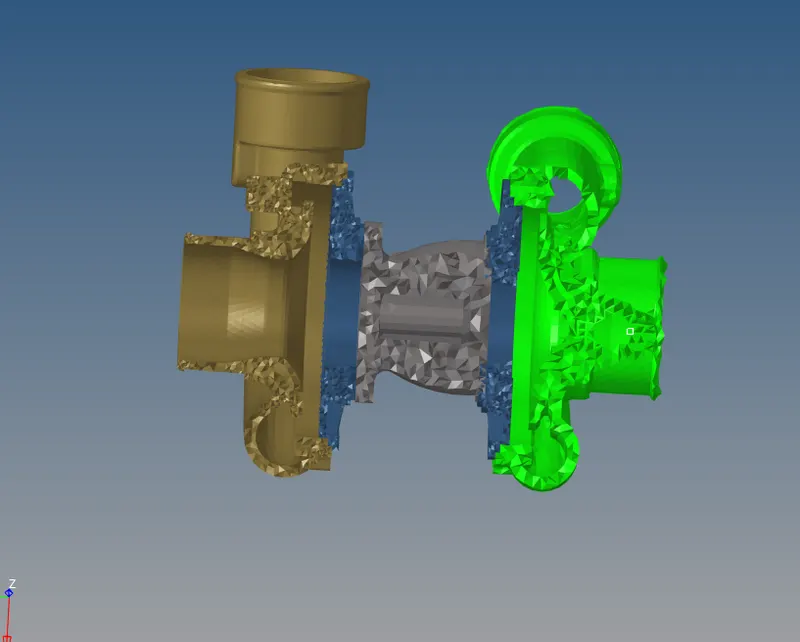
Note: Not able upload the complete 3D meshed model due to student version of software. since the total no of elements exceeds the permissions.
CONCLUSION: The number of elements failed due to tetcollapse from tetramesh ( conversion from 2D to 3D ) is less compared to the volume mesh or quick mesh.