Week - 4 - 2D meshing for Plastic components
Aim: To create the Mid-surface and generate the mesh flow for the given model.
Procedure:
Step 1: Imported a cad model and made sure it is in readable format( STEP / IGES / STL)
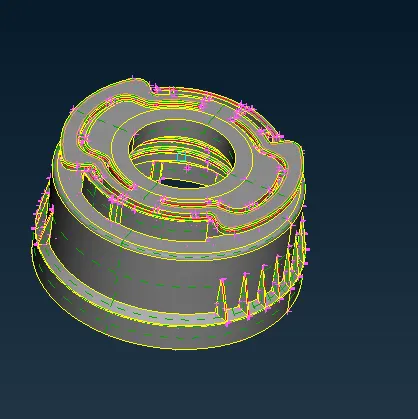
Step 2: Ran a geometry check command to check for geometrical errors.
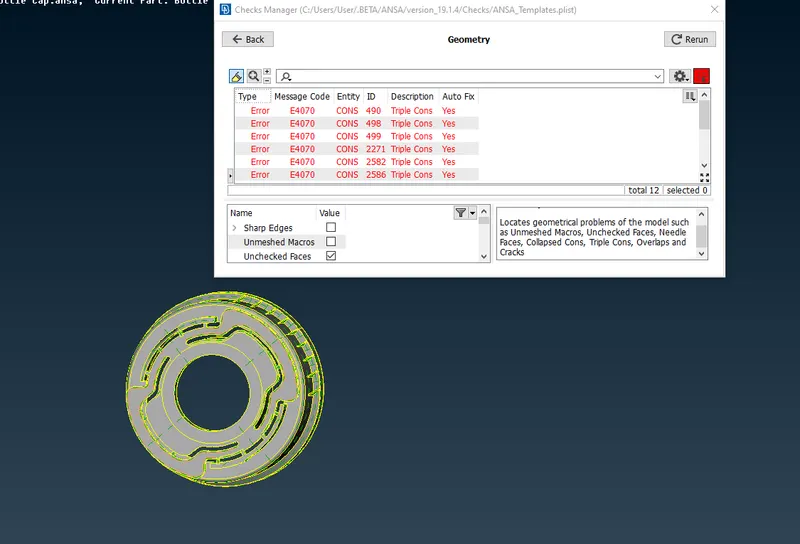
i) Deleted the crack and created the new face.
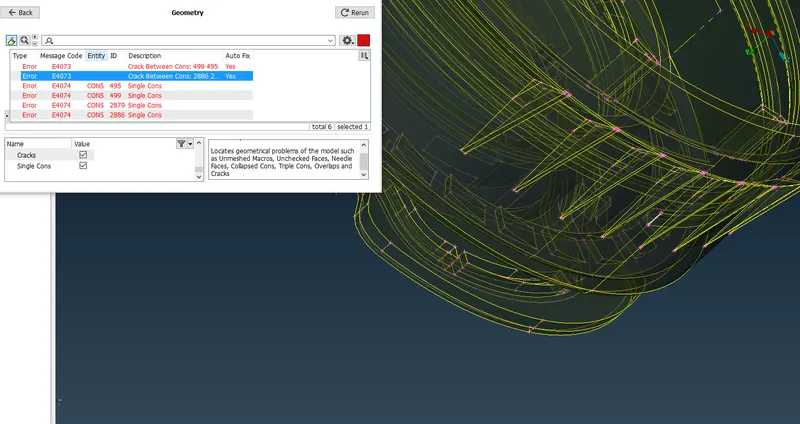
ii) Single con error, deleted the extra surface and used Topo Option to convert the single con into double con.
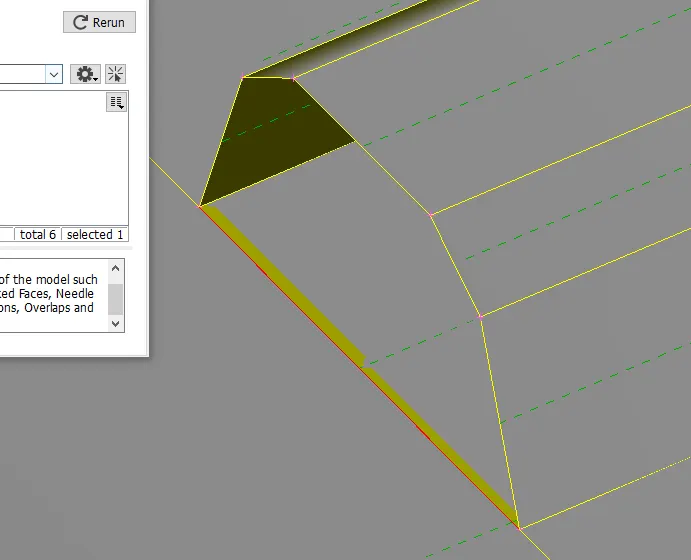
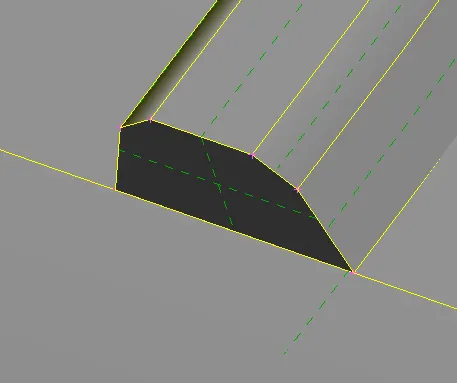
iii) Used auto fix to cleared the rest of the geomtrical issue and obtained a error free geomtrical model.
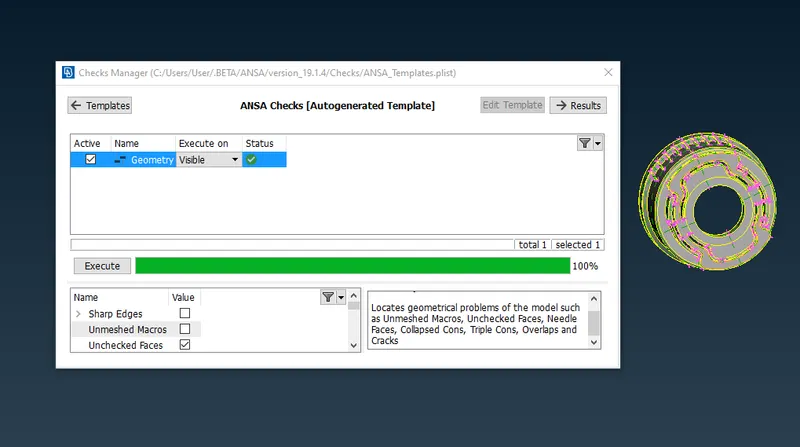
step 3: Performed orientation on faces of each individual part id to have uniform orientation.
step 4: Generated a Mid-surface to each individual part by using offset and other suitable command.
i) Measured the componet for thickness in order to offset.
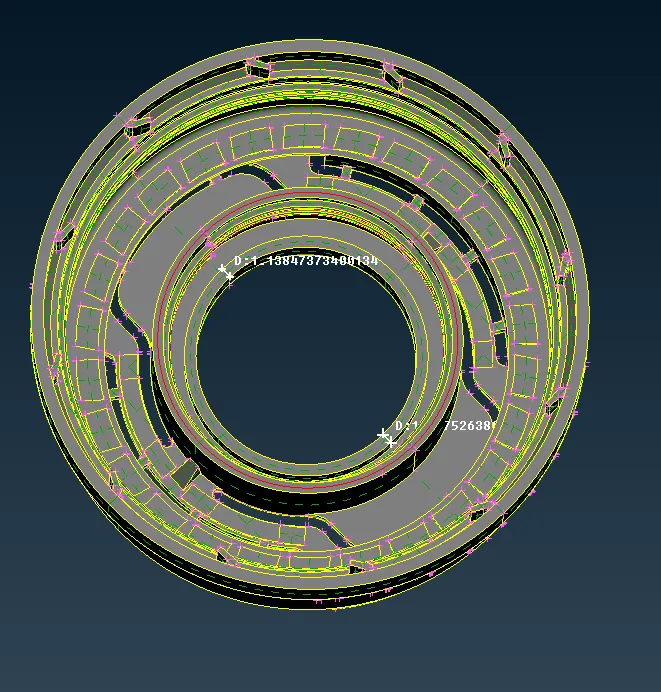
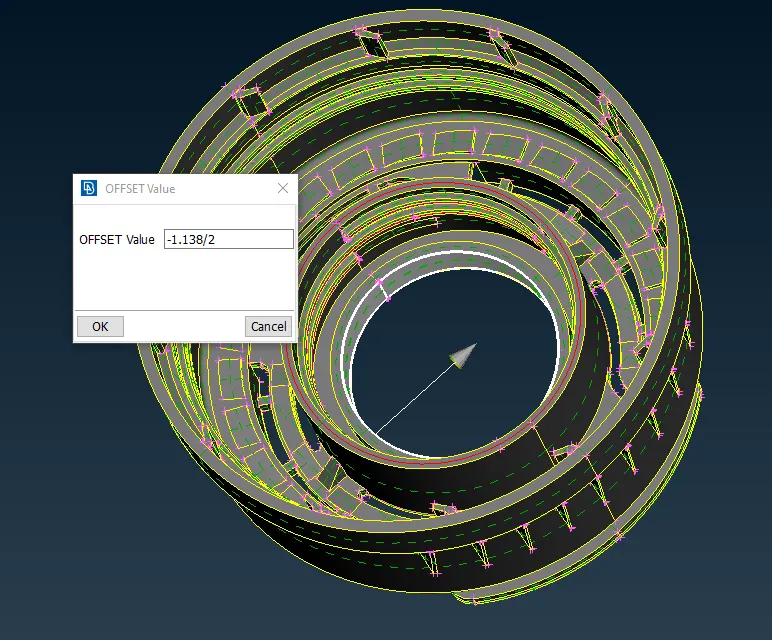
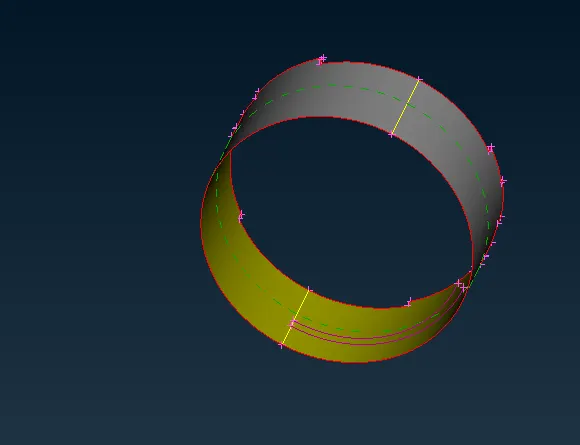
ii) Taking Mid-surface for threads using curves.
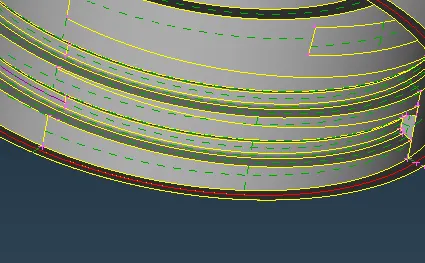
a) Since the thread section has a varying cross section by using middle curve we can obtion middle surface.
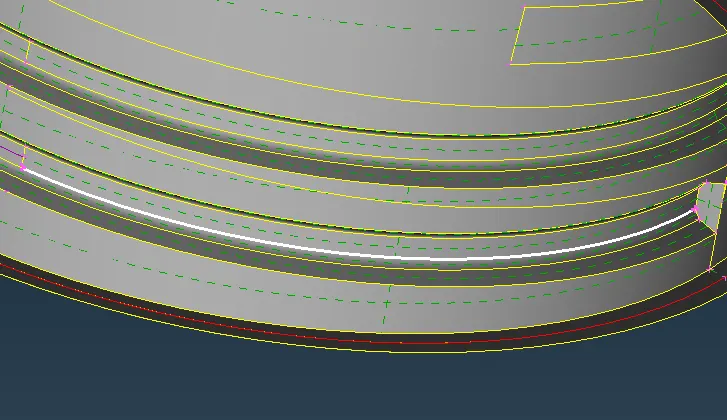
b) By discretizing or dividing ( cut option) the thread in order to obtain the better curve middle .
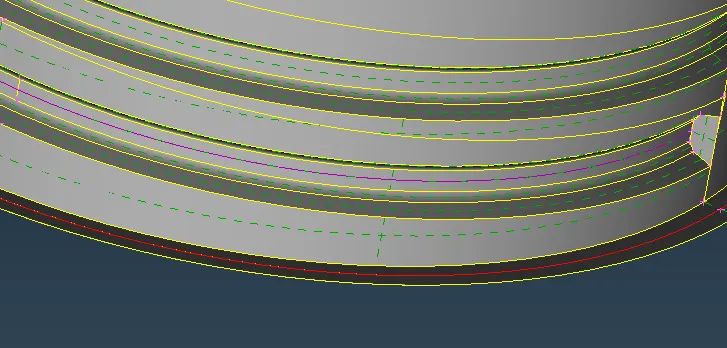
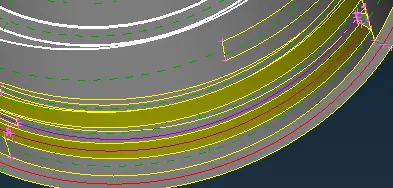
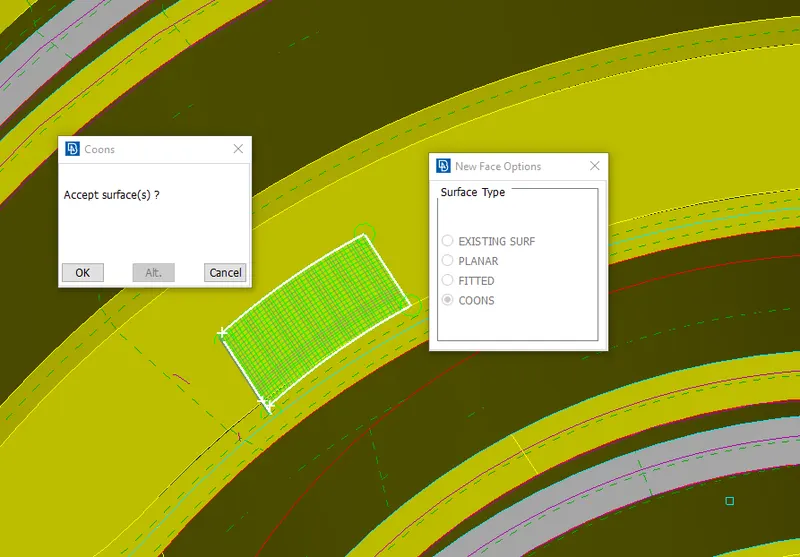
c) And also obtain middle curve for the bottom of the suface and create a new face using face>coons option.
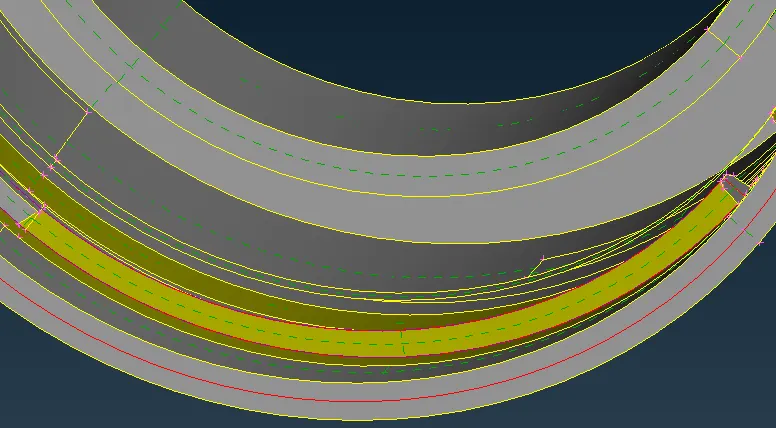
d) Similarly following the same steps to the rest of the divided thread.
iii) Obtaining the middle surface for a rib.
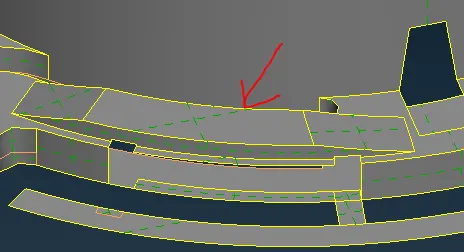
a) By using the face>Middle>single option we can obtain the middle surface for this rib.

iv) Creating middle surface for the teeths.
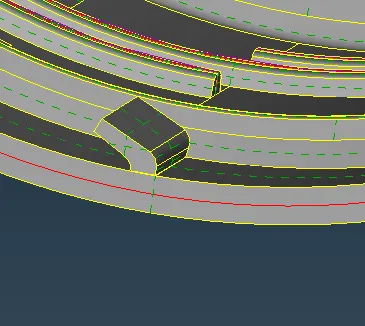
a) Since there are multiple teeth in order in order to save time we can create middle surface to one of the teeth and perform the transform command.
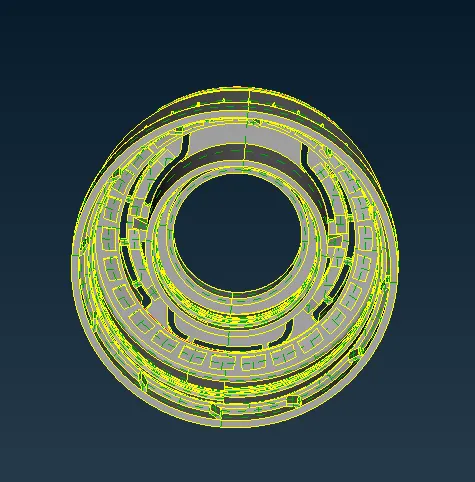
b) By using middle curve obtain the middle curve for each face.
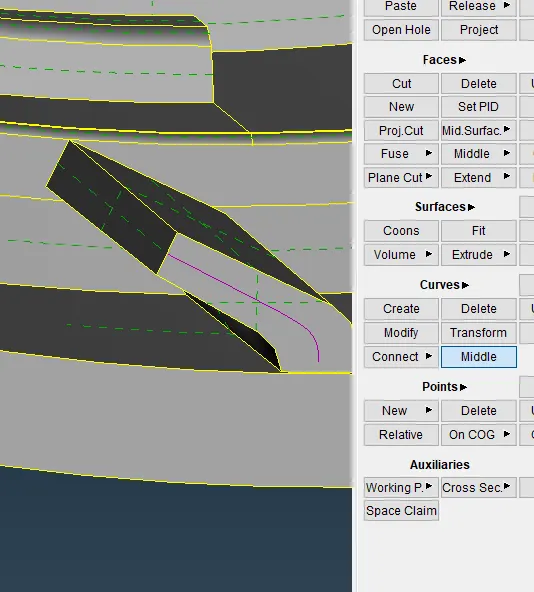
c) Now using face option create a new face face>New>coons.
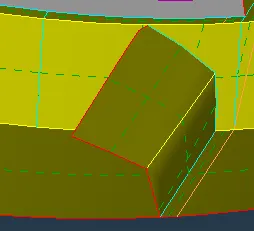
d) Using extend option to connect to the surface respective surface.
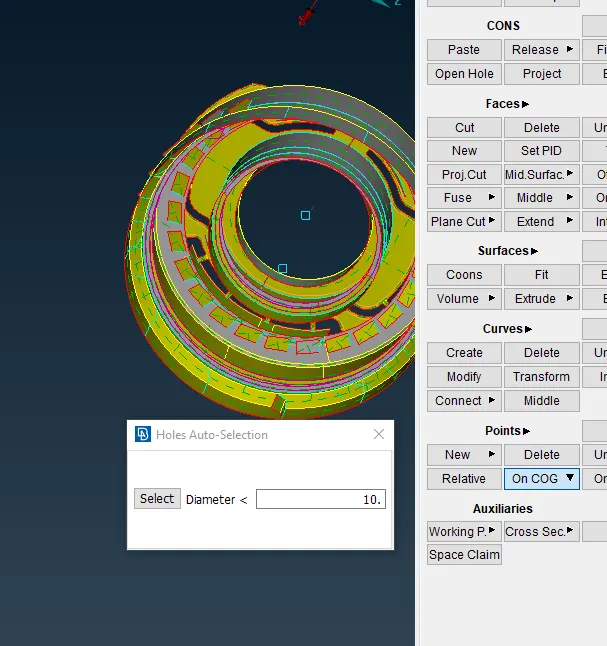
e) Using Points>On Cog and select 2 different centres at different height.
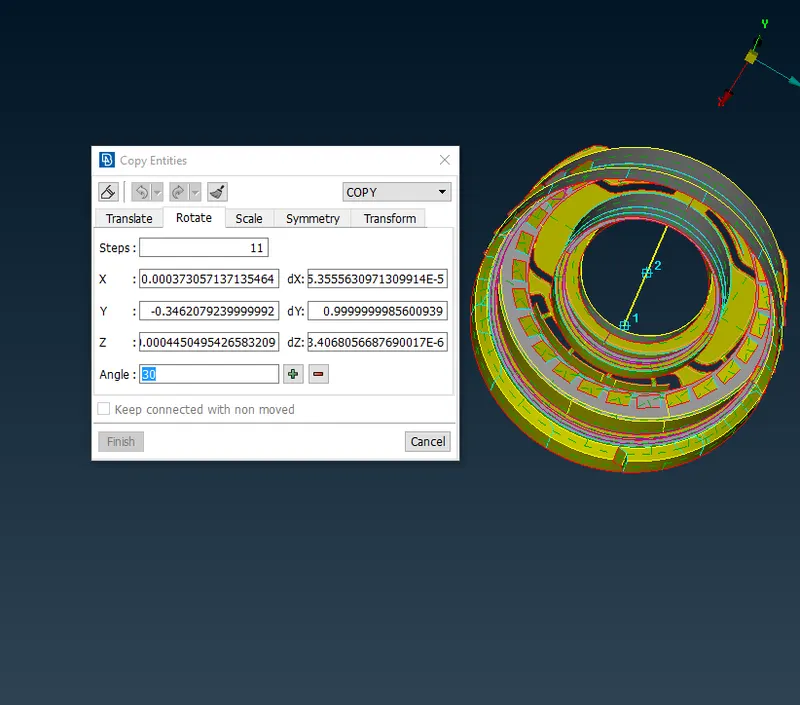
d) Using Transform command to copy the entities as per parent geometry
- Transform> select entity
- No of entities to be copied ( steps 11 excluding the selected entity)
- selecting the first COG at x and another COG at dx
- Assigning angle by using the formula angle of the circle divided by total no entity in this case (360/12 = 30 )
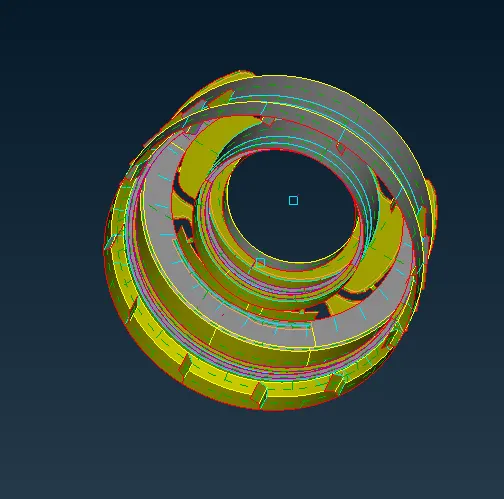
e) Teeths are created as per geometry.
v) Creating middle surface for the teeth shown below.
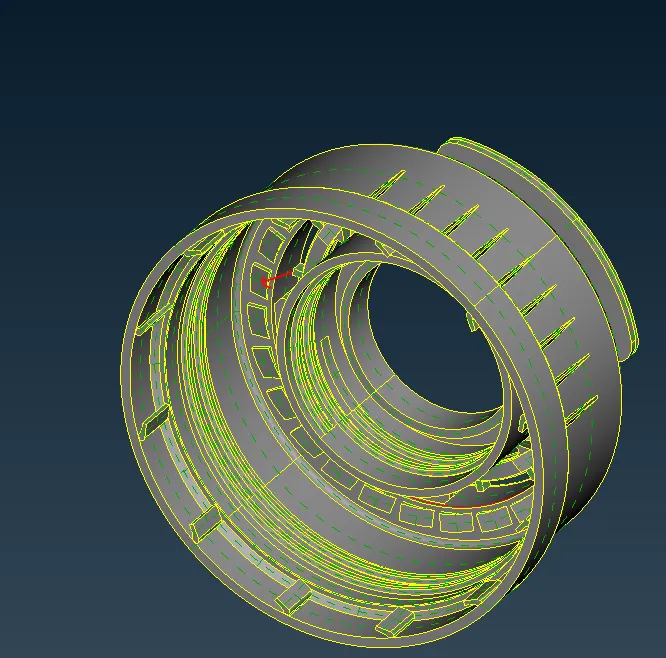
a) By using middle curve obtain the middle curve for each face and project the curve to midsurface.
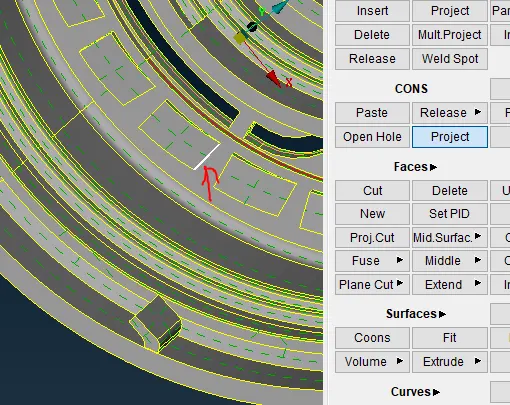
b) Using face>new>coons new surface is created.
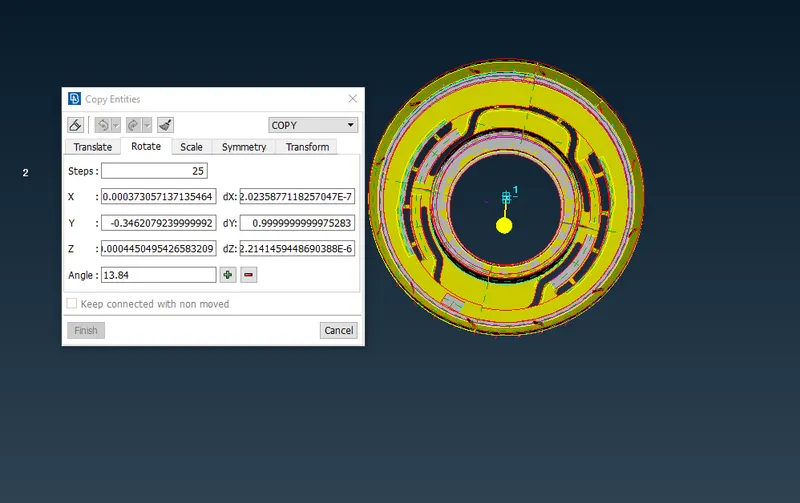
c) Using Transform command to copy the entities as per parent geometry
- Transform> select entity
- No of entities to be copied ( steps 25 excluding the selected entity)
- selecting the first COG at x and another COG at dx
- Assigning angle by using the formula angle of the circle divided by total no entity in this case (360/26 = 13.84 )
d) Teeths are created as per geometry.
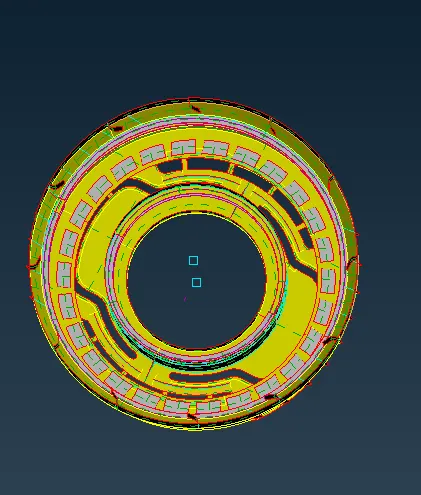
Step 5: Assigning PID to the Mid-surface created.
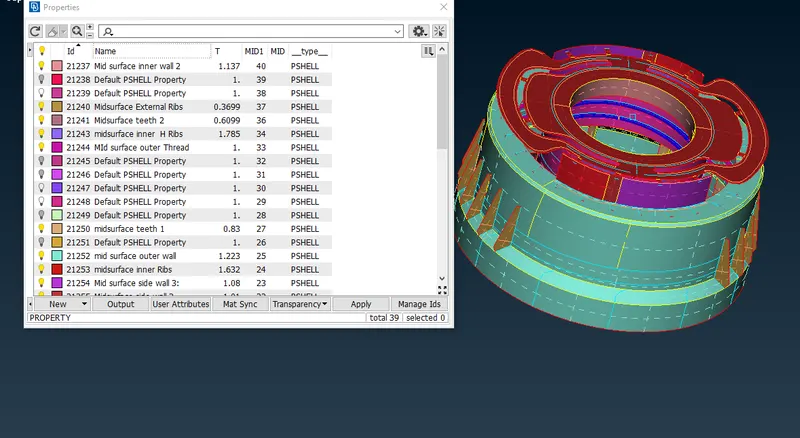
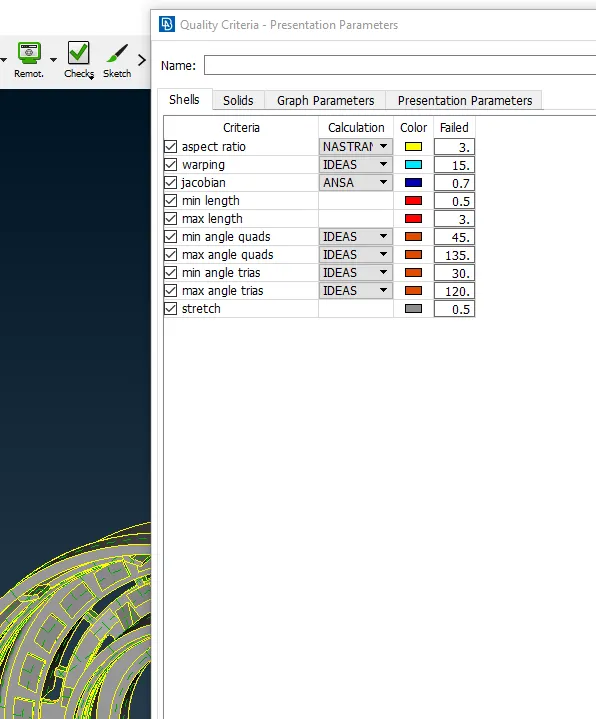
Step 6: Setting up the given quality criteria and mesh parameter.
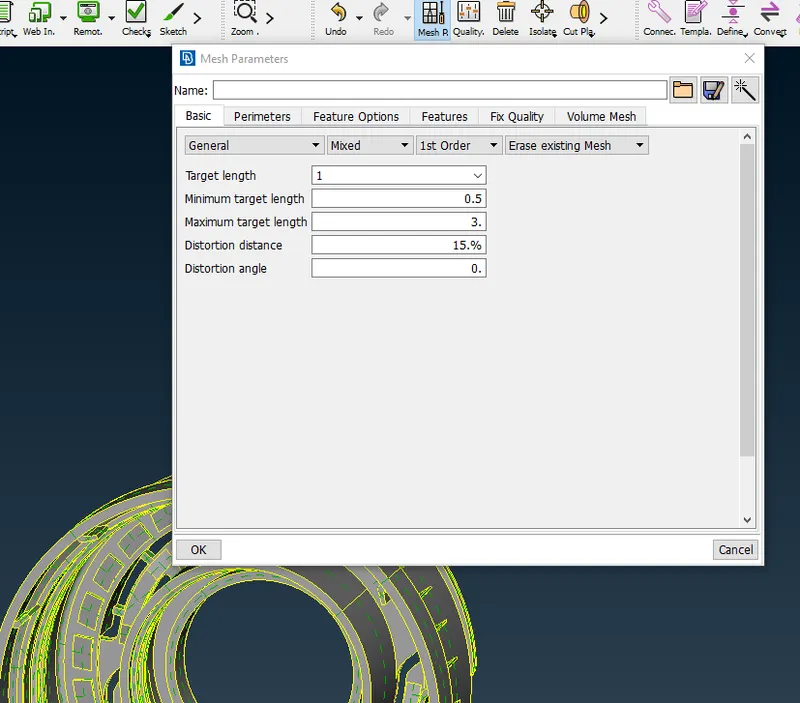
Step 7: Meshing the midsurface with the given parameter.
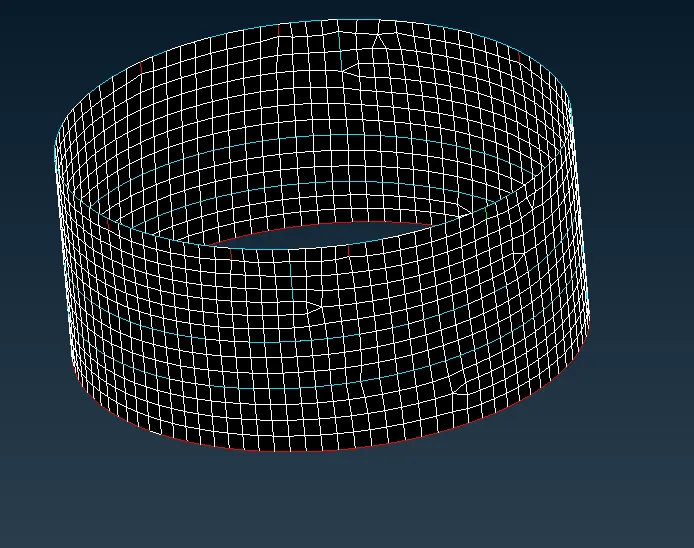
Step 8: Removing the element failure.
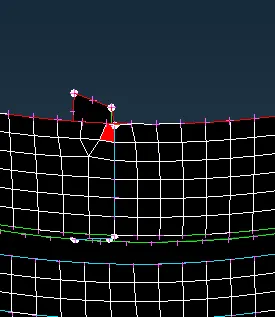
i) The element has failed due to minimum length.
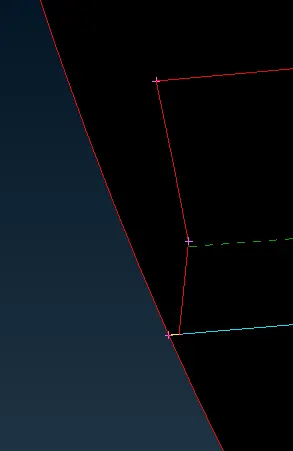
a) By creating the cut and extending the surface in order remove the off element.
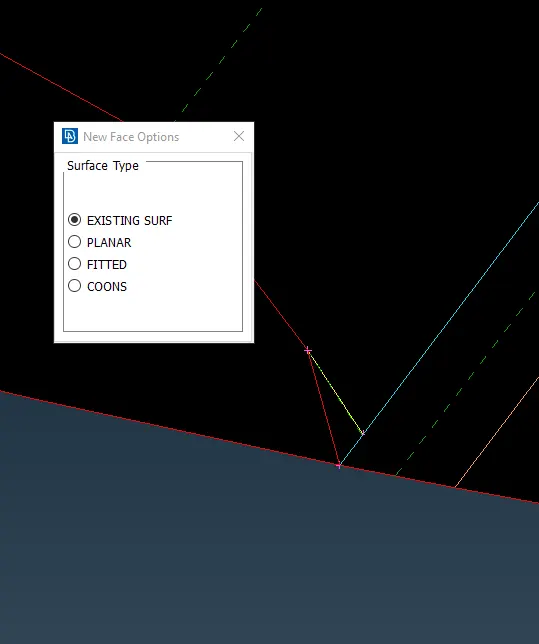
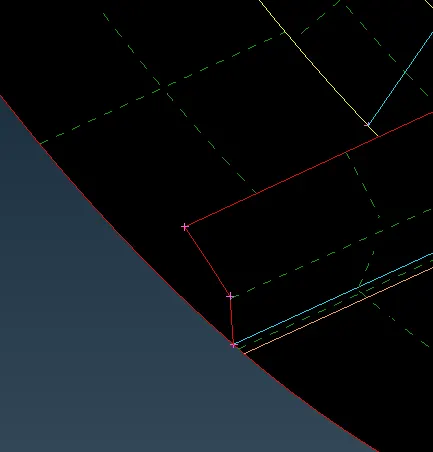
b) The off element is removed.
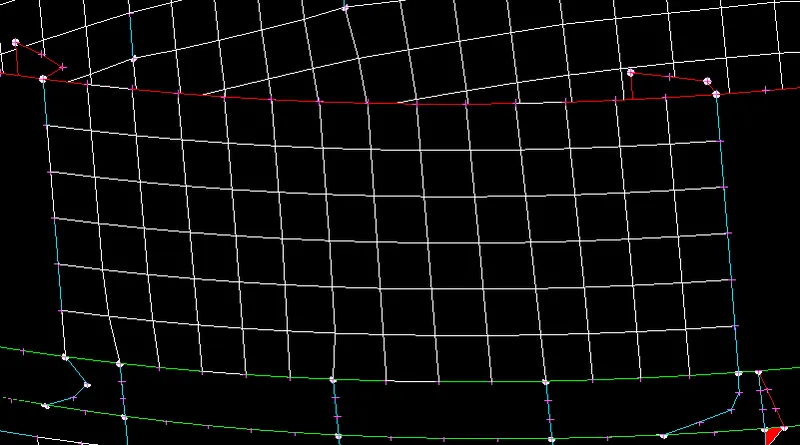
ii) Removing off element in features.
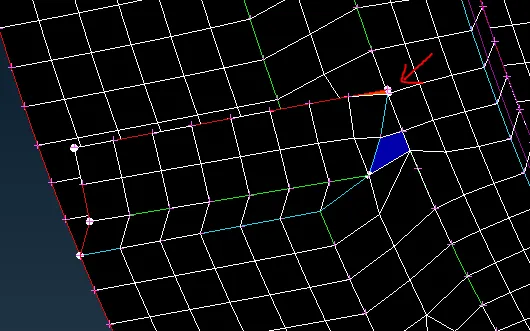
a) Element is failing due to minimum and Jacobian.
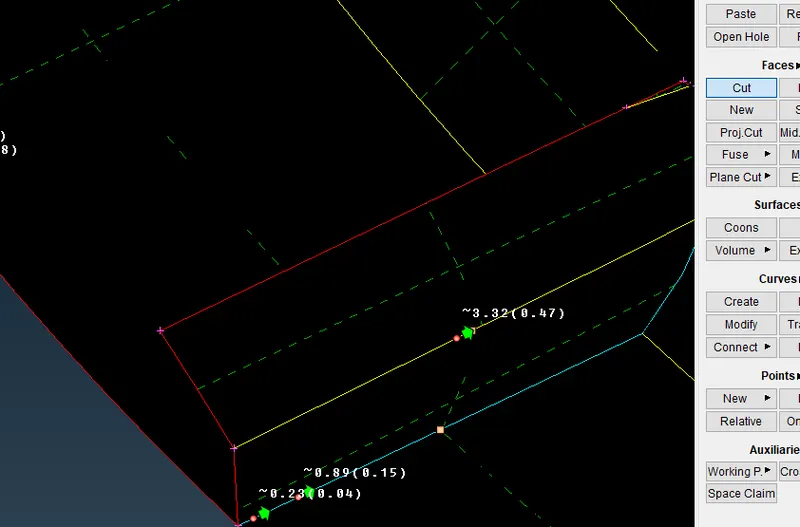
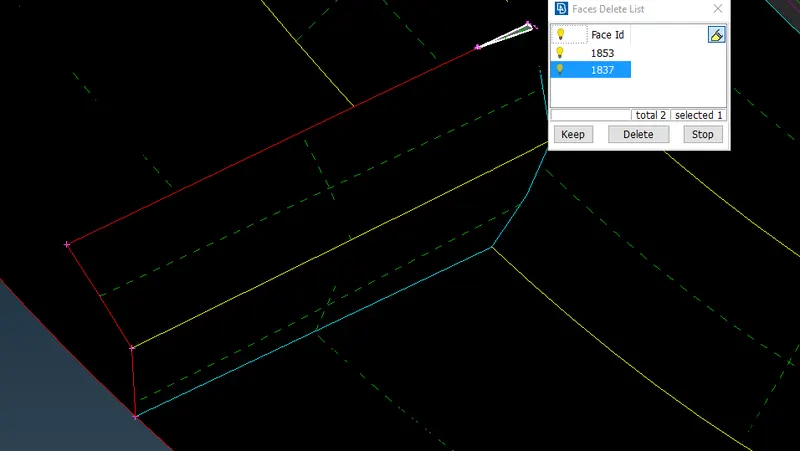
b) By creating the and by compromising the small amount of feature in order to eliminate the off element.
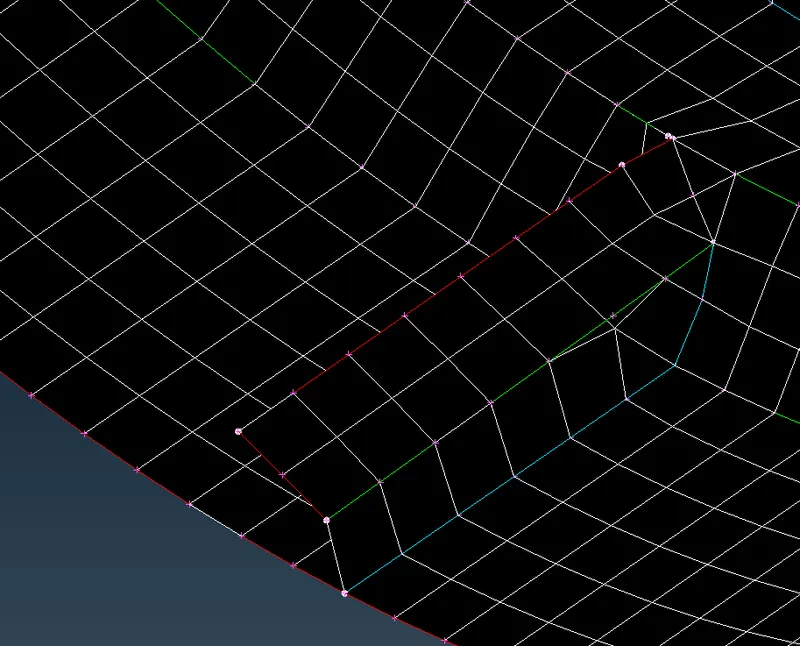
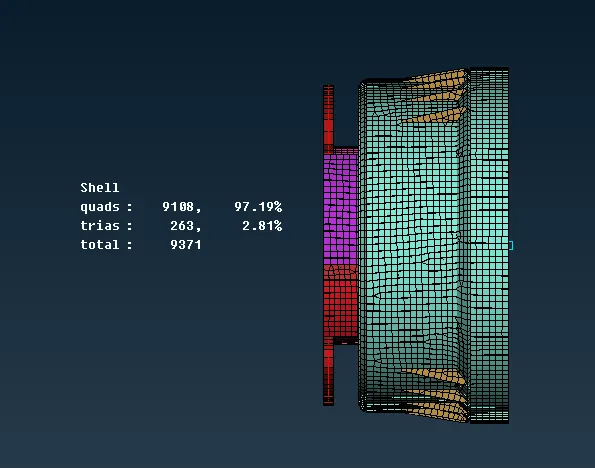
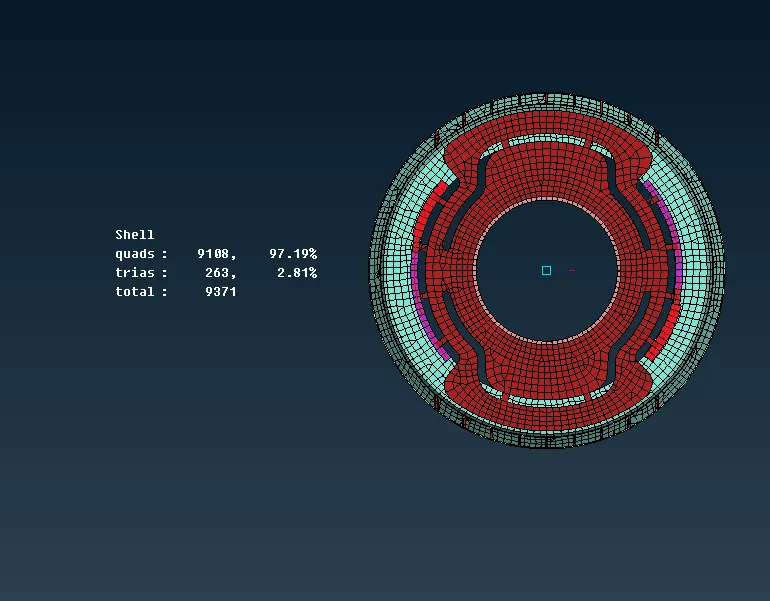
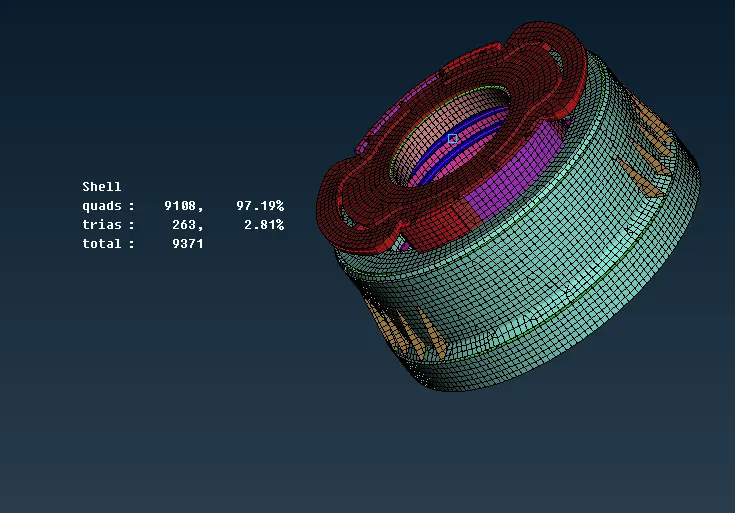
iii) Meshed the complete model and removed the off element also smoothend the mesh flow.
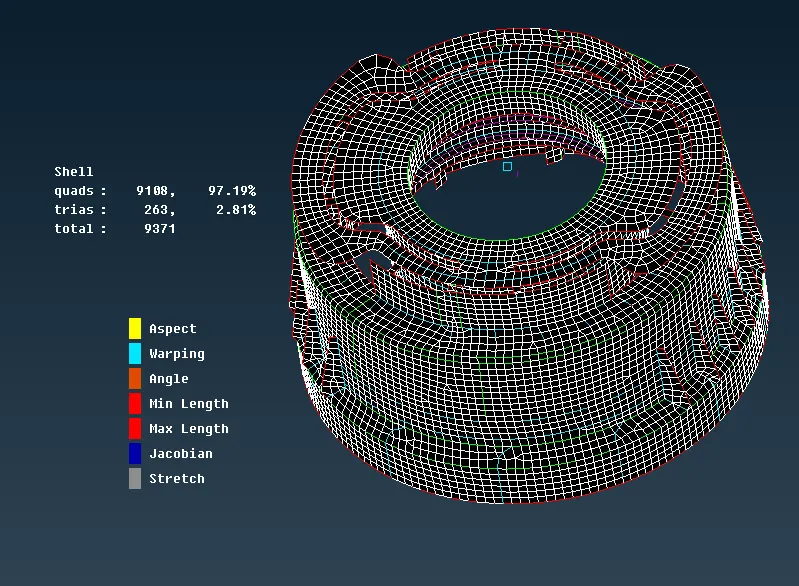
Step 9: FE without enabling thickness.
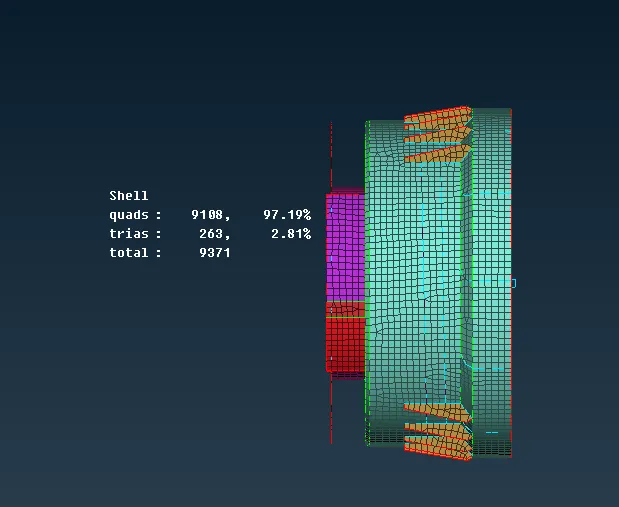
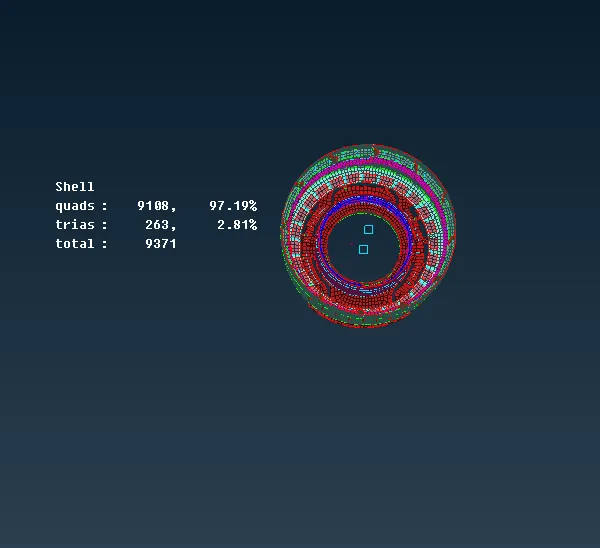
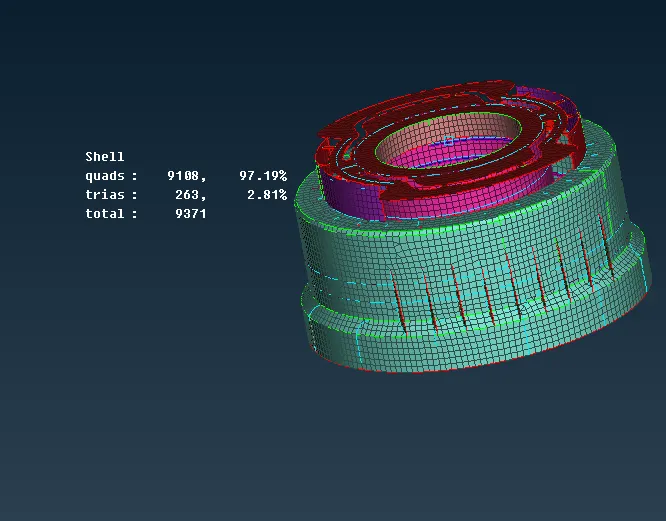
Step 10 : FE enabling thickness.
Learning Outcomes:
The Learning outcomes from this model:
- Fixing geometrical error.
- Creating Mid-surface using different Command like faces>middle, curves>middle , faces>middle>multi, faces>offset .
- using transform command for copying the entity in a loop.
- Assigning PID for different thickness
- Enabling thickness.
Conclusion:
- From this project I have learned different commands to extract middle surface for varing thickness and features.
- Meshed the bottle cap sucessfully with given quality criteria.