Week 8-3D Tetra Meshing Challenge
Objective
Model 1: - Create a Teramesh for Housing component with the following quality criteria.
- Tetra Mesh Generation Method: 2D to 3D Conversion
- Elements sizes: Min- 2 Units, Target- 5 Units, Max- 7 Units
- Tet collapse: 0.15
Model 2: - Create a 3D Tetramesh with the following quality criteria.
- Tetra Mesh Generation Method: Quick Tetra Mesh/ Volume Tetra Mesh
- Target Element size: 3 Units.
- Tet Collapse: 0.15
Model 3: - Create a 3D Tetramesh with the following quality criteria.
- Tetra Mesh Generation Method: Quick Tetra Mesh/ Volume Tetra Mesh
- Target Element size: 4 Units.
- Tet Collapse: 0.15
Solution
Step 1: - Cad model images.
Step 2: - Meshing: -
Model 1 was meshed using 2D to 3D mesh.
Model 2 was meshed using quick tetra mesh.
Model 3 was meshed using quick tetra mesh & volume tetra mesh.
Step 3: - Checked for tet collapse.
Step 4: - Tet collapse was resolved by using tetra re-mesh option.
The remaining tet collapse was resolved using translate option.
Step 5: - Results and Final Images.
Step 1: - Cad model images.
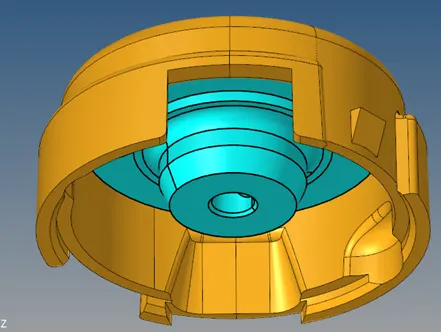
Photograph 1 (Model 1)
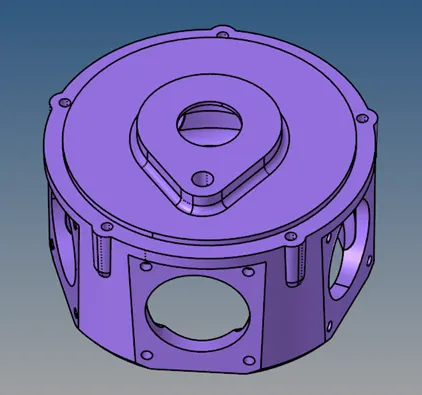
Photograph 2 (Model 2)
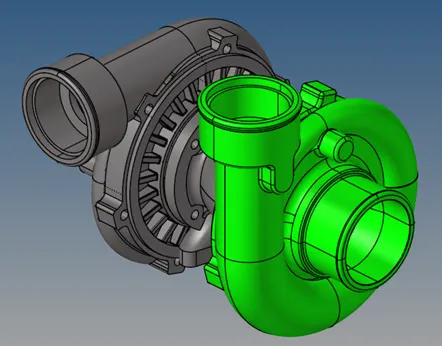
Photograph 3 (Model 3)
Step 2: - Meshing: -
Model 1 was meshed using 2D to 3D mesh.
Model 2 was meshed using quick tetra mesh.
Model 3 was meshed using quick tetra mesh & volume tetra mesh.
Model 1 was meshed using 2D to 3D mesh.
2D mesh using auto-mesh option

Photograph 4
To perform 2D to 3D mesh using tetra mesh: 3D> Tetramesh

Photograph 5

Photograph 6
Model 2 was meshed using quick tetra mesh.
To open utility browser: - View- Hyper mesh – Utility
In utility browser, select Geom/mesh > Quick Tetramesh as shown in photograph no. 7
In utility browser select components then required Mesh size and mesh type as shown in photograph no 8
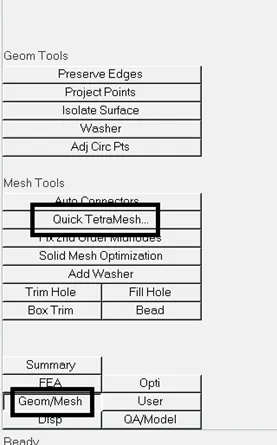
Photograph 7
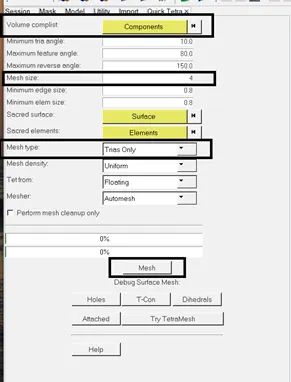
Photograph 8
Model 3 was meshed using quick tetra mesh & volume tetra mesh.
To quick tetra mesh above procedure was used.
To volume tetra mesh following procedure was used as shown in photograph no 9

Photograph 9
Step 4: - Tet collapse was resolved by using tetra re-mesh option as shown in photograph no 10
The remaining tet collapse was resolved using translate option.

Photograph 10
Step 5: - Results and Final Images.
The given model mesh successfully keeping all quality parameters.
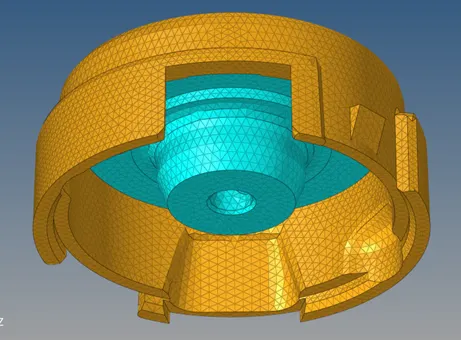
Photograph 11
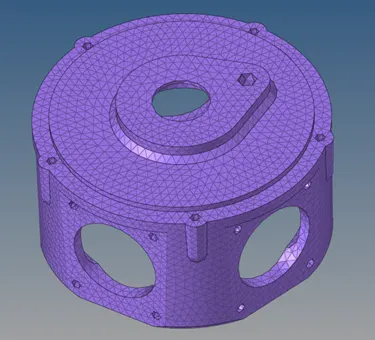
Photograph 12
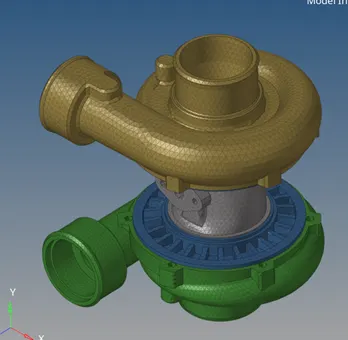
Photograph 13