Week 6-Meshing of Hood Challenge
Objective
The given hood model should pass all the given quality parameters with less tria concentration and proper mesh flow
Conditions: -
- Geometry: - Generating Mid-surface and geometry clean up on the given component
- Mesh: - Generating mesh on the given component with low tria concentration and proper mesh flow
- Quality of mesh: - Model should pass below quality parameters
|
S.N |
Quality Criteria |
Value |
|
1 |
Aspect Ratio |
5 |
|
2 |
Skewness |
45 |
|
3 |
Warping |
15 |
|
4 |
Taper |
0.5 |
|
5 |
Min. Length |
2 Units |
|
6 |
Max. Length |
8 Units |
|
7 |
Min angle Quad |
45 |
|
8 |
Max angle Quad |
135 |
|
9 |
Min angle Tria |
20 |
|
10 |
Max angle Tria |
120 |
|
10 |
Tria % |
10 |
- Assign thickness to the model.
Following are the steps followed
Step 1 Importing the model
Step 2 Create Mid-surface of each component individually
Step 3 Geometry clean-up for proper mesh and mesh the component
Step 4 Set Quality Criteria
Step 5 Optimize the failed components in quality criteria
Step 6 Model check
Step 1 Importing the model
- File > Import > Geometry> select Model >Import
- The imported hood component as shown in (photograph 1) have a following components
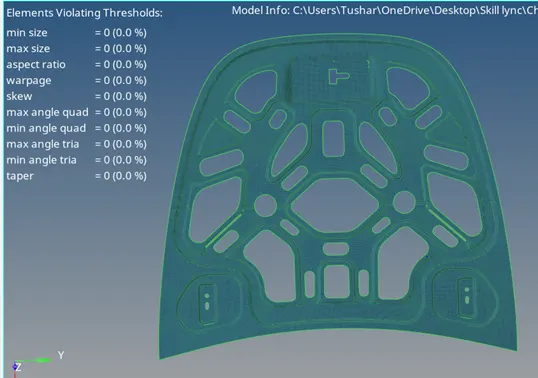
- Inner Extract (photograph 2)
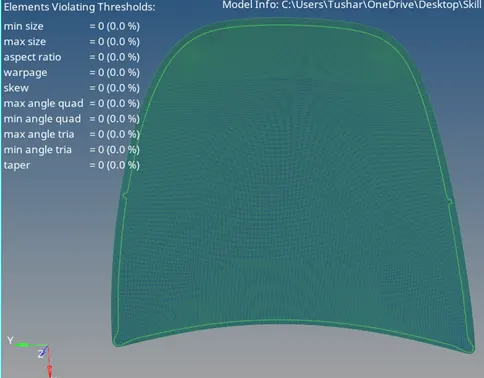
- Outer Extract (photograph 3)
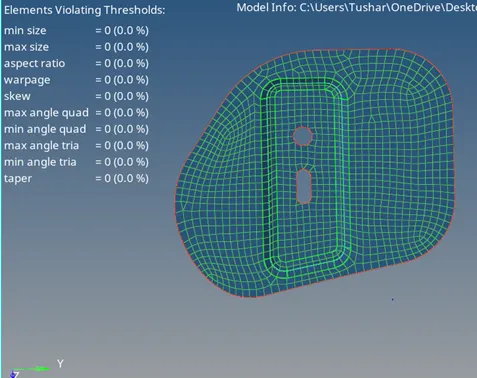
- Hinge Reinforcement Extract (photograph4)
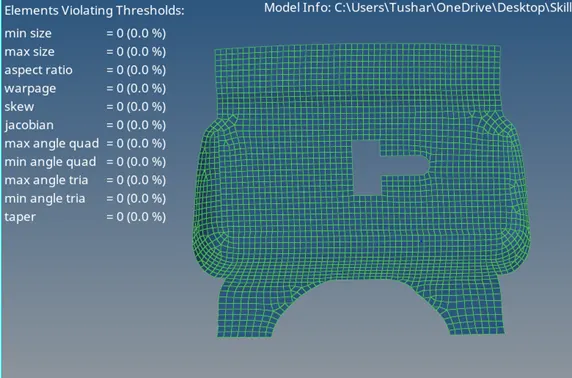
- Latch Reinforcement Extract (photograph 5)
- Delete solid Part :- Delete (F2) > Solid > Displaced > Delete entity (Photograph 6)
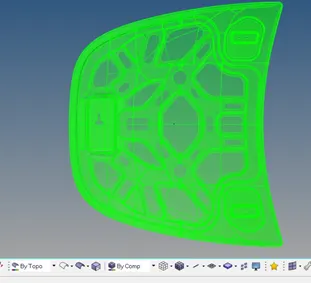
Photograph 1
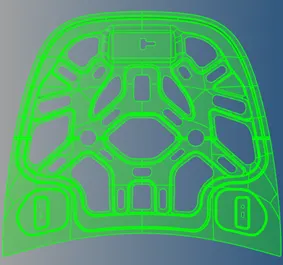
Inner Extract (photograph 2)
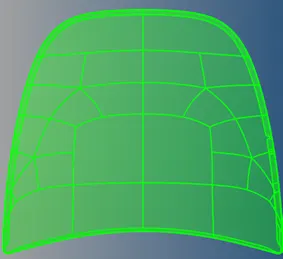
Outer Extract (photograph 3)
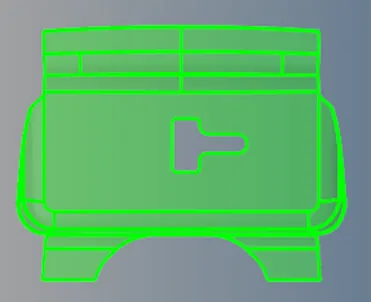
Hinge Reinforcement Extract (photograph4)
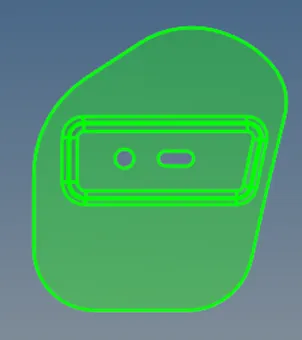
Hinge Reinforcement Extract (photograph 5)
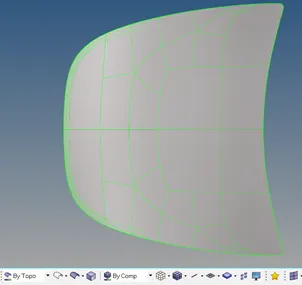
Photograph 6
Step 2 Create Mid-surface of each component individually
Geometry > Mid-Surface >
- > selected extraction option as Skin offset because the shin offset method automatically detects the two largest faces on the model, detect thickness, and then create the middle surface by offsetting one of the faces towards the other one by half of thickness.
- > auto extraction > surface > Displayed > Extract
Created Mid- Surface of each component individually
Step 3 Geometry clean-up for proper mesh and mesh the component
- Before Geometry clean up check for symmetrical surface
- As inner extract and outer extract is symmetrical we can trim the surface and will reflect after meshing
- To trim the surface using surface edit command
Surface edit > trim with surf/planes >Selected displayed surface > selected axis about which trim required (x axis) > Selected base point > trim
- Command used for geometry clean-up
1) Trim with plane (Surface edit): - Geometry > Surface edit
2) Midline: - Geometry > lines: - To create Midline
3) Trim with lines (Surface edit): - Geometry > Surface edit: - To project created Midlines on surface
4) Split surf Node: - Geometry > quick edit: - To create lines using nodes
5) Split Surf line: - Geometry > quick edit: - To create lines using lines
6) Toggle Edge: - Geometry > quick edit: - To Toggle unnecessary construction lines
7) Add/Remove point: - Geometry > quick edit: - To remove unnecessary points
8) Replace Point: - Geometry > quick edit: - To replace the points of feature line
9) Release point: - Geometry > quick edit
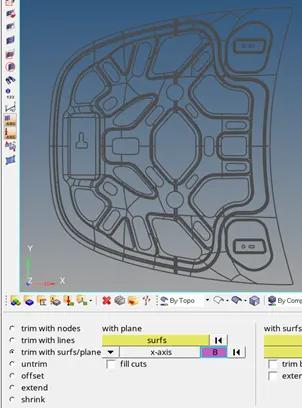
Photograph 7
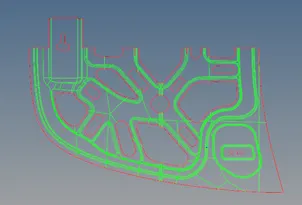
Photograph 8 (after trimmed)
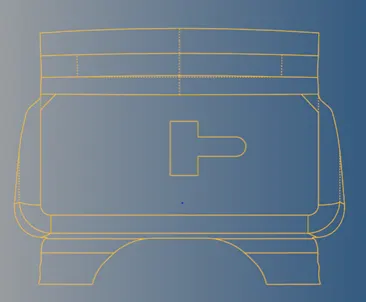
Photograph 9 (Latch Reinforcement Extract after geometry clean-up)
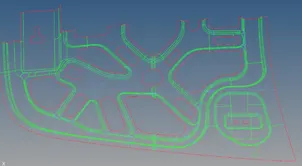
Photograph 10 (Inner extract after clean-up)
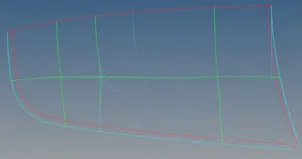
Photograph 11 (Outer extract after clean-up)
After geometry clean up proceed to mesh each component step by step
While meshing following parameters were maintained: -
- Back-to-back tria
- In converging geometry maintain less tria
- Avoid rotating quads
After Meshing reflect symmetrical geometry
- Turn on parent geometry
- Put it in wireframe mode
- Use Reflect command tool > reflect
- Select elements > Select displayed > Select duplicate > make current component > Select plane/ axis> select base point
Step 4 Set Quality Criteria
The quality criteria is set as shown in photograph 12
2D > Element Clean up > Edit Criteria
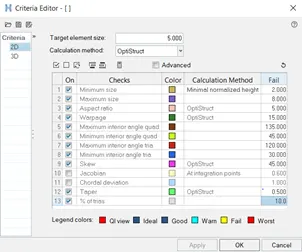
Photograph 12
Step 5 Optimize the failed components in quality criteria
As per set quality criteria failed component can checked using
1) Check element: - Tool > Check Element: - The failed element in set quality criteria can saved or checked at what quantity they failed and use the necessary command to fix the same.
2) Mask: - Tool > Mask > Element> retrieve > Mask > Reverse it will show saved failed elements.
If the failed elements in component are more then we can use mask command.
3) Quality Index: - 2D > Quality Index
The failed element of components in warpage, min\max length, taper, min max angle of tria and quad can be fixed using following clean-up tool
- Place Node Tool
- Modify Hole and Washer Tool
- Swap Edge Tool
- Node Optimize Tool
- Element Optimize Tool
- Smooth Tool
- Split/Collapse Edge Tool
- Drag Tria Element Tool
- Split Quad Element Tool
- Combine Tria Elements Tool
3)Translate: - Tool > Translate
The failed element of components in warpage can be fixed using translate tool
Step 6 Model check
1) Equivalence/ Edges :-
- a) Tool > Edges > Elements> Displayed > Preview equivalence (Photograph 13)> equivalence
- b) Tool > Edges > Elements> Displayed > (find edges) > delete edges
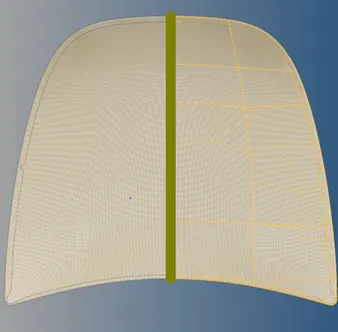
Preview equivalence (Photograph 13)
2) Element to surface check
Mesh > Check > Element > Comparison element (Displayed) > Surface (displayed) > Tolerance 0.2>Run
Green :- matched
Yellow, pink: - Fine
Red: - Should have to resolve
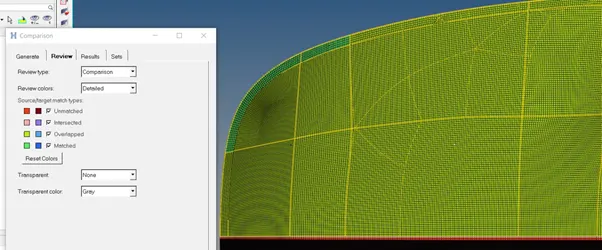
(Photograph 14)
3) Normal: - Tool > Normal
Elements > Displayed 2D element > Vector display> Size 10 > Display
All normal shouldbe in one direction.
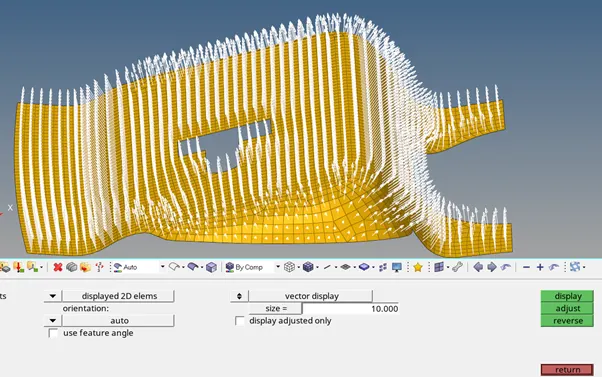
(Photograph 15)
4) Assign thickness 2mm
Material assign: - Right click on Tab bar create material named as steel
Create property: - Right click on tab bar create property at entity editor assign material, thickness as 2 mm
Assign Properties to the component: - Right click on component> assign > assign propertied accordingly
To Visualize applied thickness click on 2D detailed element
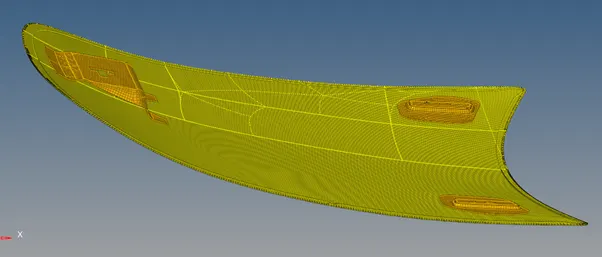
(Photograph 16)
Results and Final model image
The given hood model mesh successfully keeping all quality parameters.
Latch Reinforcement Extract
Inner Extract
Outer Extract
Hinge Reinforcement Extract