Using basic morphing techniques to achieve a required change in the given CAD model using ANSA
Objective:
To use Morphing techniques to make changes to the CAD model of the given component.
Procedure:
1. Open the model.
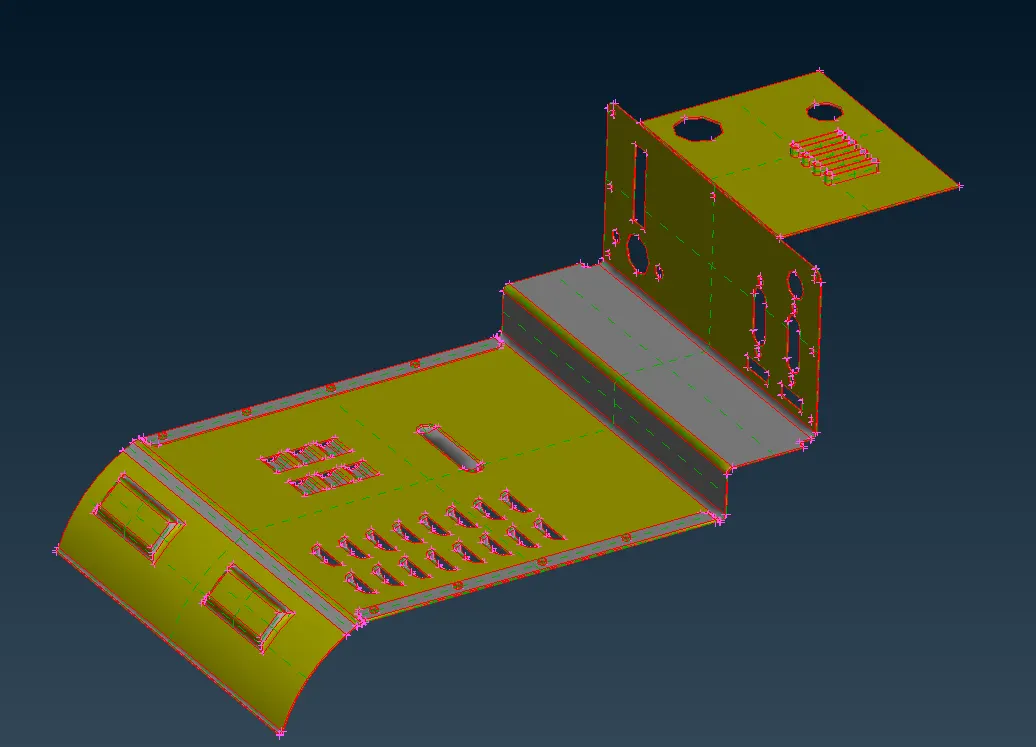
2. Perform a TOPO on the model and orient the model. The model will look as shown below:
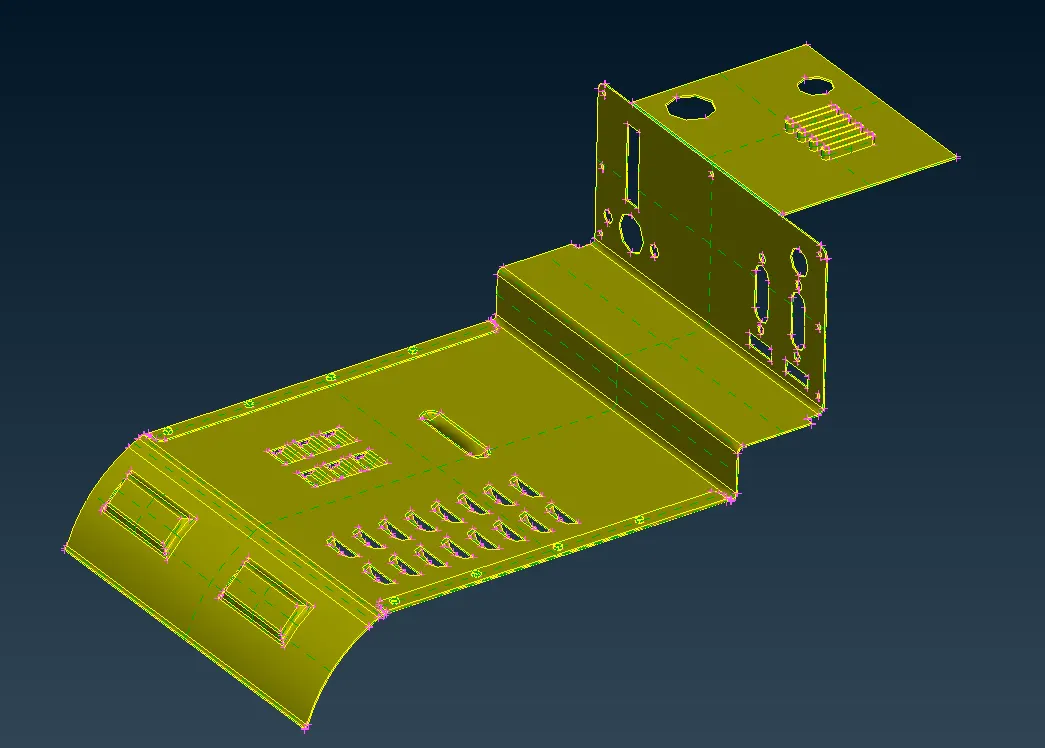
3. Go to the Morph Deck.
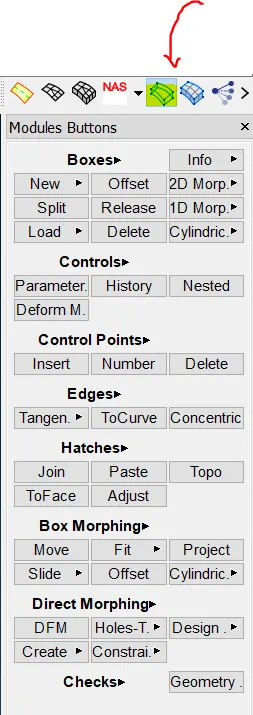
4. Go to Boxes -> New and create a new box around the area of the CAD geometry that needs to be morphed as shown below:
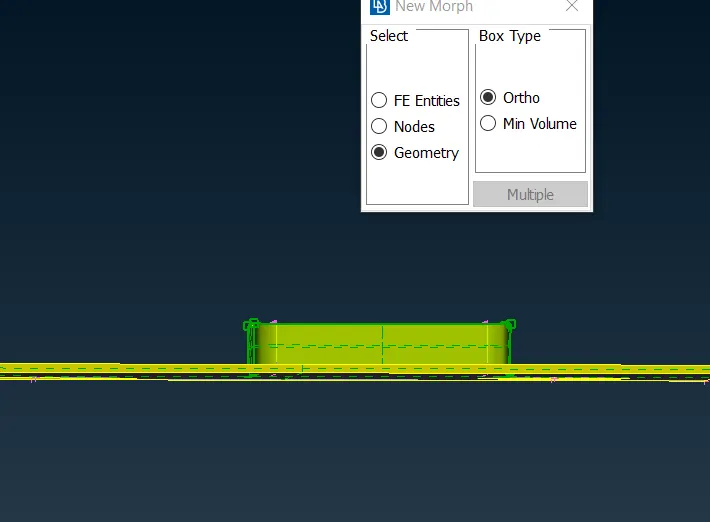
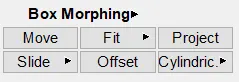
5. Go to Box Morphing -> move and select the nodes to move as shown below:
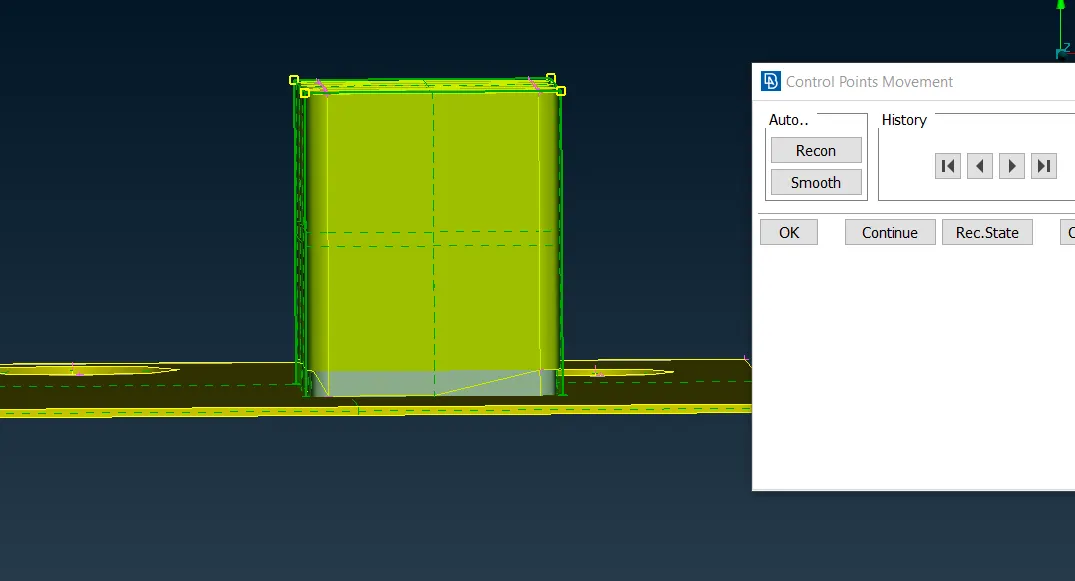
6. The original model and morphed model will look as shown below:
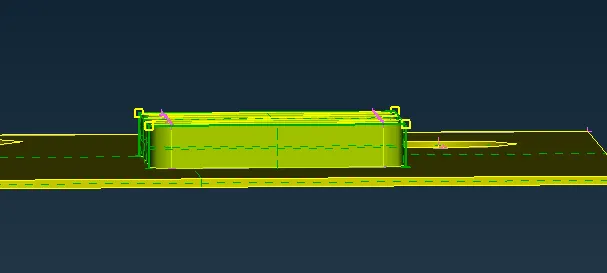
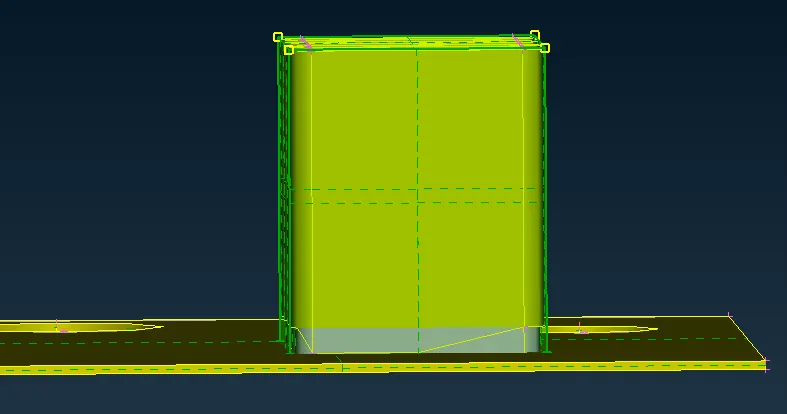
Original model Morphed Model
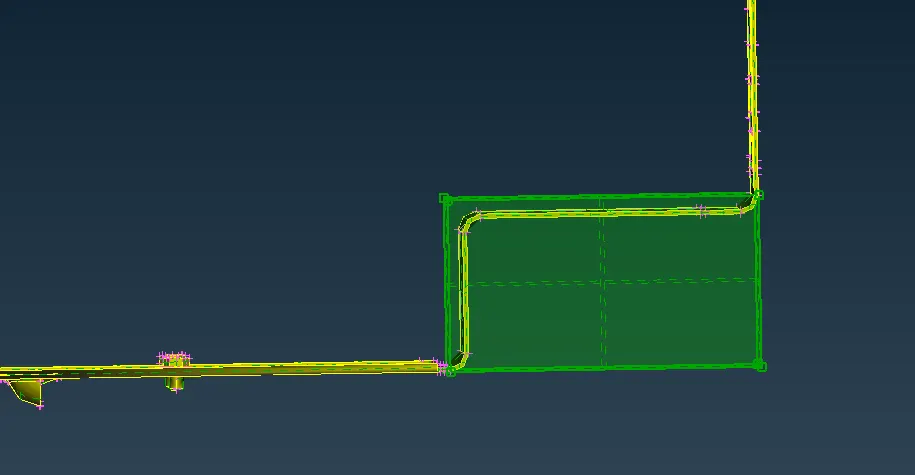
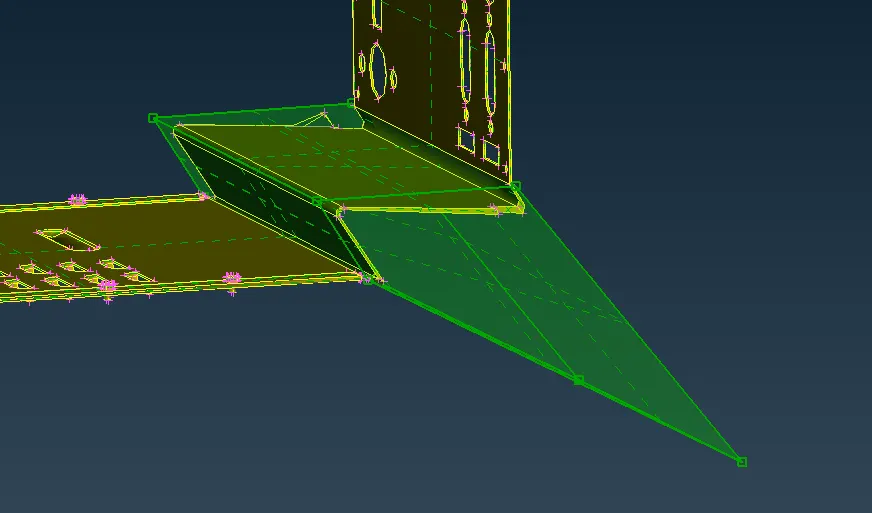
7. Next we move on to another region of the model and follow the same steps to achieve the required shape as shown below:
Original model:
Morphed Model:
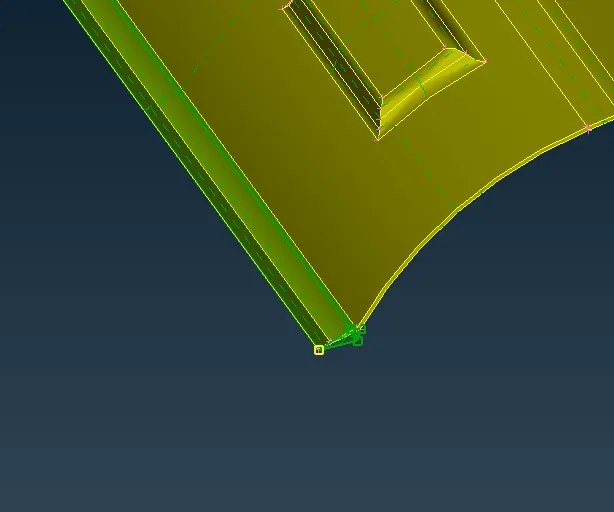
8. We move on to another region shown below and perform the same operation.
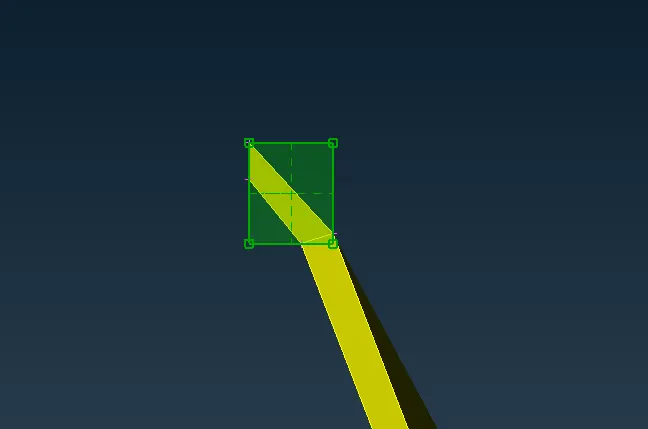
Before Morphing:
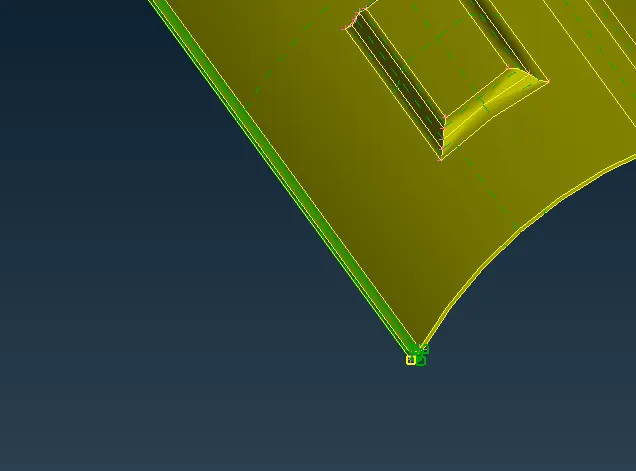
After Morphing:
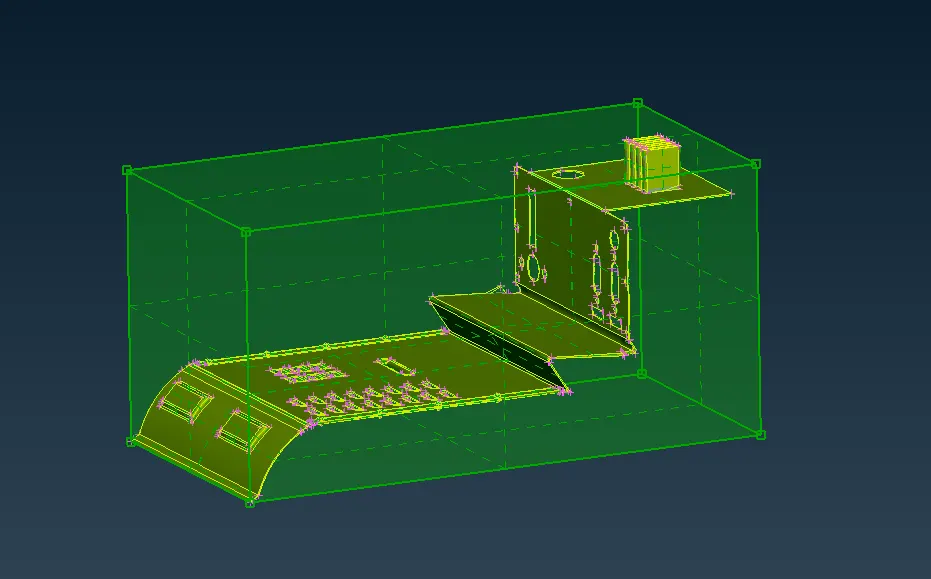
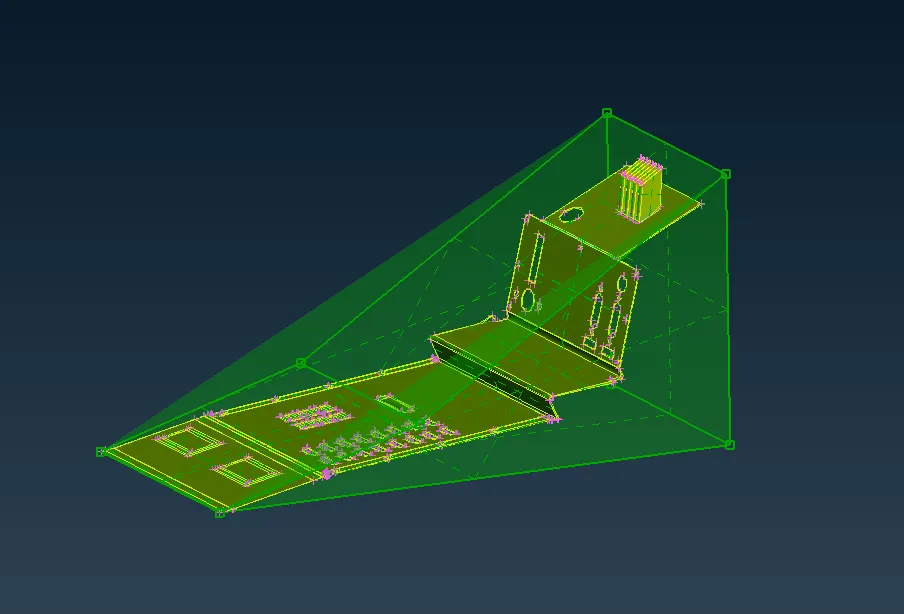
9. Another we can also create a new box on the entire model and morph the whole model at once.
Before morphing:
After Morphing:
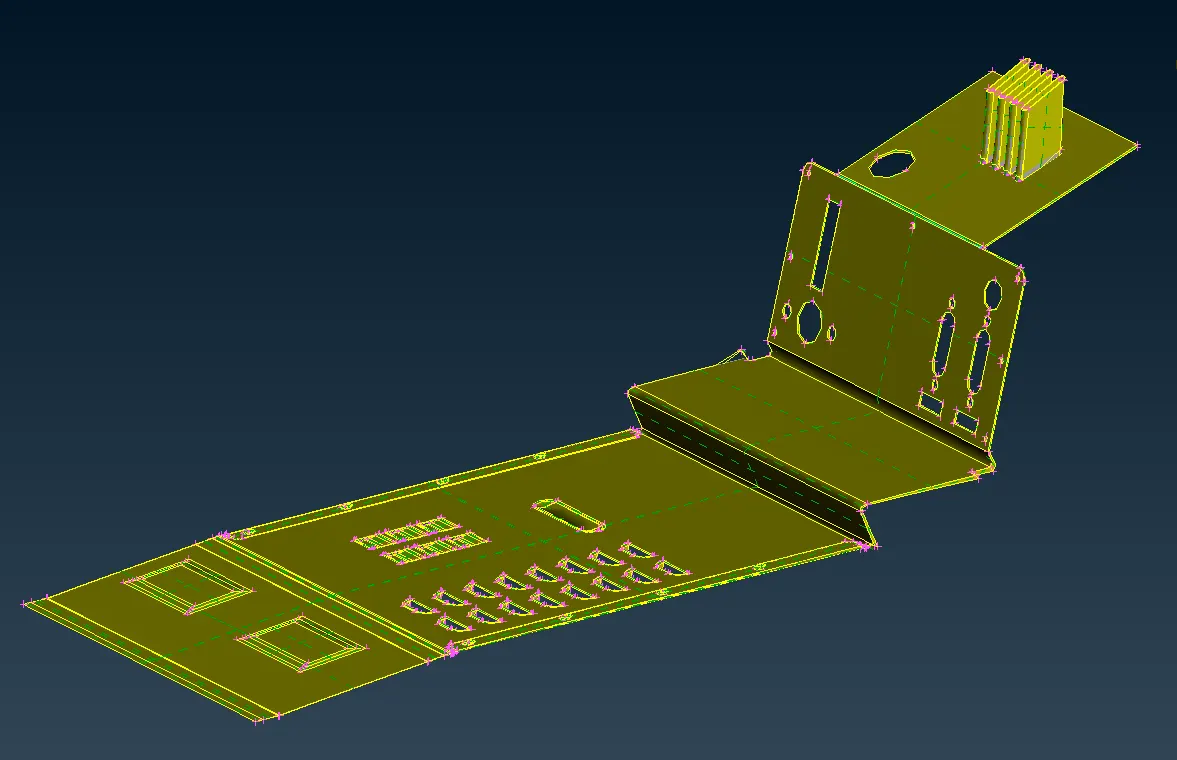
10. Before submitting the final model, the boxes that were created needs to be deleted.
Final Model:
Results:
Learning Outcomes:
- Morphing basics
Mesh morphing is used to create shape parameters which include changing a length, an angle or a thickness, it can be used to change one shape into a new known shape which is a better CAD model as given by the CAE solution.
Examples where this is used:
Automobile Industry:
Small changes in the CAD model of a car can be meshed easier by morphing rather than spending time re-meshing the component.
Biomedical Industry:
Changes in bio-medical components like bolts/ bone reinforcements/ stents
- Creating morph boxes
- Splitting morph boxes
- Moving morph boxes to achieve the required geometry
Thus basic morphing techniques were performed on the given CAD model.