Week 7- Meshing of Backdoor Challenge
AIM:-
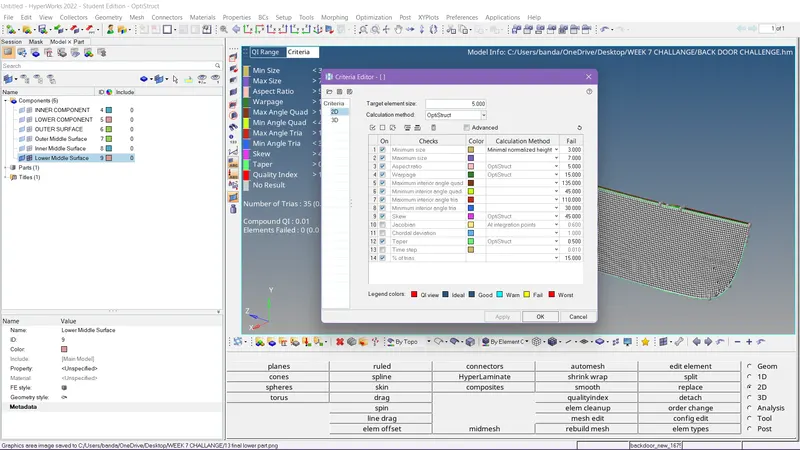
The below-mentioned quality criteria have to follow, also meshing the component with a target size of 5 units:
Target Element size - 5 Units
| S.N | Quality Criteria | Value |
| 1 | Aspect Ratio | 5 |
| 2 | Skewness | 45 |
| 3 | Warping | 15 |
| 4 | Taper | 0.5 |
| 5 | Min. Length | 3 Units |
| 6 | Max. Length | 7 Units |
| 7 | Min angle Quad | 45 |
| 8 | Max angle Quad | 135 |
| 9 | Min angle Tria | 30 |
| 10 | Max angle Tria | 110 |
| 10 | Tria % | 15 |
Procedure To Accomplish The Given Task:-
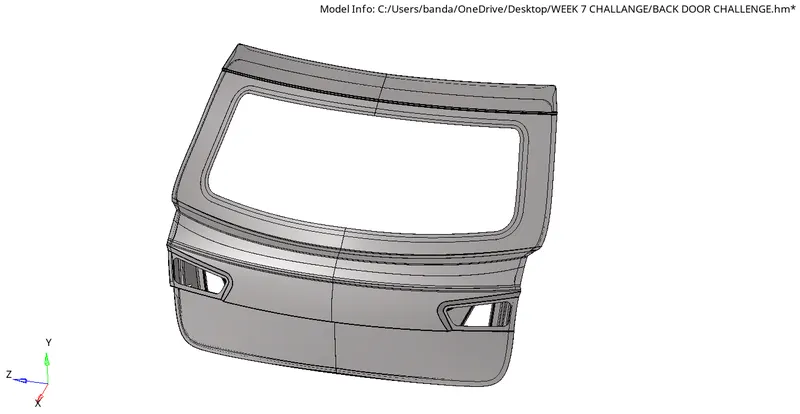
Step1:-
We have to Download the model and import it into Hypermesh software.
Step 2:-
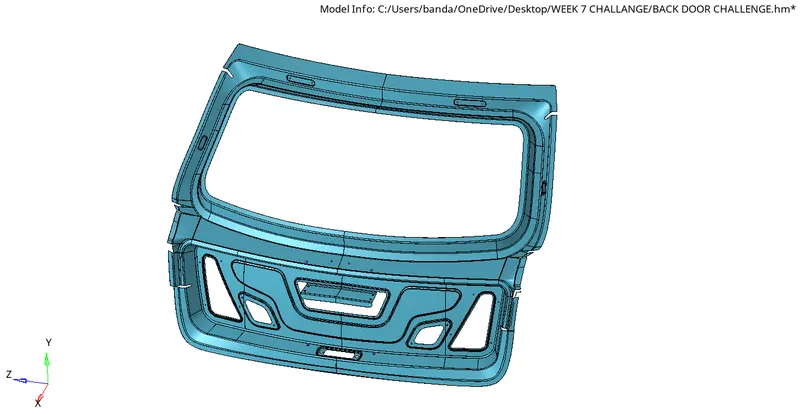
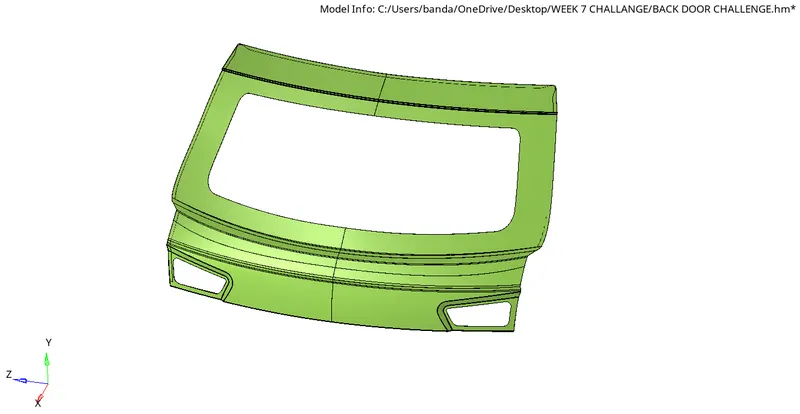
We have to separate the given component to work on the component properly at our convenience!
INNER COMPONENT
OUTER COMPONENT
LOWER COMPONENT
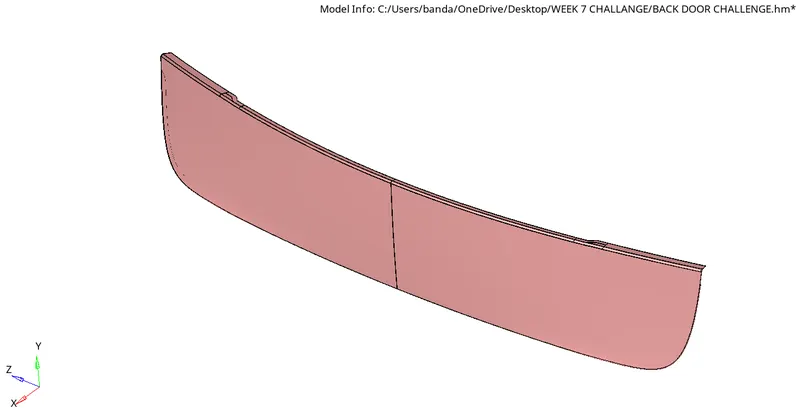
We successfully separated carefully each surface into an individual one!
Step 3:-
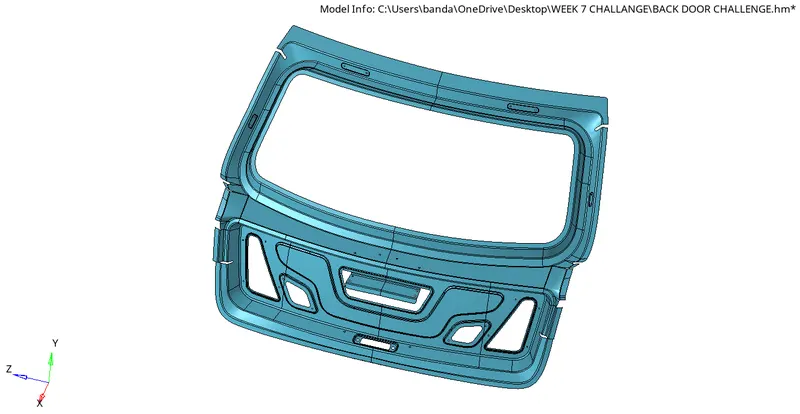
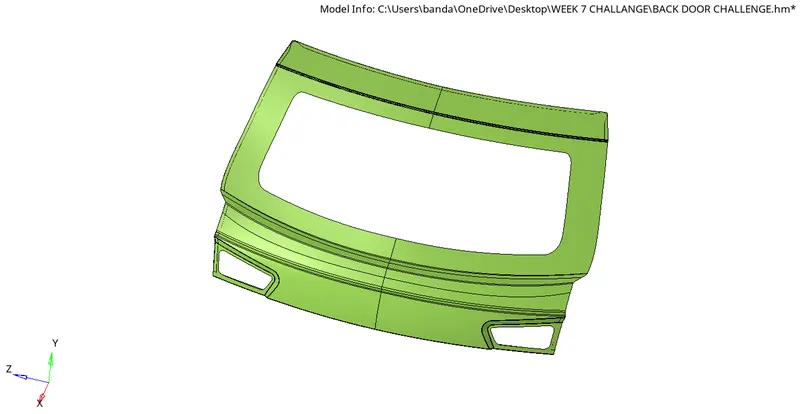
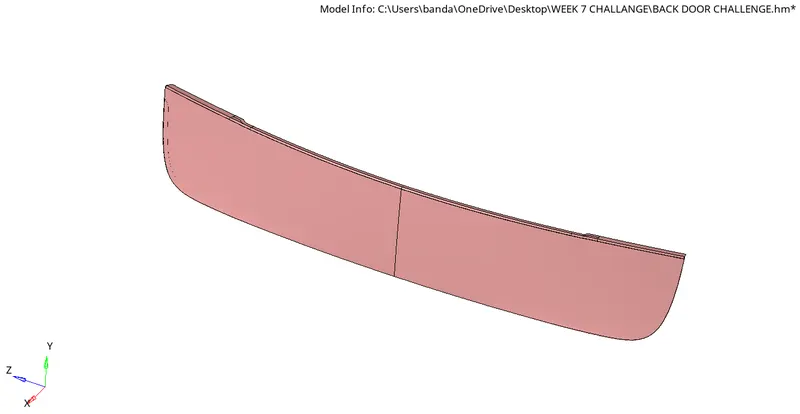
Creating mid-surface for individual components.
INNER COMPONENT MIDDLE SURFACE
OUTER COMPONENT MIDDLE SURFACE
LOWER COMPONENT MIDDLE SURFACE
Step 4:-
We need to set up the given criteria before meshing the component.
Step 5:-
We gonna need to start correcting the geometry for the proper mesh flow in the surfaces according to the given criteria.
The lower component is in topo mode after correcting the middle surface. We do this by creating the initial mesh and then smoothing it using the quality index and then by saving the failed elements and masking them to identify where the element is failing and by adding temp nodes to those elements and unmasking all the elements, as we added temp nodes to find the areas to work on we can delete the elements and we have to work on the surface.
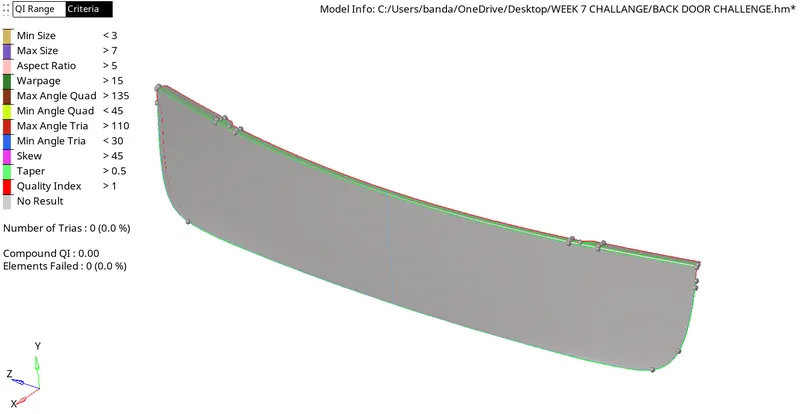
Step 6:-
After correcting we have to mesh the lower middle surface again.
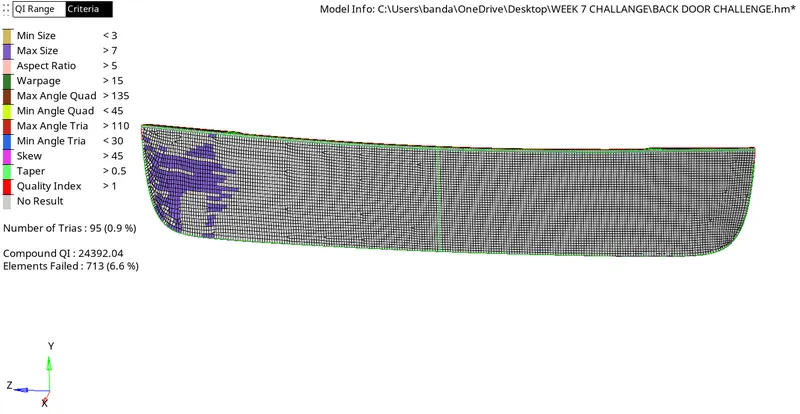
We have to work on the failed elements to maintain proper mesh flow.
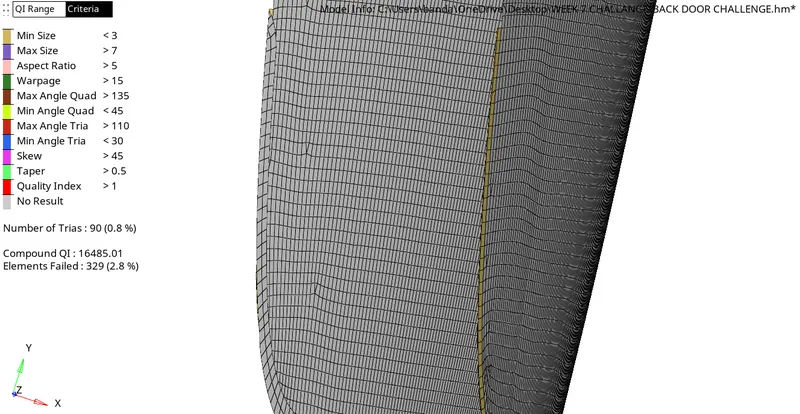
We can recover these curvature regions by creating a centerline and toggling the beside lines by that we can overcome minimum elemental failure in those types of regions.
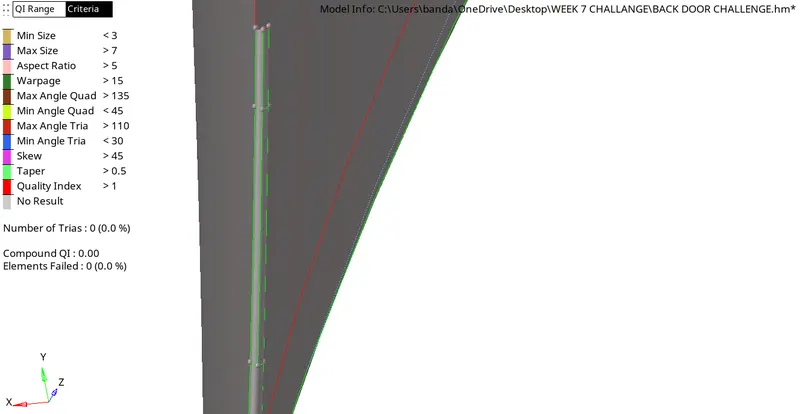
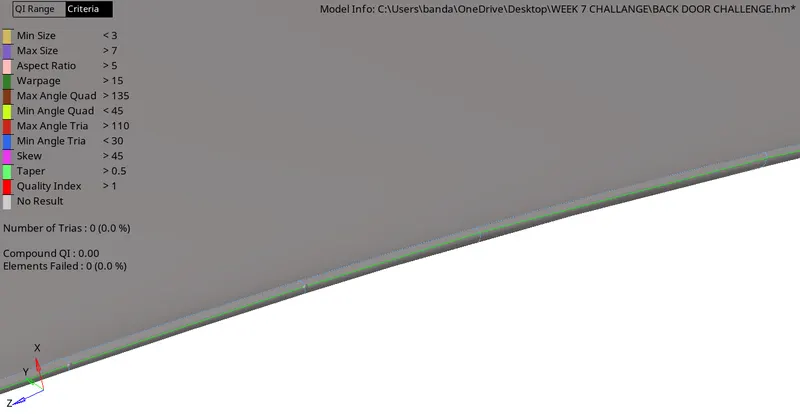
As we can see in the above pictures a center line is been created to overcome the elemental failure.
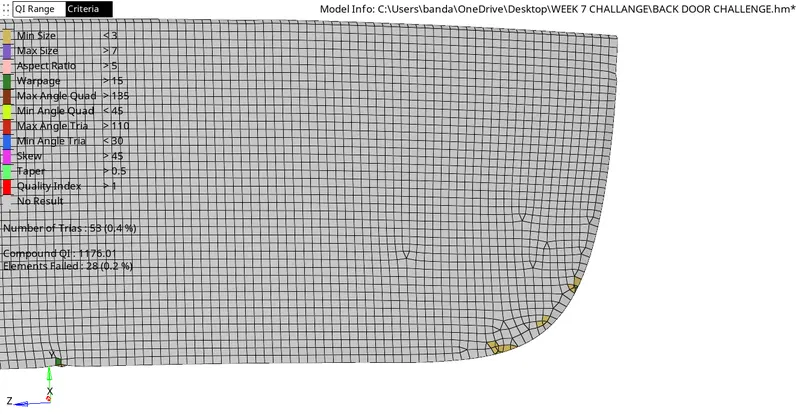
We have to correct the lower middle surface mesh flow.
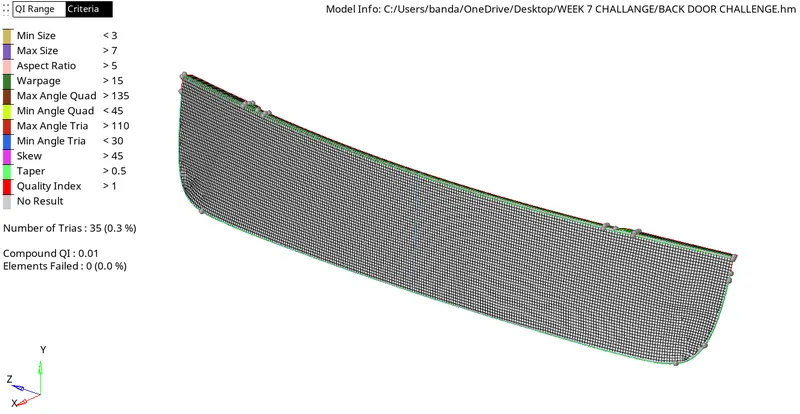
Final lower middle mesh surface.
Step 7:-
Now we have to work on the outer middle surface. 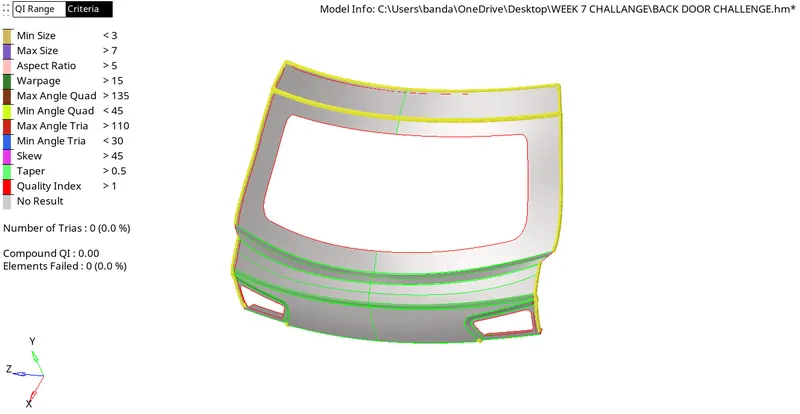
We gonna need to start correcting the geometry for the proper mesh flow in the surfaces according to the given criteria.
The lower component is in topo mode after correcting the middle surface. We do this by creating the initial mesh and then smoothing it using the quality index and then by saving the failed elements and masking them to identify where the element is failing and by adding temp nodes to those elements and unmasking all the elements, as we added temp nodes to find the areas to work on we can delete the elements and we have to work on the surface.
As in the outer middle surface, we can delete the half surface as we can observe it is a symmetrical surface, by deleting the half surface we can reduce the time of correcting the surface and mesh time.
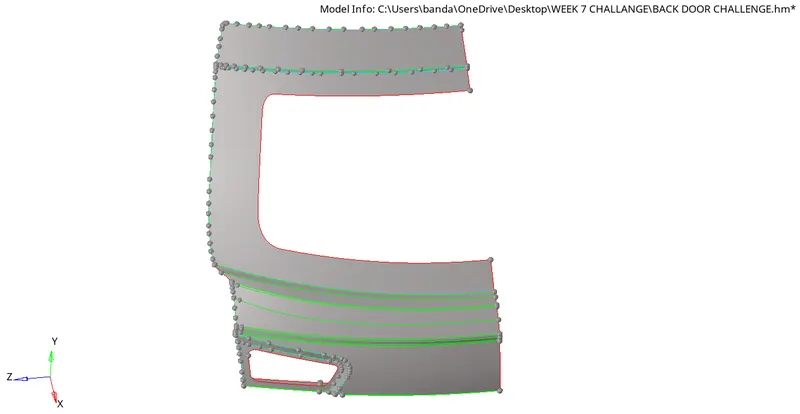
After that, we need to work on the geometry by correcting the outer surface for the required mesh flow.
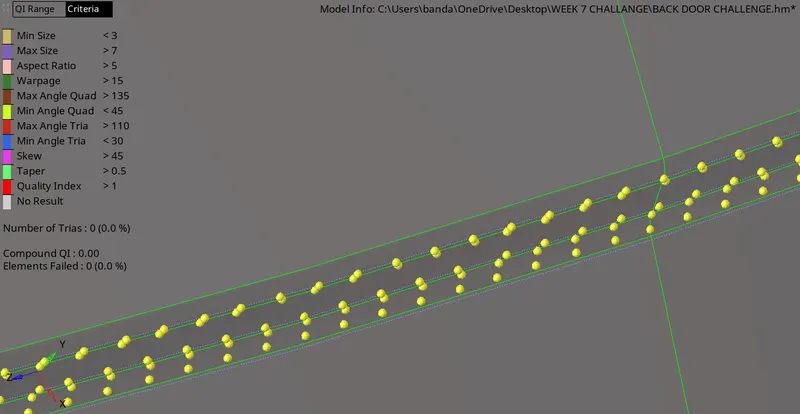
By toggling the minimal regions we can reduce the formation of min size elements.
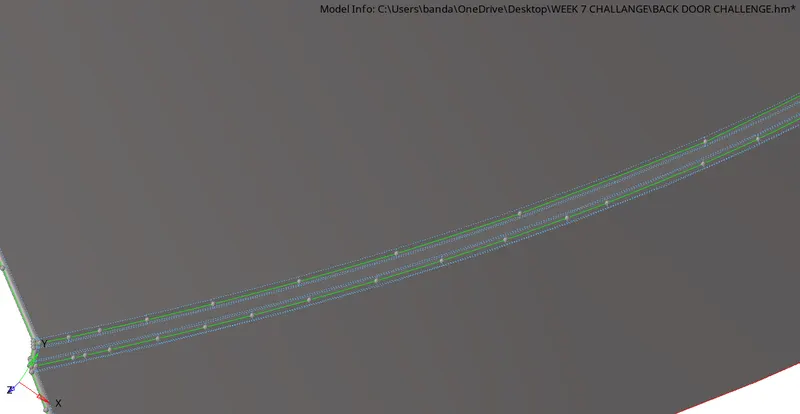
Here I created center lines and toggled the other two lines.
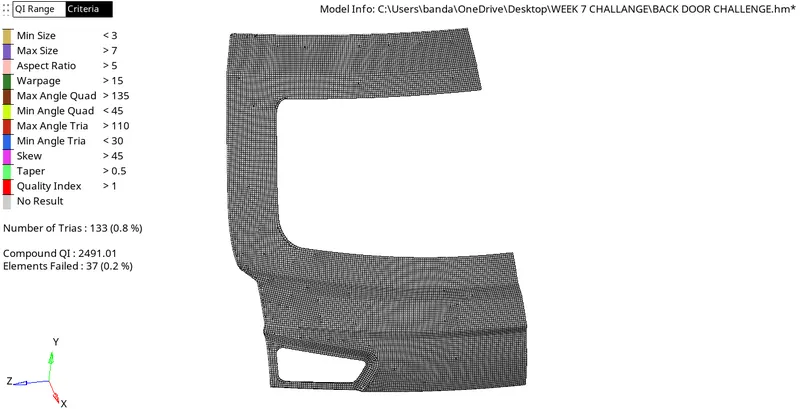
creating the mesh flow on the outer surface and we need to correct the mesh flow if needed.
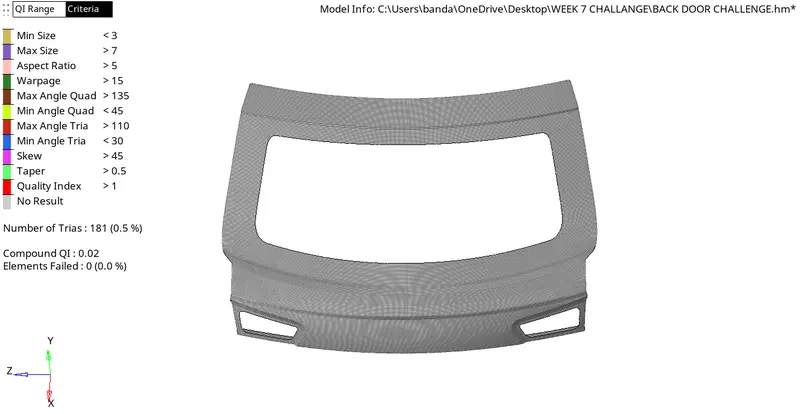
After correcting we need to reflect the elements to form the given component shape.
Step 8:-
Now we have to check the last component Lower surface.
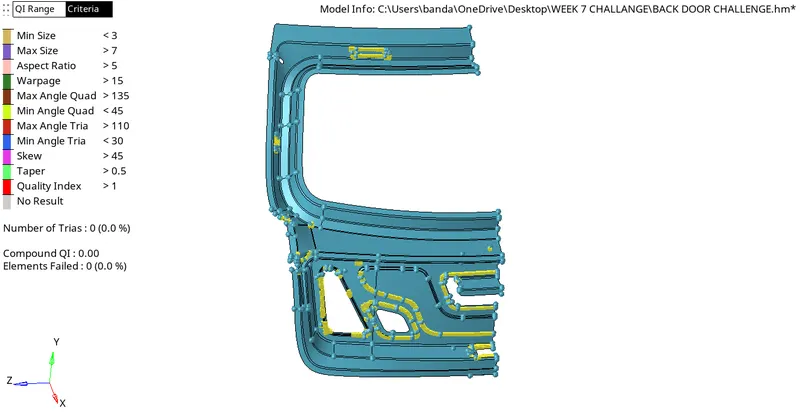
We gonna need to start correcting the geometry for the proper mesh flow in the surfaces according to the given criteria.
The lower component is in topo mode after correcting the middle surface. We do this by creating the initial mesh and then smoothing it using the quality index and then by saving the failed elements and masking them to identify where the element is failing and by adding temp nodes to those elements and unmasking all the elements, as we added temp nodes to find the areas to work on we can delete the elements and we have to work on the surface.
As in the outer middle surface, we can delete the half surface as we can observe it is a symmetrical surface, by deleting the half surface we can reduce the time of correcting the surface and mesh time.
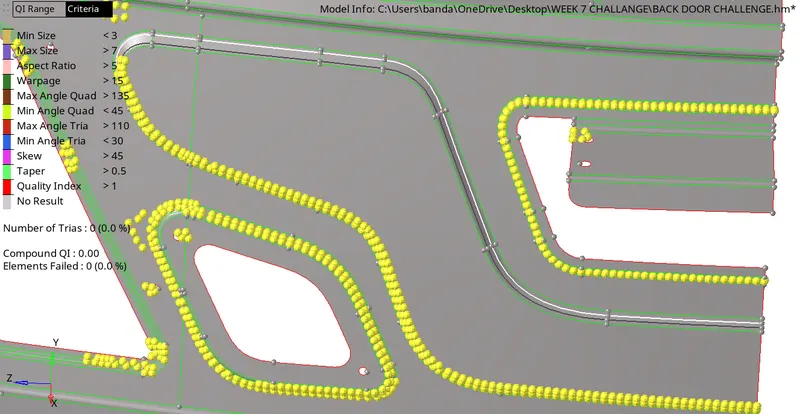
Here to overcome the failure I created a center line.
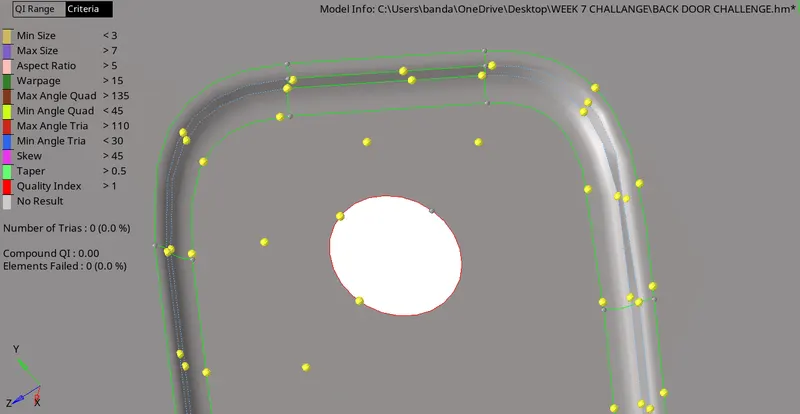
Toggling the minimal areas so that we can overcome the formation of min size elements.
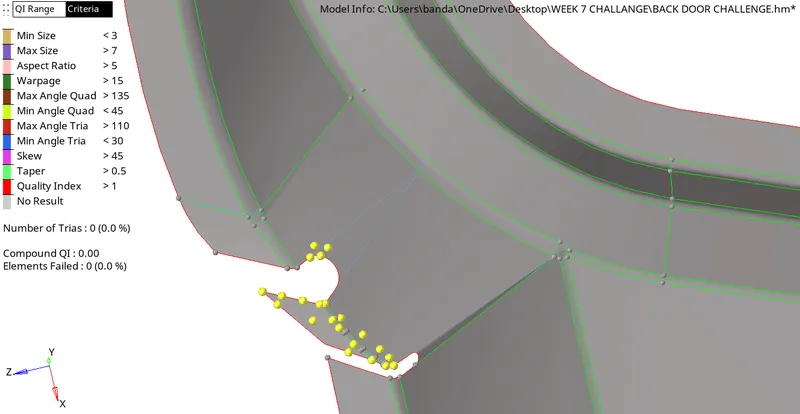
Here the folded region is toggled to maintain proper mesh flow.
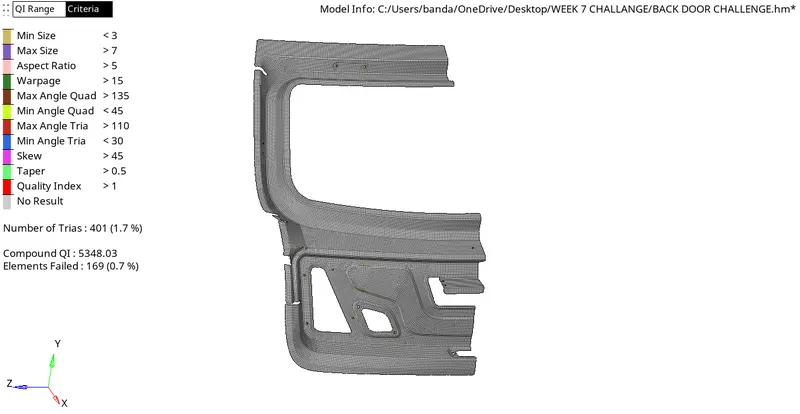
Now I created the mesh and we need to correct the mesh flow.
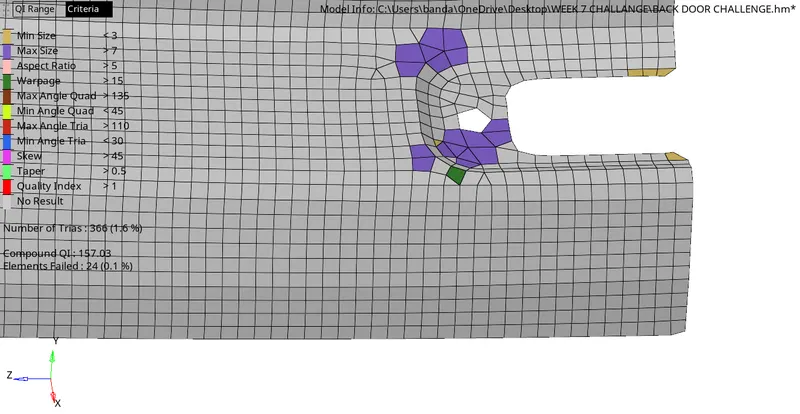
After correcting the region.
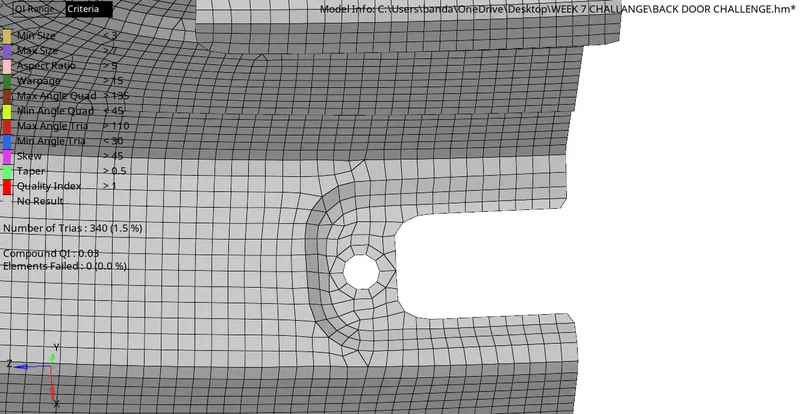
Here I corrected the geometry in the middle surface to get proper mesh flow.
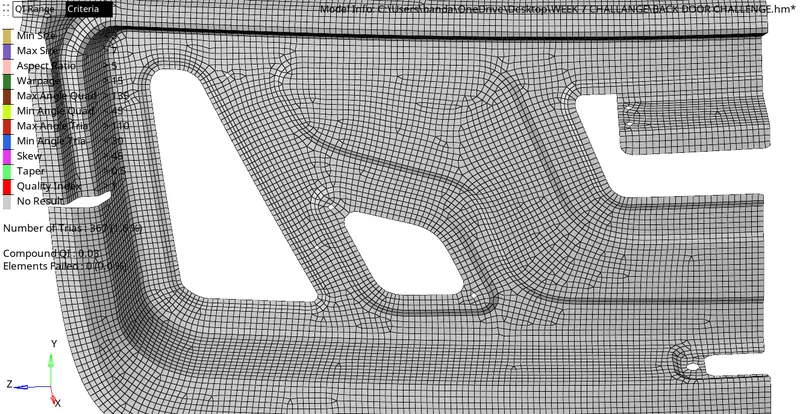
BEFORE CORRECTING
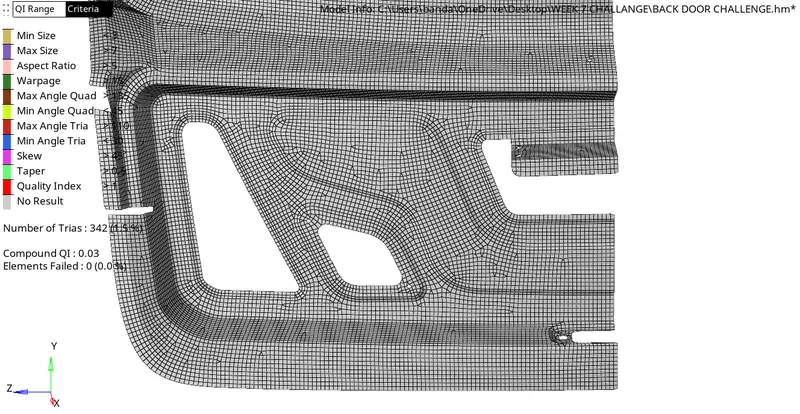
I tried to eliminate the tria's as much as I can but it is a complex structure with converging and diverging surfaces it is difficult to decrease the percentage of tria's completely.
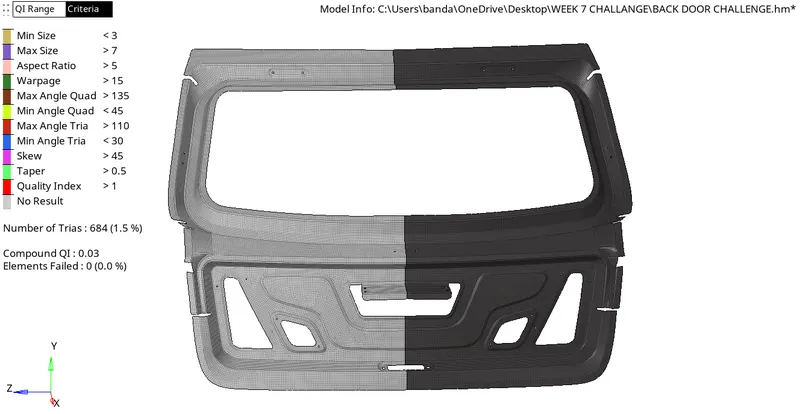
Now after correcting the mesh flow, I had reflected the elements to form the surface as a given component.
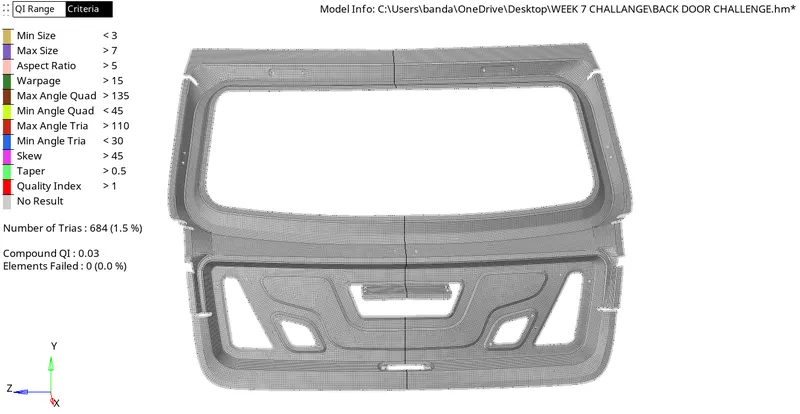
After reflecting we need to check the equivalence for proper element connectivity.
Step 9:-
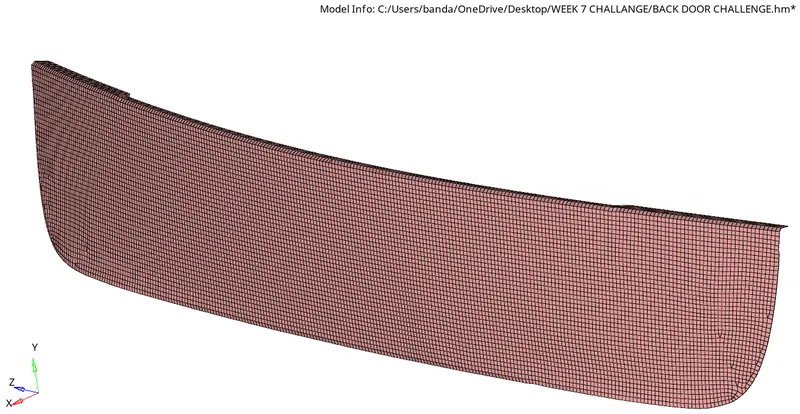
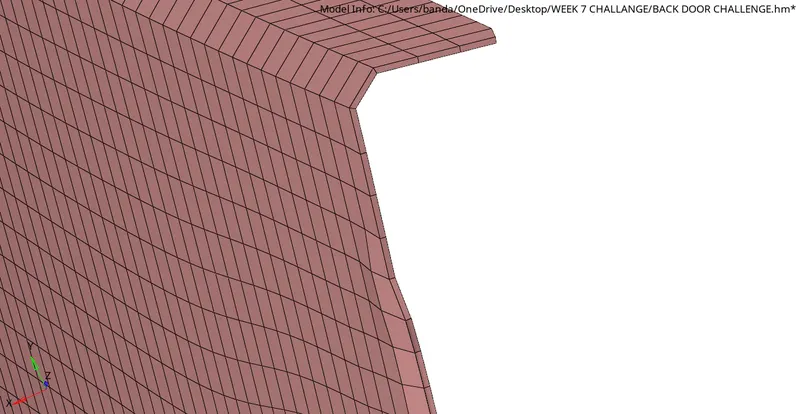
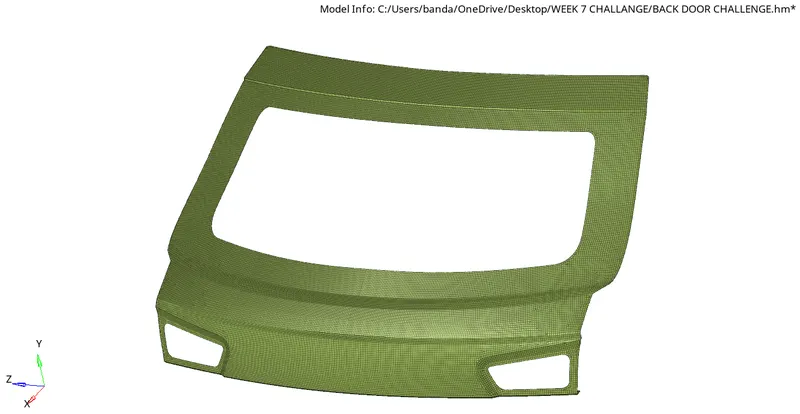
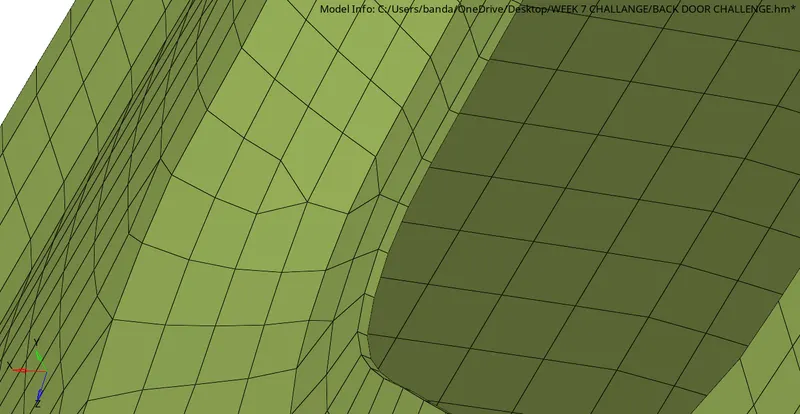
Now we need to assign the thickness to the elements which we created on the surfaces, for that we need to measure 2-3 areas on the same surface to confirm it. By measuring I got 0.75 thickness for the Inner and Outer surfaces and 0.6 thickness for the lower surface.
1. Thickness applied for lower surface elements.
2. Thickness applied for outer surface elements.
3. Thickness applied for inner surface elements.
RESULT:
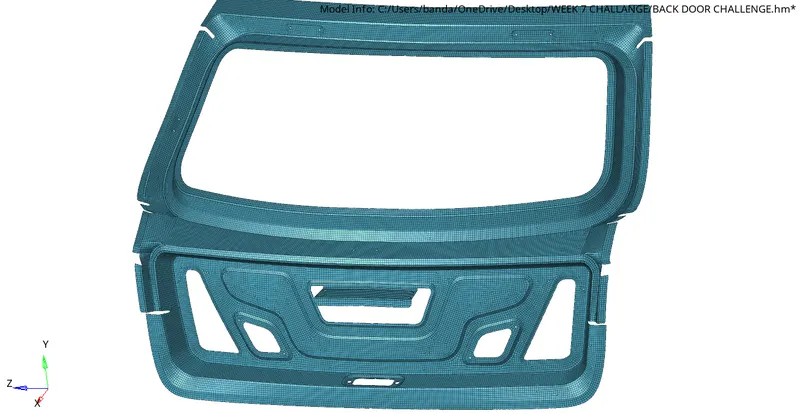
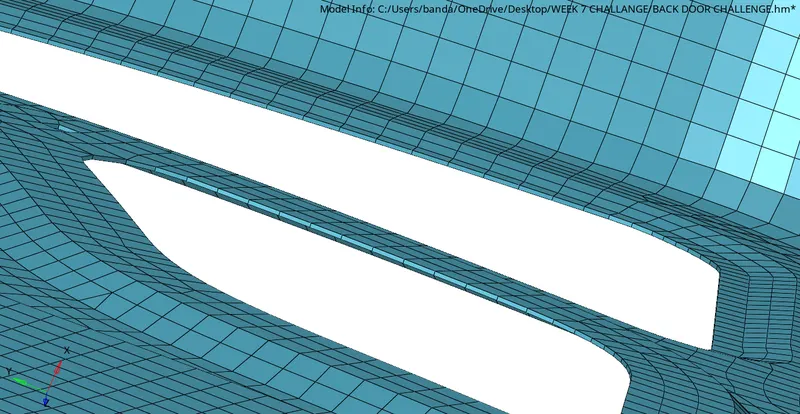
By completing all the corrections we completed the task according to the given criteria.
Target Element size - 5 Units
| S.N | Quality Criteria | Value |
| 1 | Aspect Ratio | 5 |
| 2 | Skewness | 45 |
| 3 | Warping | 15 |
| 4 | Taper | 0.5 |
| 5 | Min. Length | 3 Units |
| 6 | Max. Length | 7 Units |
| 7 | Min angle Quad | 45 |
| 8 | Max angle Quad | 135 |
| 9 | Min angle Tria | 30 |
| 10 | Max angle Tria | 110 |
| 10 | Tria % | 15 |
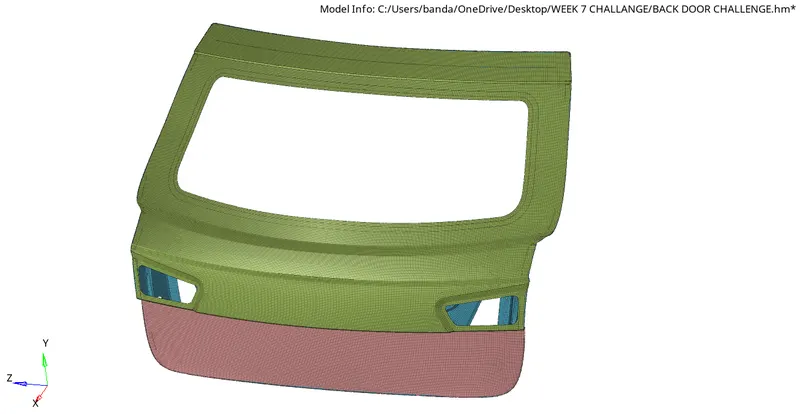
This is the final model of the components of satisfying all the given criteria.