Week 7 - Creating connection for Rear door
AIM:-
Connecting the Side Door using 1D elements, Weld, and C-Bush Joints as per required.
Procedure To Accomplish The Given Task:-
Step1:-
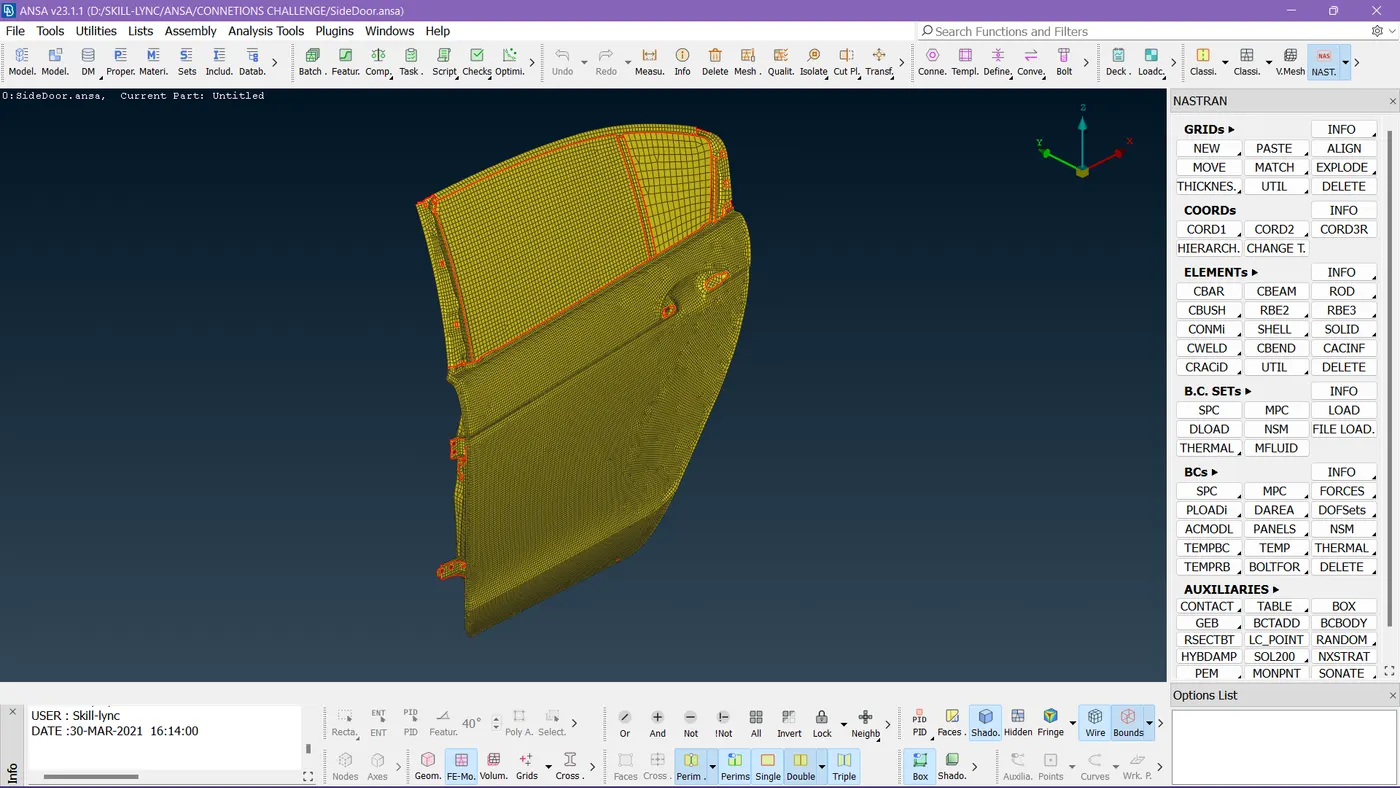
We have to Download the model and import it into ANSA software.
Step 2:-
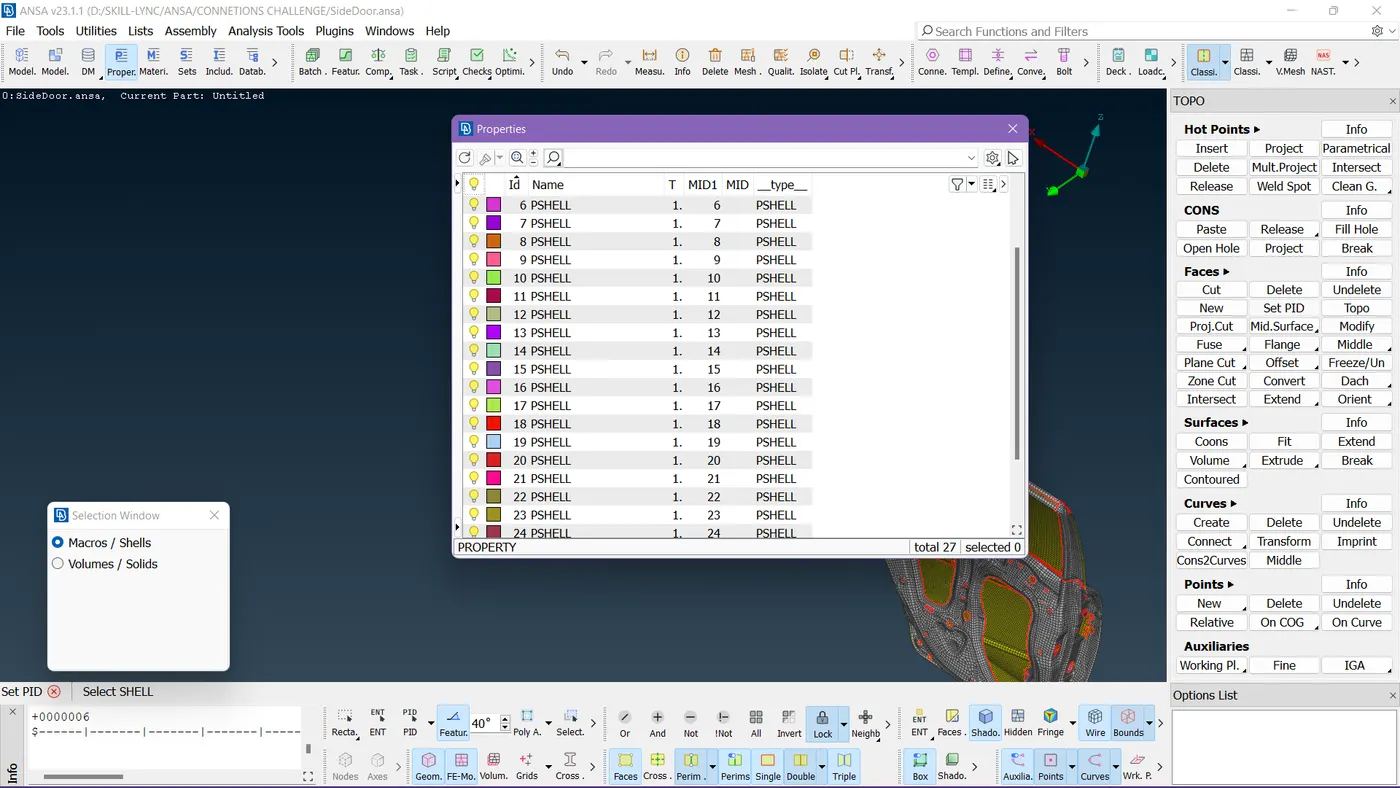
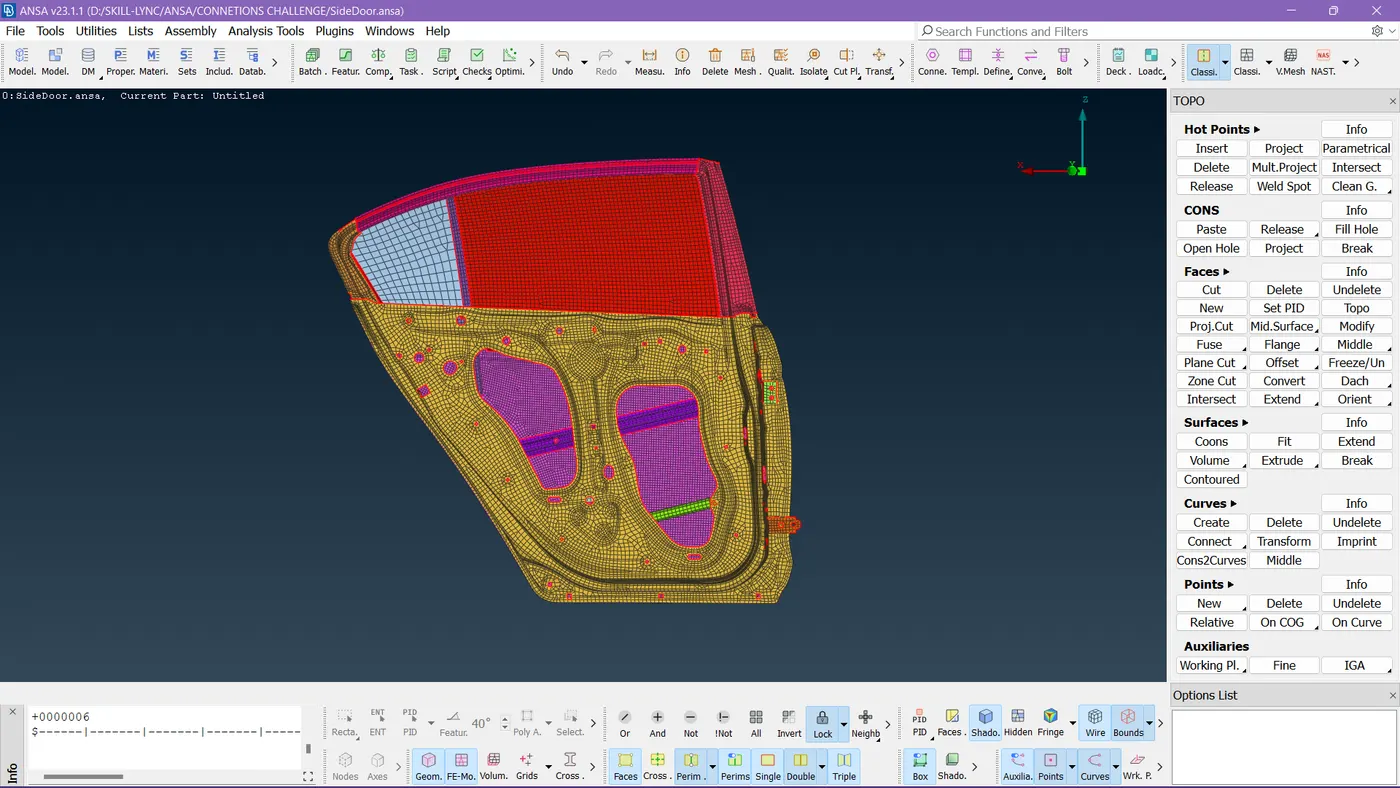
I organized each and every surface in different PIDs so it is easy for selling the surface while connecting them.
Step 3:-
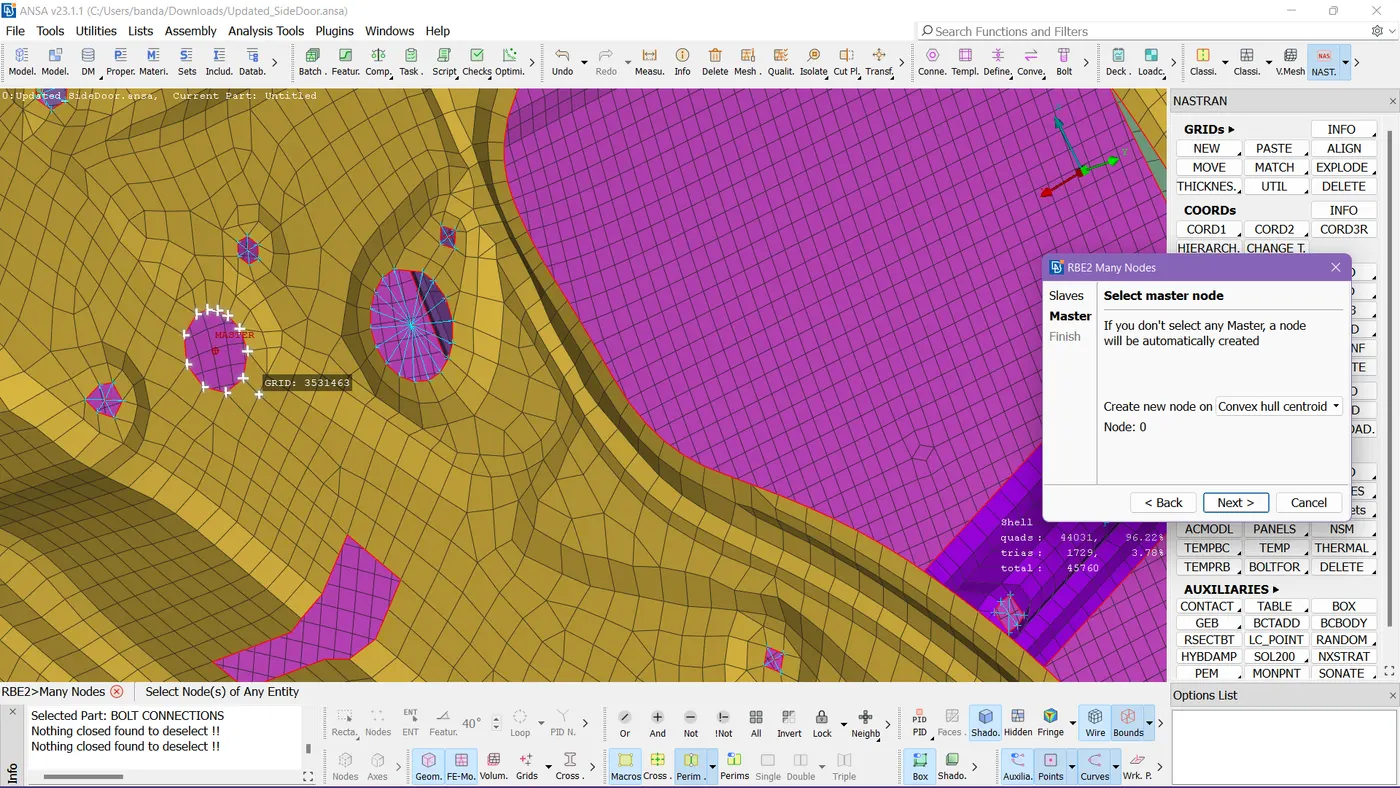
To make connections using RBE 2 link, firstly we need to select the slave nodes and then the master node point is specified.
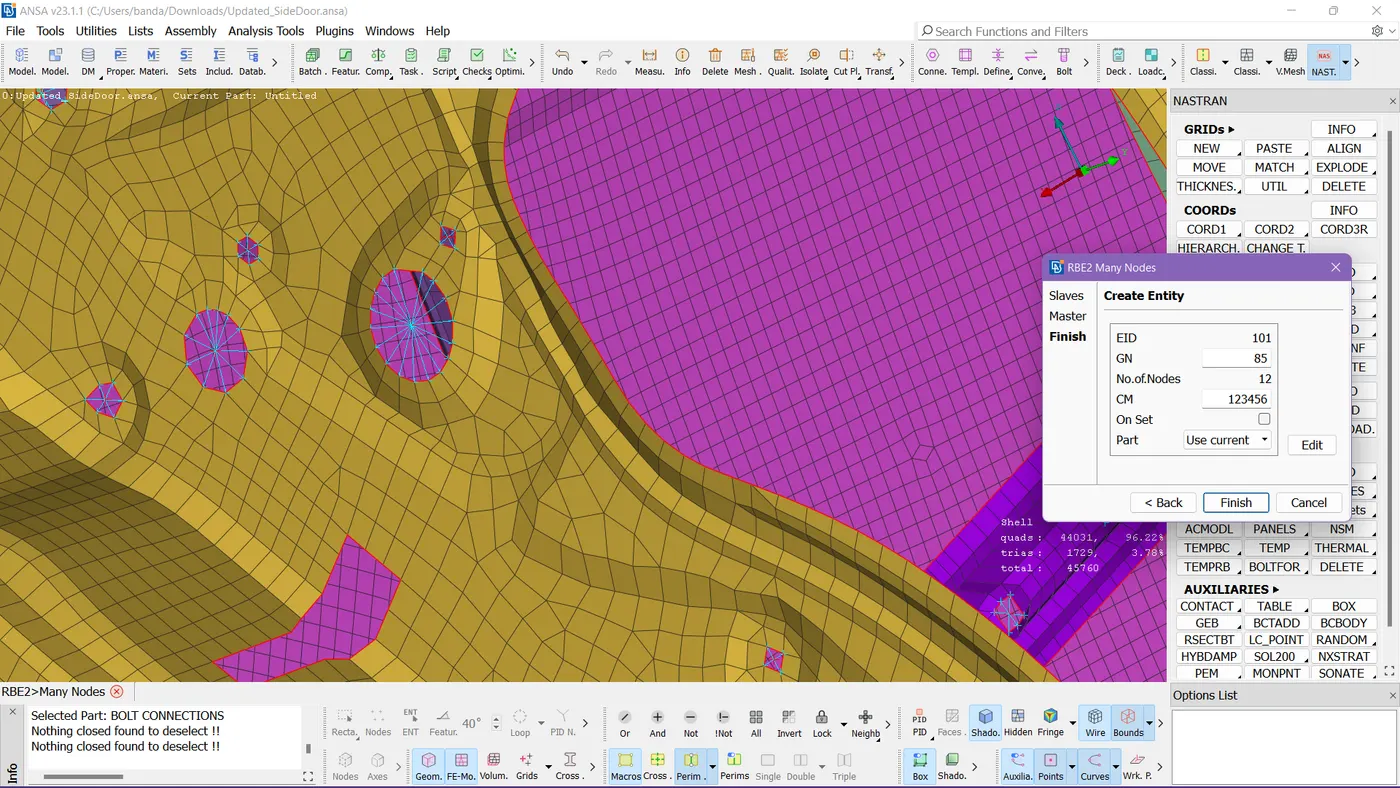
Then after as shown in the figure we need to check down the things and need to create a new part for connections and FInish to form a link.
Step 4:-
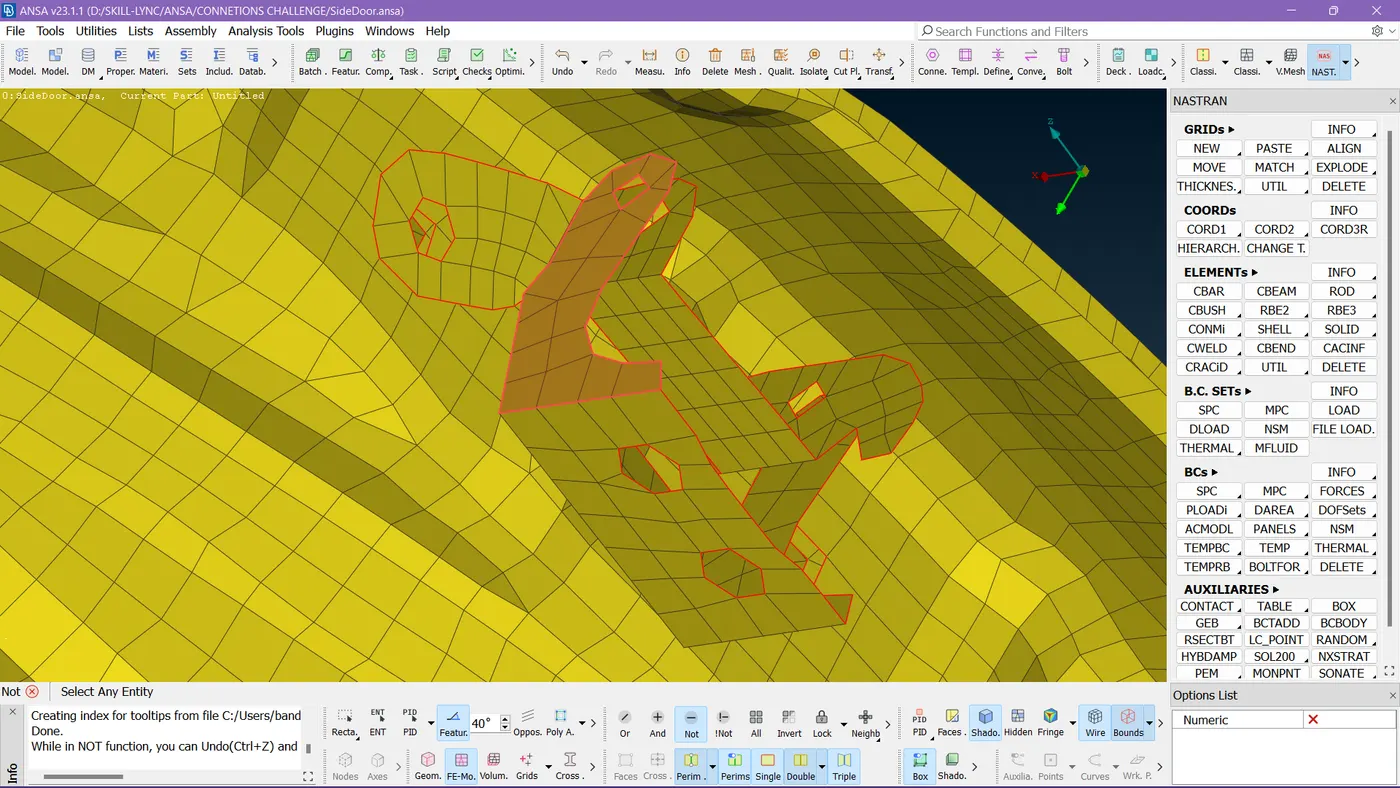
Now I started making connections from this revolving pair of door joints.
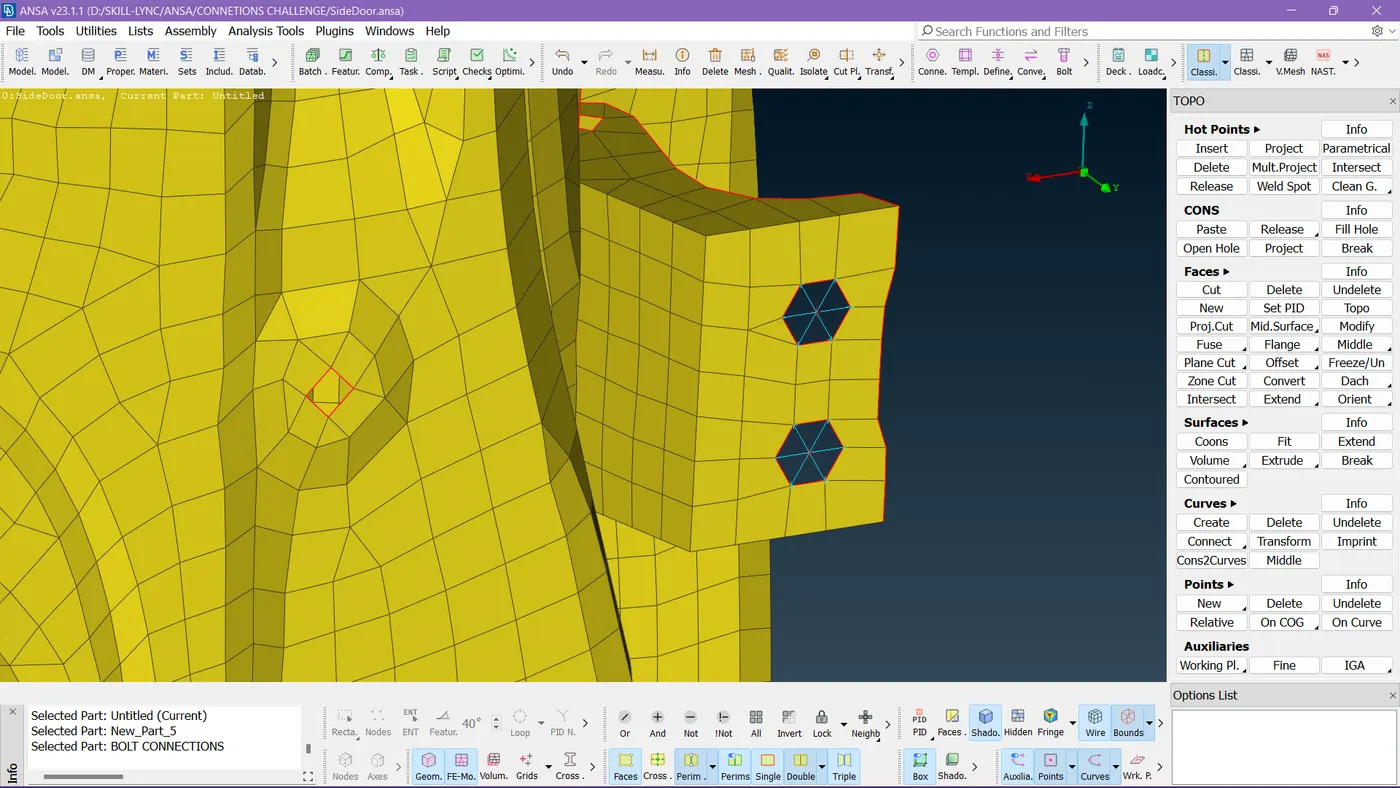
The RBE 2 joints are made here as there are single Holes.
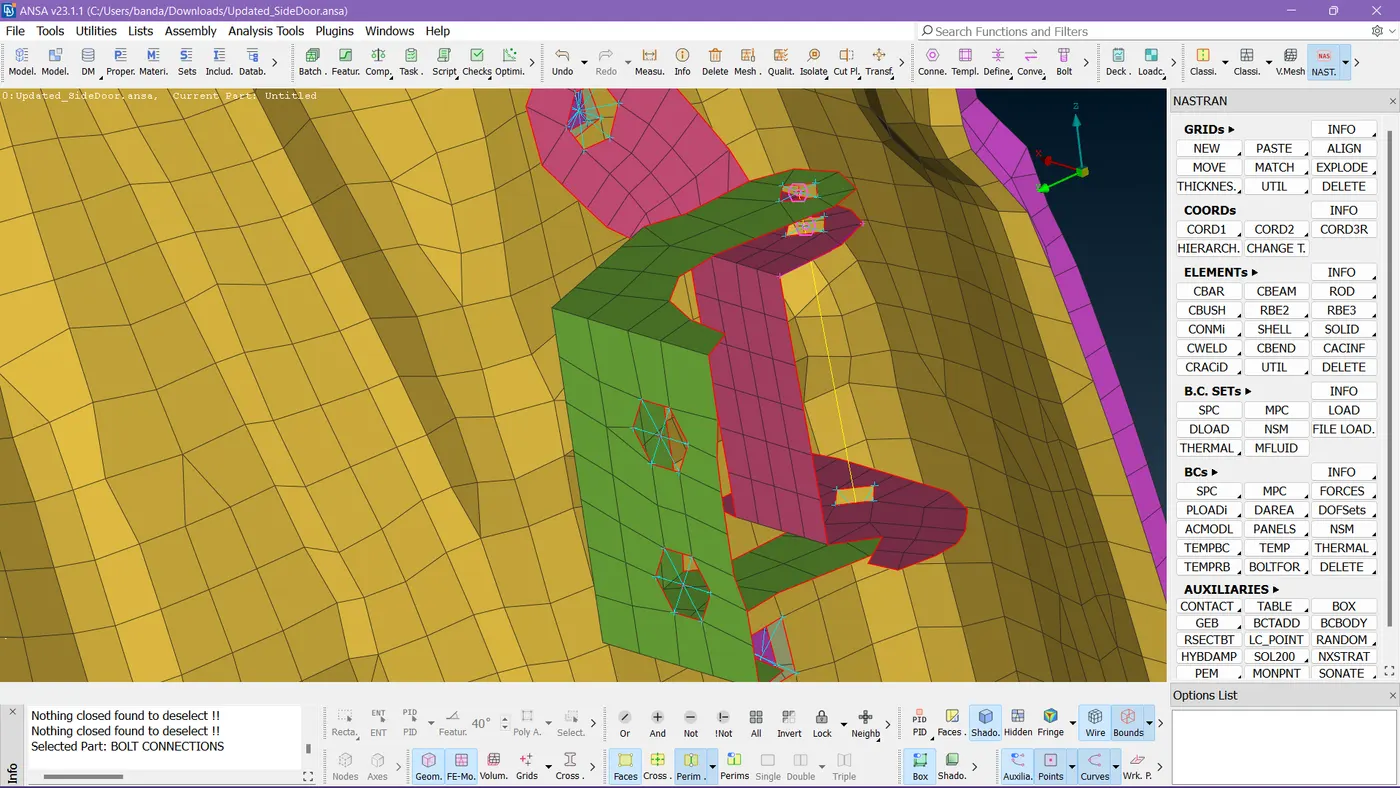
Like this, we need to make connections for this region.
Step 5:-
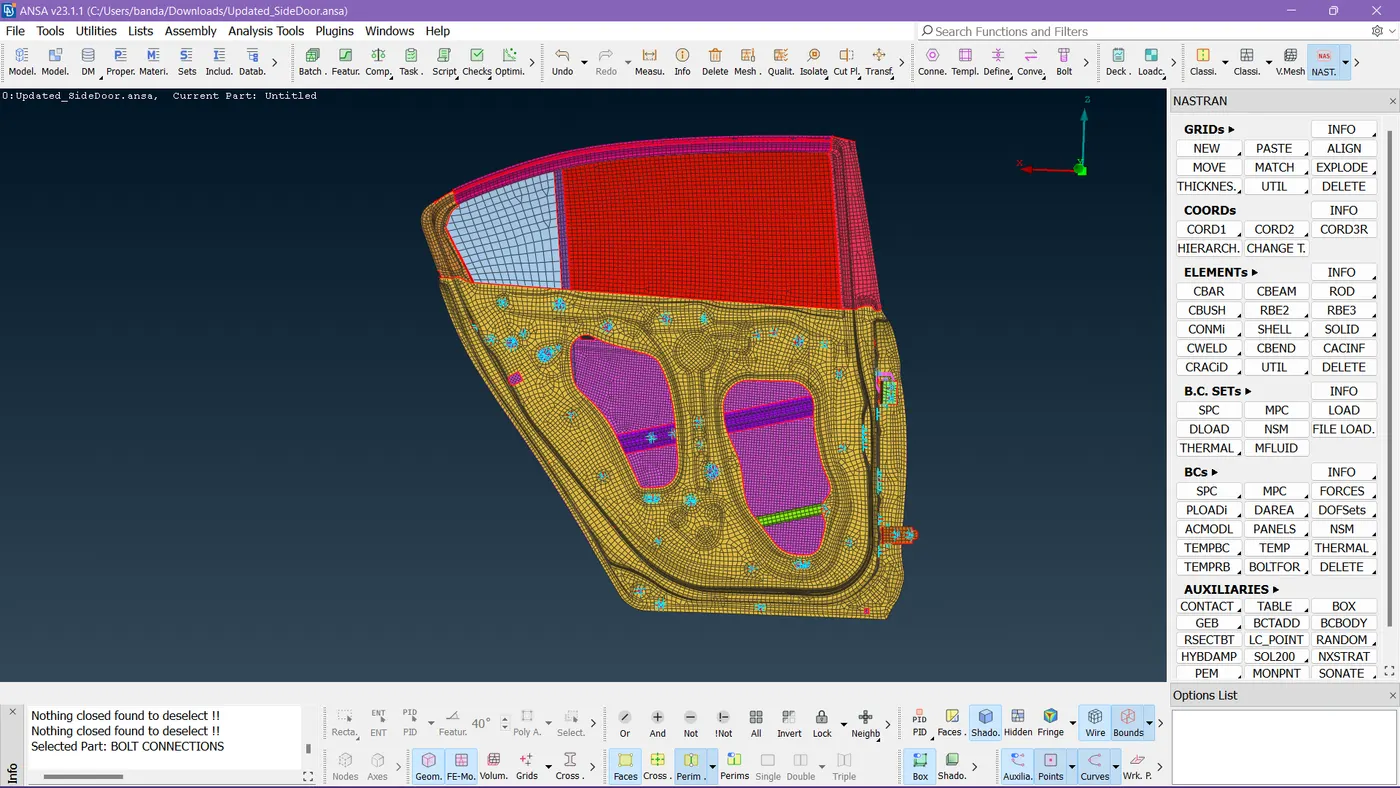
I made connections on the upper surface which is visible.
Step 6:-
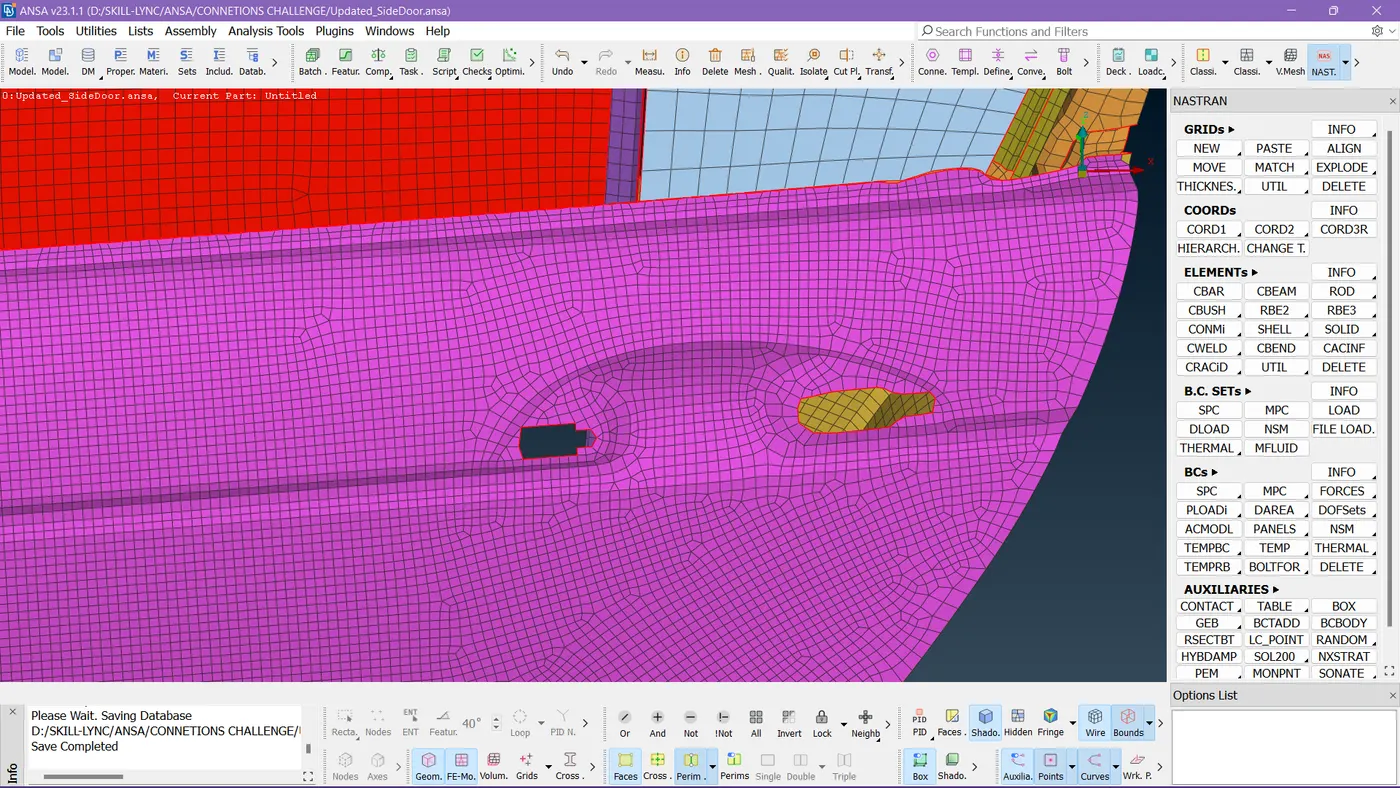
So this is a door handle region now we need to make connections here.
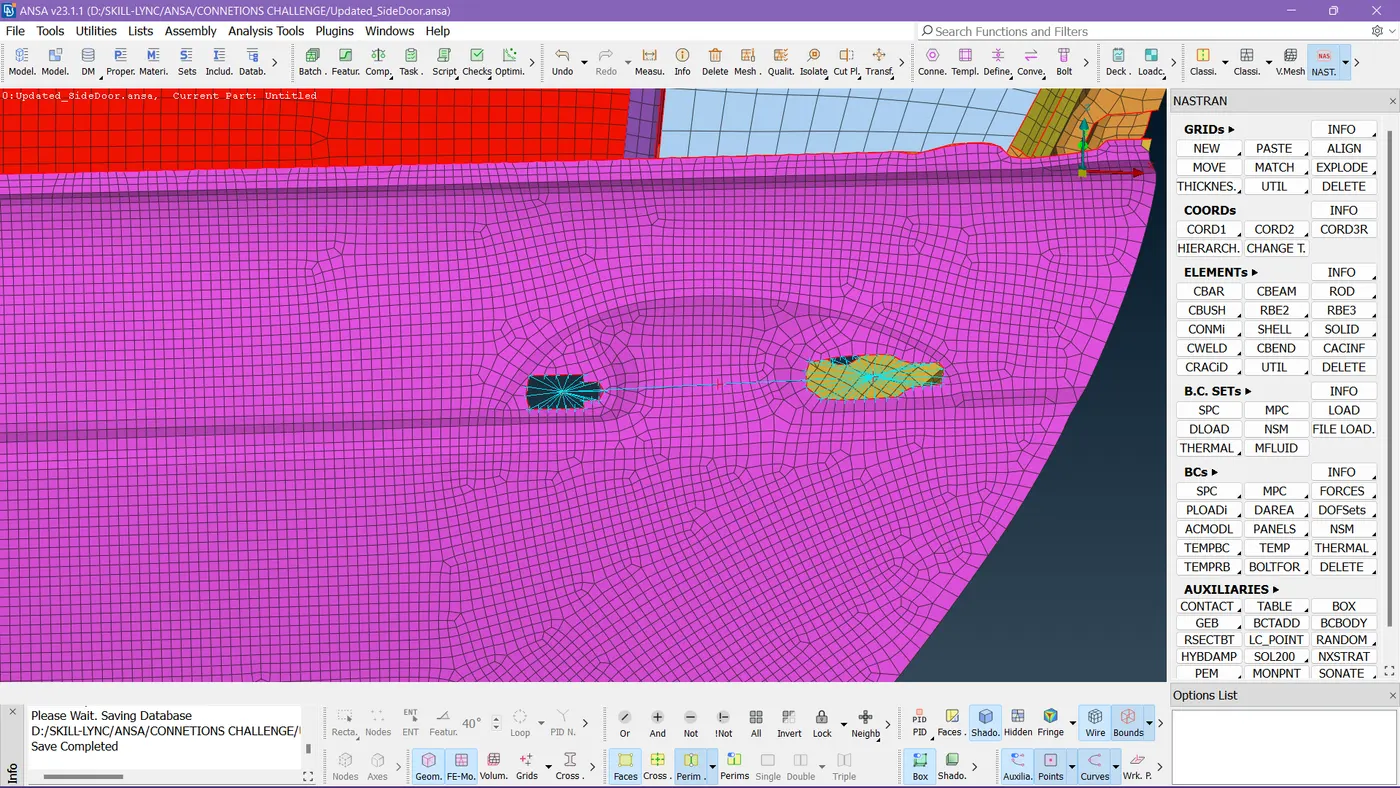
As the first step, we need to form RBE 2 connections at holes and need to connect them.
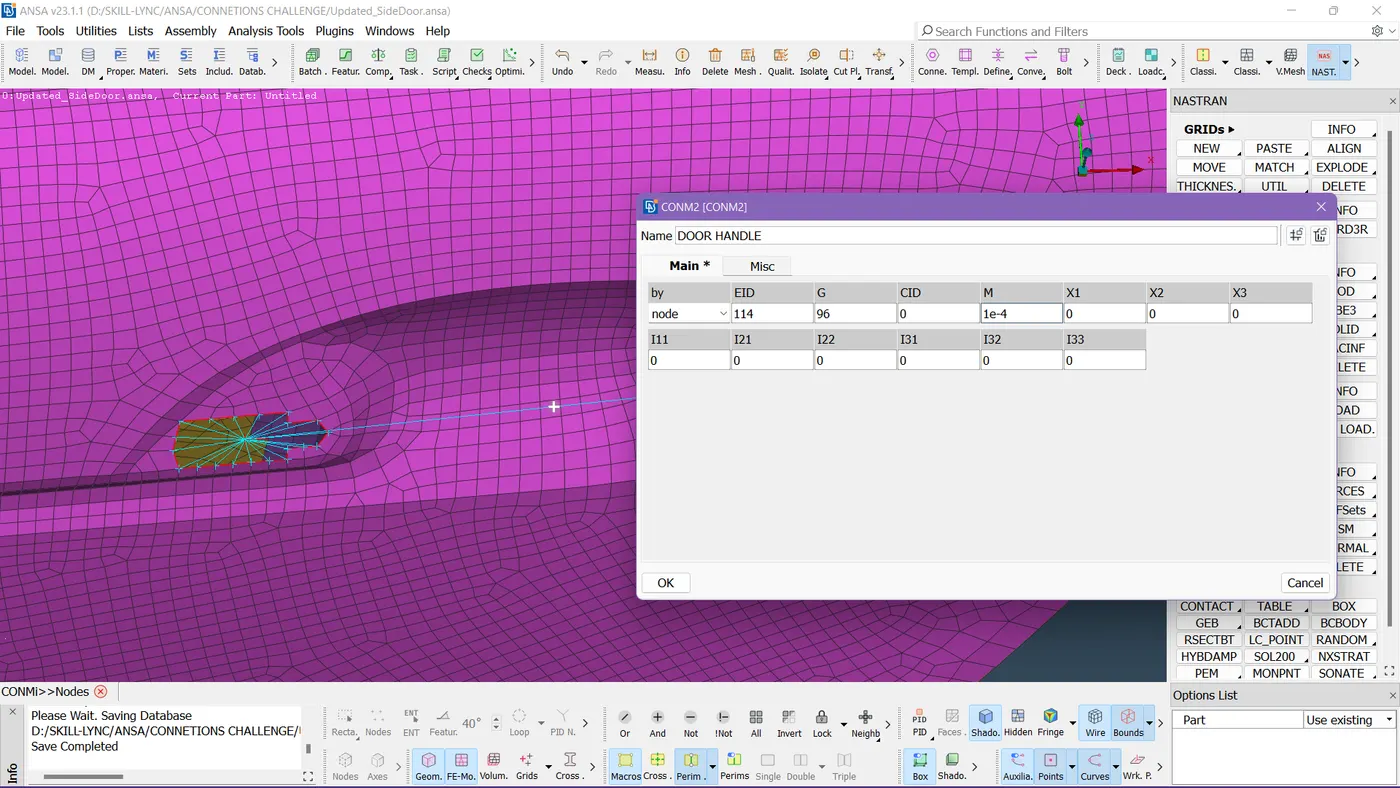
So we need to add mass for the handle to justify it so we need to select the node I have taken the handle weight of 100 grams as an example and converted it into Tonnes as we are now working in Nastran Deck.
Step 7:-
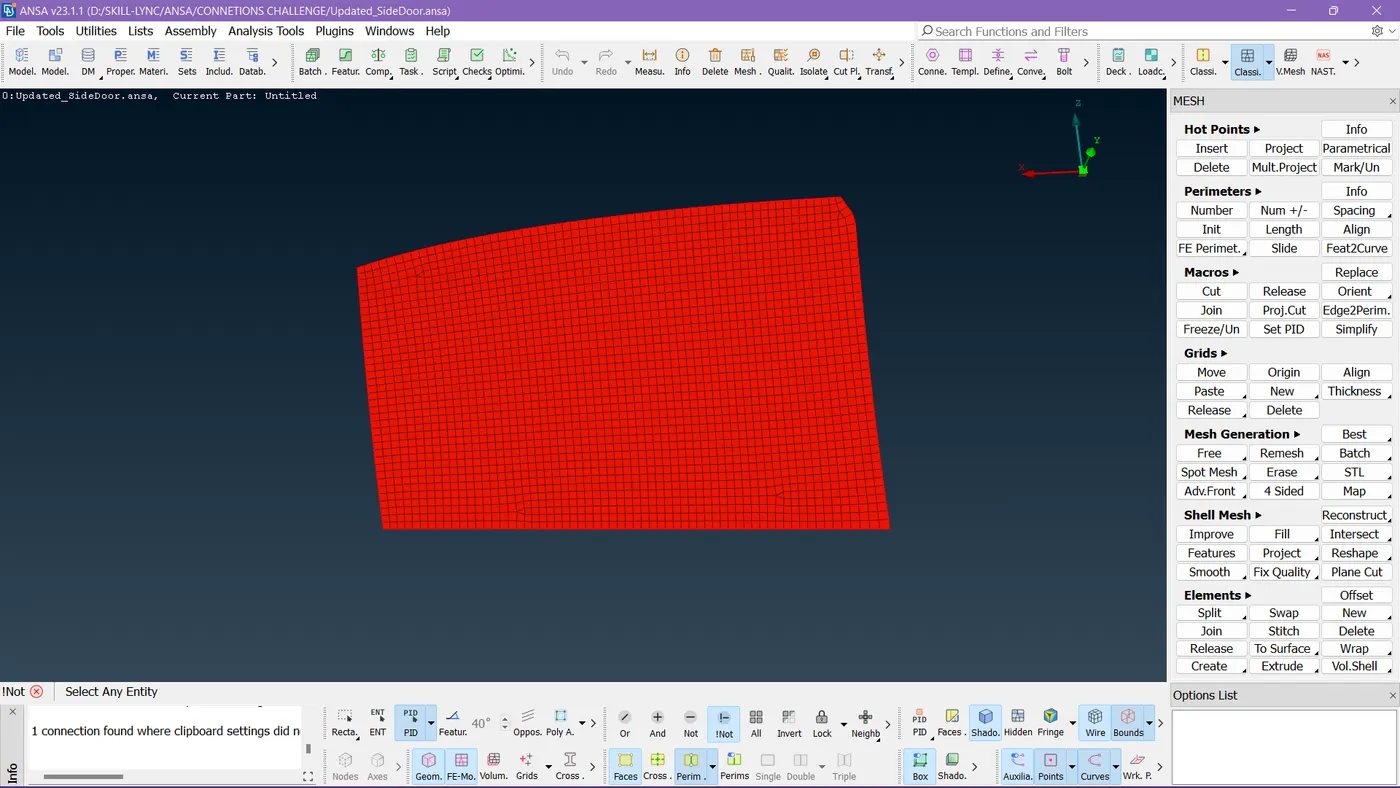
Now I'm working on this mirror region to make RBE 3 C-Bush connections as the weather strips are flexible in nature.
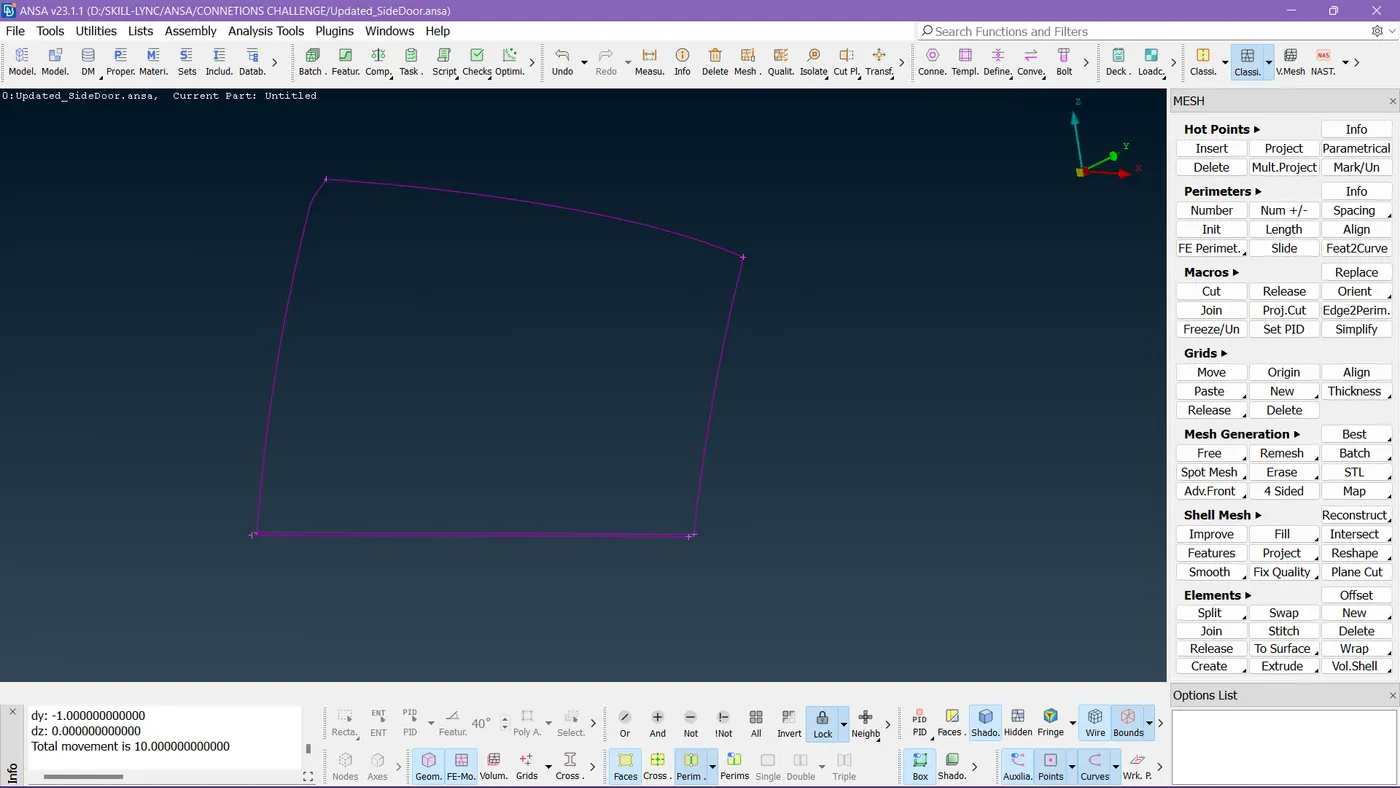
I create the curves using the Feat2Curve option.
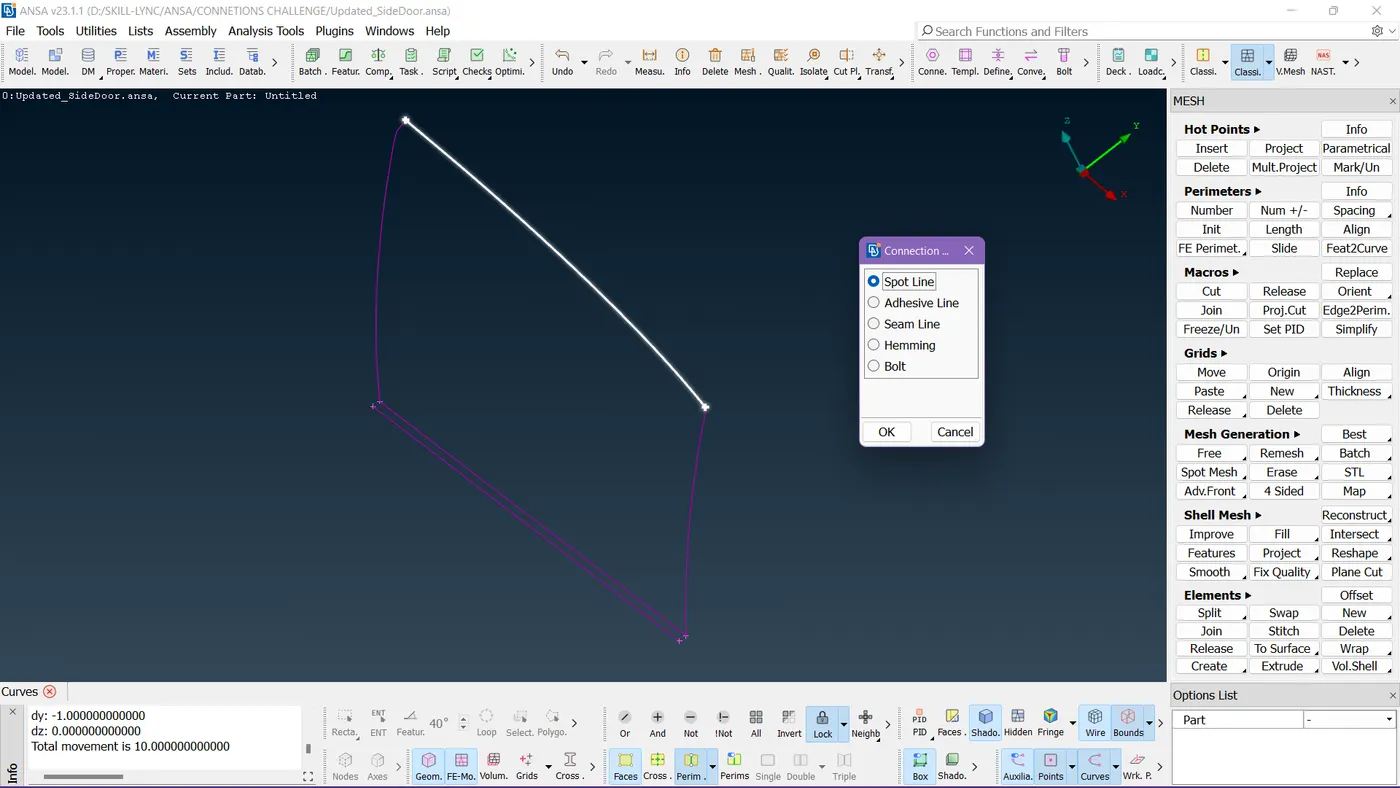
Now they have to convert them from curves to Spot lines.
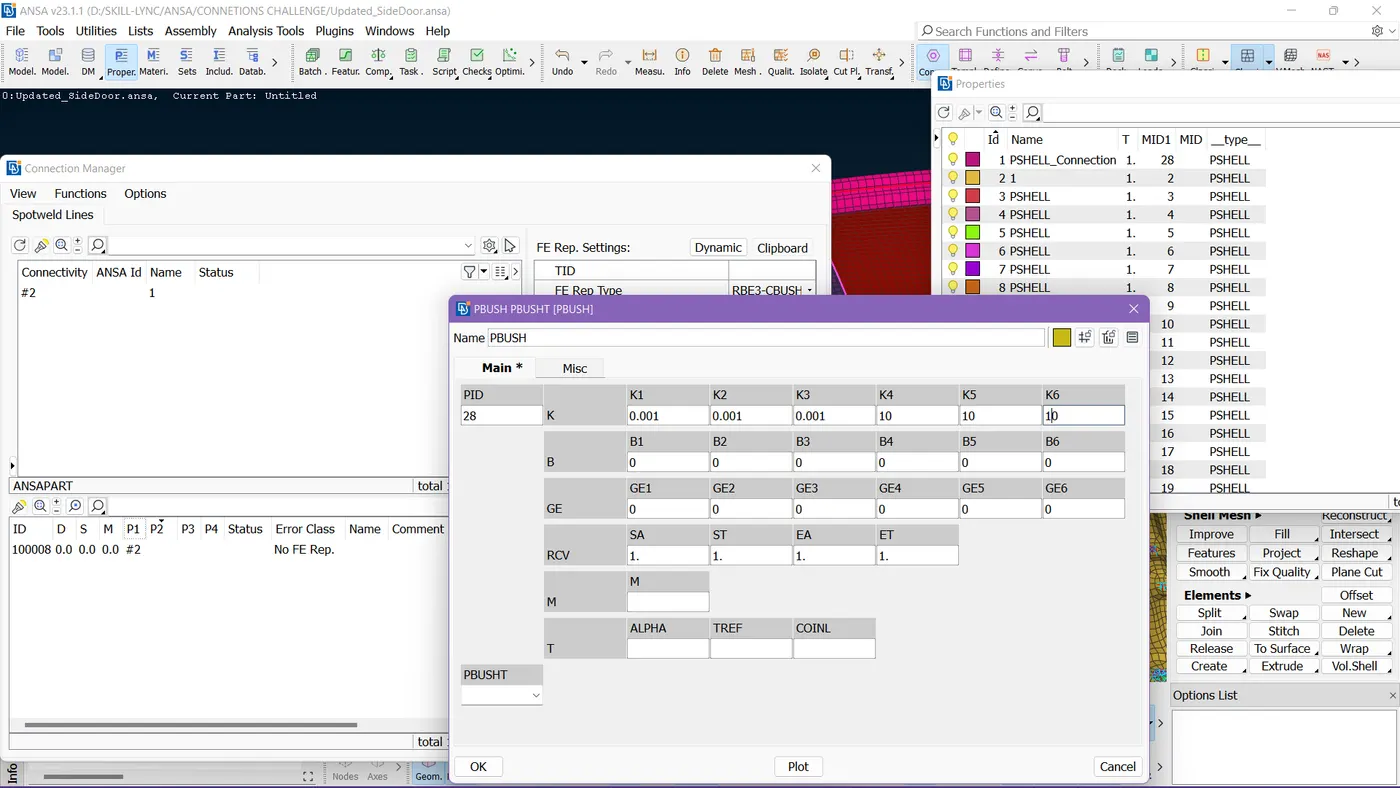
So we need to set down the PBUSH property ID.
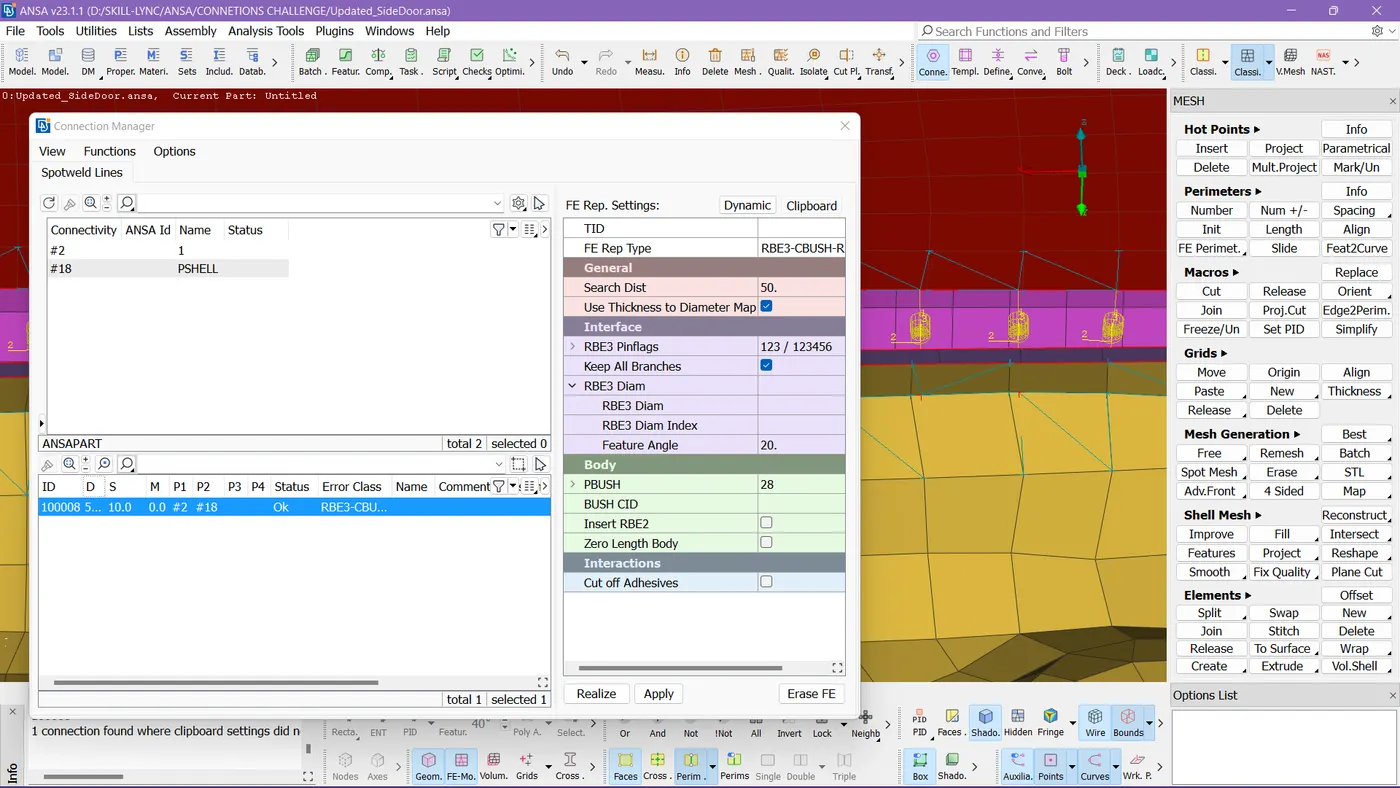
Then we need to apply and do the same for all the spot lines which are converted.
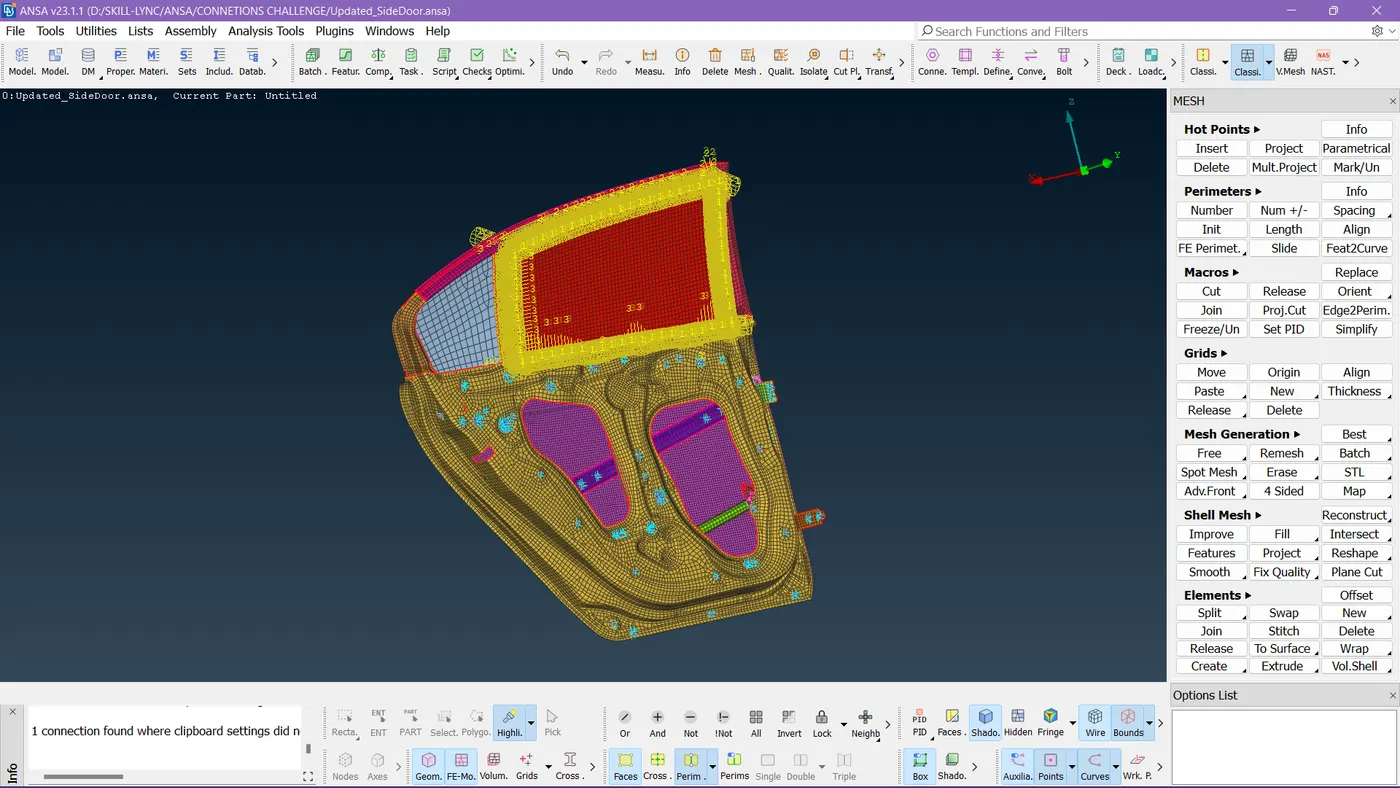
So this is how its looks after we are done but there is something called orientation of the elements we need to correct.
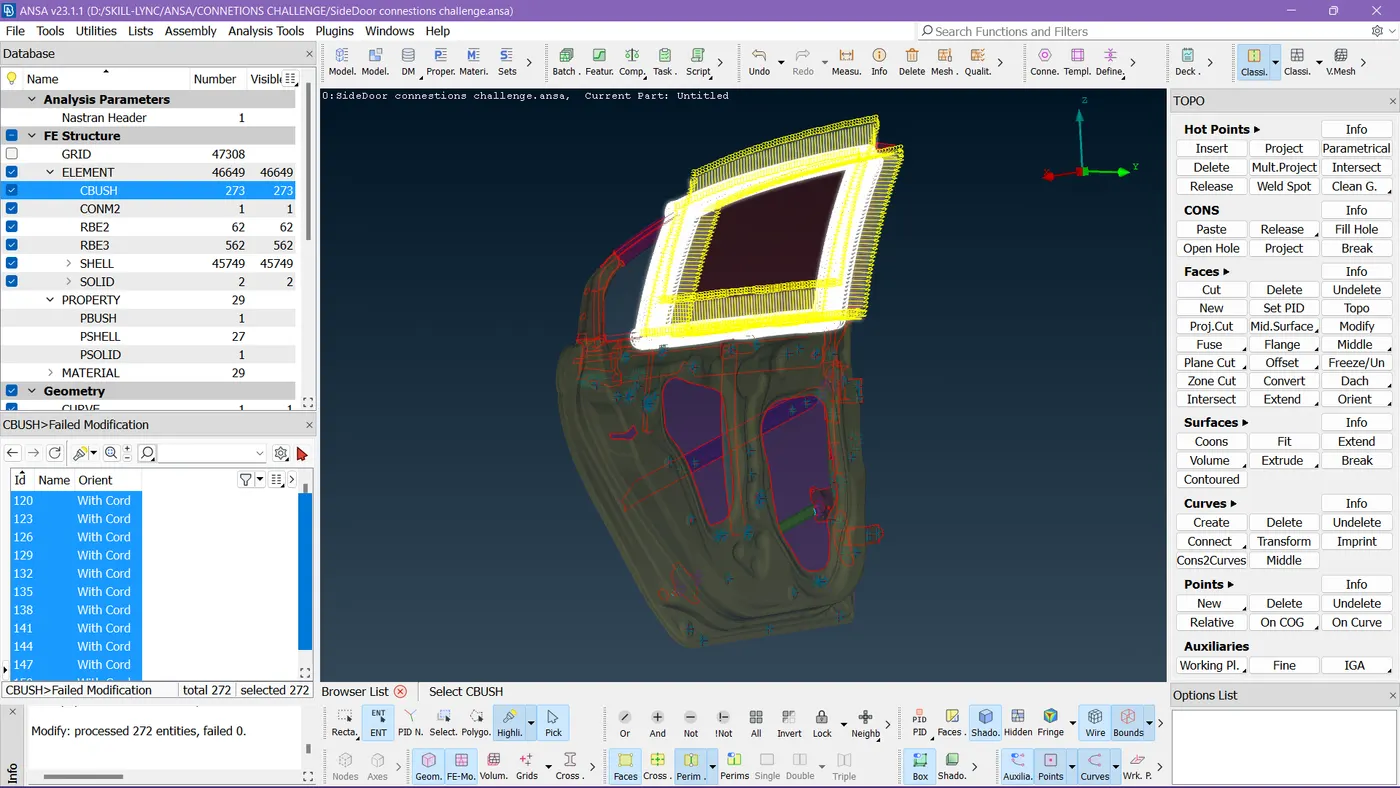
So I changed its orientation and made them properly.
Step 8:-
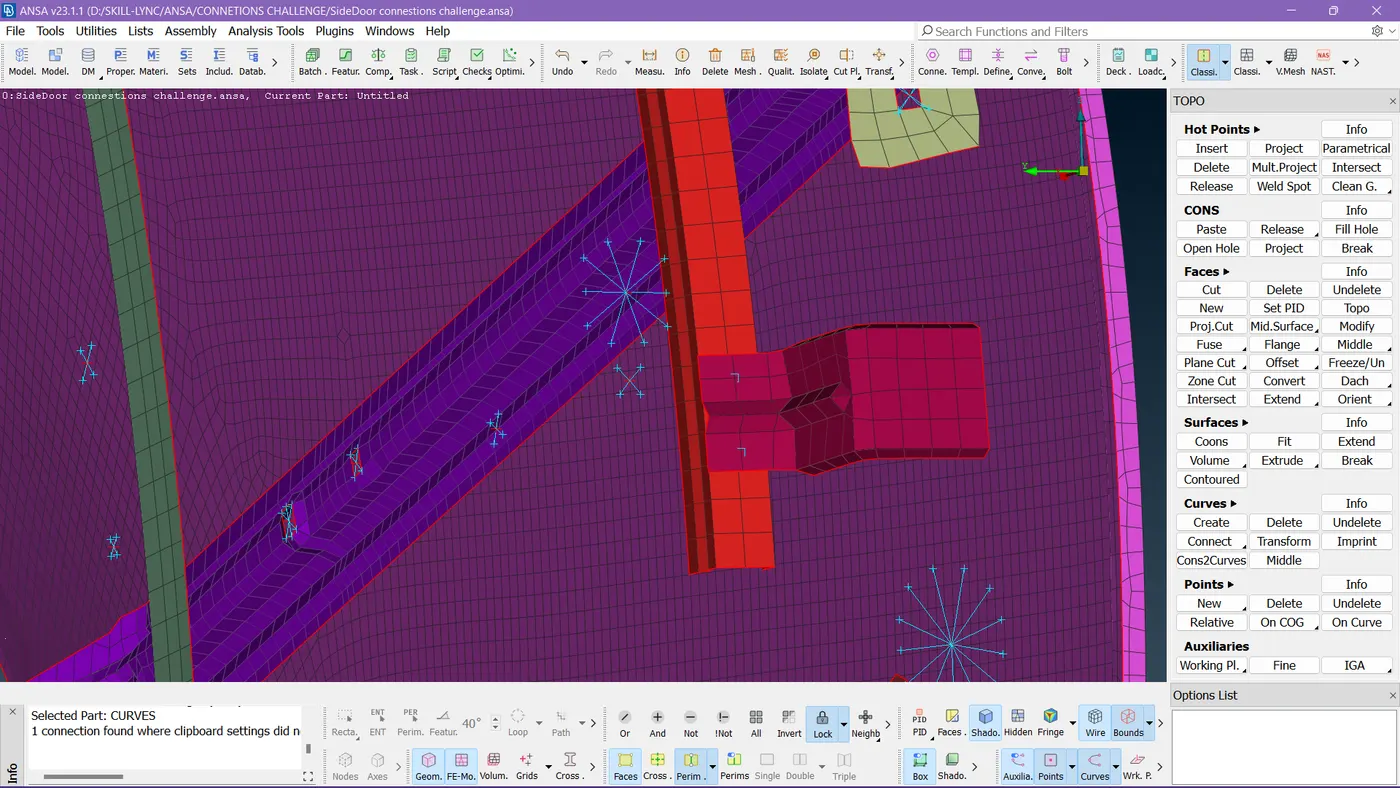
I wanted to create a spot weld here so I created COG points first here.
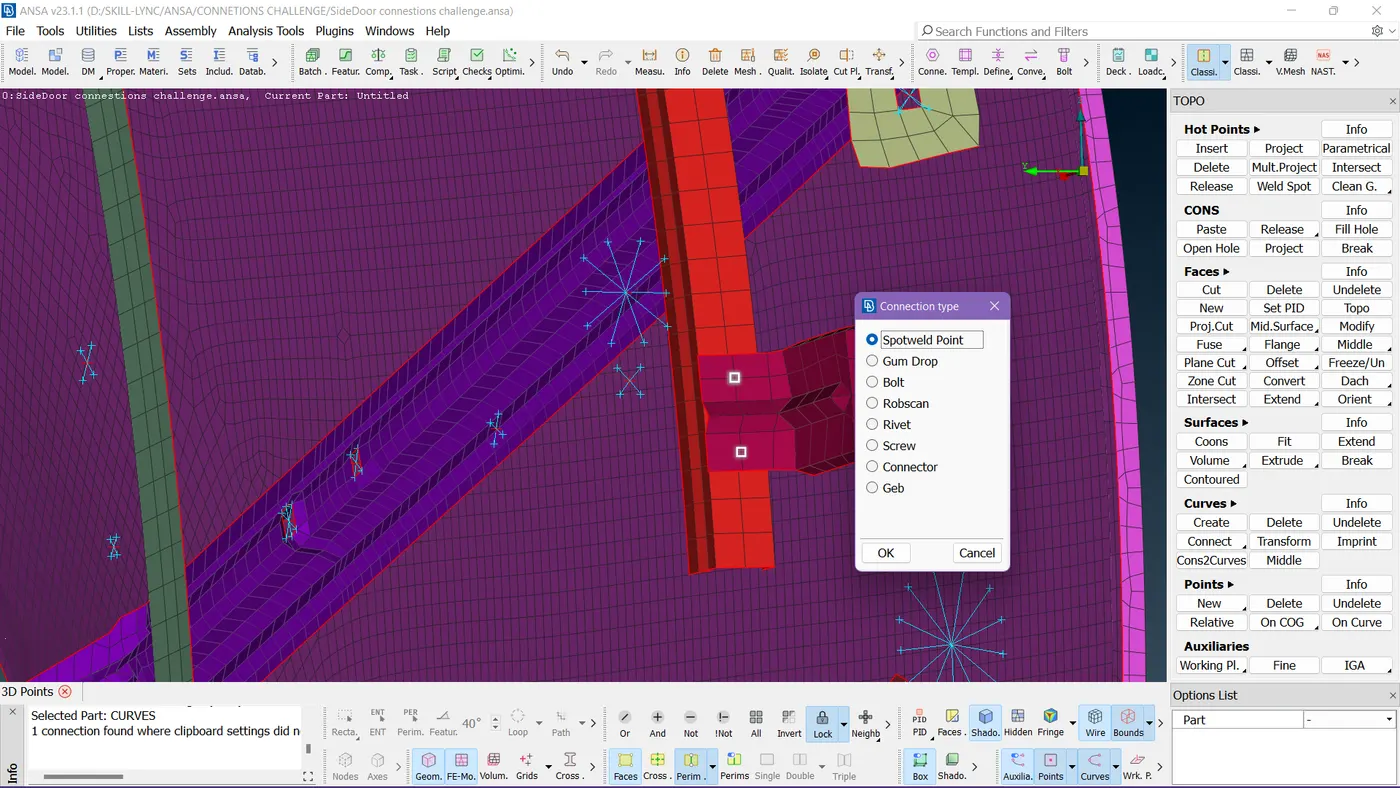
Then we need to convert them into spotweld points.
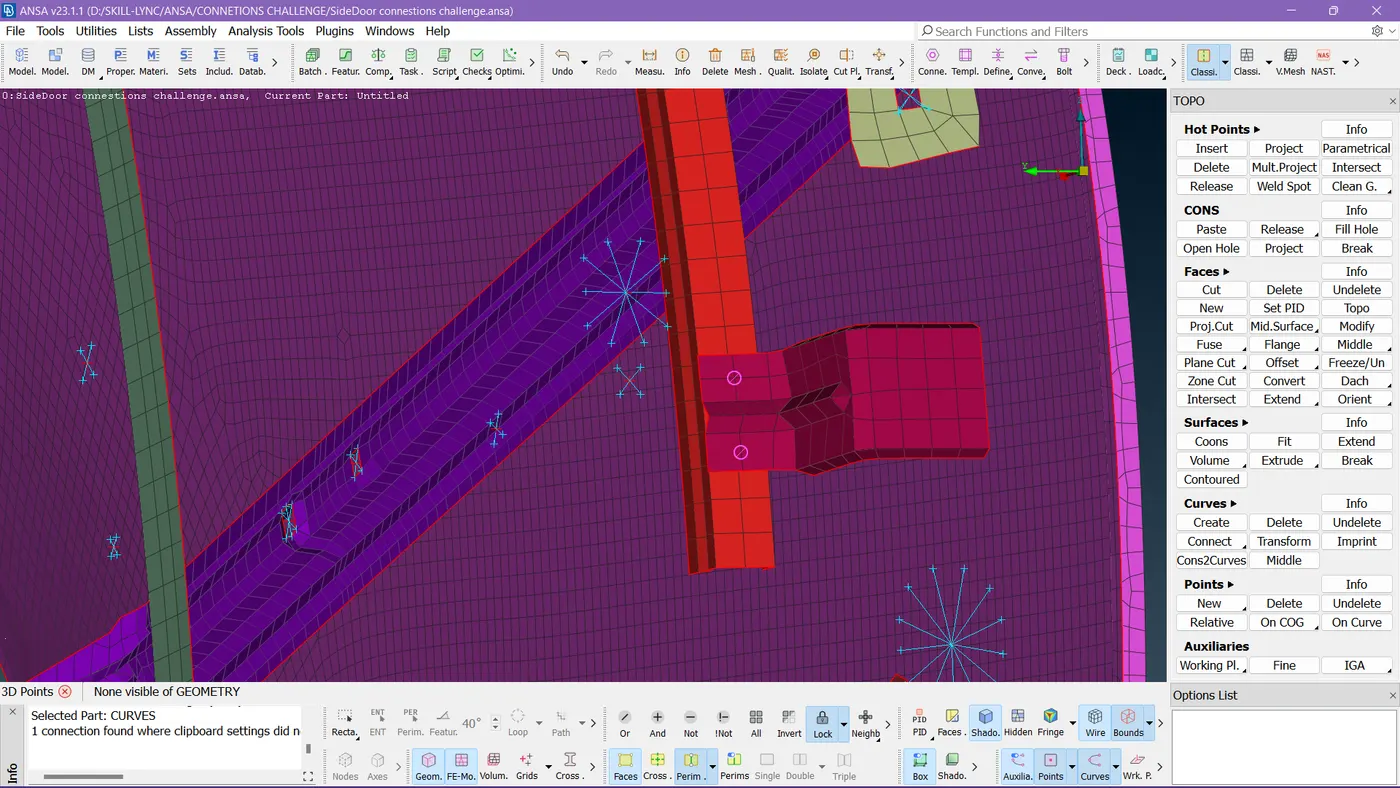
This is how they look after we convert them into spotweld points representation.
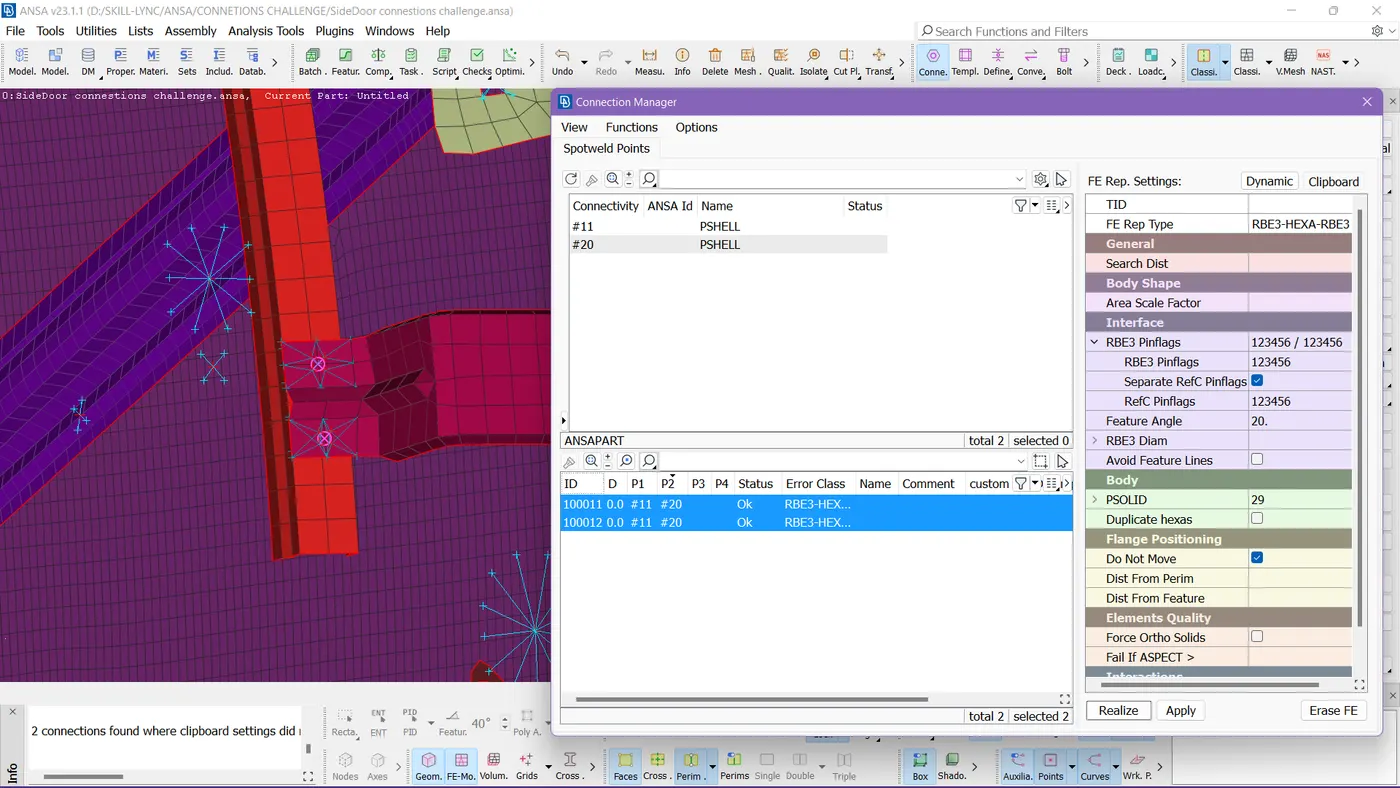
So we need to specify the things properly and need to apply the weld, as u can visualize the shape of the spot weld in the picture.
Step 9:-
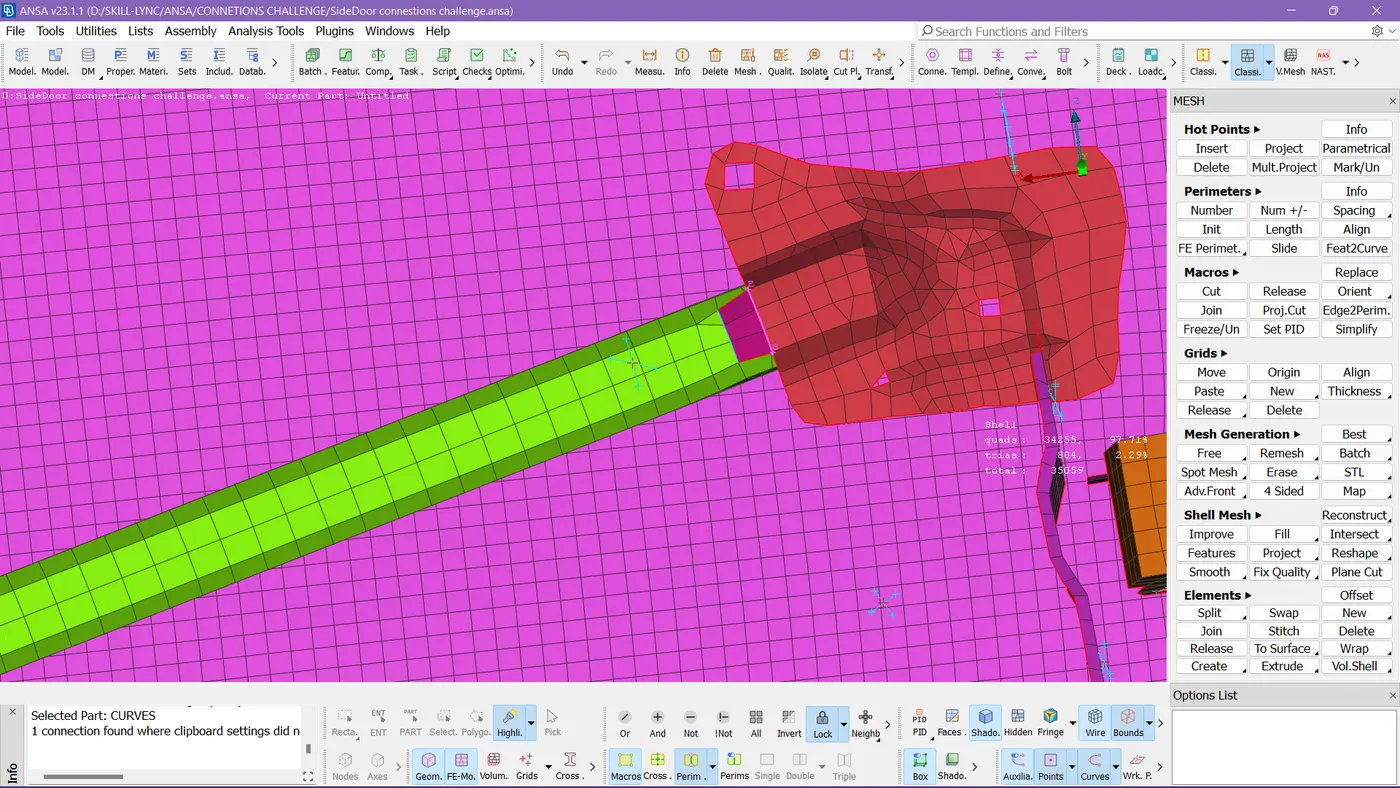
So I did seam weld for these 2 surfaces.
Result:
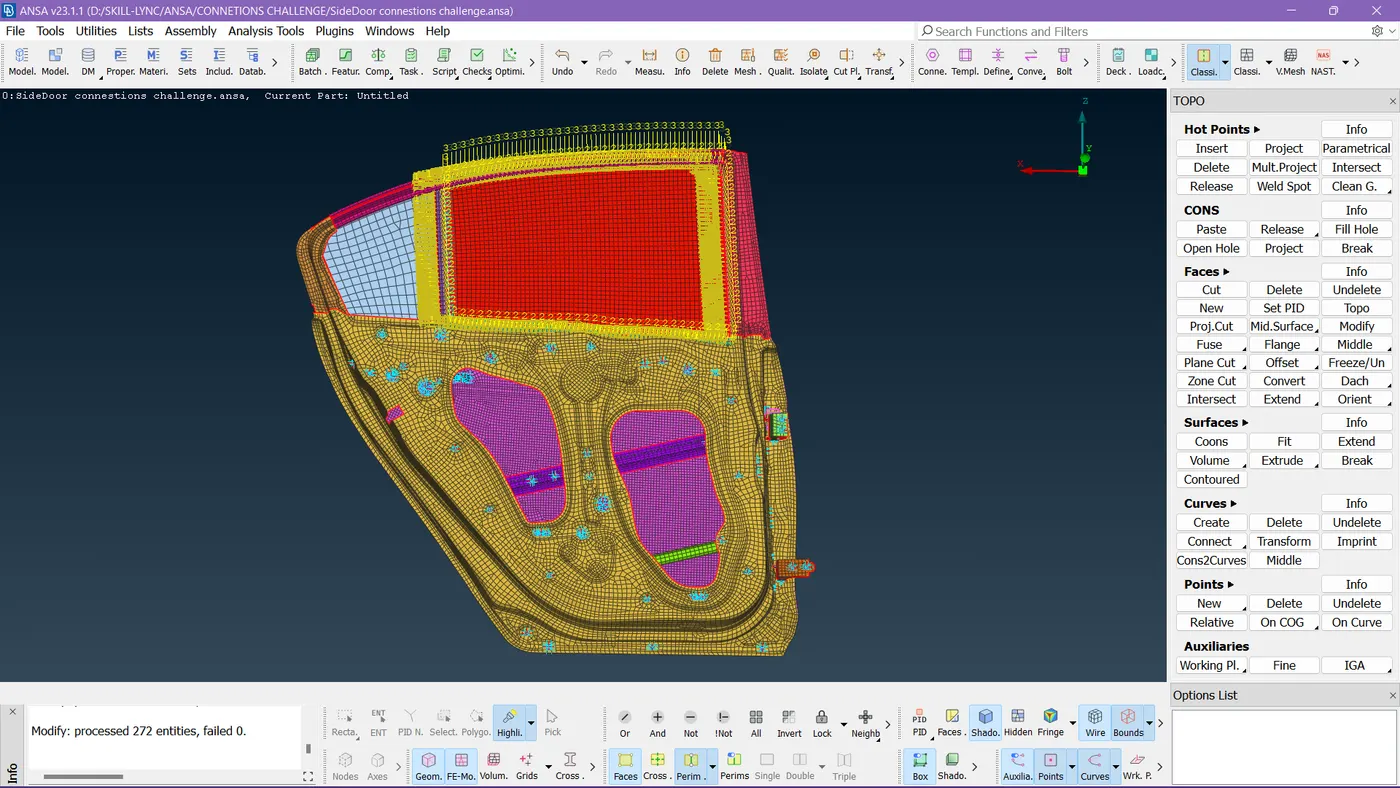
This is the final model after I made all types of connections made on the side door.