Week 7-Challenge [OBTAINING MANUAL MID SURFACE OF COMPONENTS AND 2D MESH]
#WEEK 07 CHALLENGE
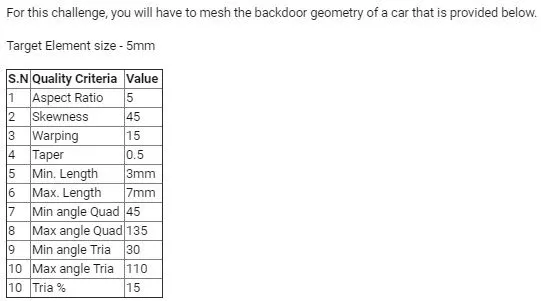
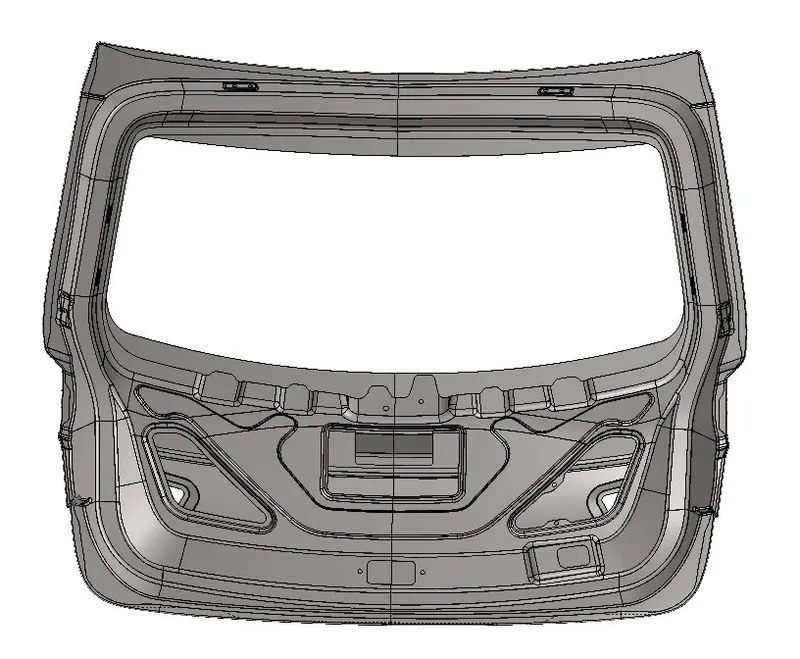
AIM: To Generate manual mid surface and 2D mesh.
ABSTRACT : A back door of a car is a hinged board of door at the rear of the vehicle that can be moved up and down during loading and unloading of logistics. It is also called a tailboard.
OBJECTIVES:Generating manual mid surface and 2D mesh after geometry clean up on back door upper,lower and inner body of car with above quality criteria -
PROCEDURE:
STEP 1: Duplicate the parent surface model to another collector to keep the parent surface safe.
STEP 2: Organise the parent surface to another component collector and duplidate the surface and move
*Tool>Organise>surface>set current component>select dest component>Duplicate>move.
STEP 3: Create another new component where we’ll save our midsurface and make this collector as a current component by make current option.
STEP 4: Switch to the surface components and remove fillets which are less than given mesh size
*Geom>defeature>surface fillet>select surface displayed>give min and max radius>find>remove
STEP 5: Now we can proceed for Manual mid surface by following command
*Geom>surface edit>offset

- Select surface
- Duplicate
- Current component
- Give offset distance (T/2)
- Check normal
- Click offset
We'll see that the mid surface is being created and this is gonna save on the current component collector.
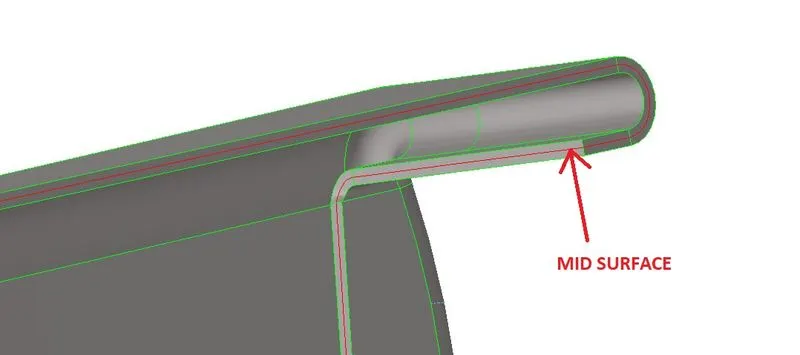
STEP 6: This is how we have to go through all the surface one by one of that particular component and create a mid surface by offset command this is called as a manual midsurfacing.
STEP 7: After creating the mid surface of all the surface of that particular component we have to proceed for geometry clean up on the surface to get a better mesh result by quick edit panel. We have to toggle the unnecessary lines and remove free points. We can split surfaces which will help us to mesh the surface properly and adding points to create a split surface by node or line.
*Geom>quick edit or (F11)
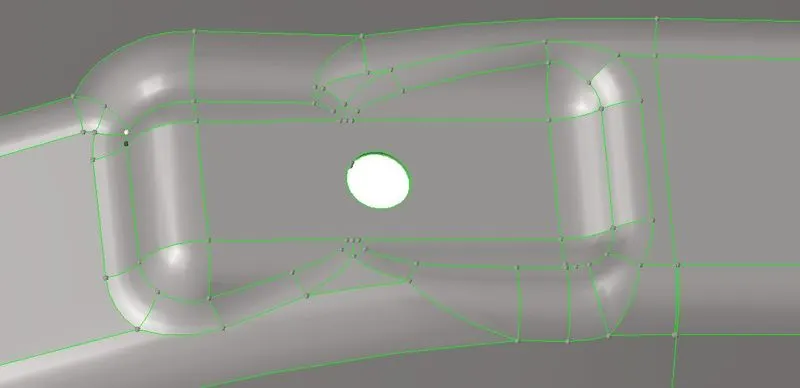

STEP 8: We can mask the one side of the component because it is a symmetric component.
*2D>connectors>mask>surface>mask or (F5)
- We can see free edges, unsuppressed lines and suppressed lines
*Toolbar>By topo
STEP 9: After cleaning up the geometry we can now proceed for 2D mesh on the surface.
*2D>automesh>surface>select surface>set element size(5mm)>set element type(Mixed)>mesh
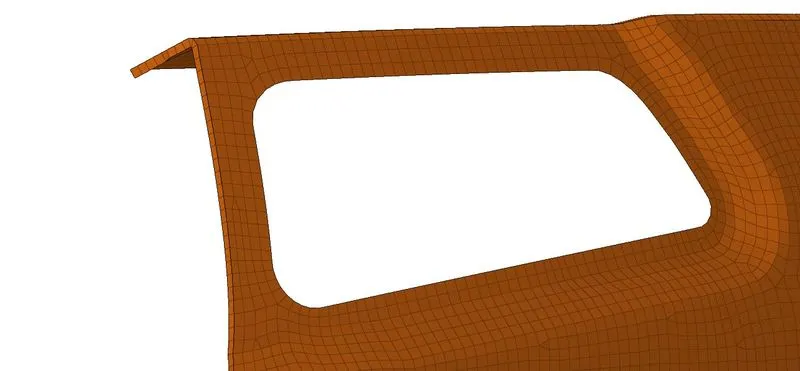
STEP 10: Check and remesh few elements to avoid trias elements as possible to get proper mesh flow.
STEP 11: Check for the failed elements which violets given quality parameters by setting up criteria file setting
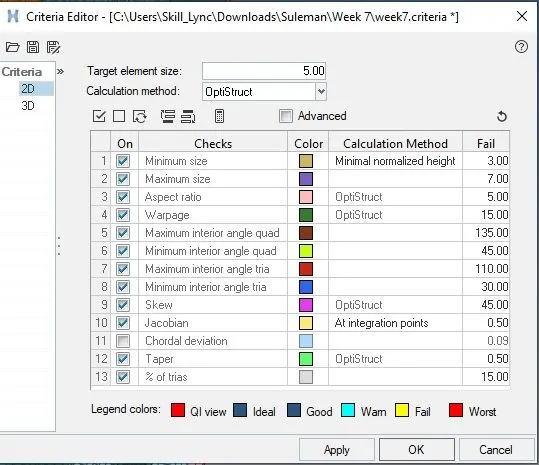
We have to mind the given quality criteria, we can check elements by following command-
*Toolbar>element colour mode>by element quality
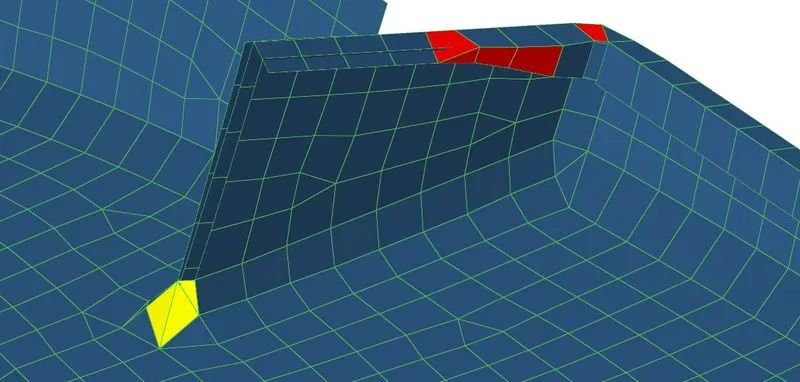
STEP 11: Correct the failed elements by Quality Index Panel and 2D remesh Panel.
(1). LOWER BACK DOOR
- MID SURFACE
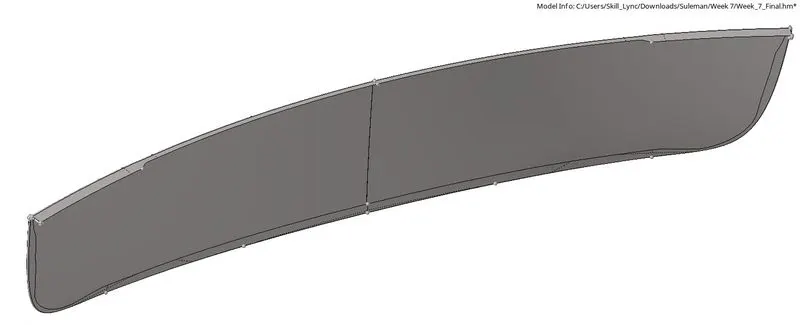
- QUALITY CRITERIA CHECK
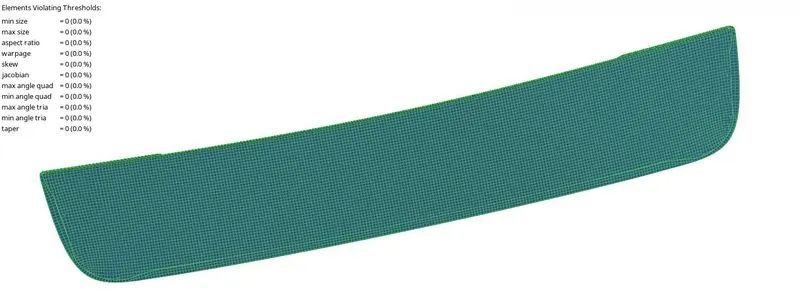
- 2D MESH
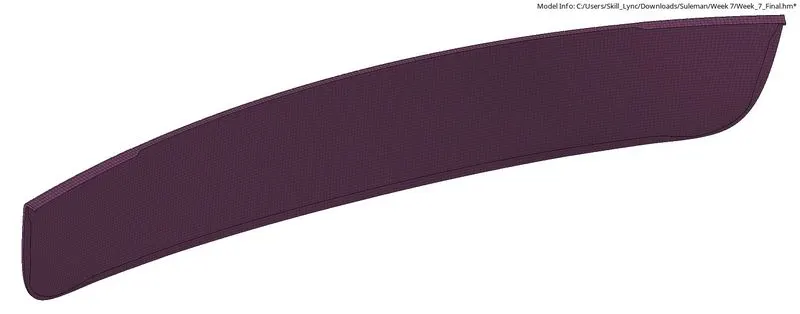
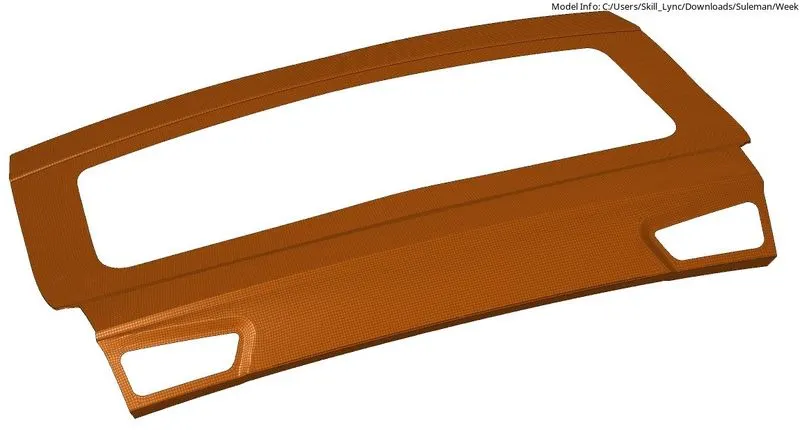
(2). UPPER BACK DOOR
- MID SURFACE QUALITY CRITERIA CHECK
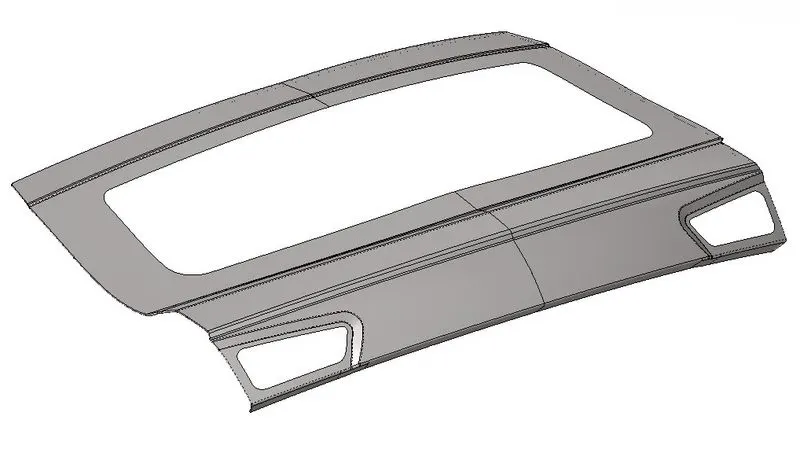
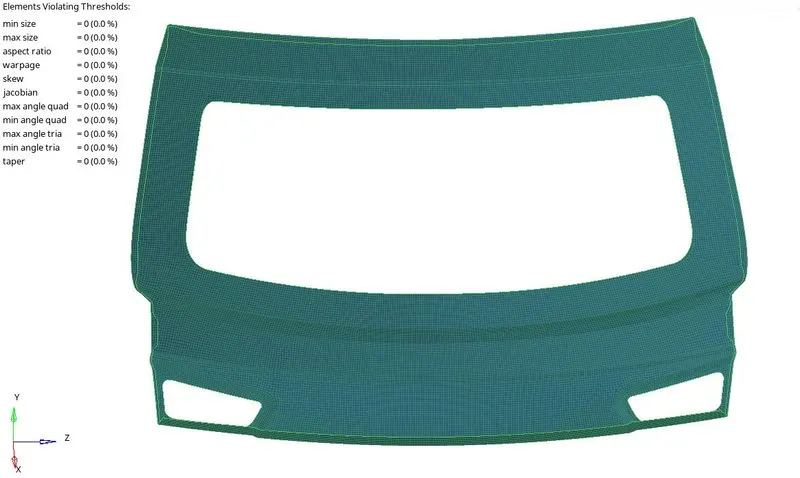
- 2D MESH
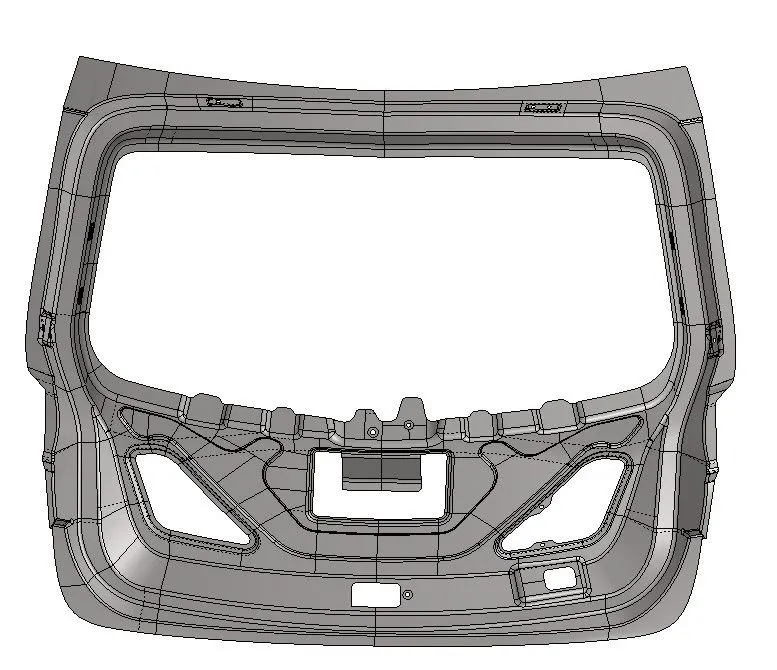
(3). INNER BACK DOOR
- MID SURFACE QUALITY CRITERIA CHECK
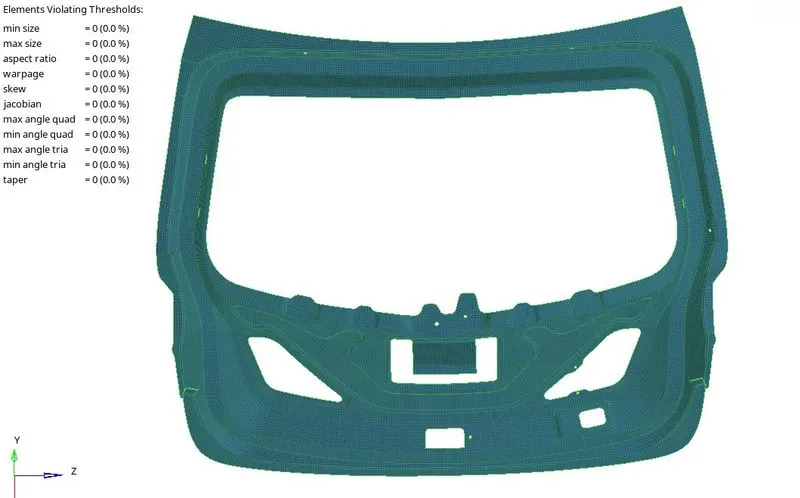
- 2D MESH
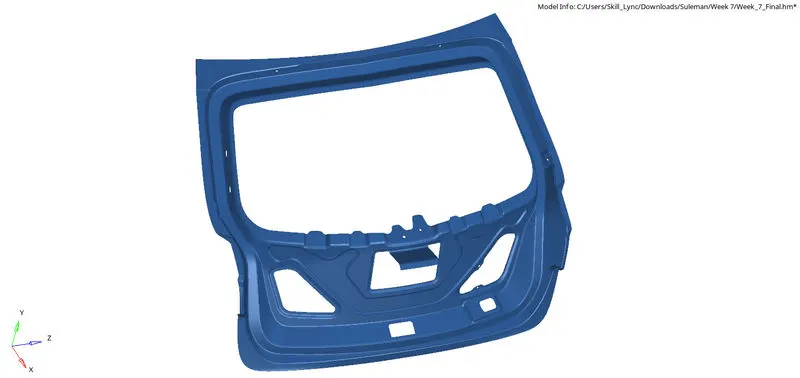
RESULTS:
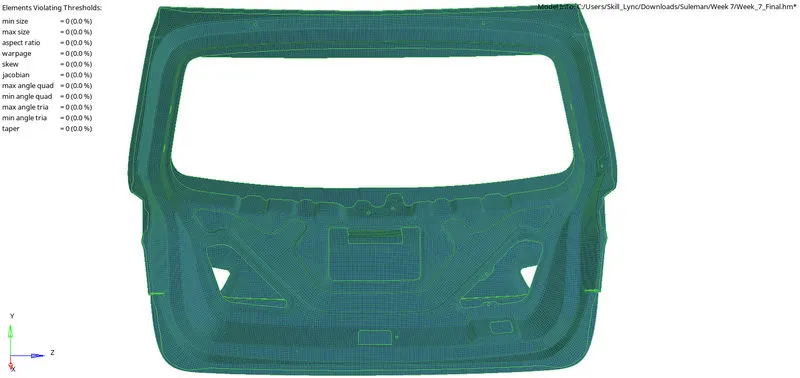
- Final Model Quality Check :
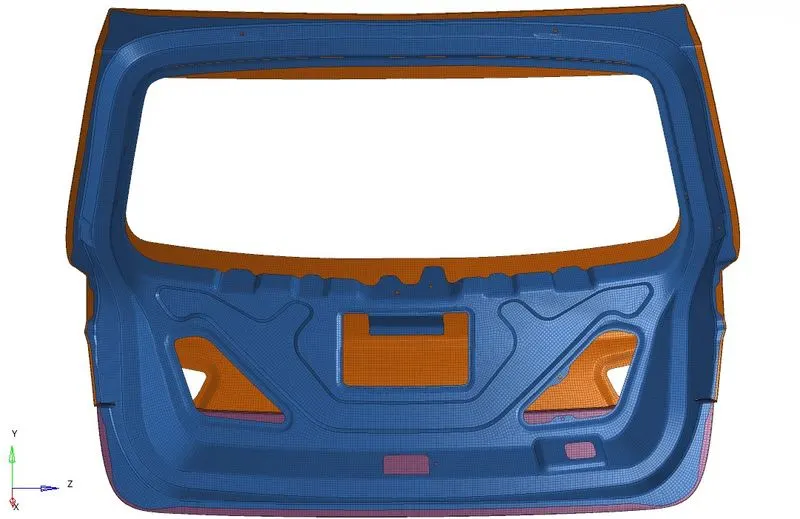
- Final Model :
LEARNINGS:
- Manual mid surface by surface offset method.
- Duplicating the surface before performing offset mid surface command.
- Checking normal of surface before performing offset mid surface command.
- Dividing the thickness of the surface by half is necessary to obtain proper mid surface.