Week 10-Challenge [BATCH MESH-COMPONENTS OF HOOD AND FENDER]
#WEEK 10 CHALLENGE
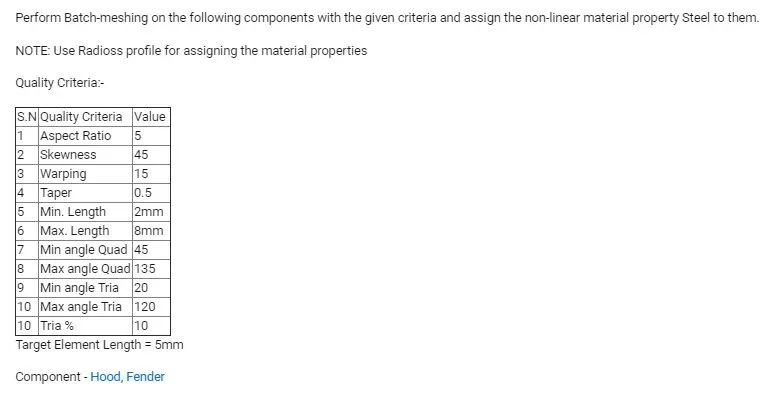
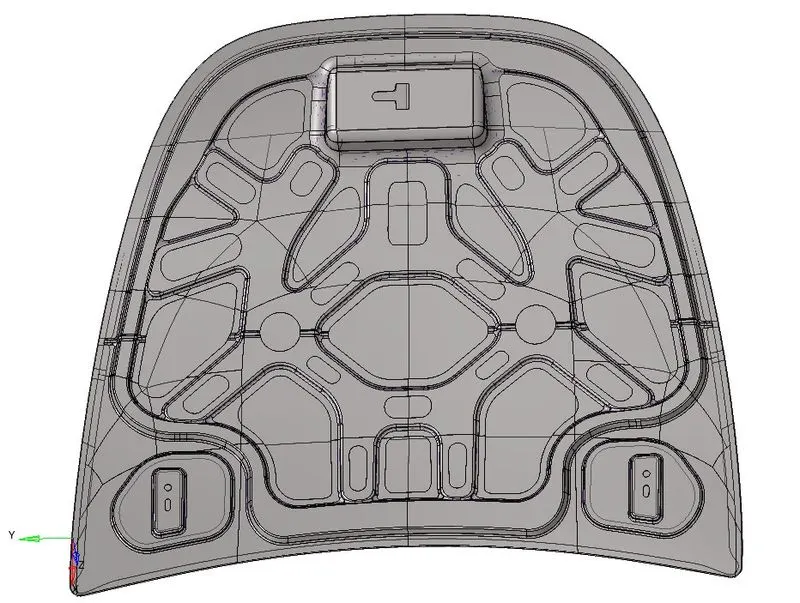
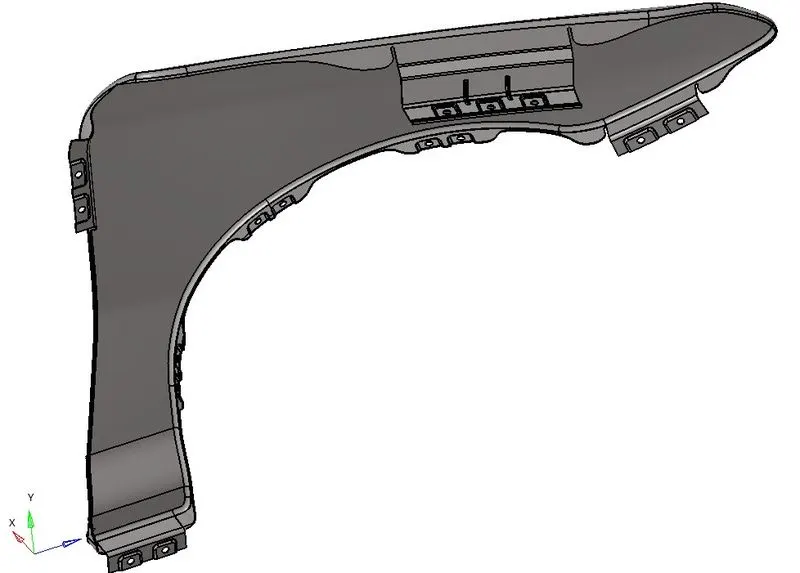
AIM: To Batch mesh the components of hood and fender.
OBJECTIVES:
(1).Batch mesh components of hood-inner body,outer body,two hinges and latch.
(2).Batch mesh Fender component.
IMPORTANT INSTRUCTIONS/COMMANDS:
A). Setting up criteria file settings as per given data.
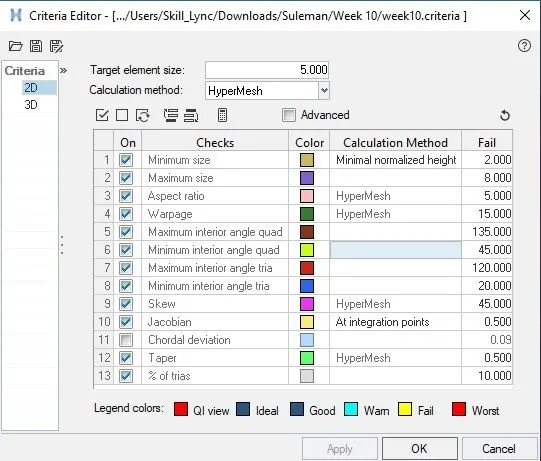
B). Setting up parameters file setting.
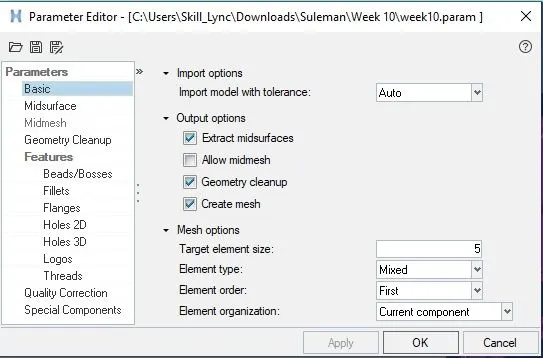
C). Setting Material data
- Card Image : M2_PLAS_JOHNS_ZERIL (Non Linear Material Card)
- Initial Density (Rho_initial) : 7.6e-06
- Young Modulus (E) : 210
- Poisson Ratio (Nu) : 0.3
- Yield Stress (SIGY) : 0.29
- Hardening Parameters (b) : 0.56
- Hardening Exponent (n) : 0.6
- Failure Plastic Strain (EPS_p_max) : 1e+30
- Minimum Stress (SIG_max0) : 0.35
D). Setting Property data
- Card Image : P1_SHELL
- Solid Flag (Ishell) : 24:QEPH shell formulation
- Flag for shell small strain formulation (Ismstr) : 2:Full Geometric nonlinearities with possible small strain formulation activation in RADIOSS Engine
- Flag for 3 node shell element formulation (Ish3n) : 2:Standard triangle (CO) with modification for large rotation
- Number of Layers (N) : 5
- Shell Thickness (Thick) : as per given data
E).Calling Criteria and parameter files to 2D Batch Mesh Panel.

F). Important command to extract batch meshing.
Example: Comp_1_Solid
STEP 1: Duplicate Comp_1_Solid from component model tree and rename it Comp_1_Surface (To keep parent solid component).
STEP 2: Organising solid component of Comp_1_Solid to Comp_1_Surface.
STEP 3: Deleting solid components from Comp_1_Surface to get surfaces.
STEP 4: Duplicating Comp_1_Surfaces from component model tree and rename it Comp_1_Mesh (To keep parent surface component).
STEP 5: Organise surfaces of Comp_1_surface to Comp_1_Mesh (To create batch mesh).
STEP 6: Batch Mesh Comp_1_Mesh component by going into batch mesh Panel.
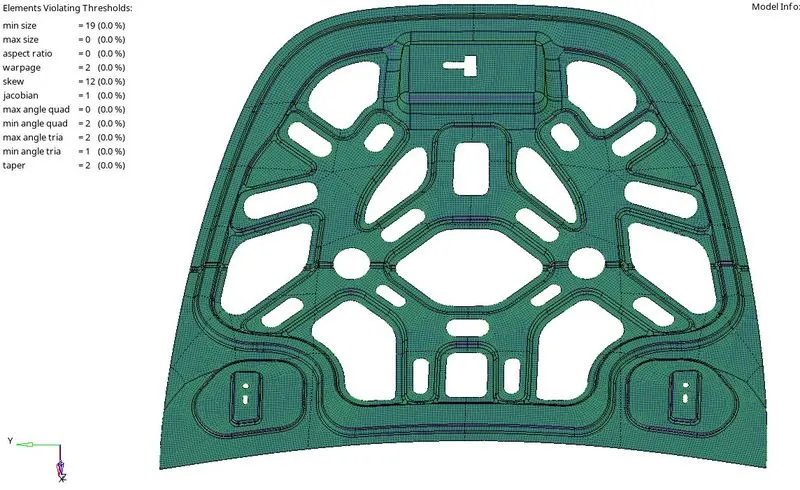
STEP 7: Checking Quality Criteria.
STEP 8: Fixing Failed Elements to match quality criteria
STEP 9: Assign Material and Property to Comp_1_Mesh from model tree.
STEP 10 : Move to next component and do the same steps 1 to 9.
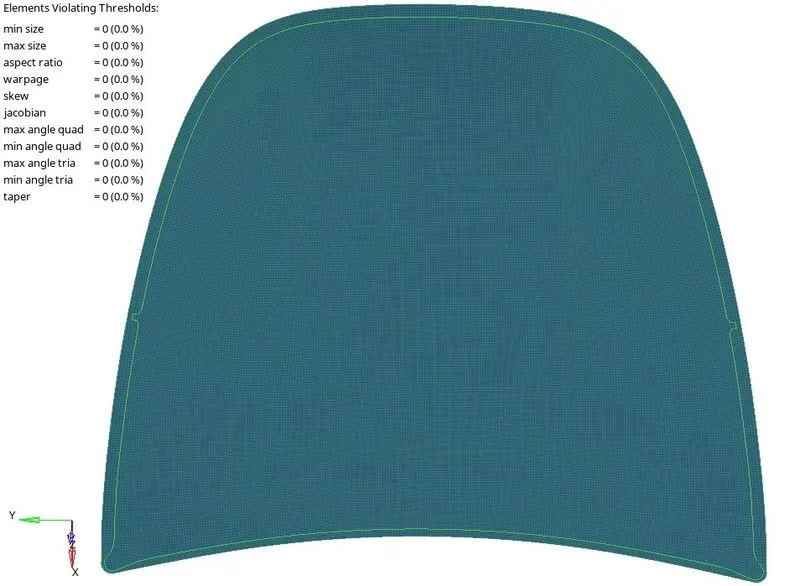
OBJECTIVE 1 - HOOD COMPONENTS: Following Important Command (F) Step 1 to Step 9.
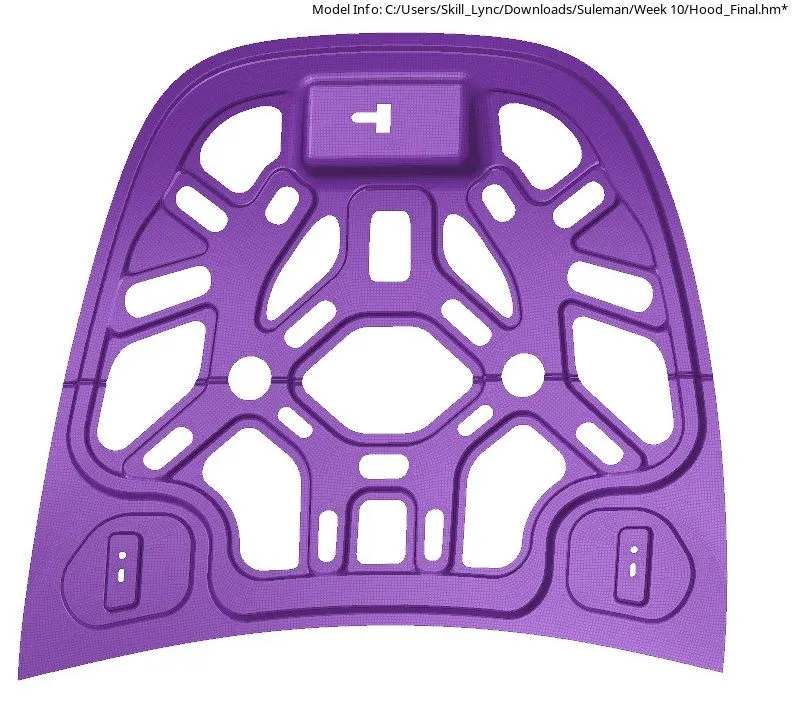
(1).Inner extracted body:
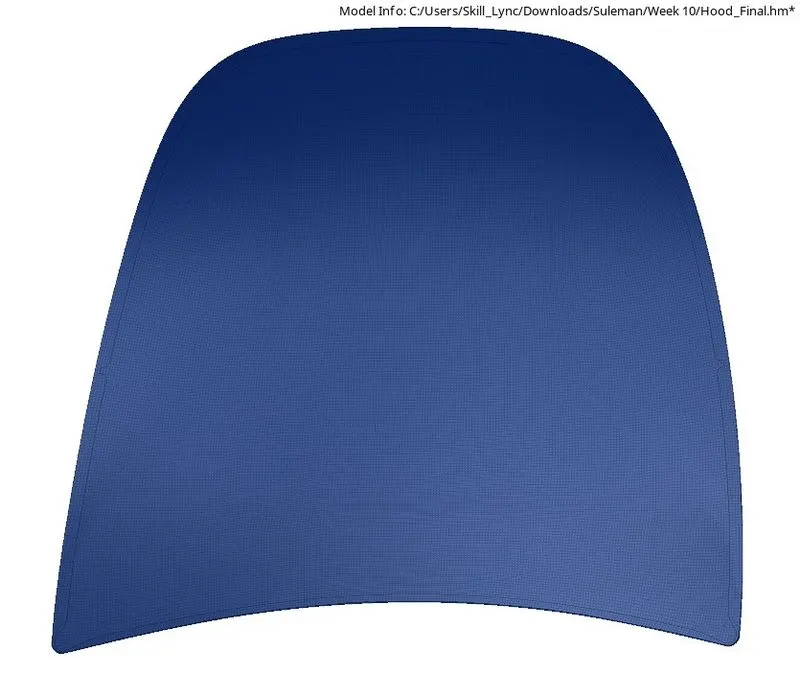
 (2).Outer Extracted Body:
 (3). Hinge Body 1:
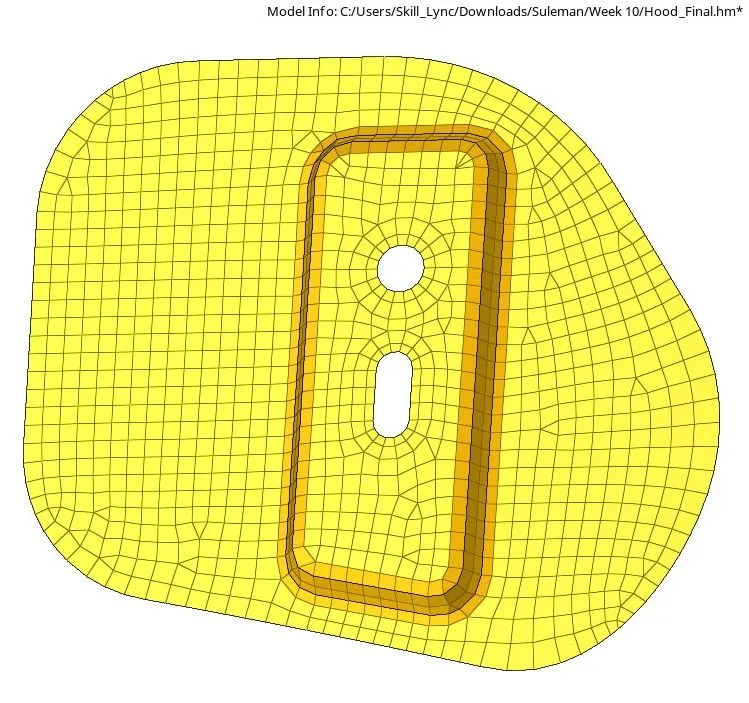
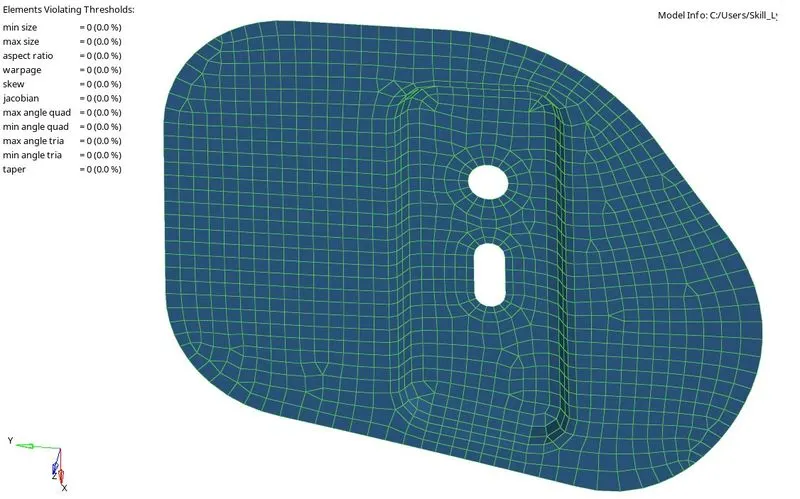
(4). Hinge Body 2 :
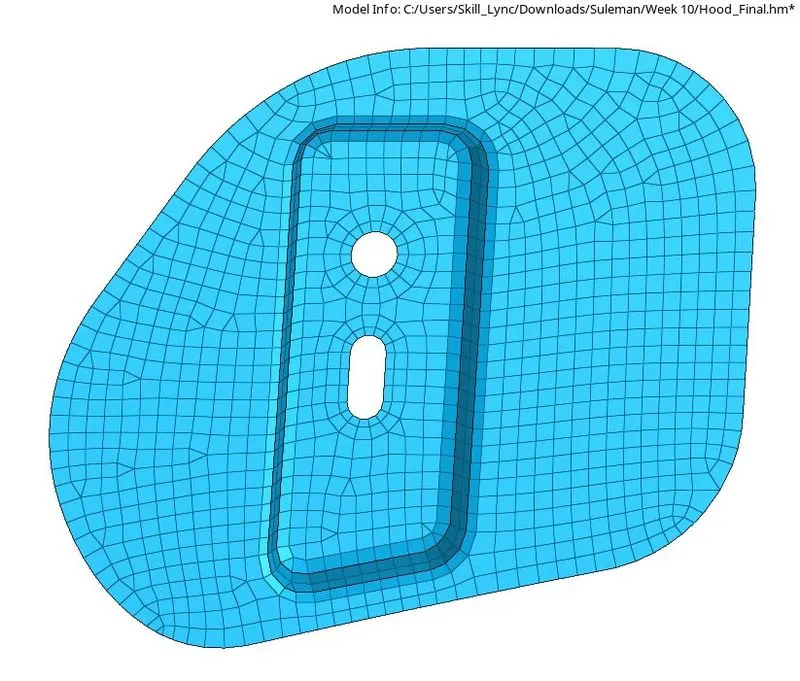
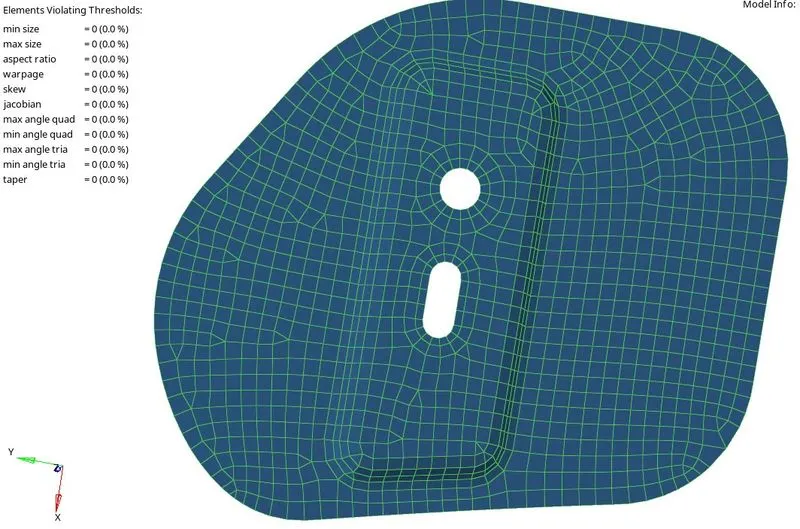
(5). Latch Extracted Body:
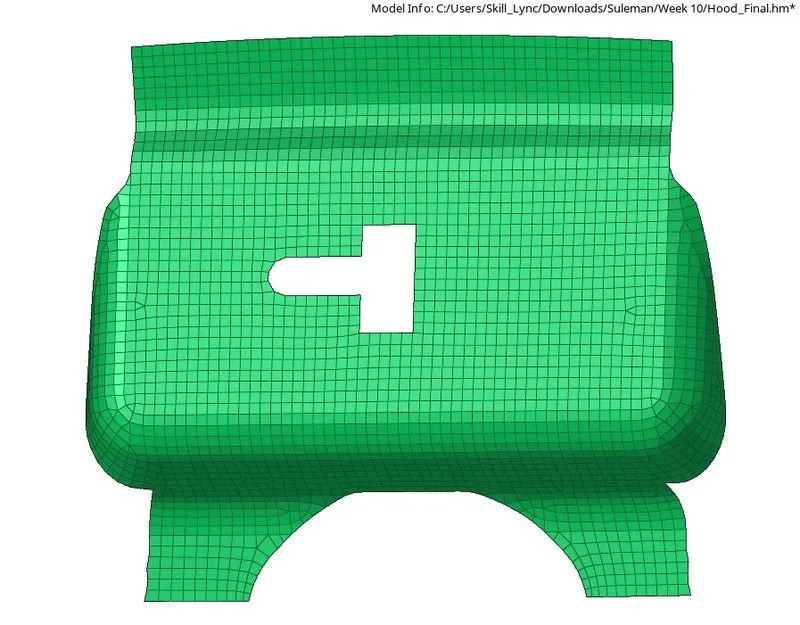
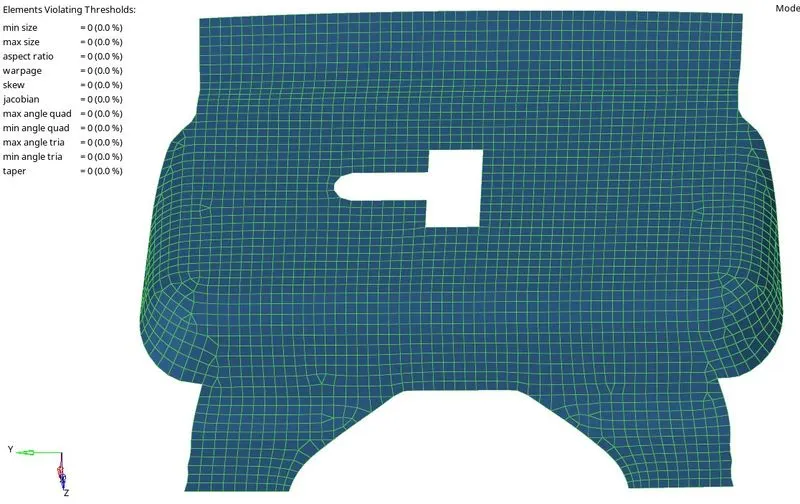
OBJECTIVE 2 - FENDER COMPONENT: Following Important Command (F) Step 1 to Step 10.
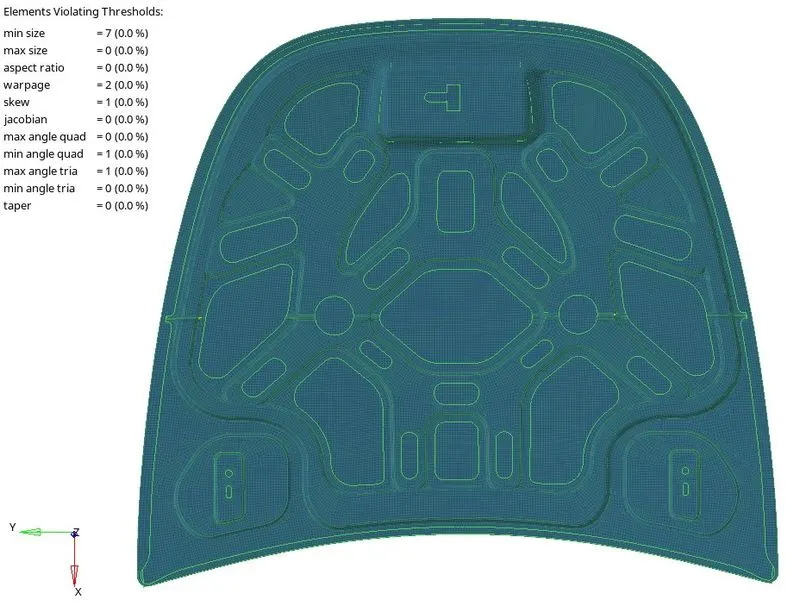
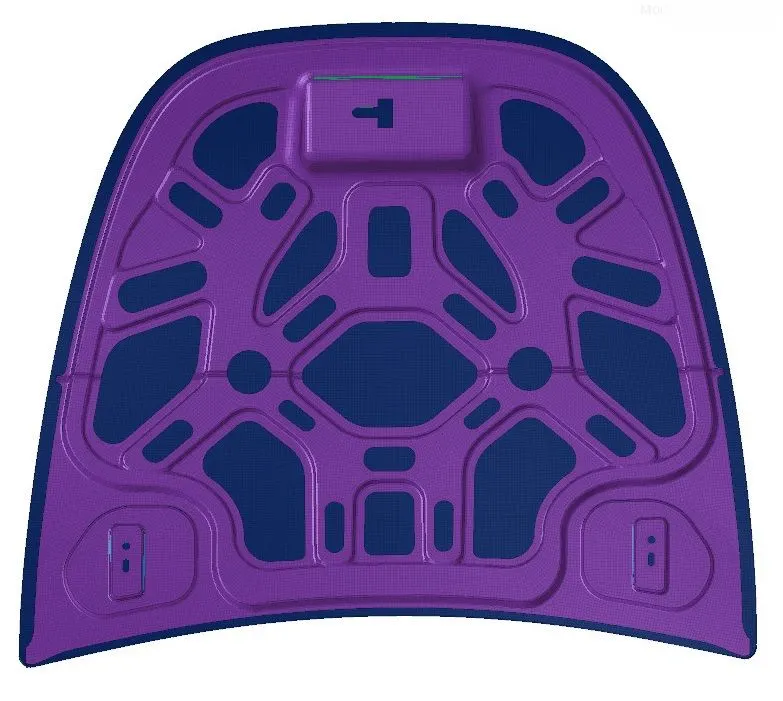
RESULTS OF HOOD:
- Quality Criteria 2D Mesh
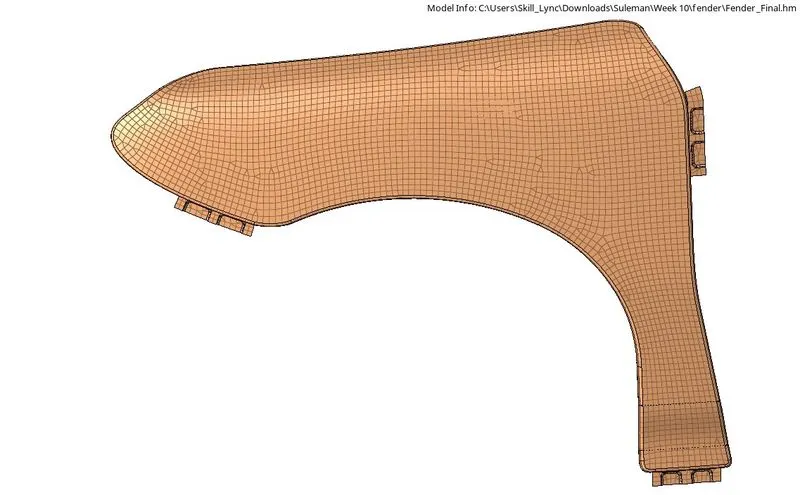
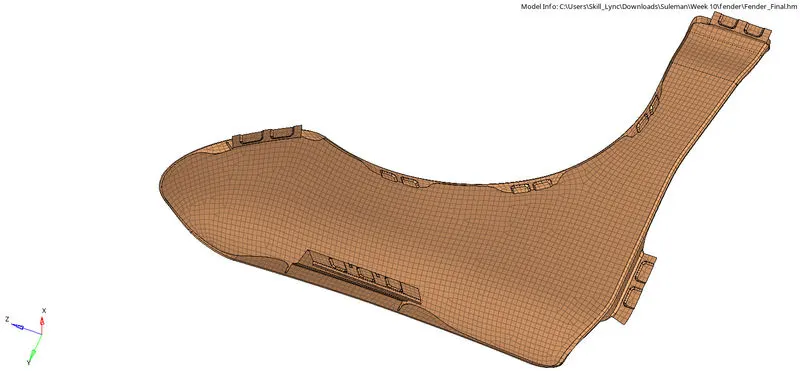
RESULTS OF FENDER:
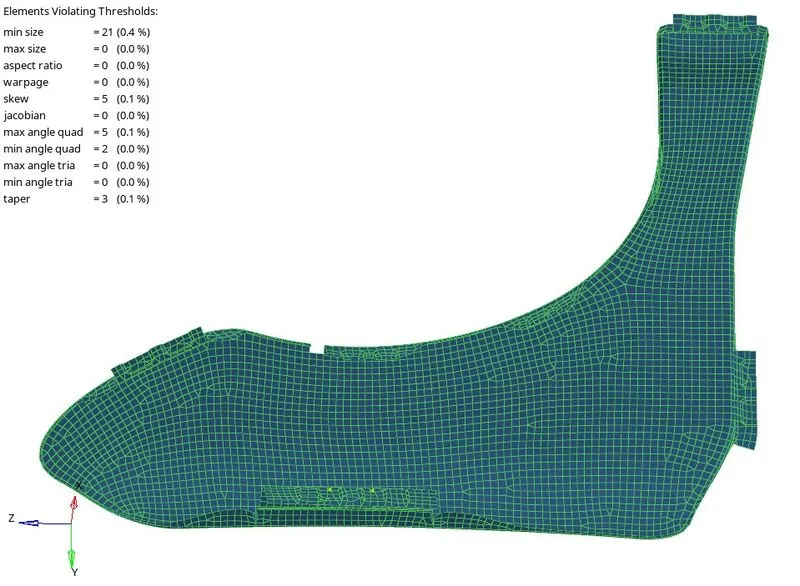
- 2D Mesh
LEARNINGS:
1. If Mid Surface not obtained properly after batch meshing.
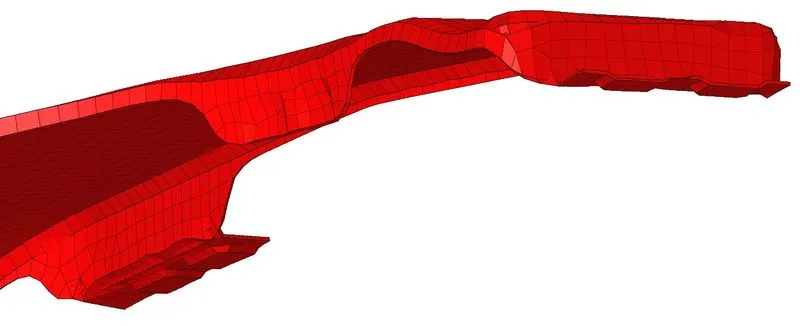
- To Fix mid surface and meshing follow this step.
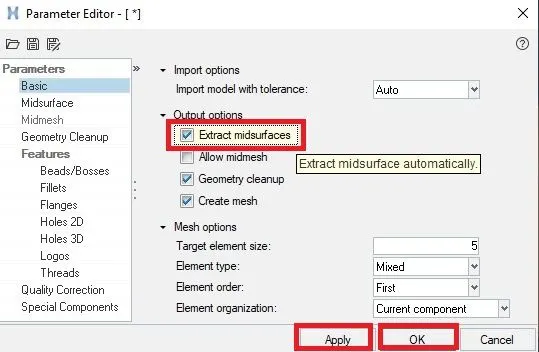
-Open Parameter File setting
*Menu bar>Preferences>Parameter file setting
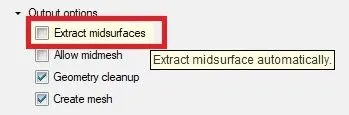
-Check box the Extracted mid surface.
2. Process obtaining After Creating Batch Mesh
- Topology Cleanup
- Meshing
- Mesh Cleanup
- Ready
3. Few Elements violating criteria
- We can fix it by quality index panel, remeshing,etc.
4. Setting up criteria file.
5. Setting up parameter file
6. Setting up material and property data
7. Obtaining 2D Batch mesh by calling criteria and parameter files through batch mesh panel.