Week 7 Challenge - Assembly Workbench
Objectives:
• For the given CV Joint and Quick Return Mechanism drawings:
• To create pan Ideas from the given drawings with appropriate assumptions and then assemble them with proper constraints.
• To create drawings for each part file and assembly.
Quick Return Motion Mechanism:
A quick Return Mechanism is a device that transmits the rotating motion of one link to the reciprocating motion of another link, wherein the stroke of the reciprocating link in one direction is faster than that in the opposite direction.
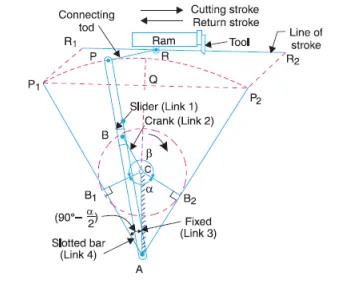
Assembly of Quick Return Mechanism
• Here, we create part files from die-given drawings in the Part Workbench and assemble them together in the Assembly Workbench.
• Then, we create the drawings for the assembly and each part in the Drafting Workbench.
• This procedure is depicted in the following.
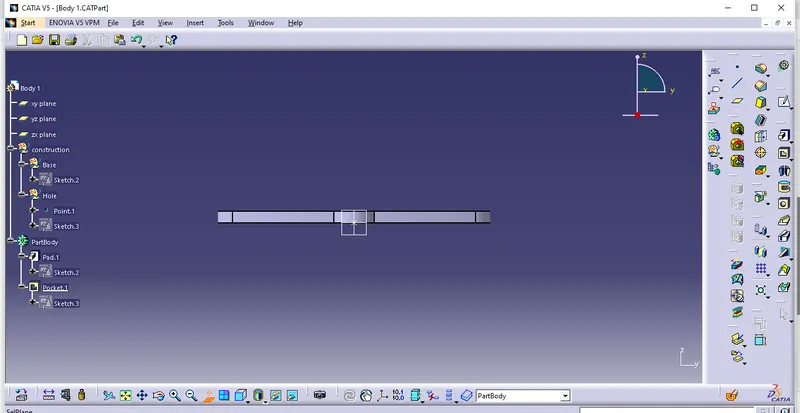
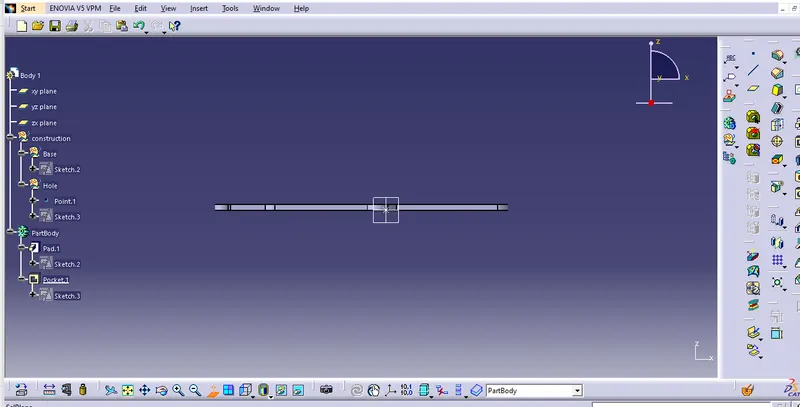
Front View:
Left side view:
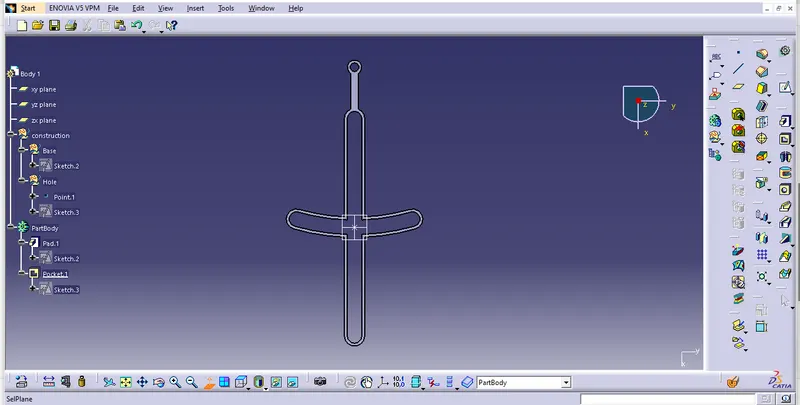
Top view:
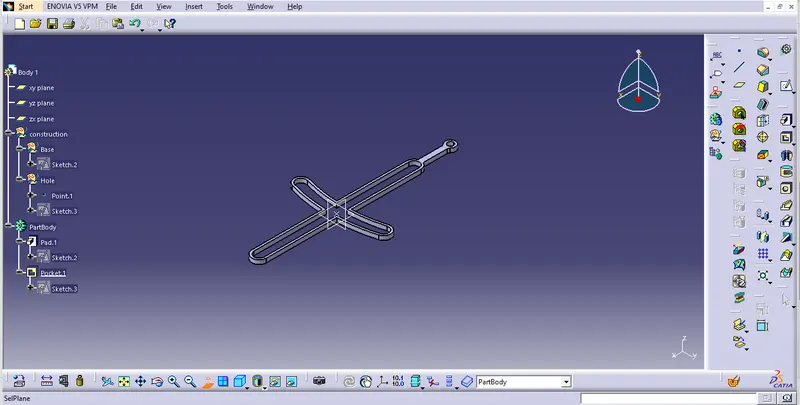
ISO view:
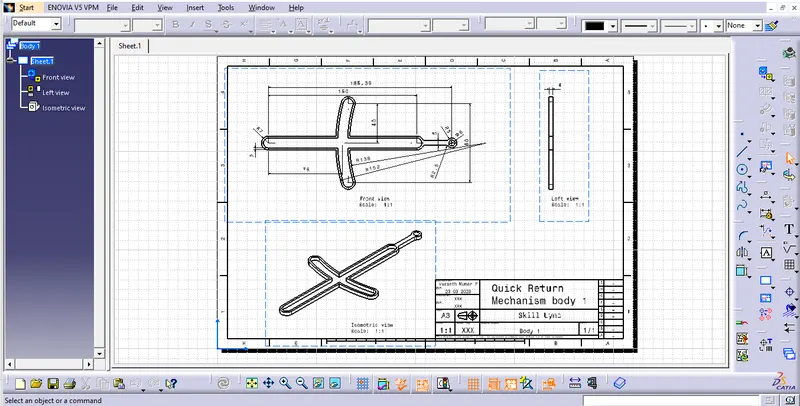
Drawing:
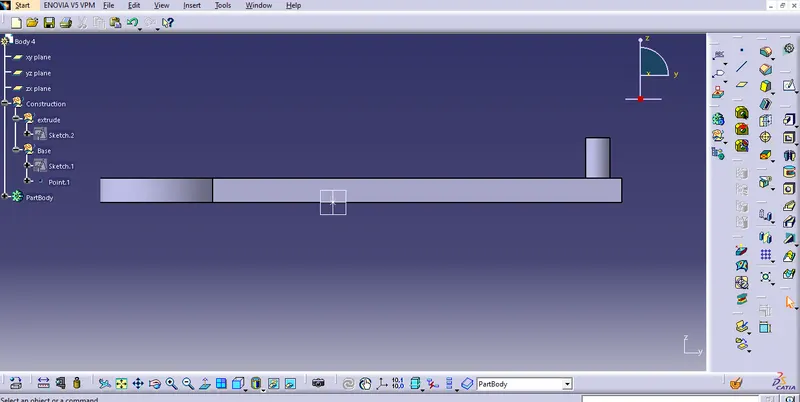
Front view:
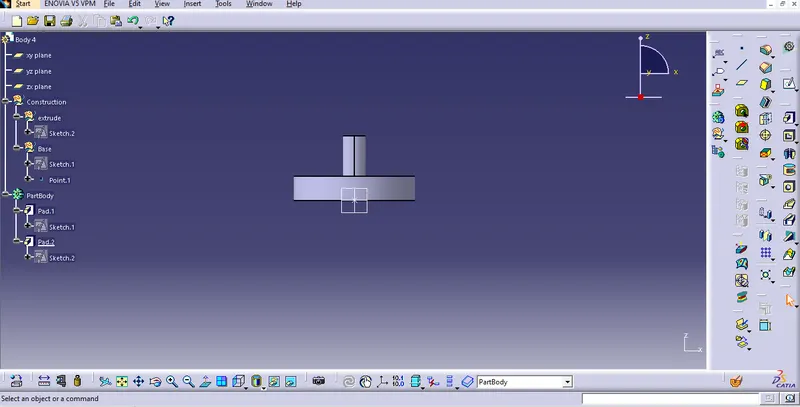
Left side View:
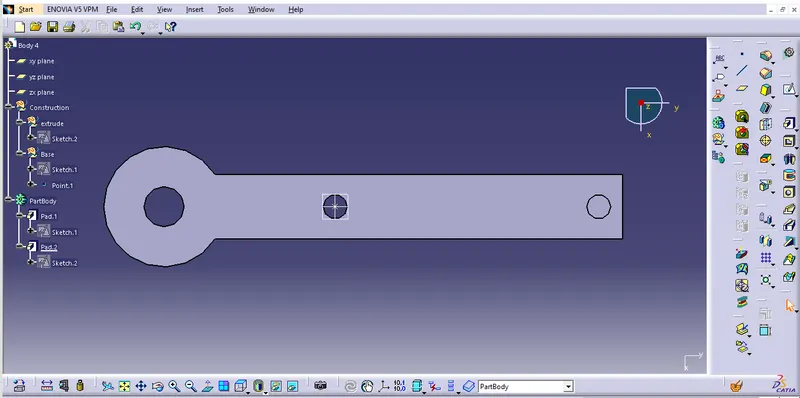
Top view:
ISO view:
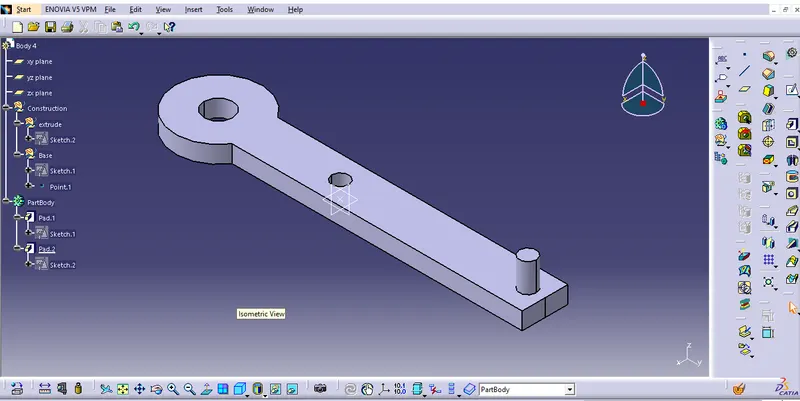
Drawing view:
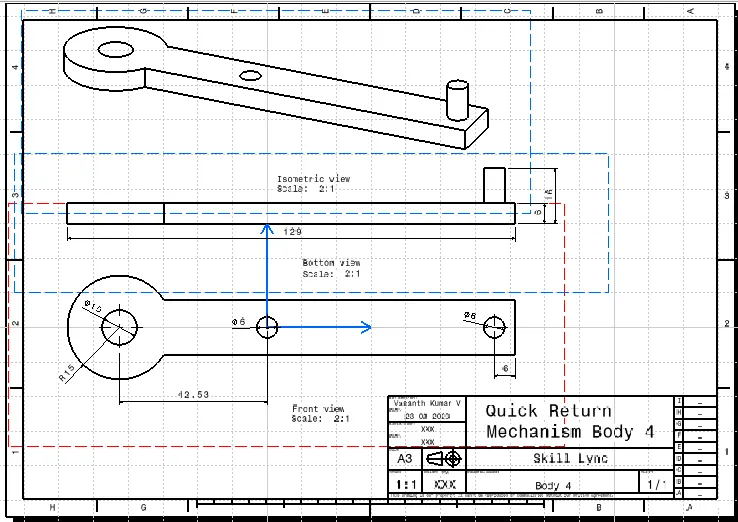
Front view:
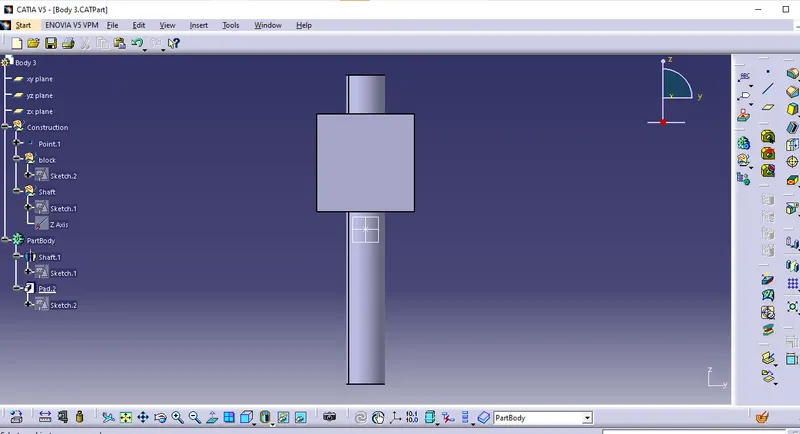
Left side view:
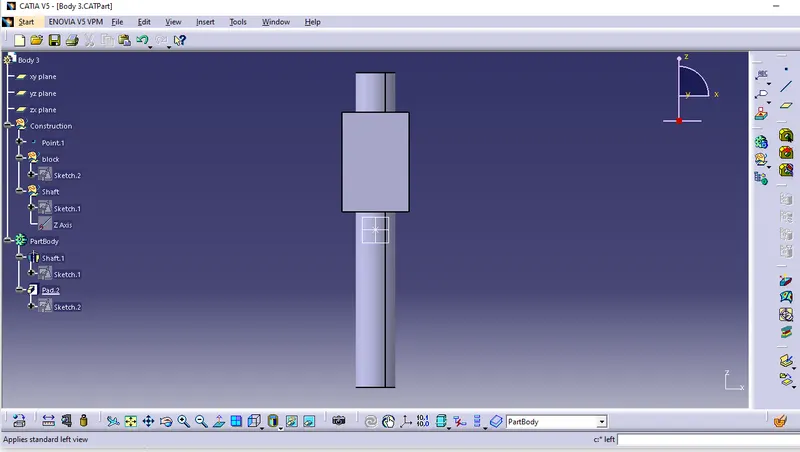
Top view:
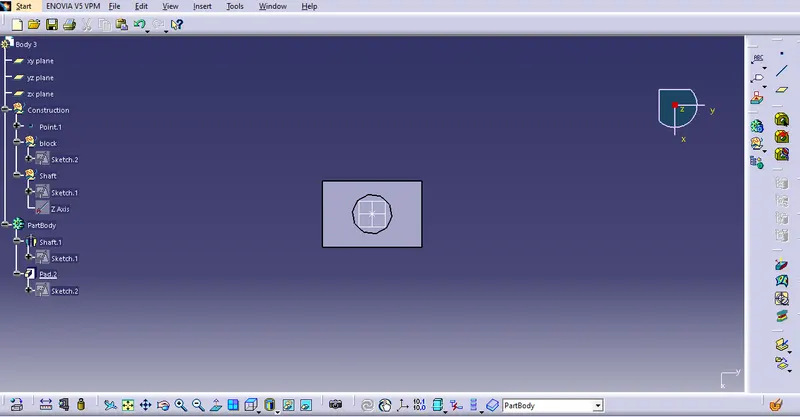
ISO view:
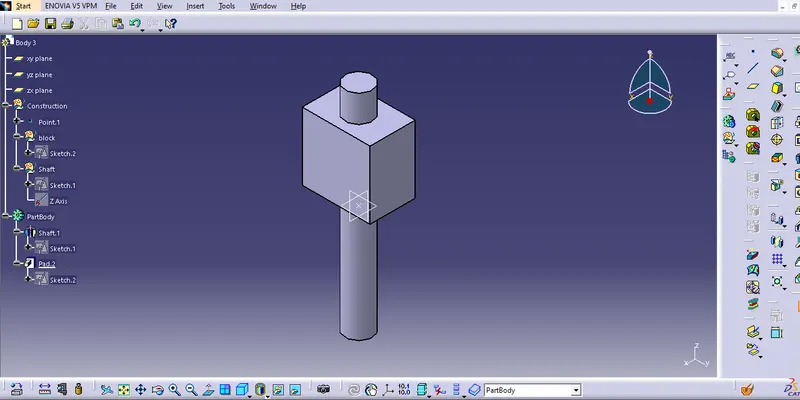
Drawing view:
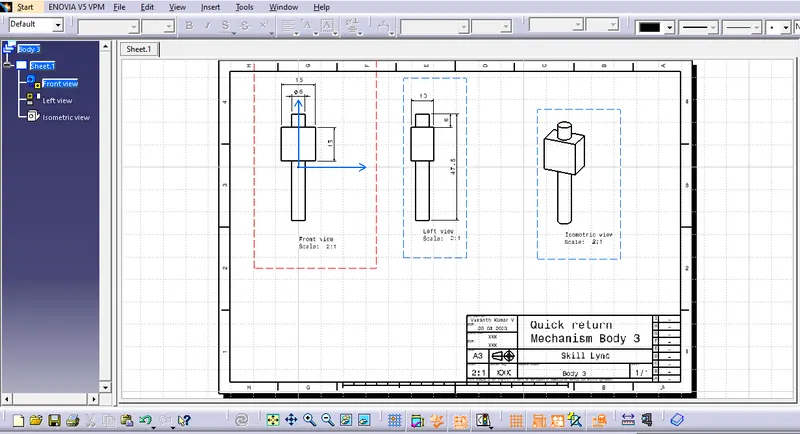
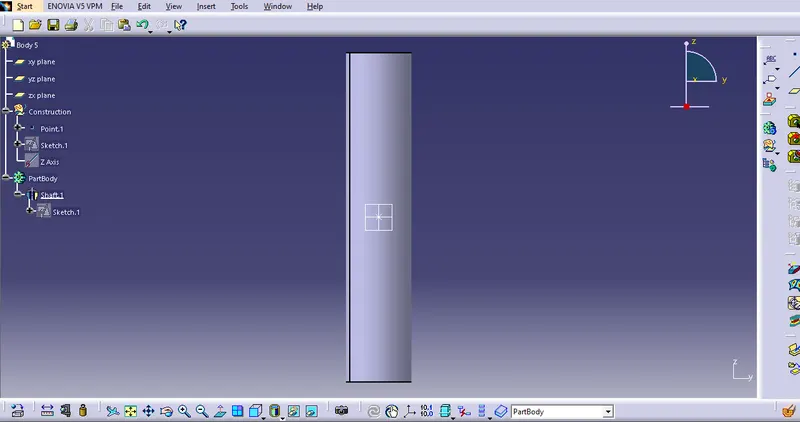
Front view:
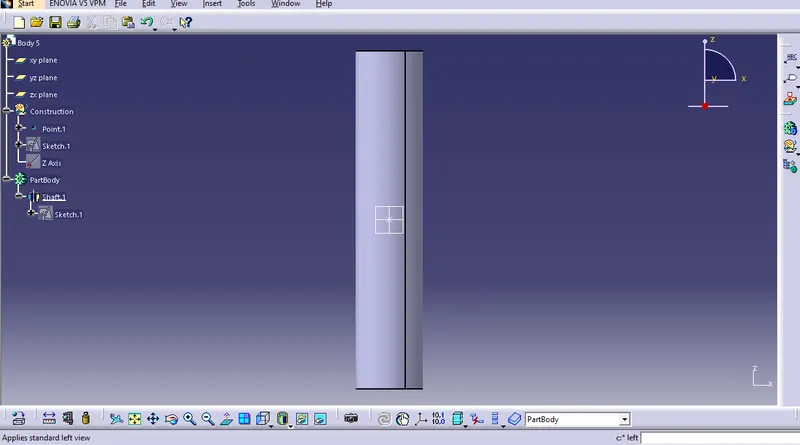
Left side view:
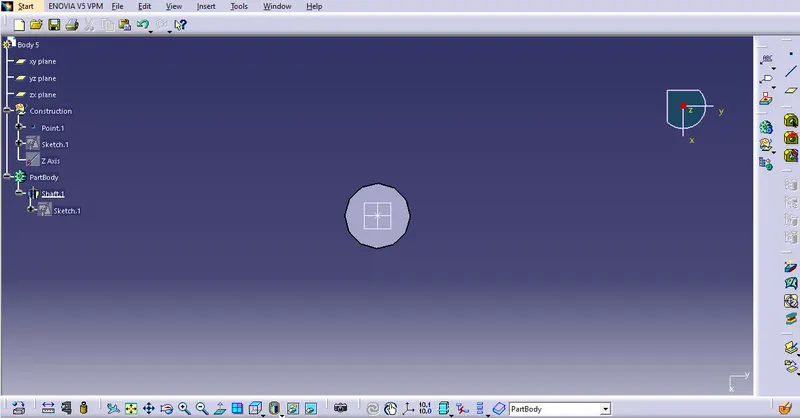
Top view:
ISO view:
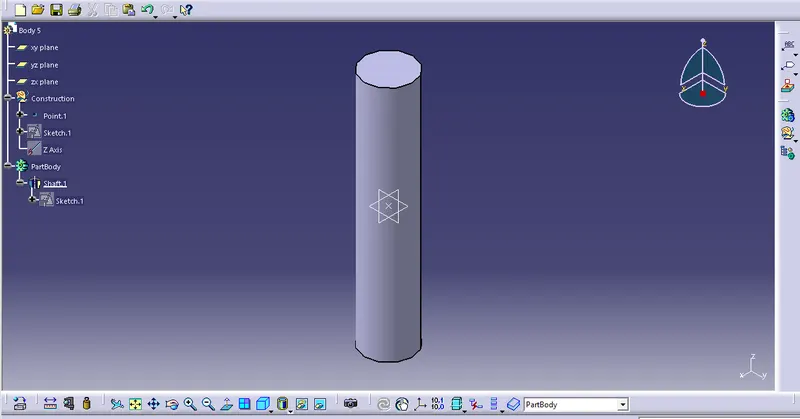
Drawing view:
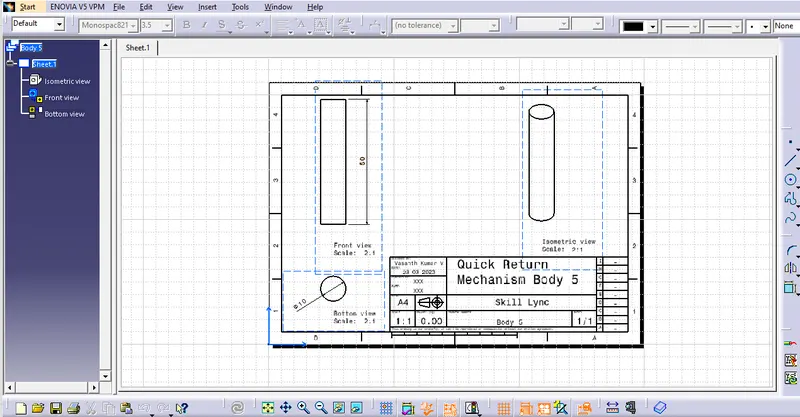
Front view:
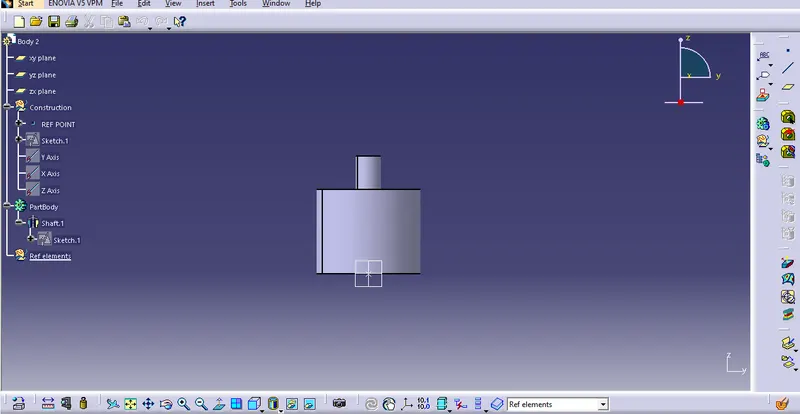
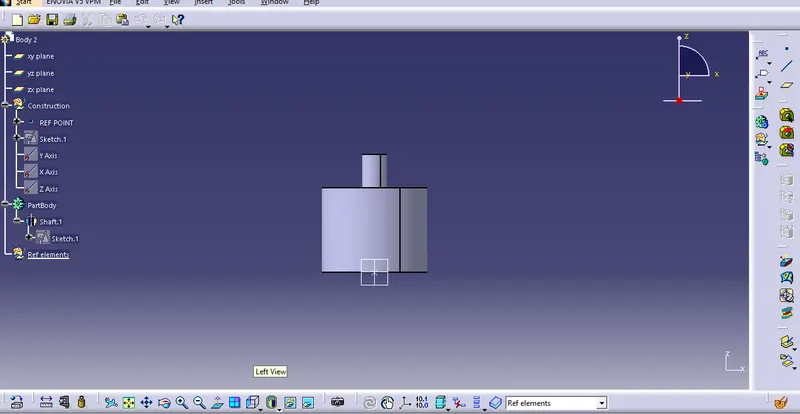
Left side view:
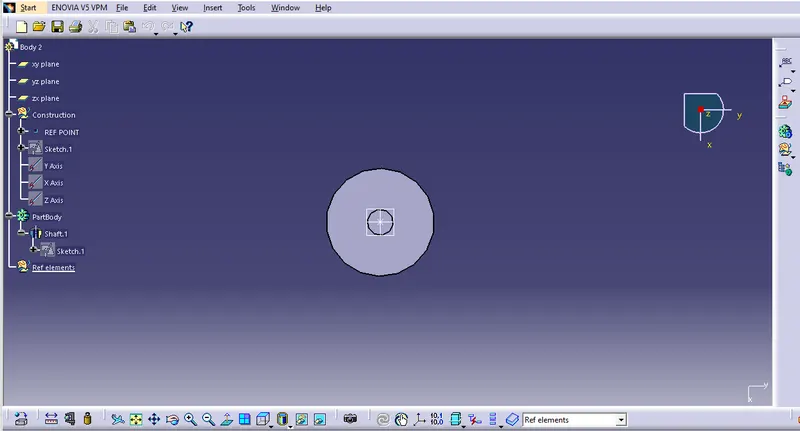
Top view:
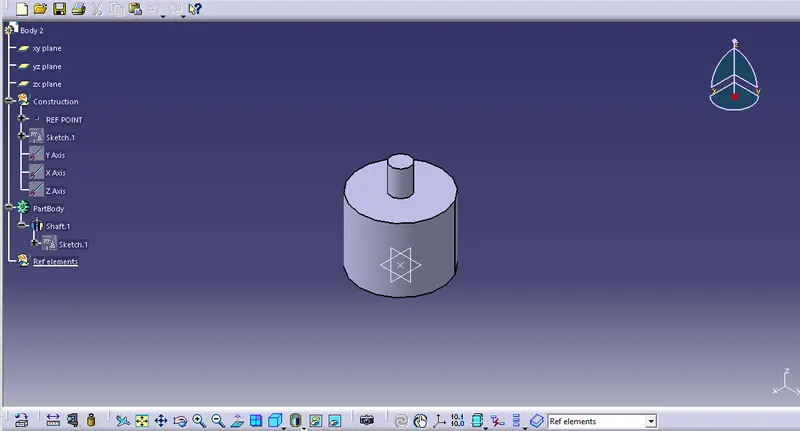
ISO View:
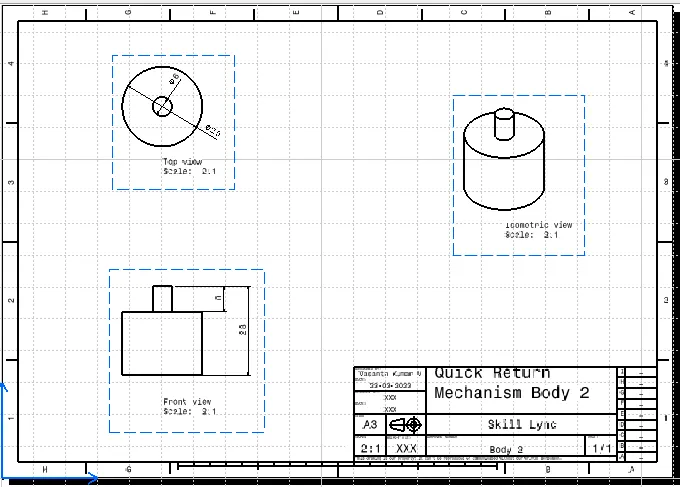
Drawing view:
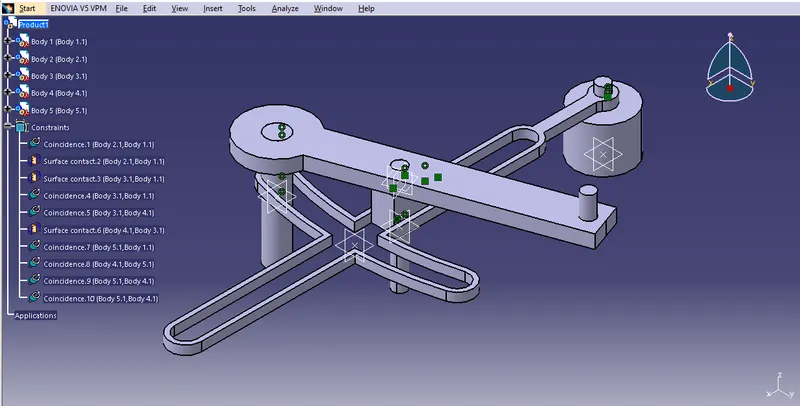
Quick return mechanism assembly:
In this quick return mechanism, we required 5 parts. First, we create the required 5 parts.
Then open the assembly workbench, and insert the required part files.
Then manipulate all parts, then fix any one part using the fix tool.
Then assemble all parts with respect to fixed parts.
Use constrain tool, first constrain the required part and fixed part, then update. use the offset tool then fixed properly, and now assemble the first part. Do the same procedure for the rest parts.
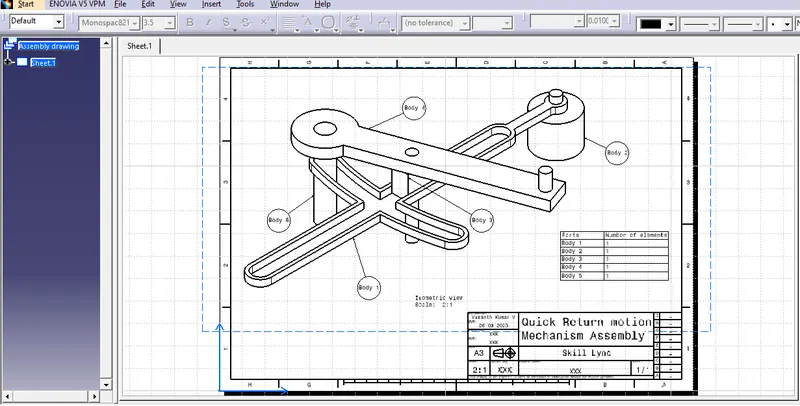
Drawing of assembly:
Constant Velocity Joint:
• Constant Velocity Joint or CV Joint: a device that allows driving shafts to transmit power through variable angles at the same velocity, with negligible change in friction or play.
• These are usually employed in modern automobiles with independent suspensions.
• Here, we create part files from the given drawings in the Part Workbench and assemble them together in the Assembly Workbench.
• Then, we create the drawings for the assembly and each part in the Drafting Workbench.
• This procedure is depicted in the following.
Front view:
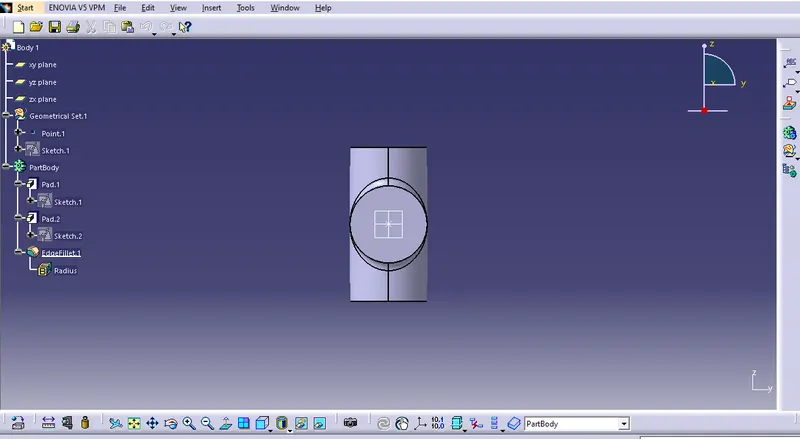
Left side view:
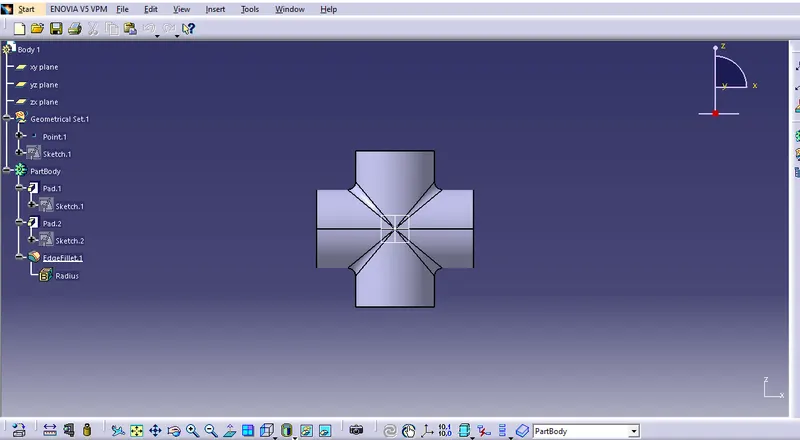
Top view:
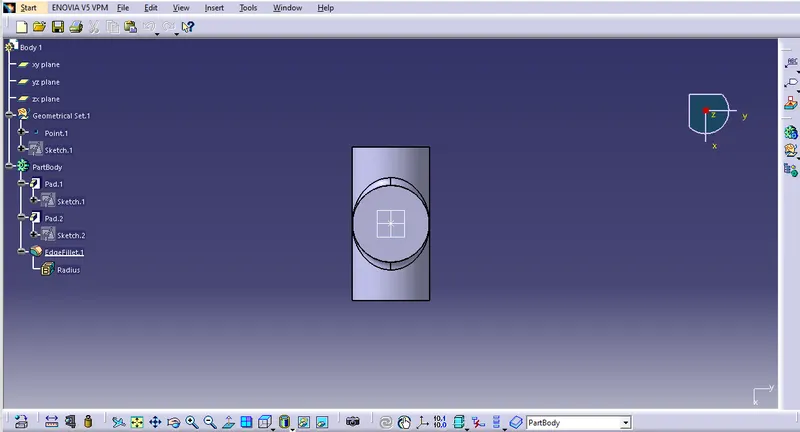
ISO view:
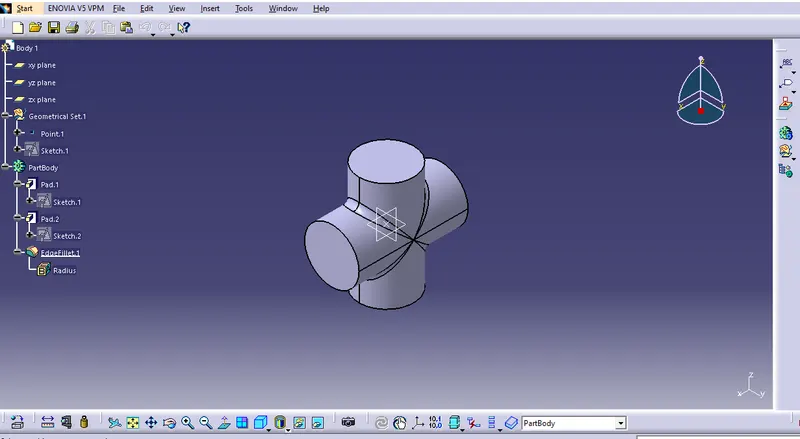
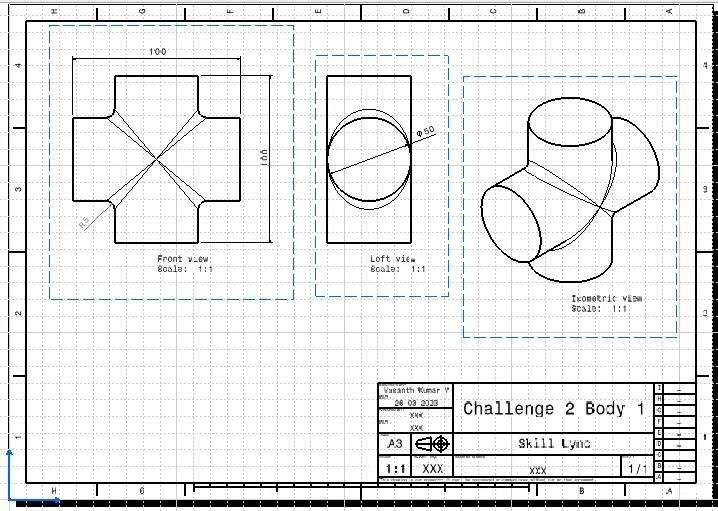
Drawing view:
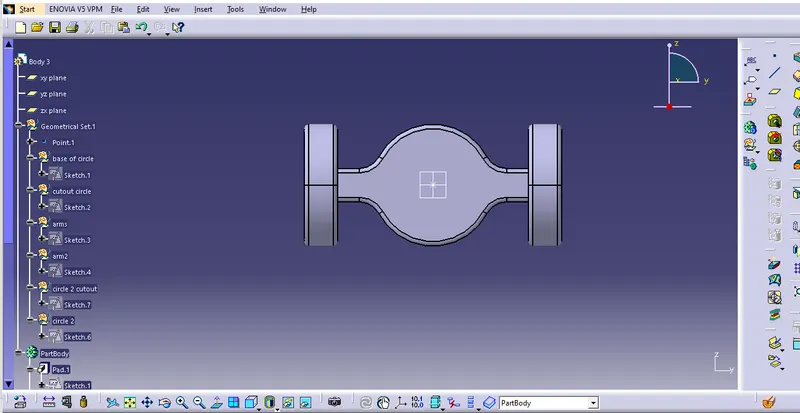
Front view:
Left side view:
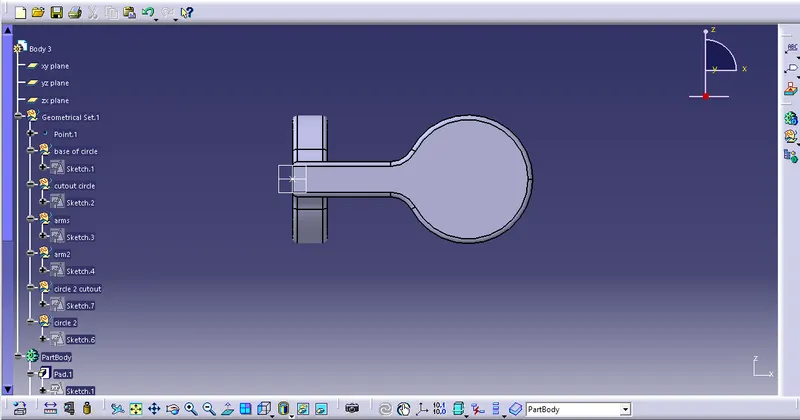
Top view:
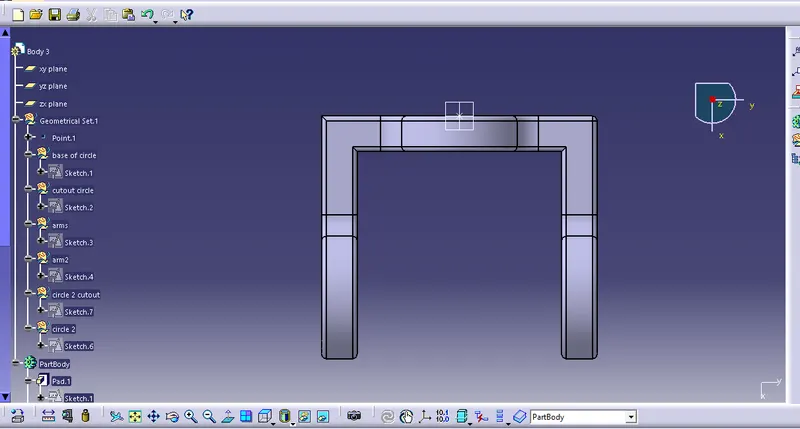
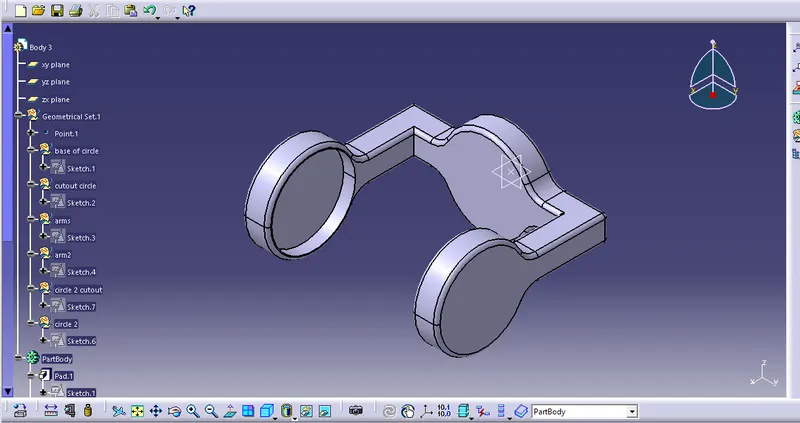
ISO View:
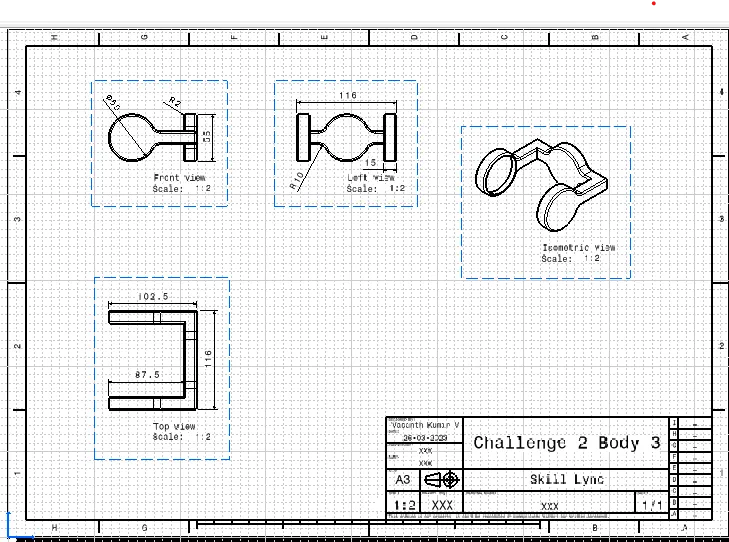
Drawing view:
Front view:
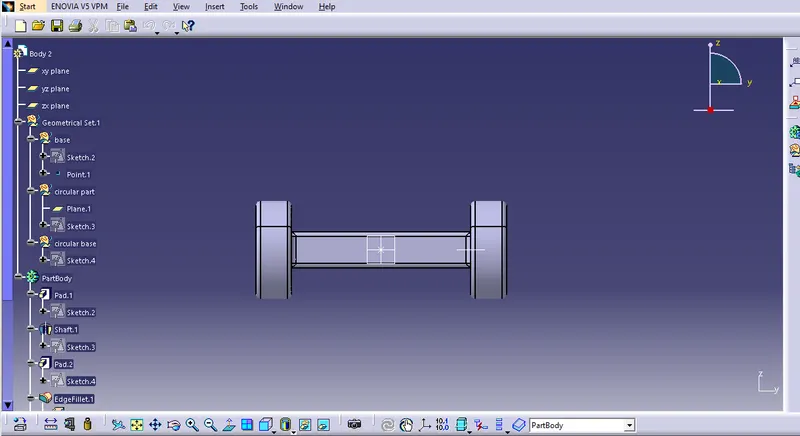
Left side view:
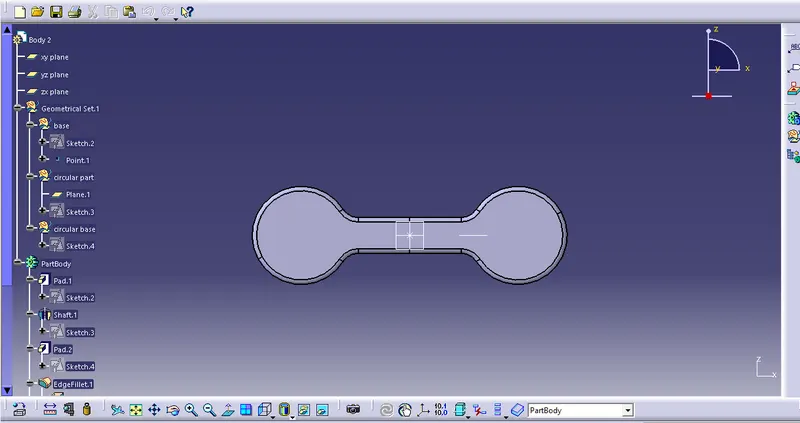
Top view:
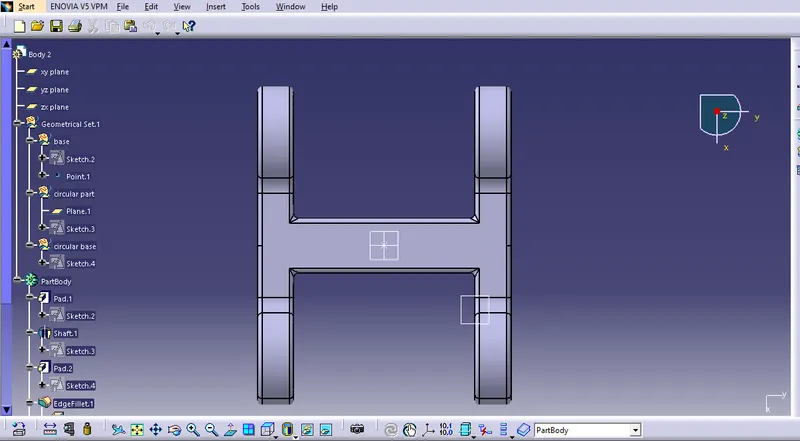
ISO view:
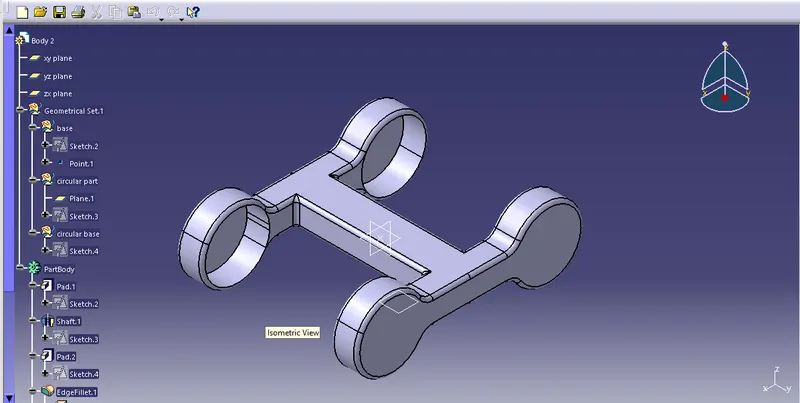
Drawing view:
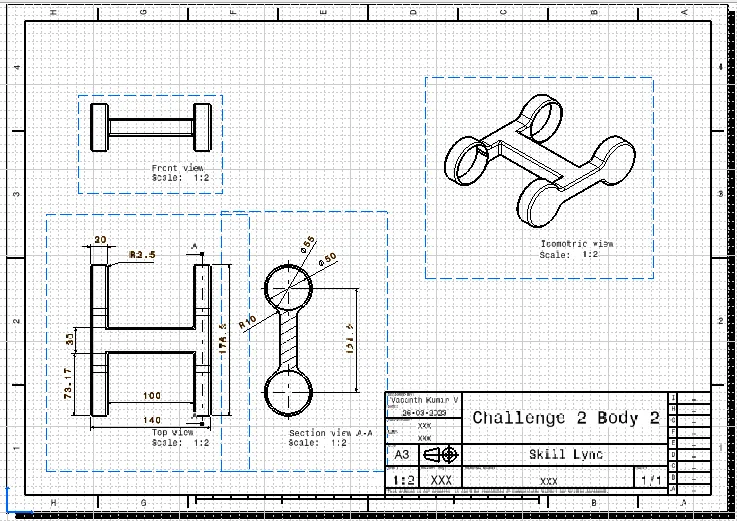
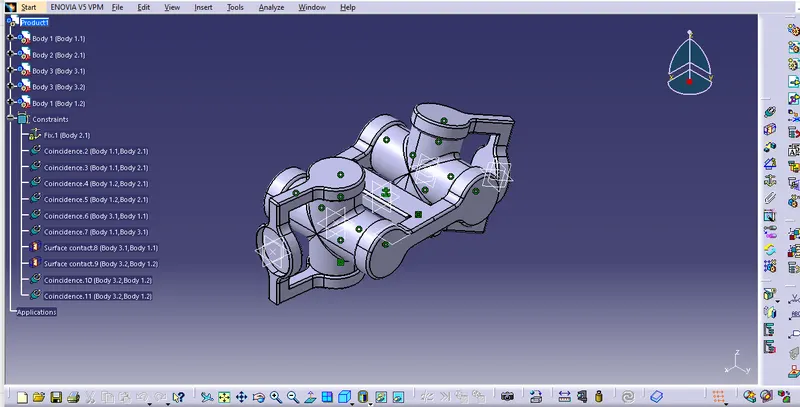
In this CV joint, we required 5 parts. First, we create the required 3 parts.
Then open the assembly workbench, and insert the required part files.
Duplicate some parts.
Then manipulate all parts, then fix any one part using fix the tool.
Then assemble all parts with respect to fixed parts.
Use constrain tool, first constrain the required part and fixed part, then update.
use the offset tool then fixed properly, and now assemble the first part. Do the same procedure for the
rest parts
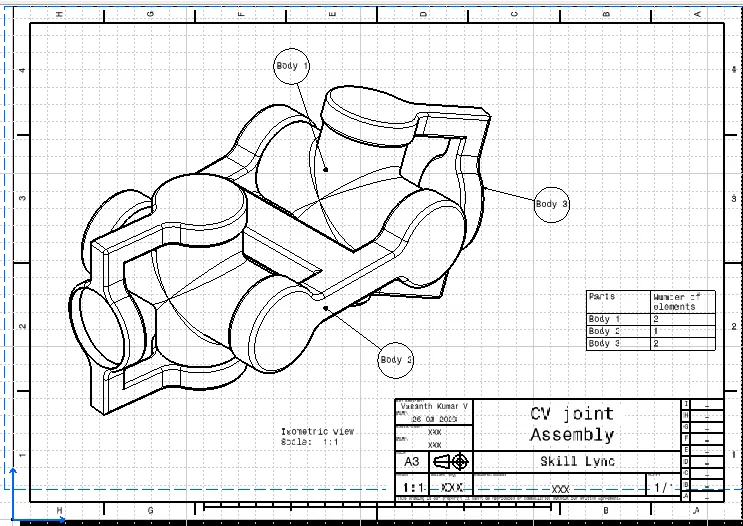
Assembly ISO view:
Drawing of assembly of CV joint: