Week 7 Challenge - Assembly Workbench
In this challenge we got two assy. Part to create, details are below
Quick Return Mechanism
In this assy. We have total 5 individual parts and from these parts we created the complete assy., first I created these parts in PART WORKBENCH, with the help of Pad & revolve command individual, images are below,
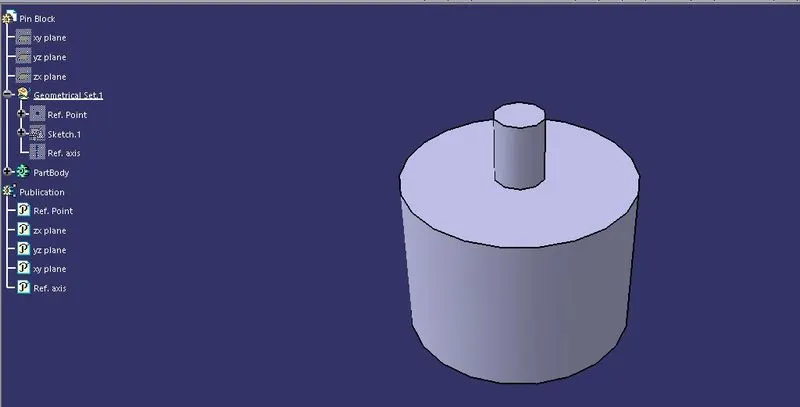
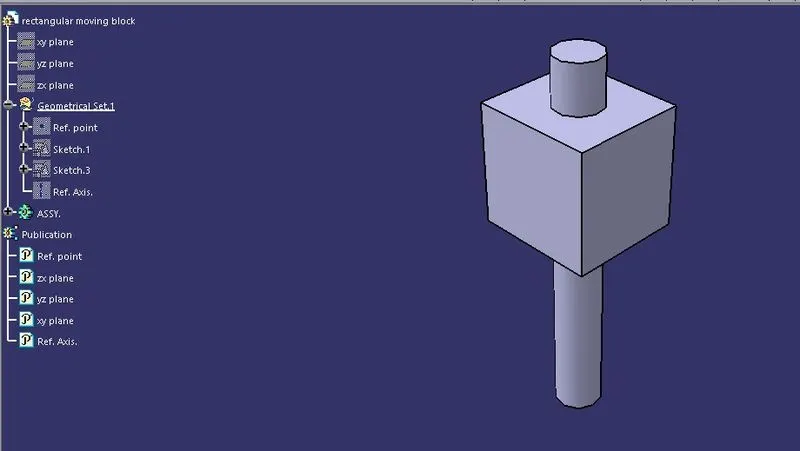
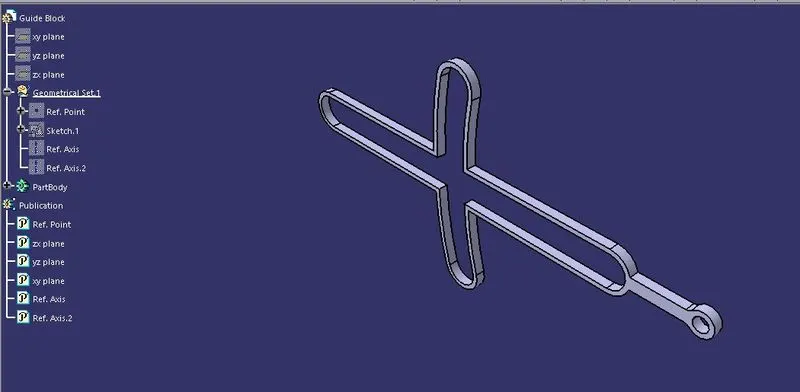
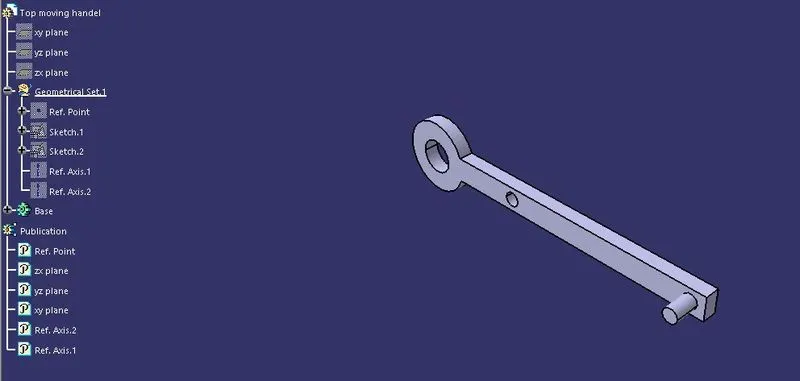
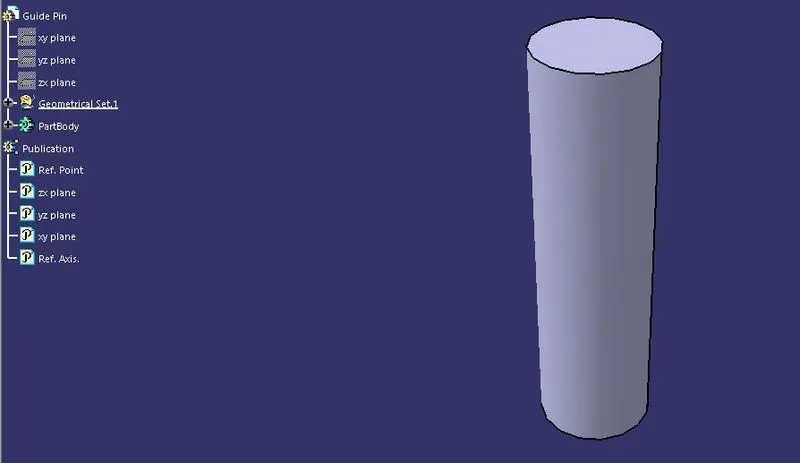
Then after for the assy. I have used ASSY. WORKBENCH , first I insert all the parts one by one in the assy. Workbench, then I created the Ref. axis & point for each of the parts as per the requirement & then I publish the all the three plane, ref. point & ref. axis for each parts individually, Now I have created the Ref. skeleton part, & then I created the ref. point & axis for the same, then I publish all the three plane, ref. point & ref. axis Now for the assy. of all the parts, first I fixed the skeleton published items, then I first coincidence the first part with the ref. skeleton part, then I used the multiple commands (coincidence, offset ) to assemble the all the parts one by one, images are below,
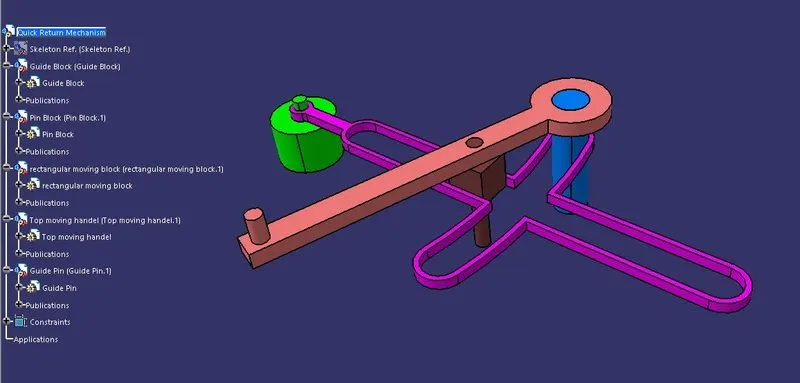
After completing the assembly I have created the Engineering drawing for all the parts & assembly one by one individual. And for the submission of the challenge I am attaching the individual CATIA PART file, CATIA PRODUCT file, CATIA DRAWING file & PDF of the drawing files.
CV JOINT
In this assy. We have total 3 individual parts and from these parts we created the complete assy. first I created these parts in PART WORKBENCH, with the help of Pad revolve & Pocket command individual images are below,
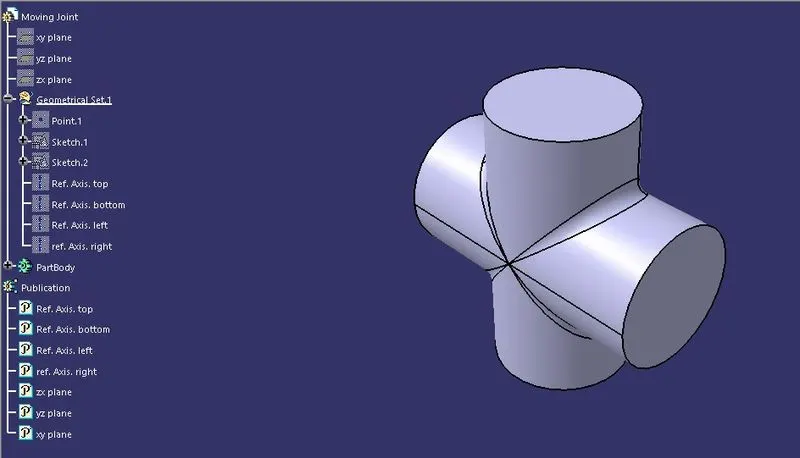
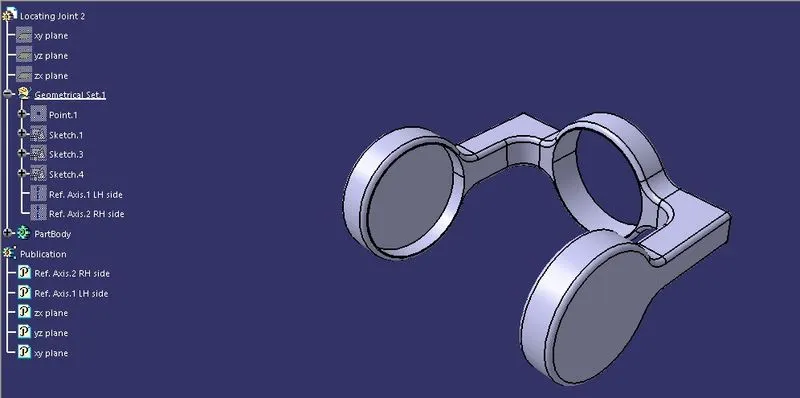
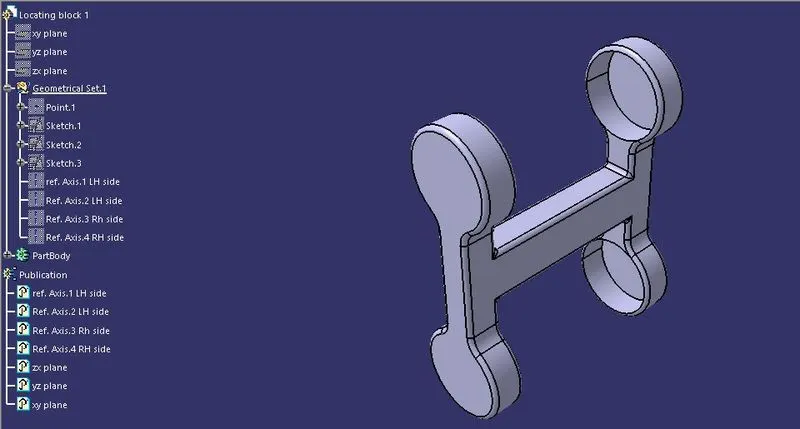
Then after for the assy. I have used ASSY. WORKBENCH , first I insert all the parts one by one in the assy. Workbench, then I created the Ref. axis & point for each of the parts as per the requirement & then I publish the all the three plane, ref. point & ref. axis for each parts individually, Now I have created the Ref. skeleton part, & then I created the ref. point & axis for the same, then I publish all the three plane, ref. point & ref. axis, Now for the assy. Of all the parts, first I fixed the skeleton published items, then I first coincidence the first part with the ref. skeleton part, then I used the multiple commands (coincidence, offset, angle & mirror) to assemble the all the parts one by one.
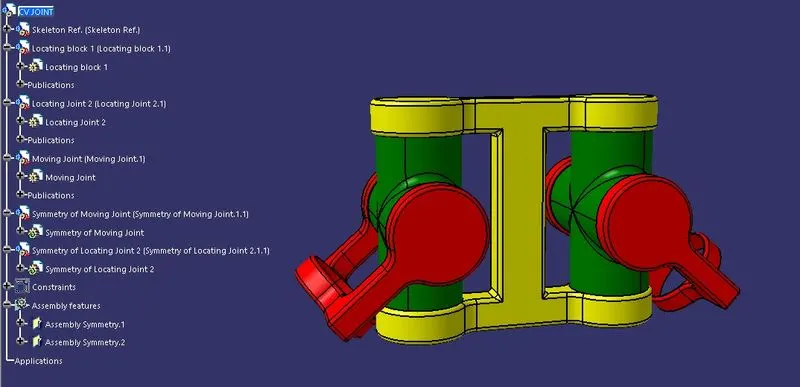
After completing the assembly I have created the Engineering drawing for all the parts & assembly one by one individual, And for the submission of the challenge I am attaching the individual CATIA PART file, CATIA PRODUCT file, CATIA DRAWING file & PDF of the drawing files.