Week 7 Challenge - Assembly Workbench
ASSEMBLY WORKBENCH CHALLENGE
IN THIS REPORT:
- CREATION OF PARTS.
- CREATION OF ASSMBLEY.
- CREATION OF DRAWING.
1. CREATION OF PARTS IN PART WORKBENCH:
- Start sketching in sketcher workbench for given data (Draft drawing).
- Evolve into 3D part from 2D sketches from given data.
- sketches are Iso-constrained.
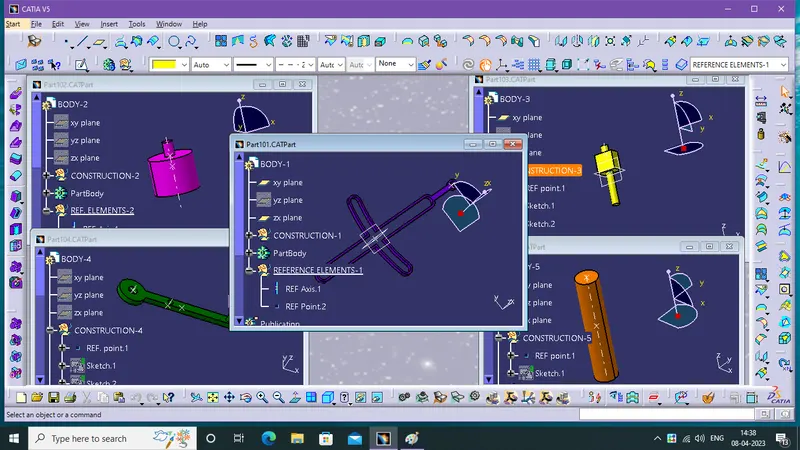
ANGULAR MECHANISM PARTS:
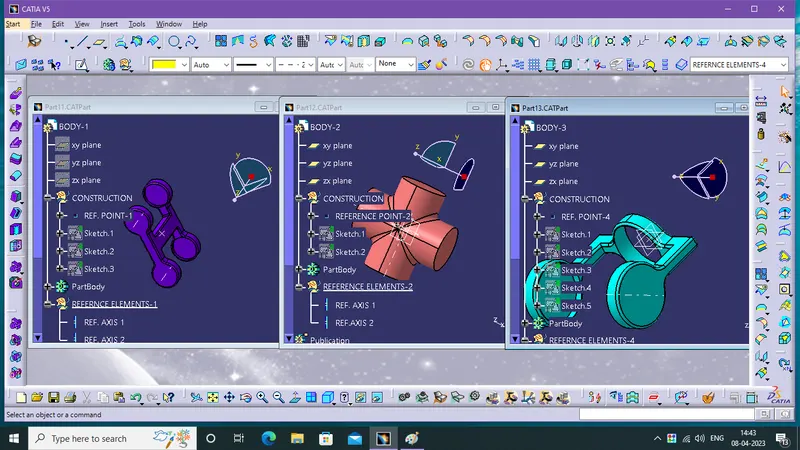
CV-JOINT PARTS:
2. CREATRION OF ASSEMBLY IN ASSMBLY WORKBENCH:
- Once the all parts are created in part workbench then move into assembly workbench.
- Import the part data into the assmbly workbench has two methods.
1. click a Existing component--->open a Part flie then it will into the asssmbly.
2. open the all part file windows in catia and copy it and past it into assmbly product.
- After all, create a assembly skeleton part file (point and planes) for main refernce then include it also, in the product.
- For a assemly we need a Reference points, planes and axis in the parts.
- So again go to the Part workbench with simply double click on the part file icon in Assembly tree.
- Create the needs in the part wb.
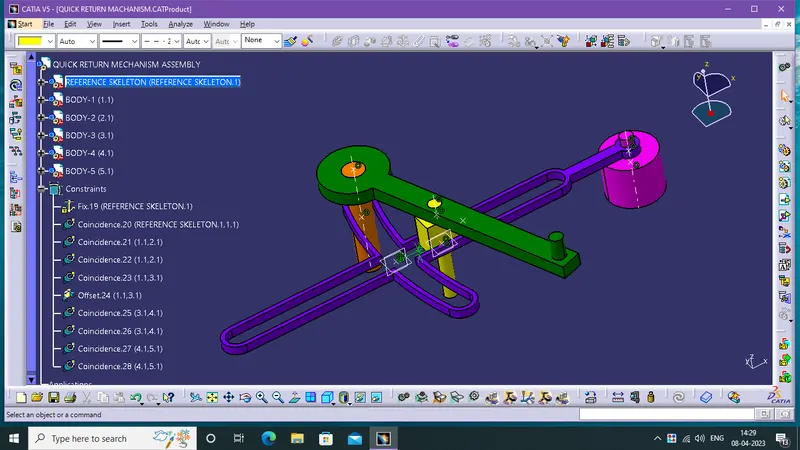
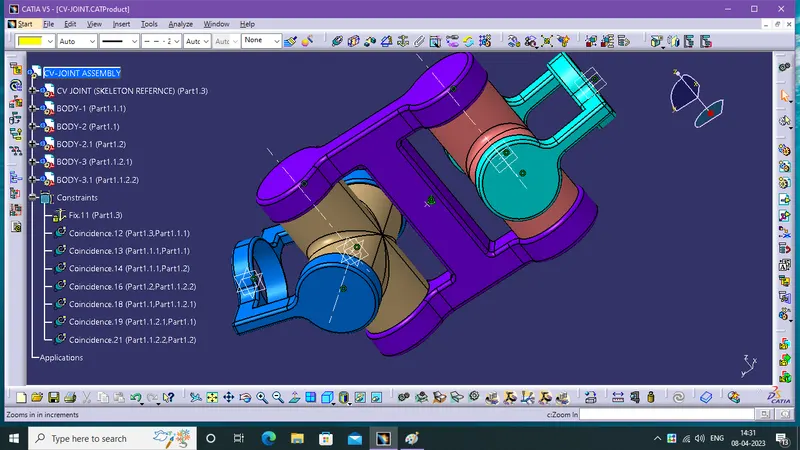
- Now Fix the main point (reference skeleton)
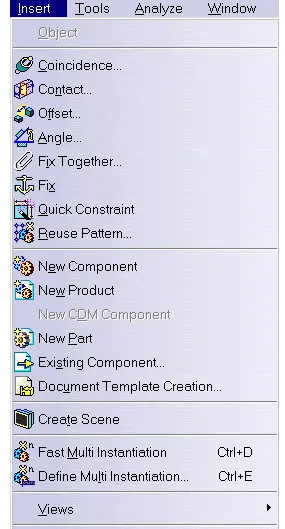
- Then use the Coincidence and Offset, etc,. fetures for assemble the parts.
ASSEMBY OF QUICK RETURN MECHANISM:
ASSEMBLY OF CV-JOINT:
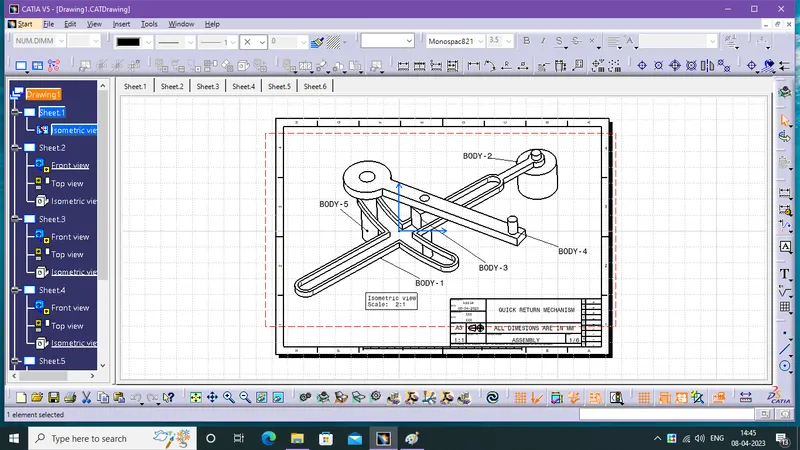
3. CREATION OF DRAWINF IN DRAFT WORKBENCH:
- After the Assembly create a draft drawing from the darft workbench.
DERAFT DRAWING OF QUICK RETURN MECHANIISM ASSEMBLY PRODUCT AND PARTS:
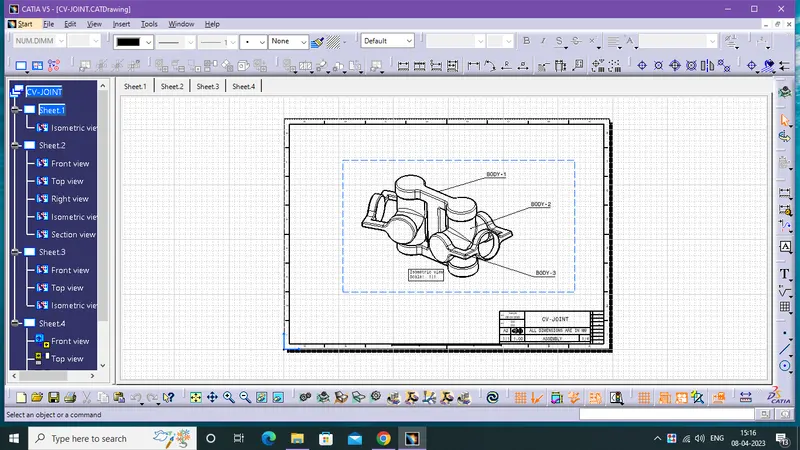
DRAFFT DRWING OF CV-JOINT ASSMBLY PRODUCT AND PARTS: