Week 7 Challenge
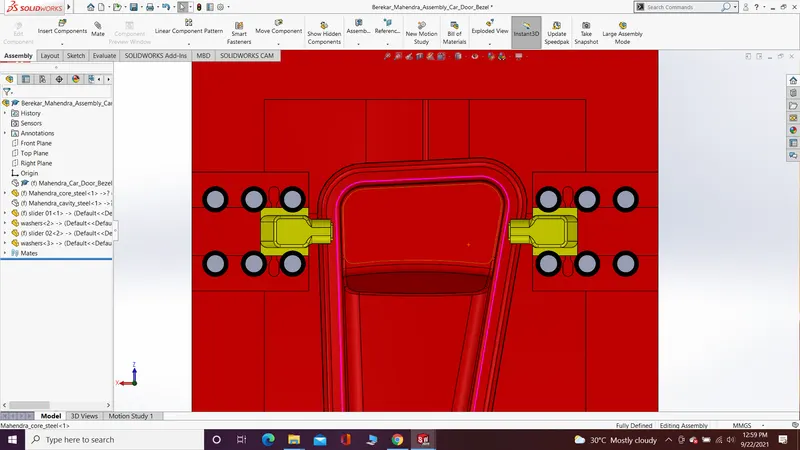
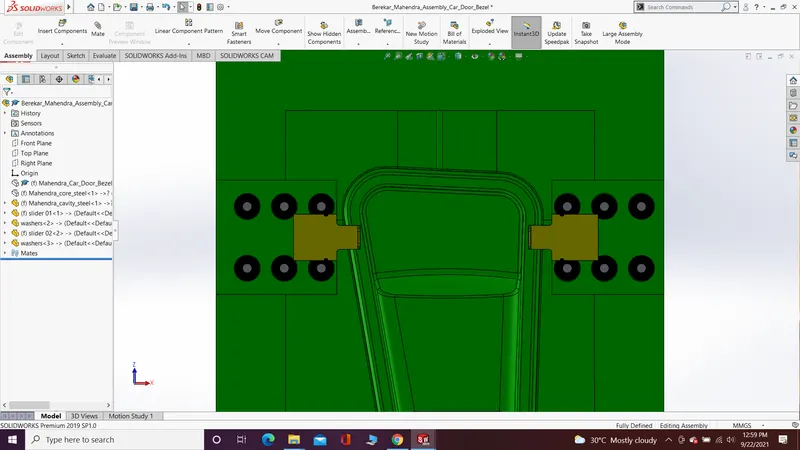
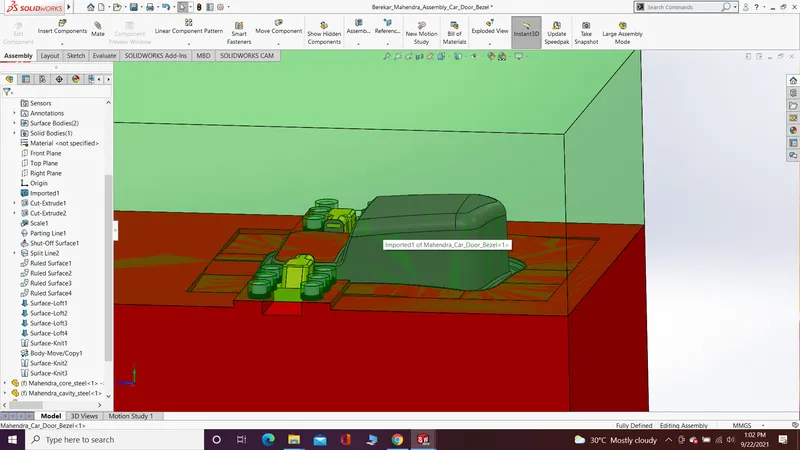
i am started the mold design process with following steps :-
1. Draft analysis :- In this i have check the draft of the part with minimum draft angle 0.5.
2. scale :- As mention in the challenge discription i assume the material as ABS. which have shrinkage of 0.6 so i used to take scale of 1.006(as scale = (shrinkage/100) + 1).
3. Parting line :- As we can see the skect is 3d i used to take parting line at bottom edge where two surface can meet easily.
4. Shut-off surface :- With the help of shut-off surface command i used to closed the open face where we don't need any type of face. and i got the the core and cavity surfaces.
5. Parting surface :- For parting surface i used slipt line command (because the sketch is 3d) for the split the faces of core and cavity surfaces so we can create the parting surface. after that with ruled(sweep) surface command i create surfaces in different direction and after that with the help of lofted surface command i completed the surface. after that with knit surface command i converte all the surface into one surface.
6. In next step first i created the copy of the parting surface at the same surface and with knit surface command combined the one parting surface with cavity surface and with another parting surface with core surface.
7. In next step i make sure to origin of the assembly coencident with the spure gate.
8. Core and Cavity block :- For core and cavity blocks i created sketch with two different center rectangle. in which smaller once in for 3d part on the model and larger is for mold.
9. Cut-with surface : With the help of cut-with surface command i created the core block and cavity block. and given the red colour for core and green colour for cavity block.
10. Split :- In the part where the undercuts are present with split command i used to create the seperate block for the slider in the cavity block. with the proper dimension and using a proper feature i created the slider. and give it a slider edge.
11. Combine :- with combine command from direct editing i substract the extra material from the core and cavity block which is intersecting with the slider. and give a required fillet for the slider and the edges of core and cavity blocks which is respective with slider edges. and removed the material from the core which is obstract with slider when slider is moving. and added the material in cavity block where the extra space is present.
12. Bolt and Washer :- I created the bolt and washers with dimension given in the session video. and place at near to the slider with proper mates. and removed the material from the core and cavity block. which is intersecting with bolt and washers and also give a 1mm relief for the bolt.
13. As i created one slider with same prosedure i created anothe slider for another side of the part.