Week 7-12-Creation of 1D Connectors Challenge
AIM : To create connectors and attach the various parts of the given model, first of all we have to mesh the given model with given quality criteria.
PROCEDURE :
STEP 1: IMPORT THE MODEL
file > import > geometry
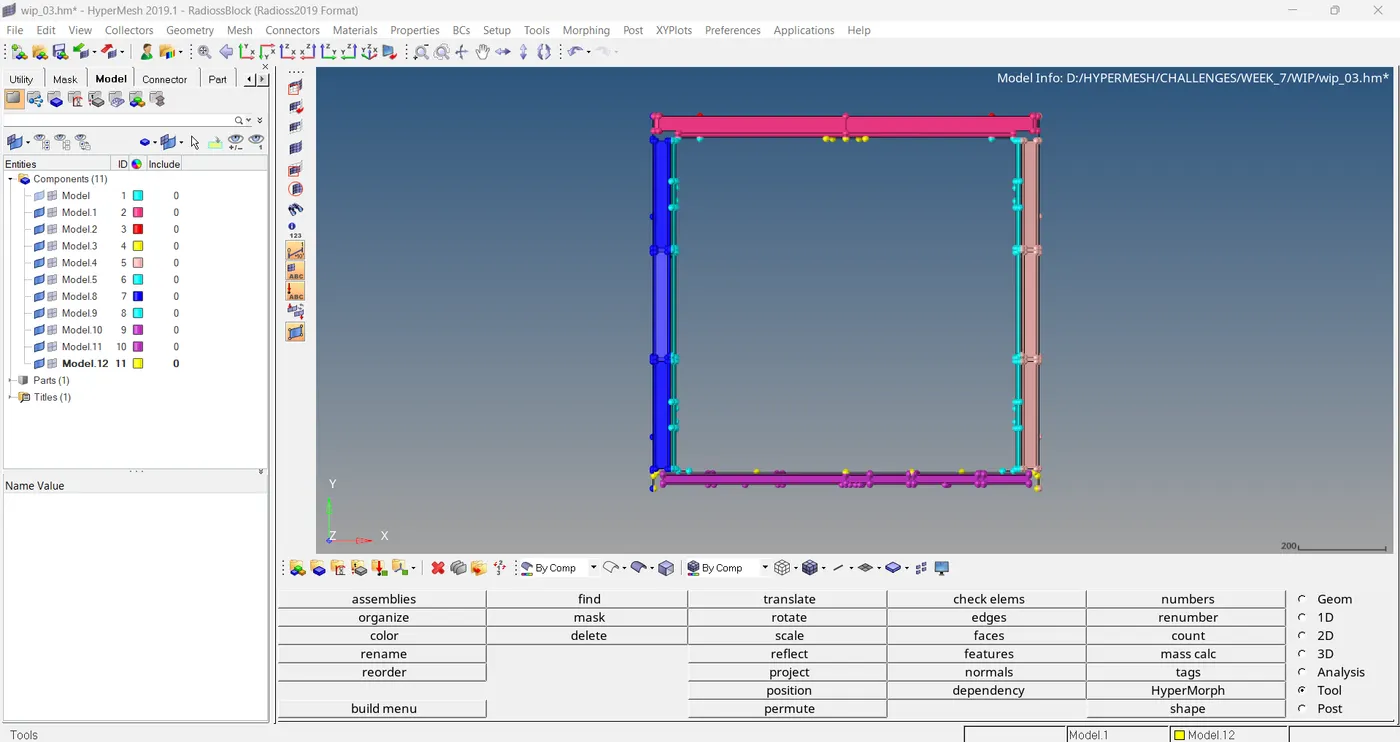
STEP 2: MESHING
Here we can see 12 models to mesh. mesh the given components one by one.
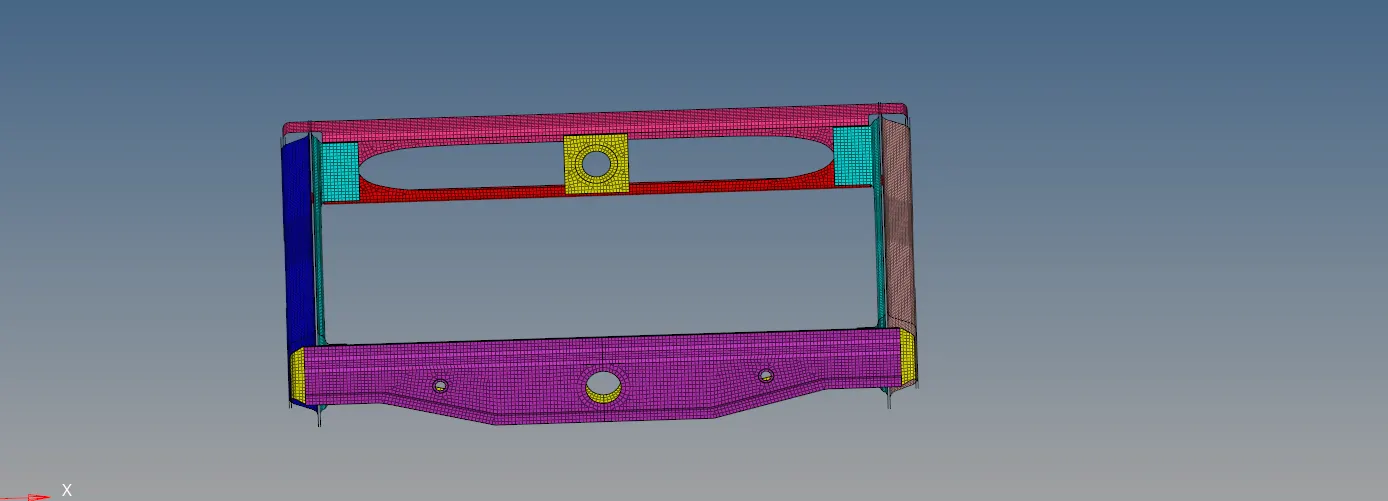
The entire model is meshed with given target element size and cleared all quality issues.
STEP 3: CREATION OF CONNECTORS.
1. right rail 2 & front truss 1- seam quad
1D > connectors > seam > seam
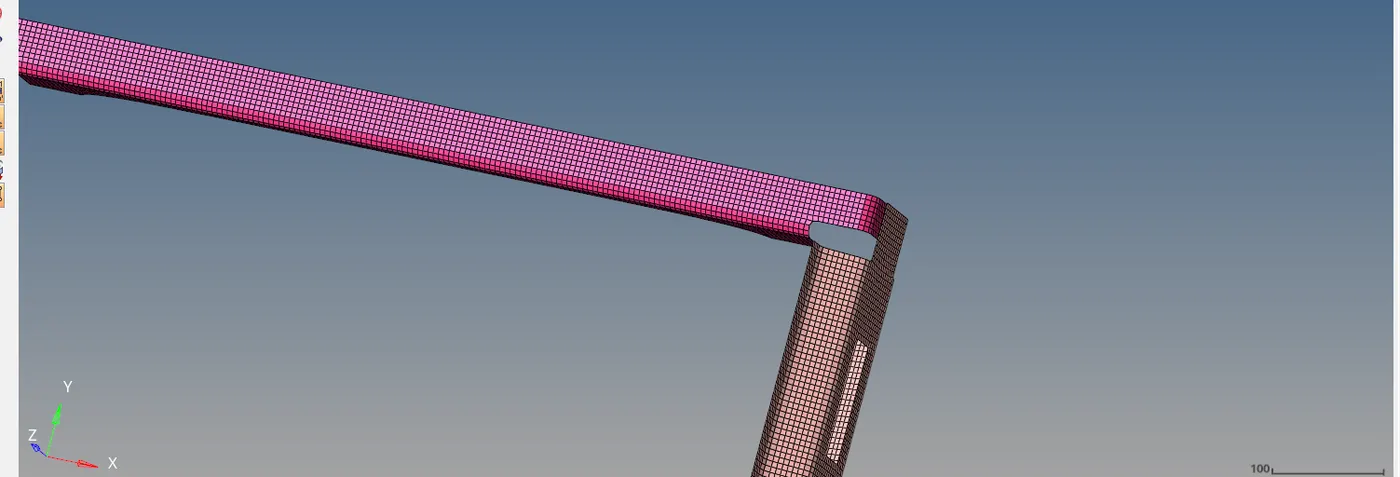
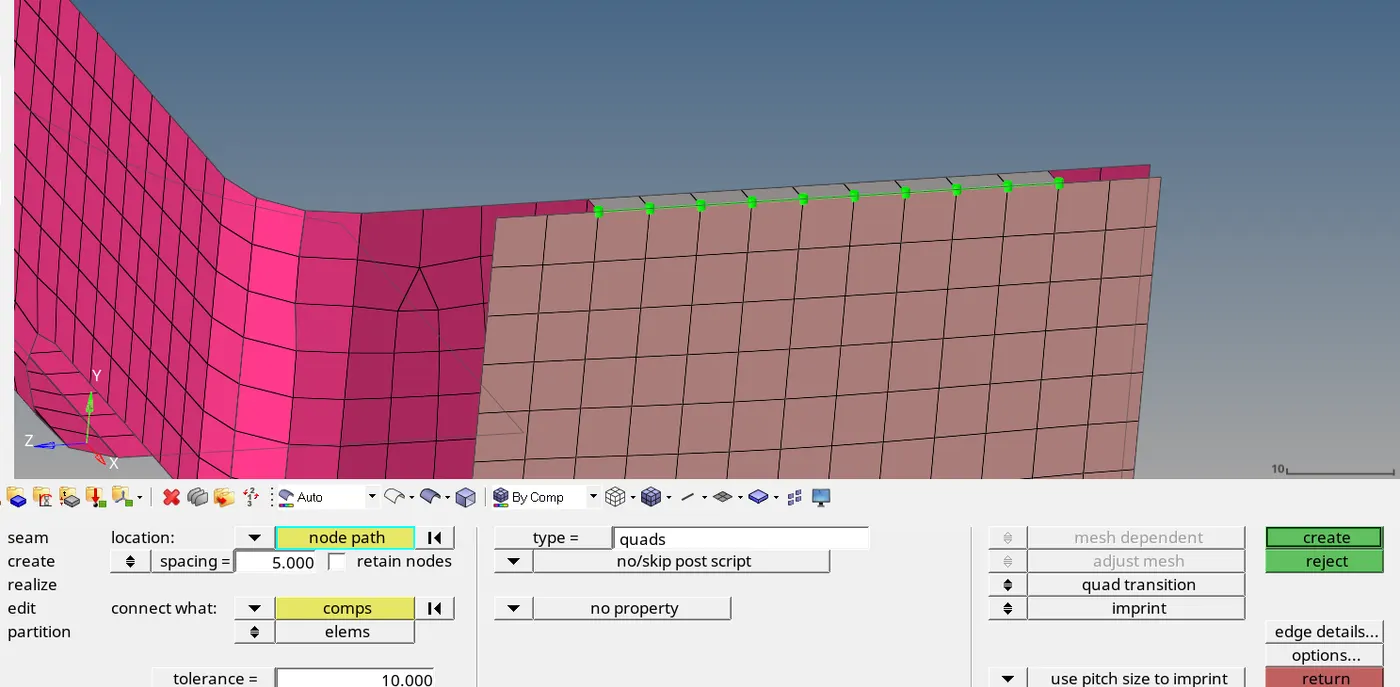
The green color represents the weld formed correctly.
2. left rail 2 & front truss 1- quad element
1D > connectors > seam > seam
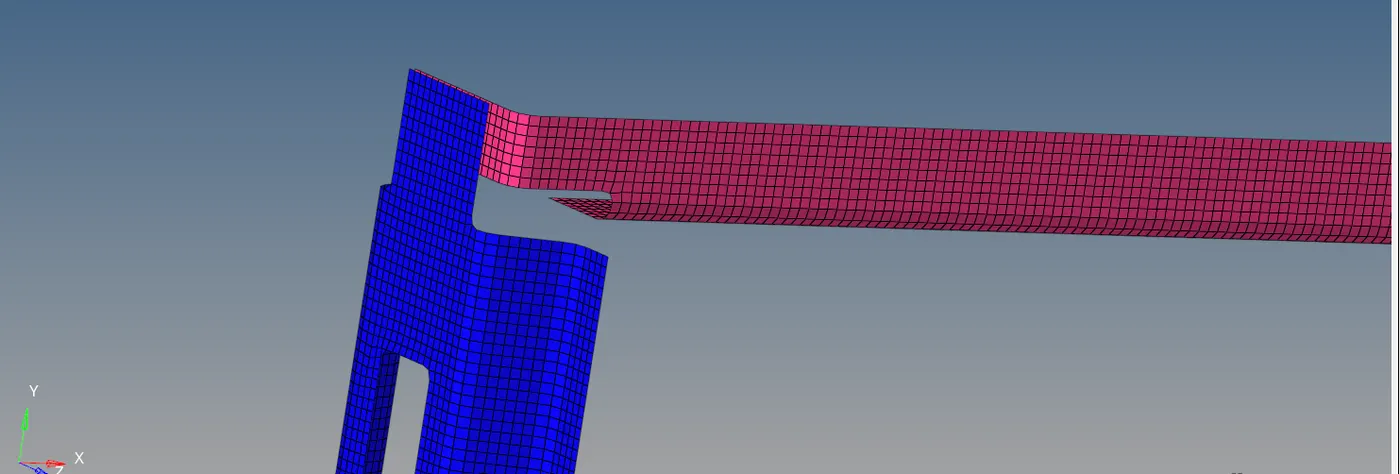
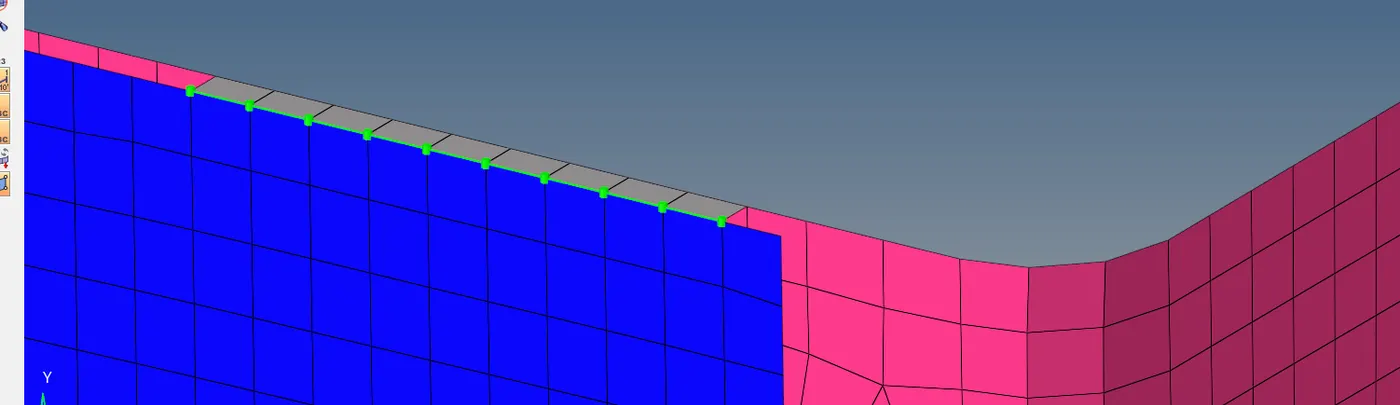
3. front truss 1, front truss 2 & right rail 1- spot weld with 5 mm diameter
1D > connectors > spot > spot
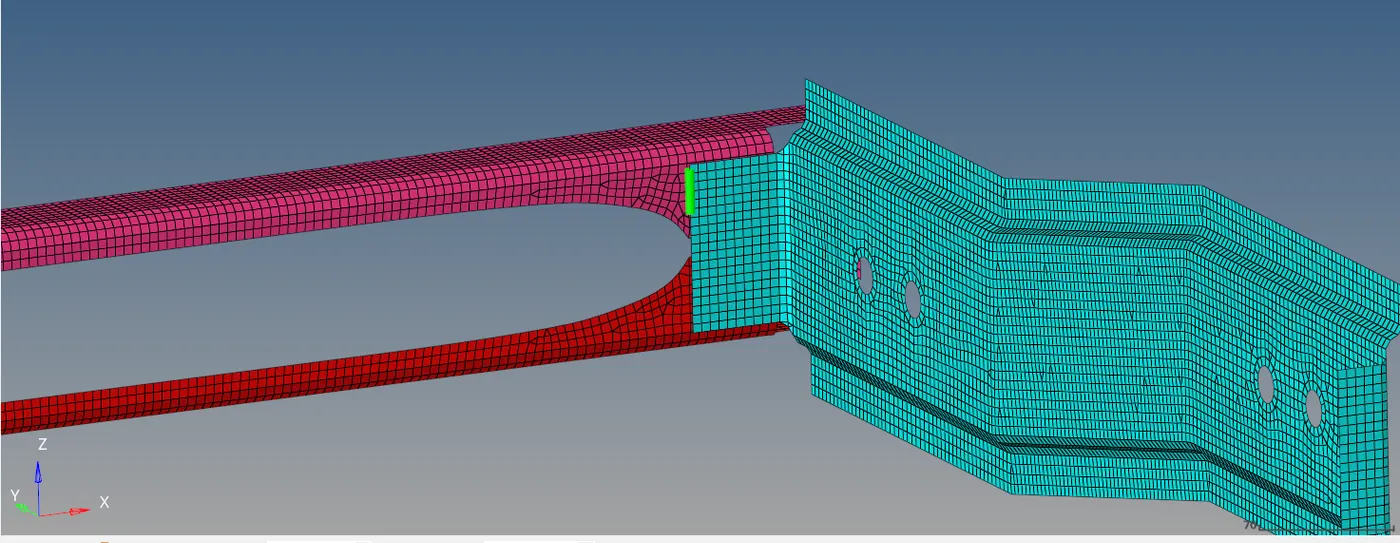
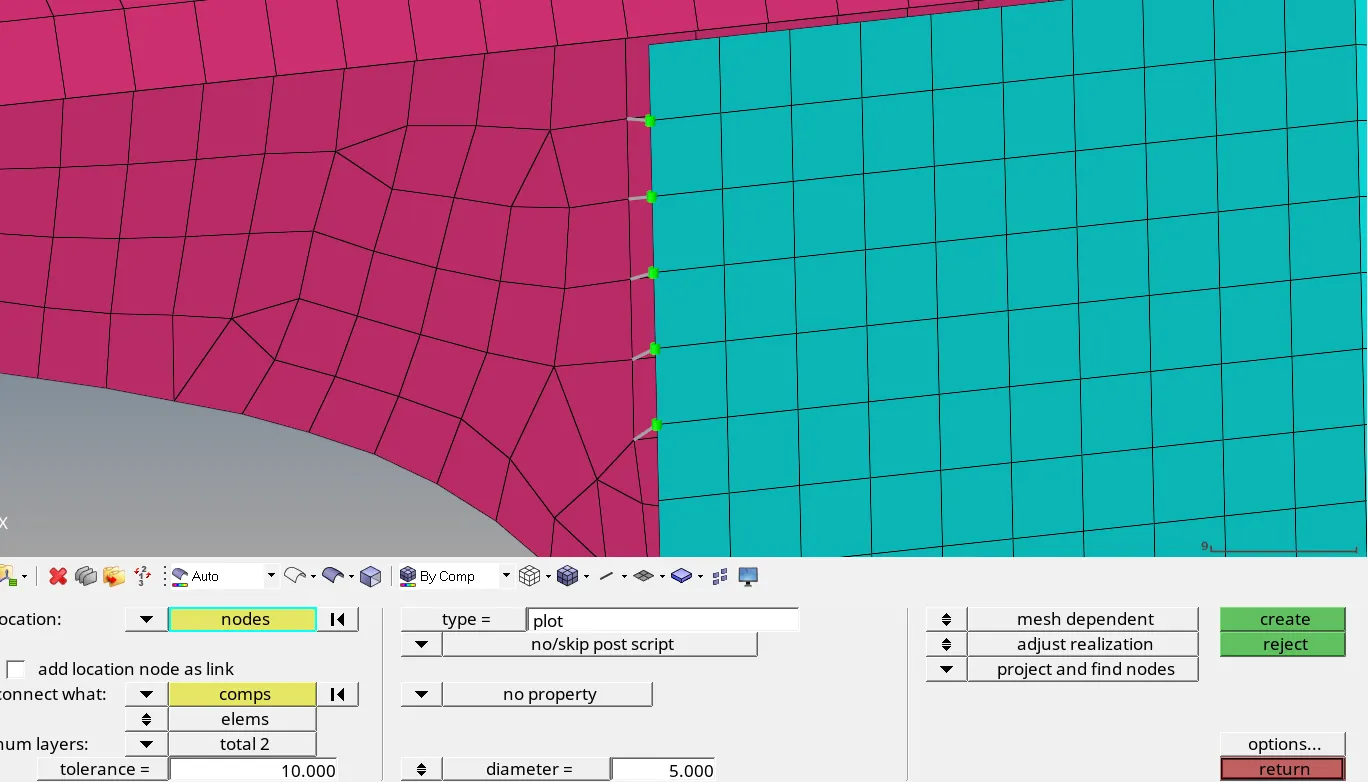
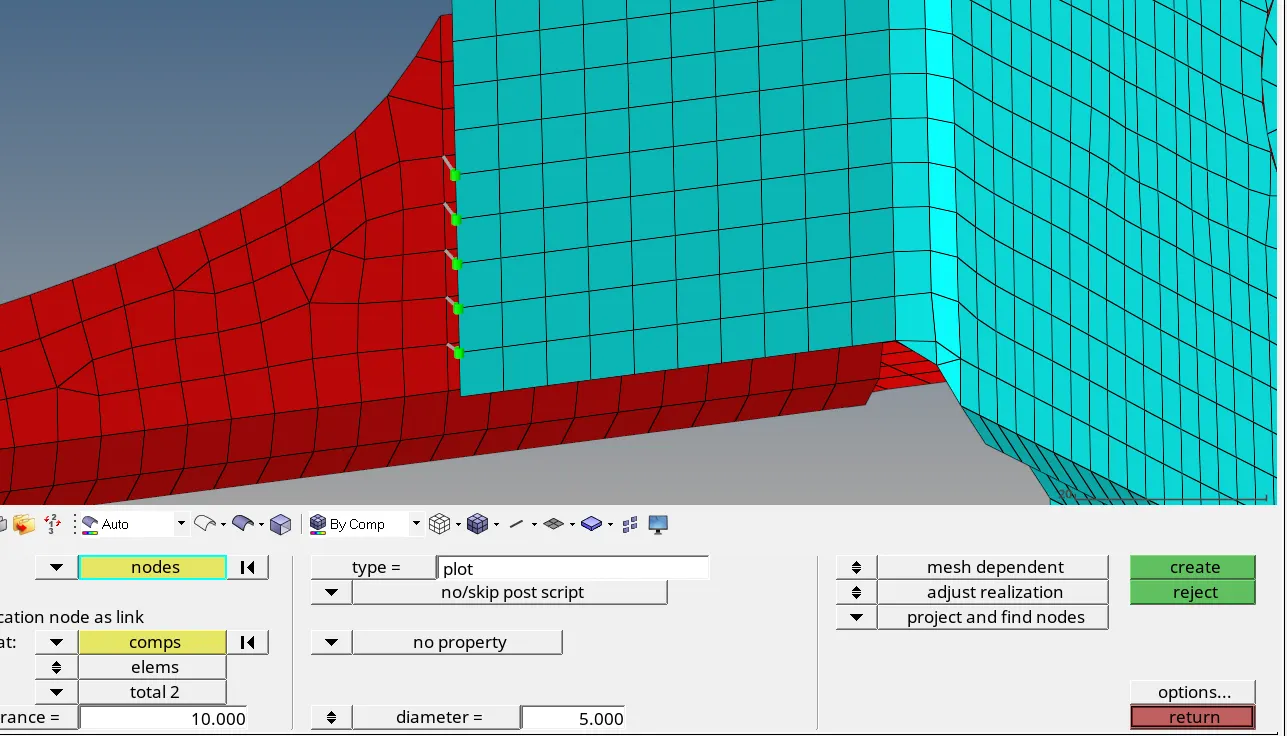
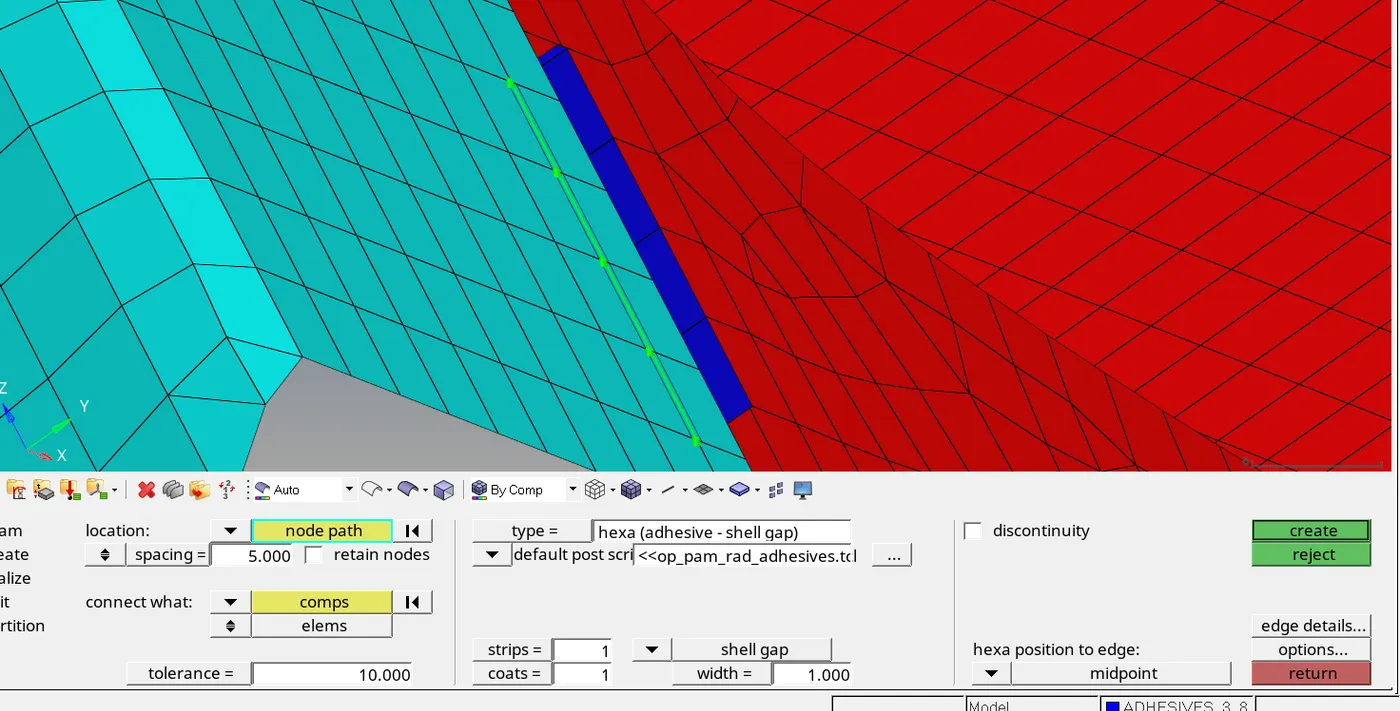
4. front truss 2, front truss 1 & left rail 1- Hexa adhesive
1D > connectors> seam > seam > type- adhesive
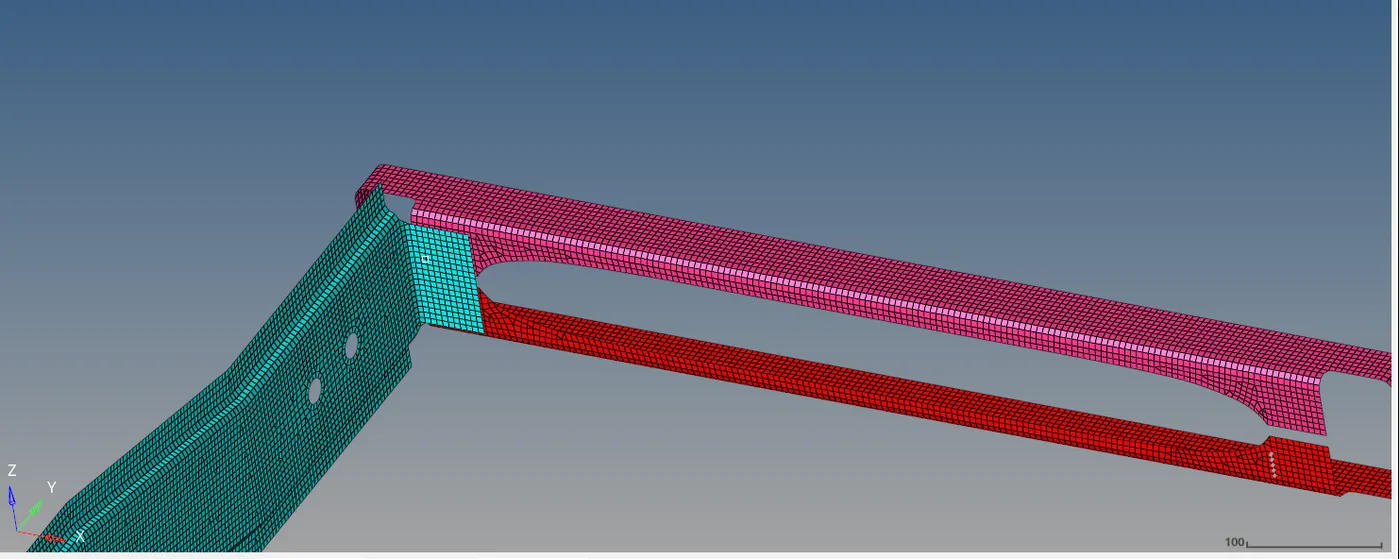
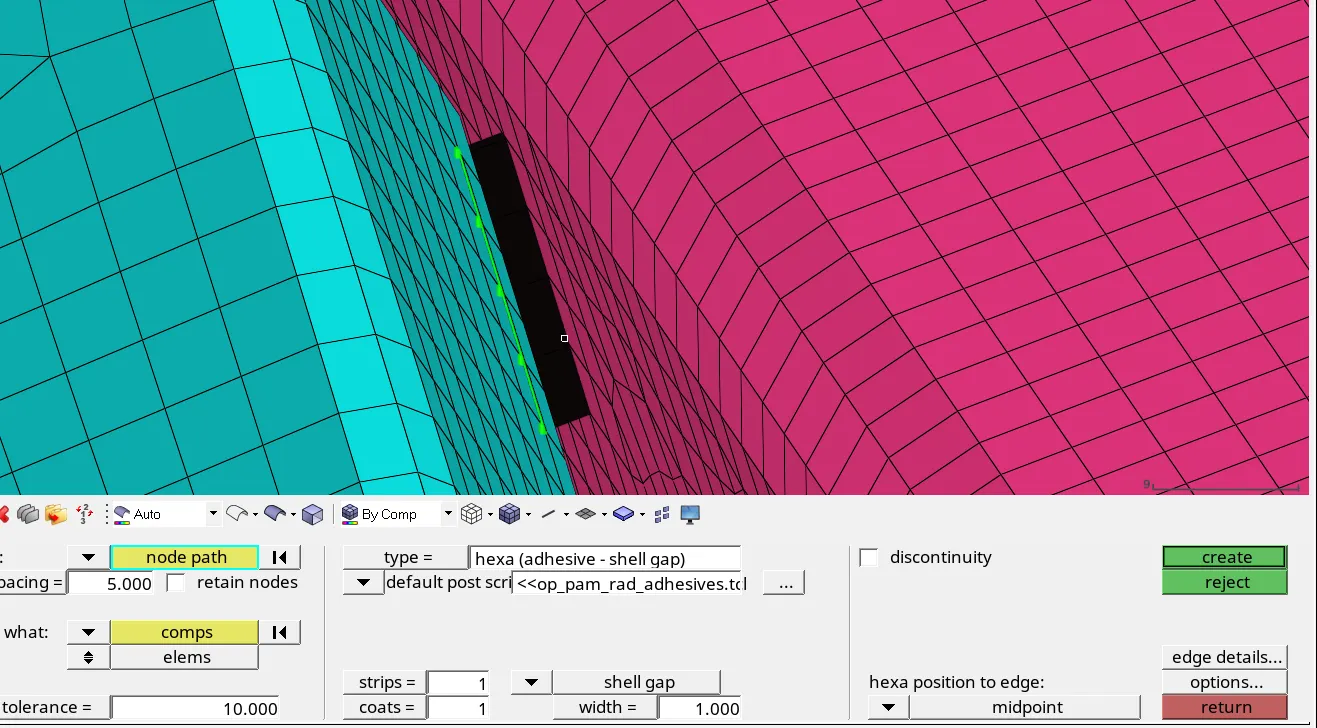
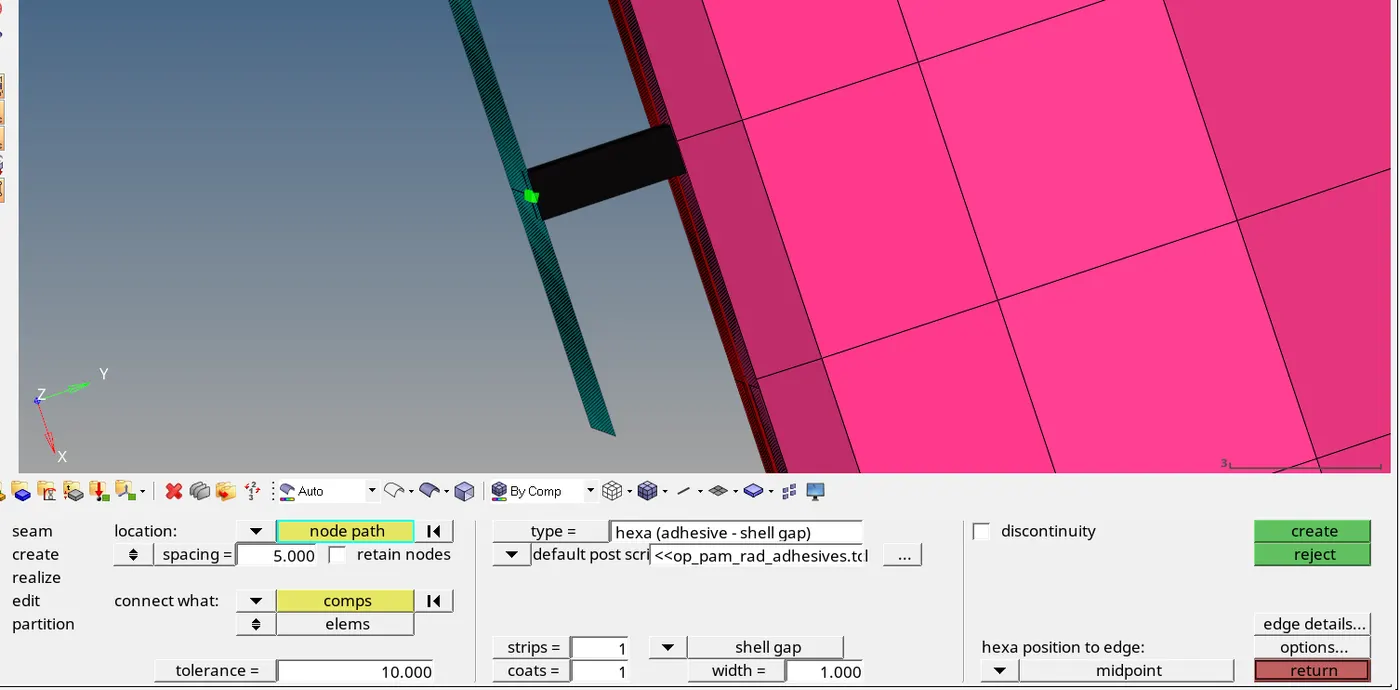
Here we can see the thickness.
5. rear truss 2 & right rail 2- bolt connector
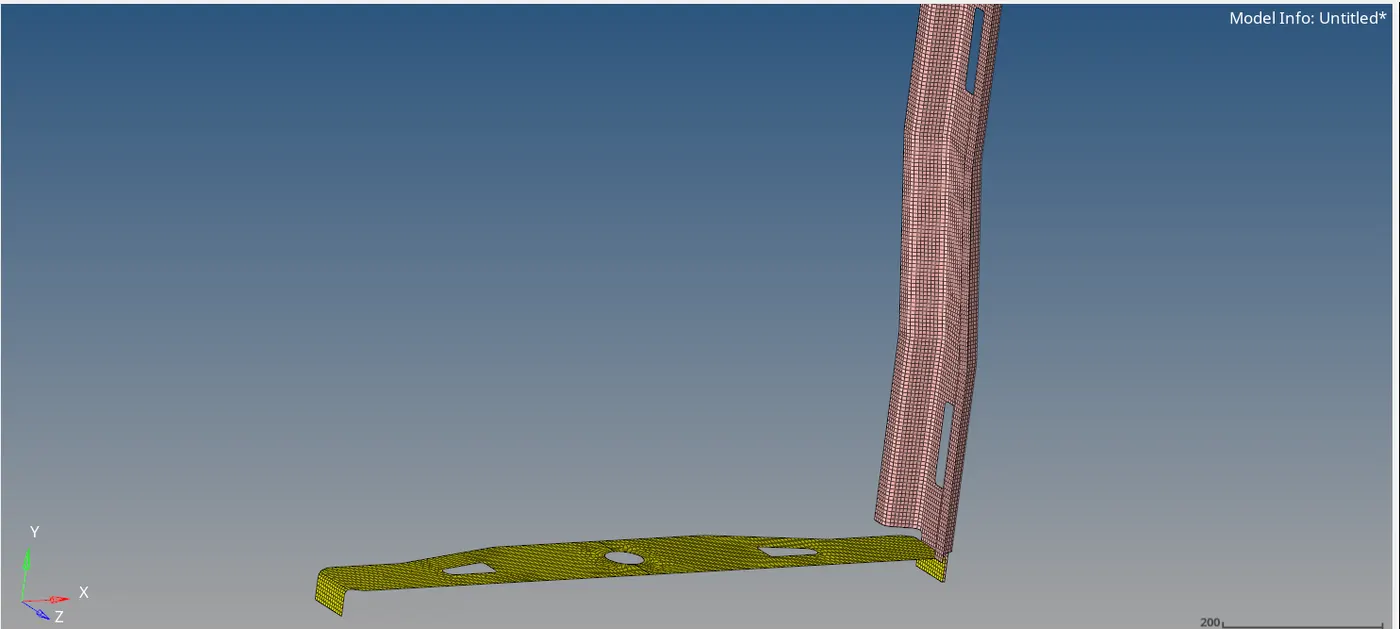
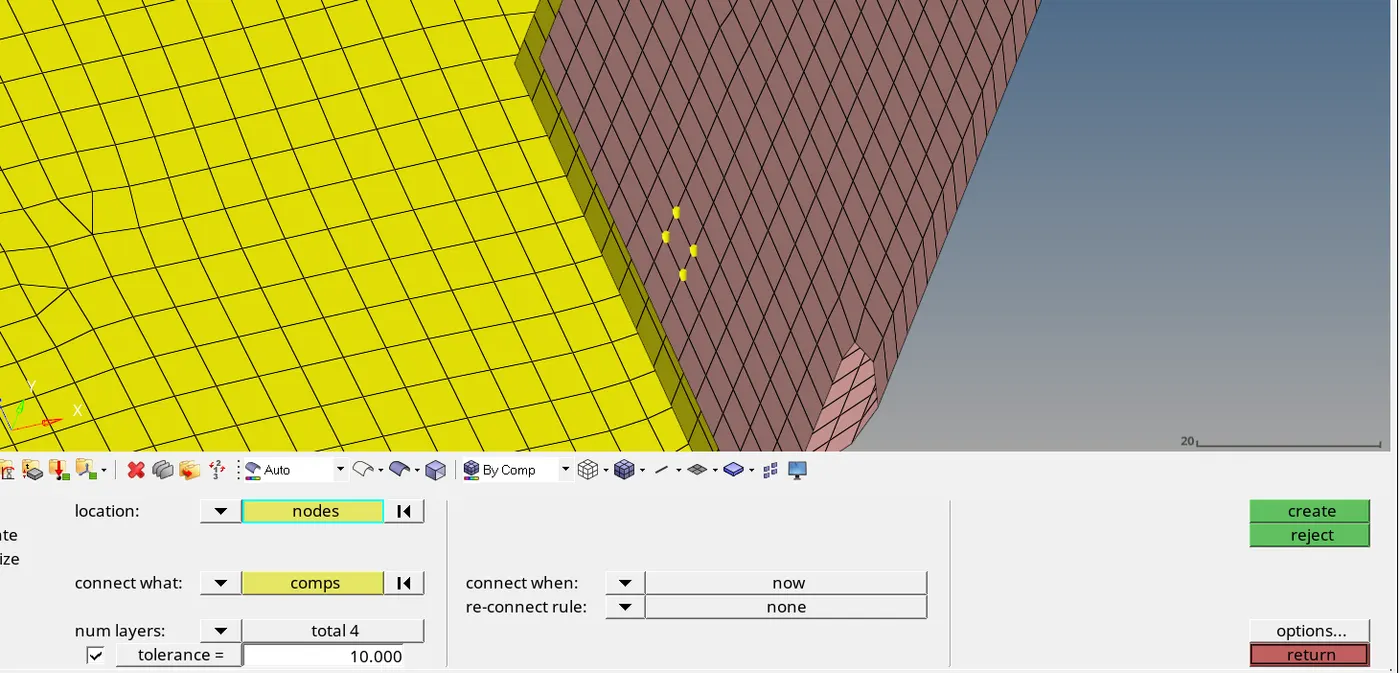
6. rear truss 2 & left rail 2- bolt connector
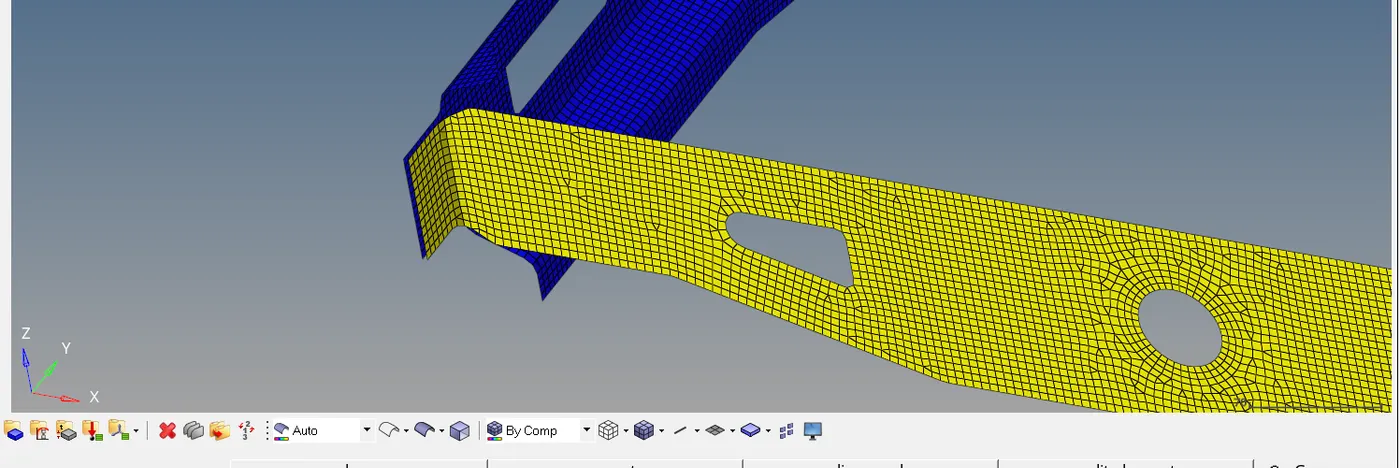
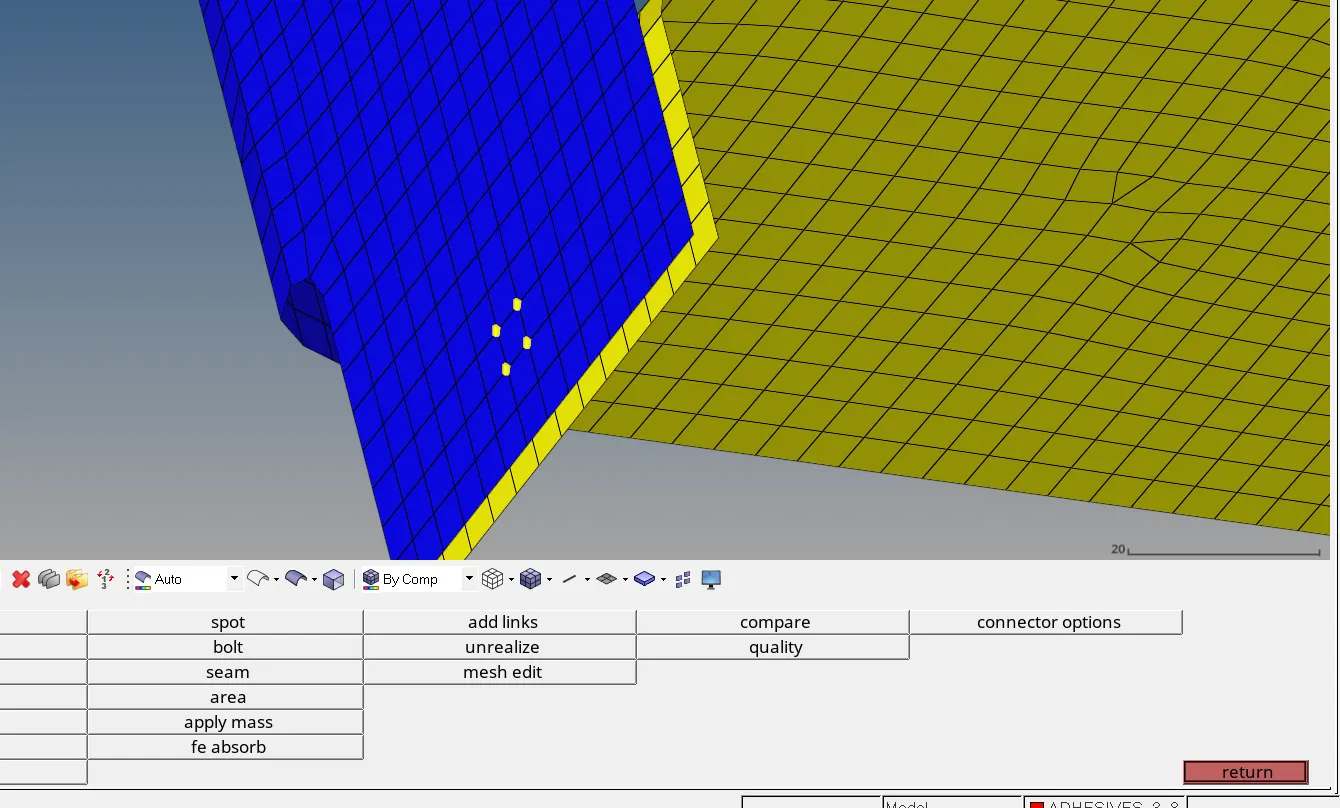
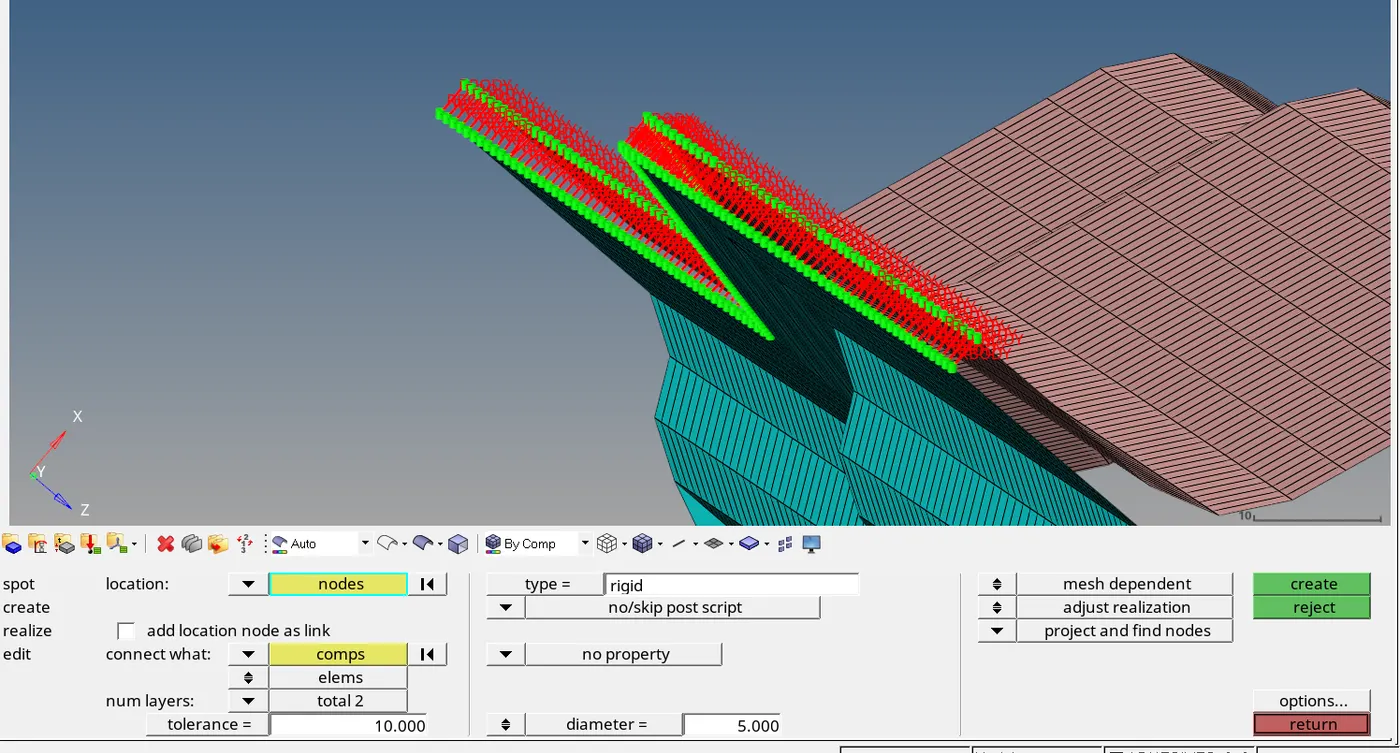
7. right rail 1 & right rail 2- spot weld with rigid element.
1D > connectors > spot > spot - type rigid
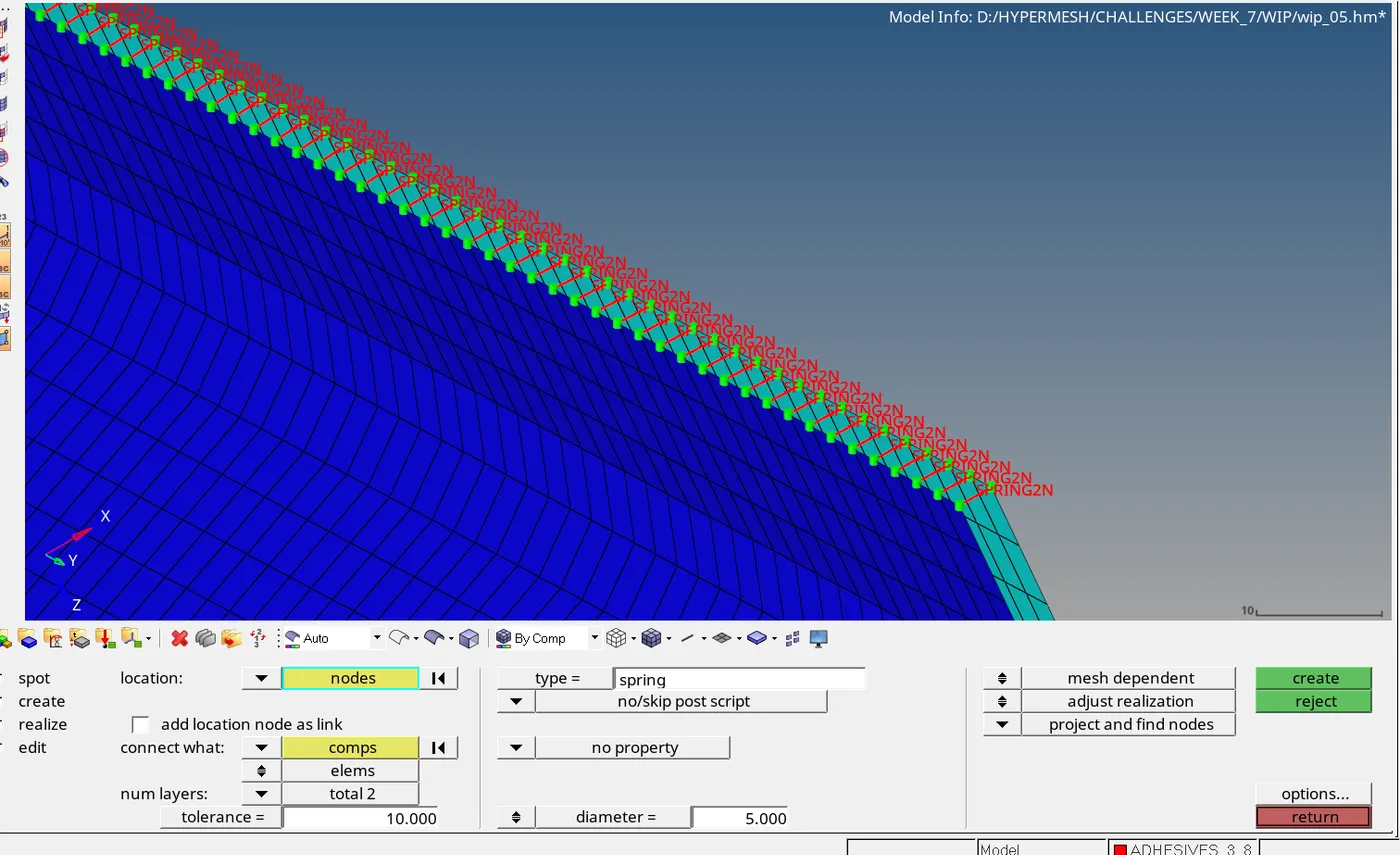
8. left rail 1 & left rail 2 - spot weld with spring elements.
1D > connectors > spot > spot - type spring
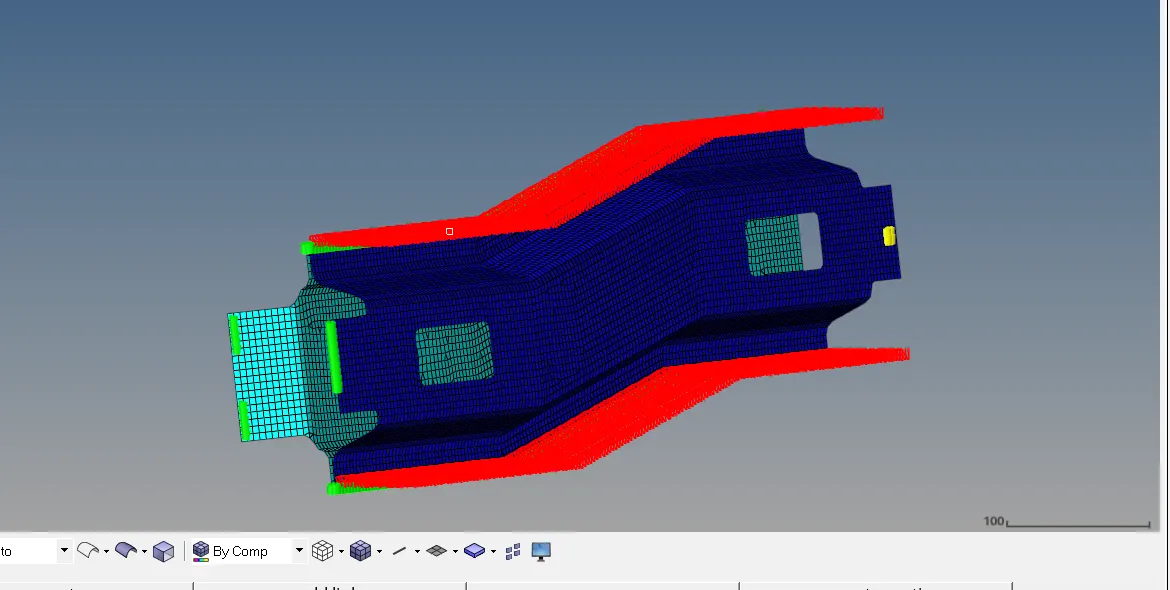
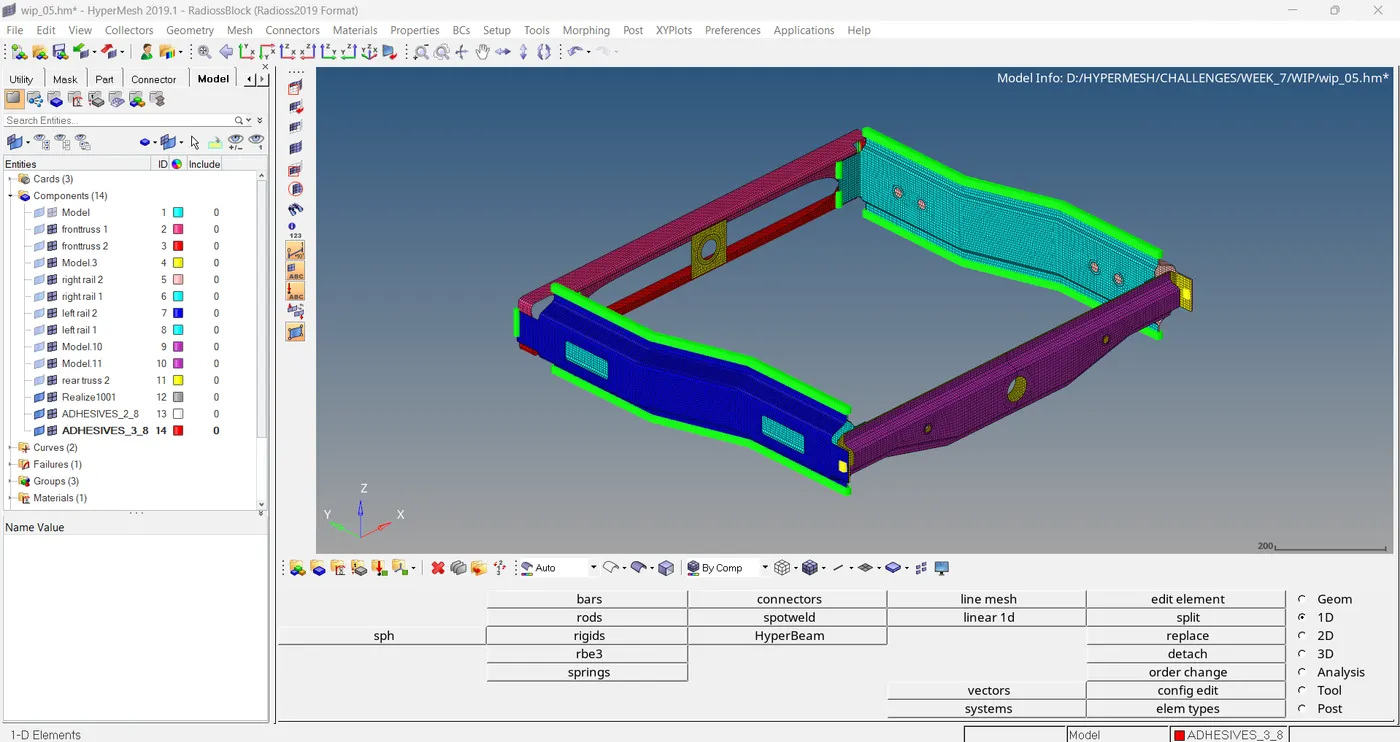
final model with all connections...
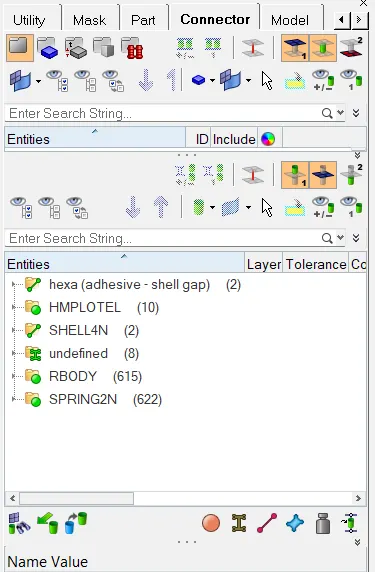
In connector browser we can see that how many types of connections are made.
-------------------------Thank You------------------------------------------------