Week 6-Meshing of Hood Challenge
AIM - Generating the mid surface and do the geometry cleanup for the given component after generate the mesh on the component with proper meshflow and pass the model of given quality criteria.
Follow the below-mentioned quality criteria, mesh the component given below and assign thickness:
Target Element Length = 5 Units
| S.N | Quality Criteria | Value |
| 1 | Aspect Ratio | 5 |
| 2 | Skewness | 45 |
| 3 | Warping | 15 |
| 4 | Taper | 0.5 |
| 5 | Min. Length | 2 Units |
| 6 | Max. Length | 8 Units |
| 7 | Min angle Quad | 45 |
| 8 | Max angle Quad | 135 |
| 9 | Min angle Tria | 20 |
| 10 | Max angle Tria | 120 |
| 10 | Tria % | 10 |
procedure -
1. First import the model and by pressing "F" in keyboard you view the model if the model not present in gui. By change auto to topo we see the surface of geometry.
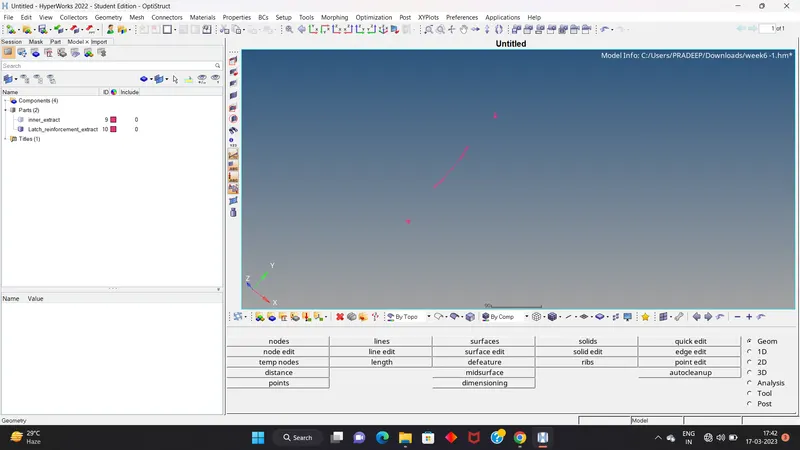
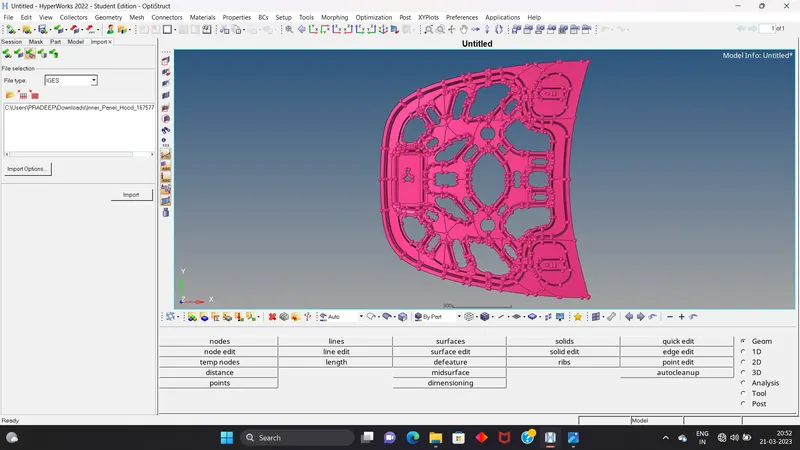
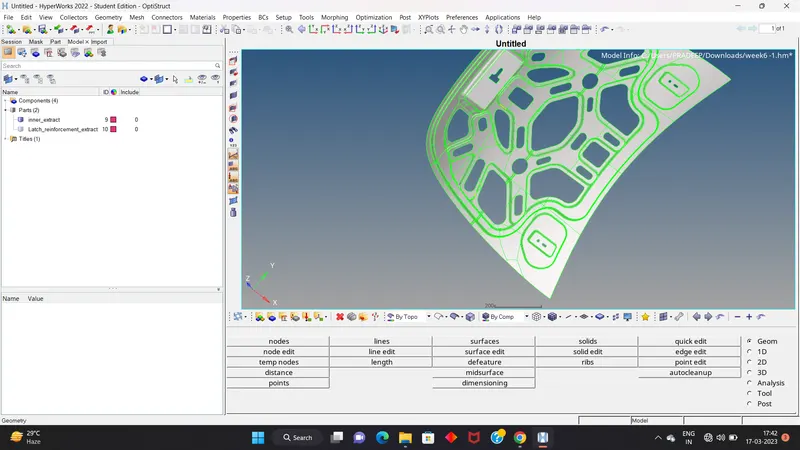
2. Then we do cleanup geometry of the surface and create the midsurface of the component before we measure the thickness of the component if the thickness is no varying so its is seet metal or if vary then its a plastic component.
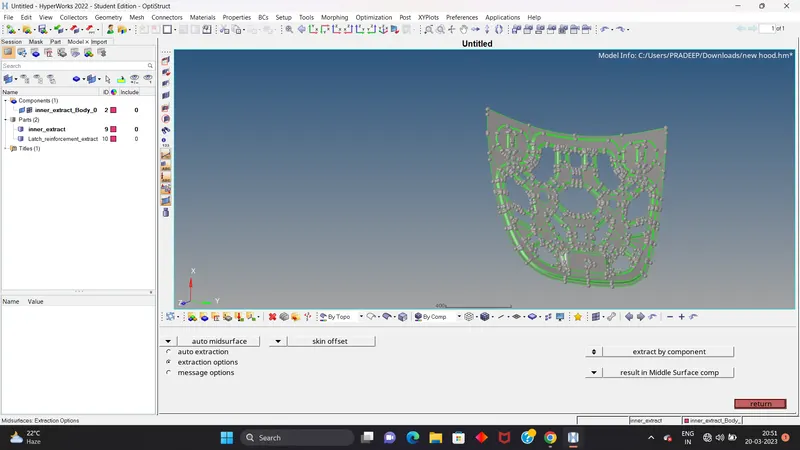
3. After the create midsurface we go for cleanup geometry by using some tool like toggle edge, split surface node, split surface line.
Geometry> quick edit> toggle edge select the line.
Geometry> quick edit> split surface node> to split the surface by nodes>create.
Geometry >quickedit>release point>select point.
Geometry> quick edit> split surface line> to split the surface by using node and line> create.
Geometry >quick edit>add or remove point> select point>select line.
geometry >quick edit >replace>replace node>retain.
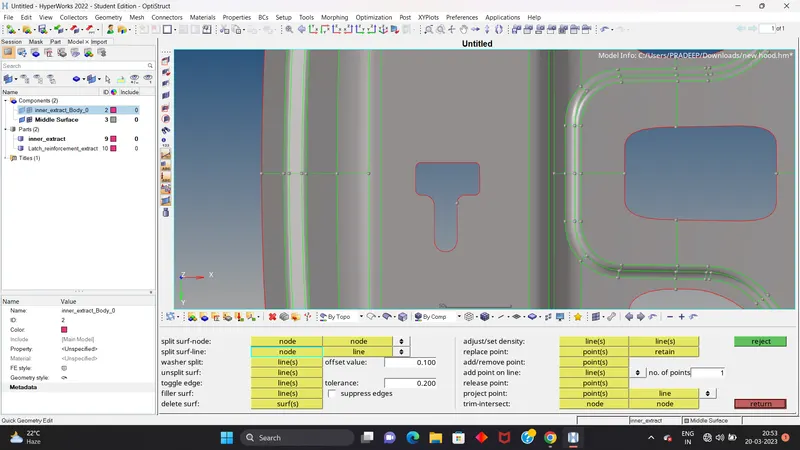
for geomerty cleanup we remmember this if any feature line near to each other we suppress that and also we toggle the construstion line which we not required and create the rectangle box and divide the surface.
4. After this we create the mesh on the mid surface and create the mid surface as a current surface Geometry> midsurface>autoextract>skin offset> ctreate to suppress line or to stitch the edge of the surface> create, chossing the element size, check the size and align then set the quality criteria. Go to shortcut key F12 or 2D> mesh>select all the things>mesh. creating mesh one by one in the box.
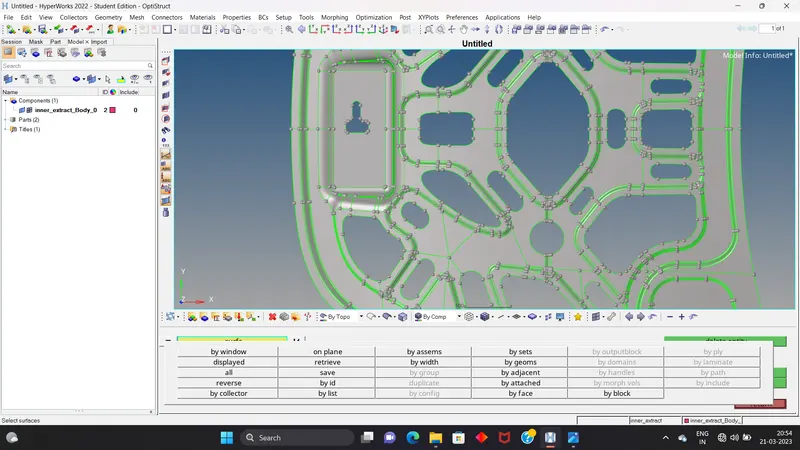
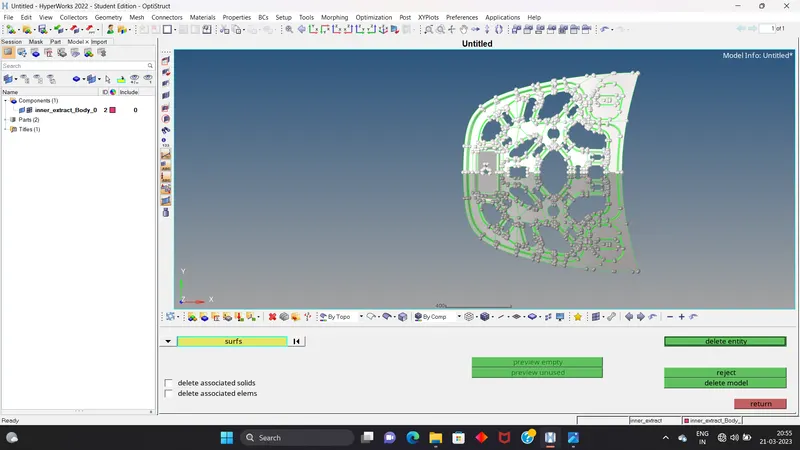
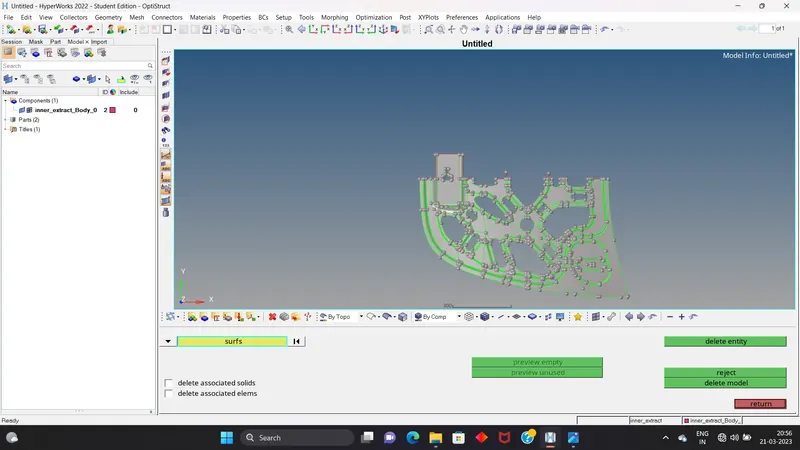
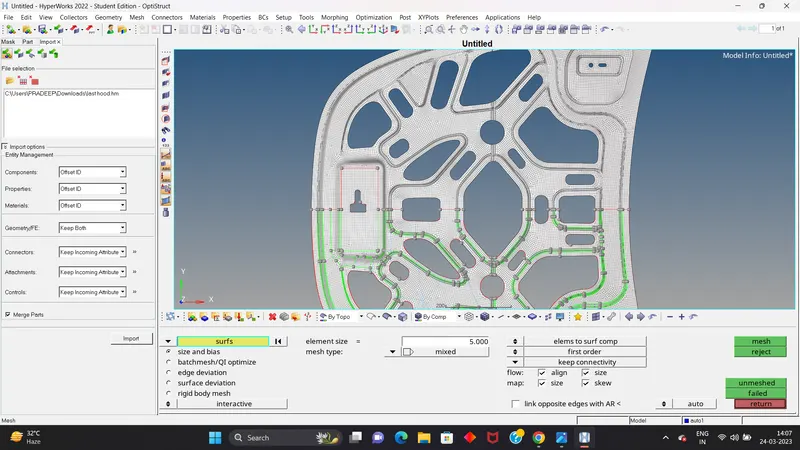
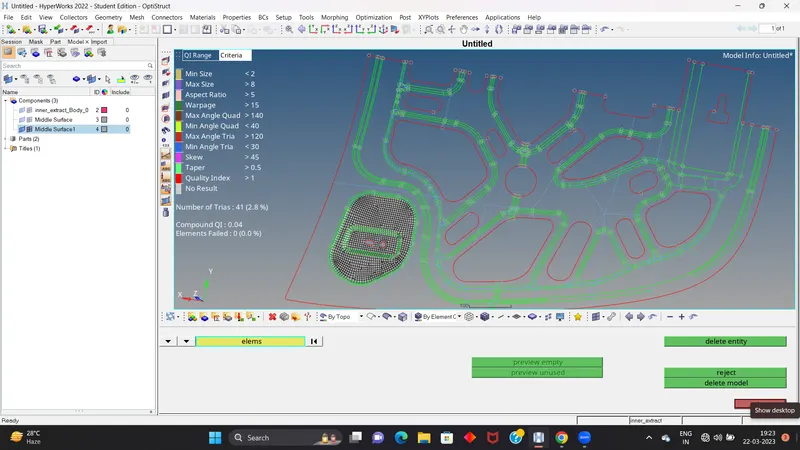
5. Then we go for check the tria which are fallon the free edge and the feature line and also we check rotating quard,
opposite tria which are fall on the surface, these are we avoid. then we get the good mesh flow of the component. In this we use split and combine and swap option. Split for split the element into to tria, combine for combine to tria into one quard, swap for swap or move the element from one plece tho other or backward, forward, right and left.
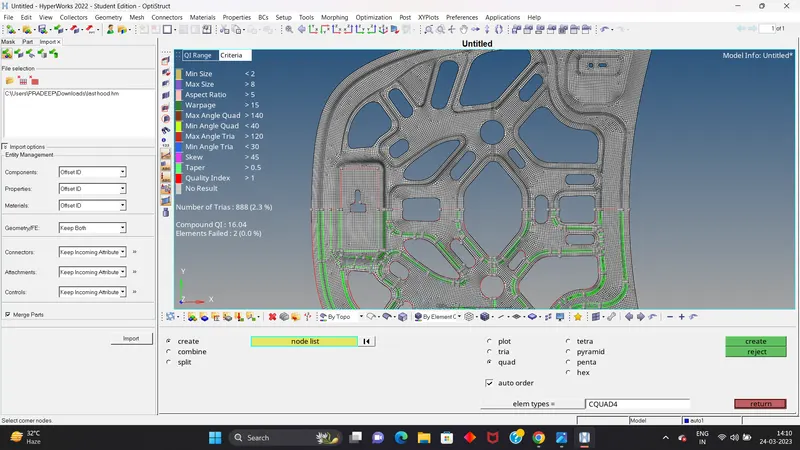
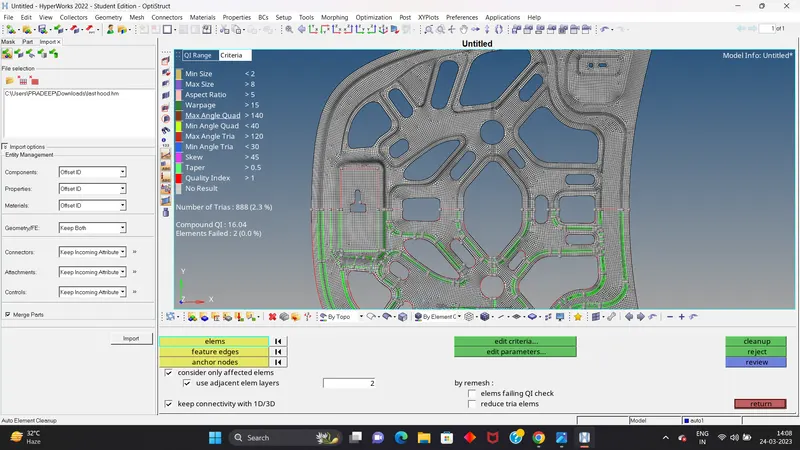
6. After we also use the smooth and rebuild option for smooth and reconstruct elements for avoid our off or failed elements.
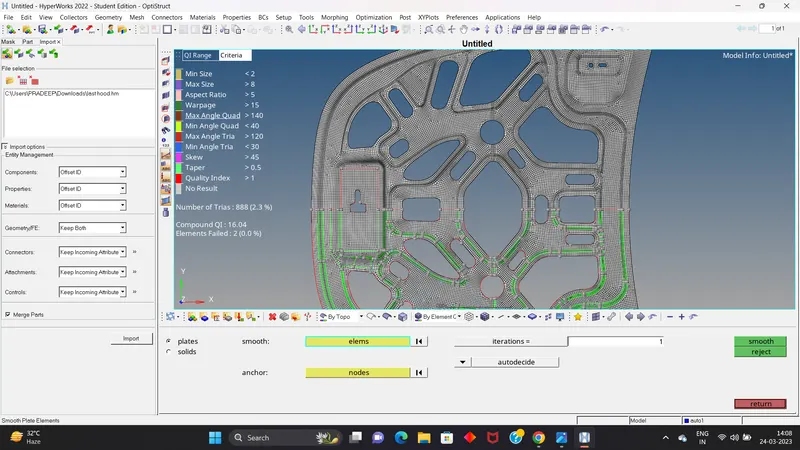
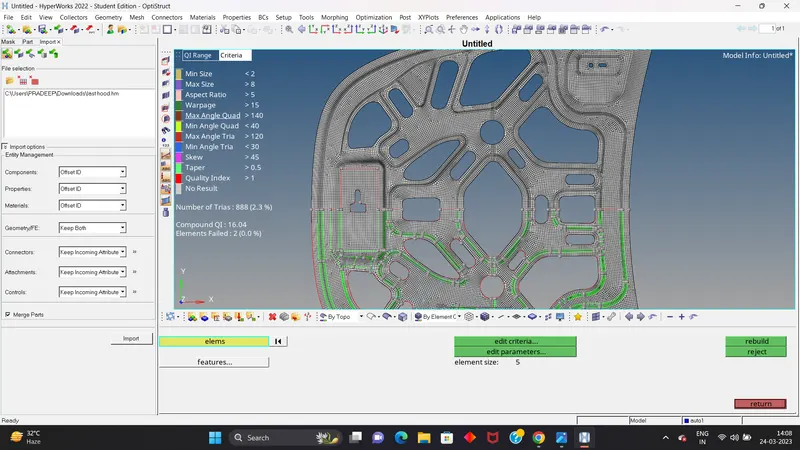
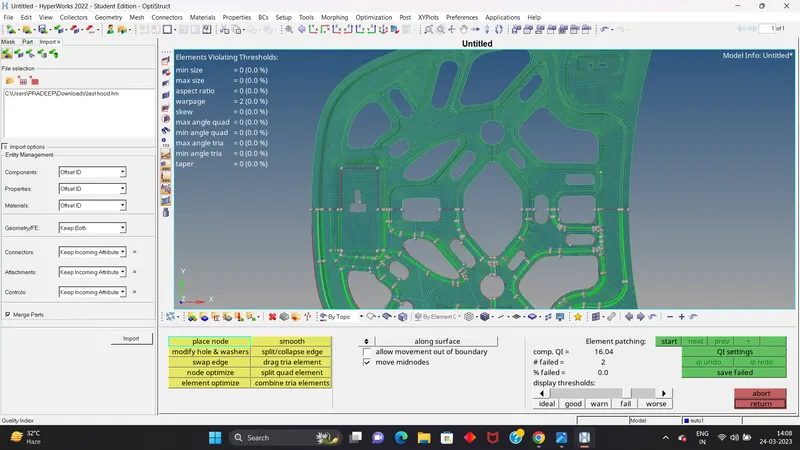
7. Then we see or mesh flow is good and the failed element is zero also we remmember for the seet metal our failed element should be zero.
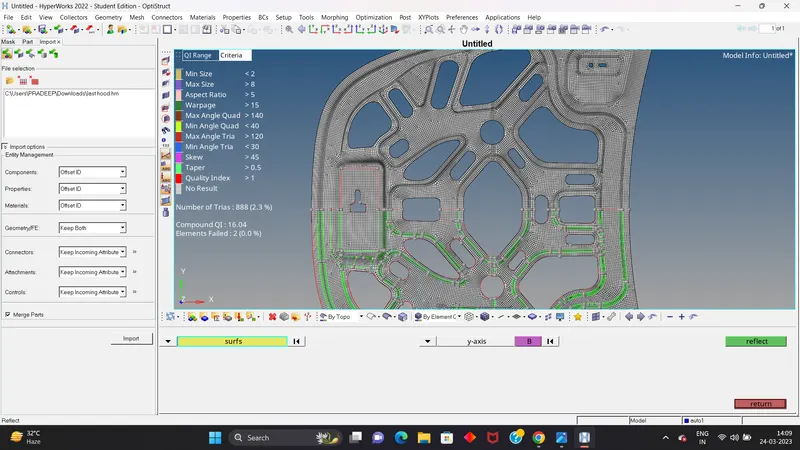
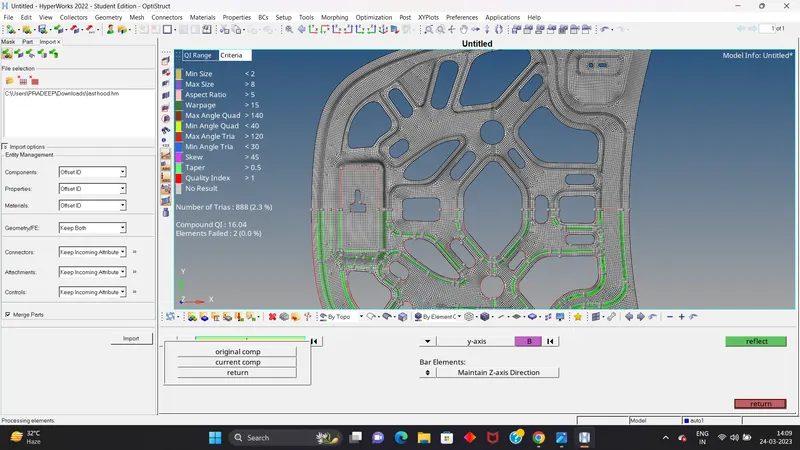
8. After we use the reflect and duplicate option for reflect half of the component on the other side. for surface we select the symmetry surface and reflect and for the elements we select the symmetry elements group. yhen we check our all element all connected or not for this we go tools>edge.>find edge> set the tolrece value>preview equvalenve>equvalence.
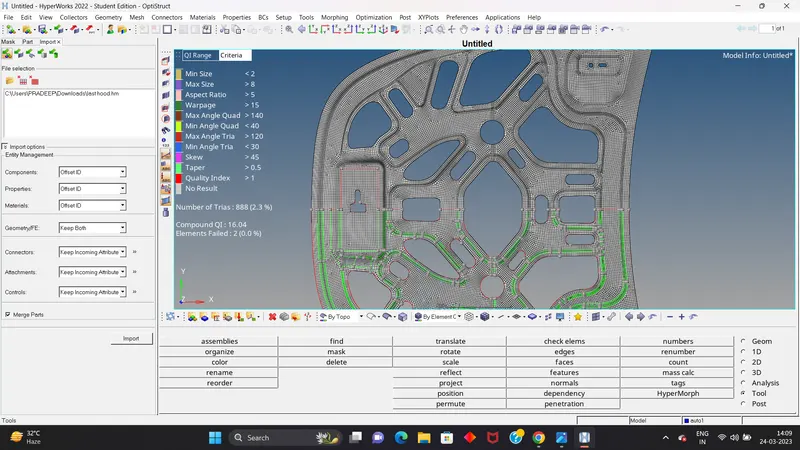
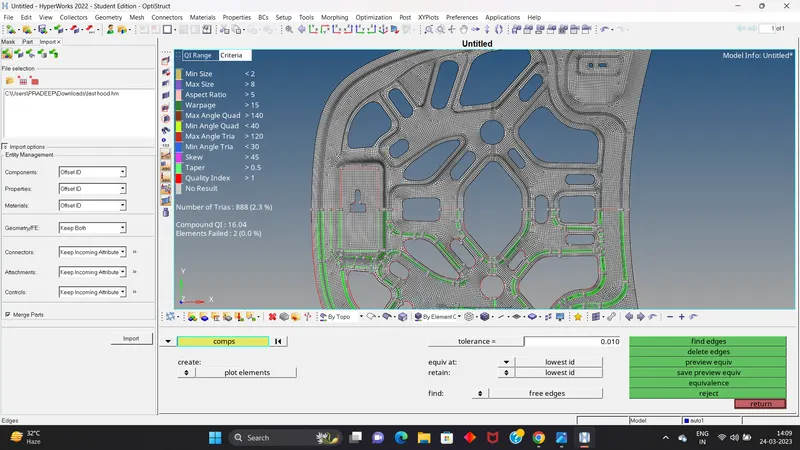
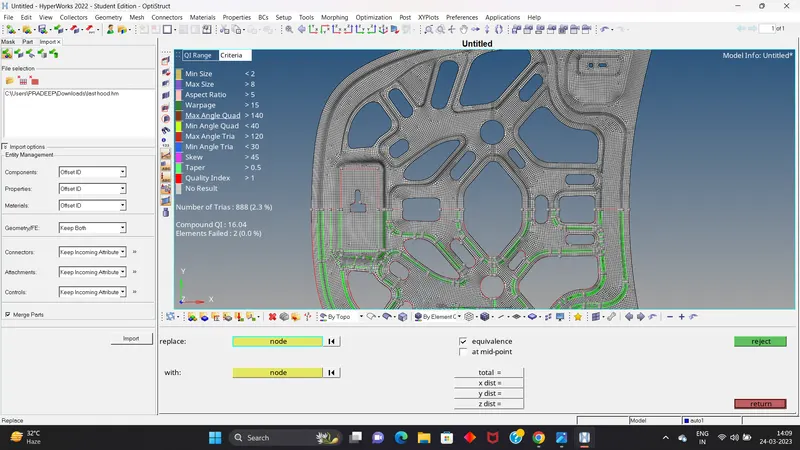
9. Then we go to connent our nodes of the element and the surface by replace option and edge option in tool panel.
10. Mesh is created on whole component so right now we go to assign a thickness of the component.
LEARNING OBJECT-
a. In this challenge we learn how to create a better mesh flow and improve our quality by using rebuild, smooth, edit element and quality index option which in
2Dpanel.
REBUILD - In this we use the reconstruct our mesh by selecting geometry or by create a box selection.
SMOOTH - In this we create our mesh flow correct and improve our mesh quality.
EDIT ELEMENT - In this we use more option for create tria into quard by split,combine a tria into quard.
QUALITY INDEX - In this we use swap option to move our tria element, smooth our element,drag tria element, split quard element.
b. In this challenge we learn about how to reflect any surface or element from one place to another,and create a duplicate surface.
c. How we will connet the surface by tool> edge option by find edge>preview equiv>equivalence. assosiate or connect our element by using replace node one by one or we use the path selection and select more no of element, make sure for this method end elements are connected to each other.
d. We learn what is topology revision setting in prefrence.
e. In this challenge we also learn how to avoid the warpage quality failed by using the translate option.
f. How we find failed element use the 2Dpanel and goto quality index , select all the element and
go save failed the mask the save element the reverse than unmask the element, if we did not see yet the failed element then we create temp node on the mask element.