Week- 5 - Solid meshing
AIM-:In this challenge we will work on rear view mirror. Here we will check the geometrical errors and mesh the Surfaces with the given 2D element Quality criterias given below.
|
S.No |
Quality Criteria |
Value |
|
1 |
Target/Average length |
1 |
|
2 |
Minimum Length |
0.5 |
|
3 |
Maximum Length |
2 |
Use tetra elements to mesh the Volumes defined in the model and check for the below quality after Volume meshing.
|
S.No |
Quality Criteria |
Value |
|
1 |
Tet collapse |
0.2 |
These are the parameter which is use and help for our model / component looking good or fine.
OBJECTIVE OF THE CHALLENGE
a. Know about the geometry and its errors and how we clear the errors
b. Know about the meshing in for flat or curave surface
c. Know about the provide volume of any solid part and what are the volume mesh which are suitable for your compoment.
d. know about the quality parameter and its behaviour on your model.
For this challenge what are the steps we follows which is shown in below.
WORKFLOW LIST-:
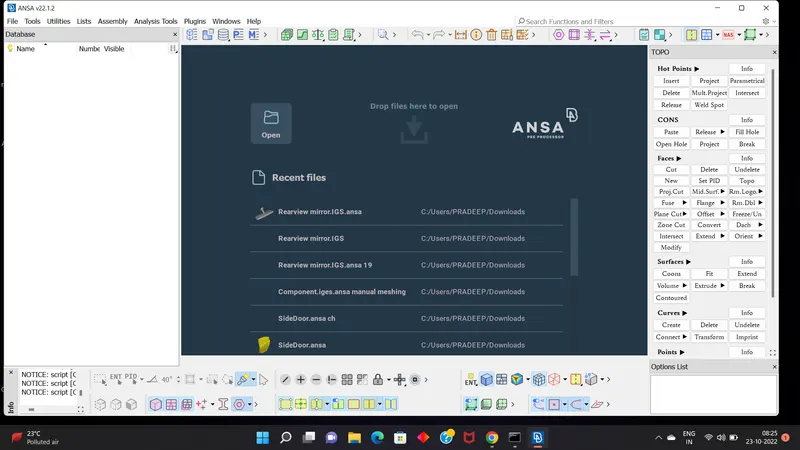
Firstaly for working the model we import the model in ansa software. File > Open > Choose the File and hit on open
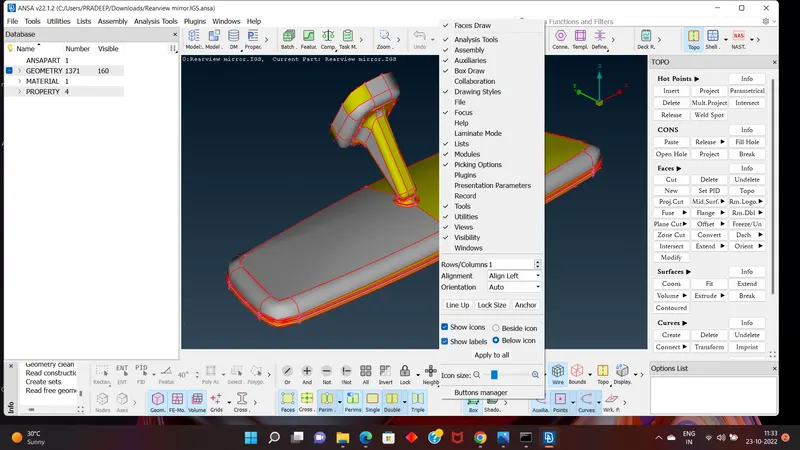
After importing the model first step to show labels in on so we see the name of icons in your ansa.
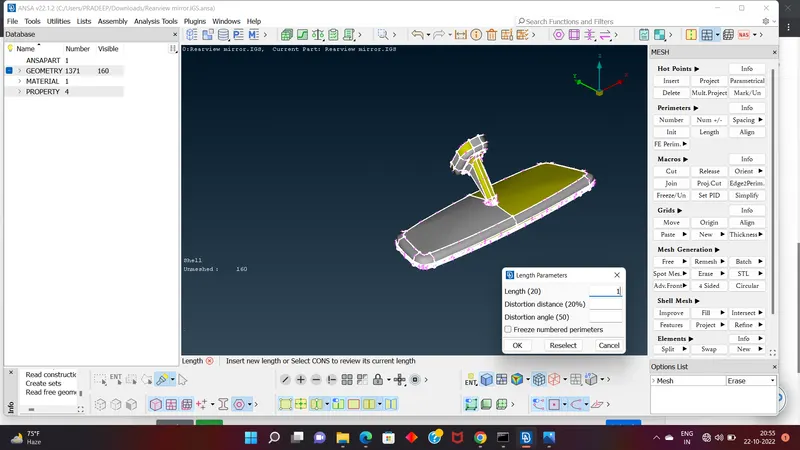
1. check the cons resolution by Length option in Mesh module(The Length value for doing the cons
resolution is suggested as 1).
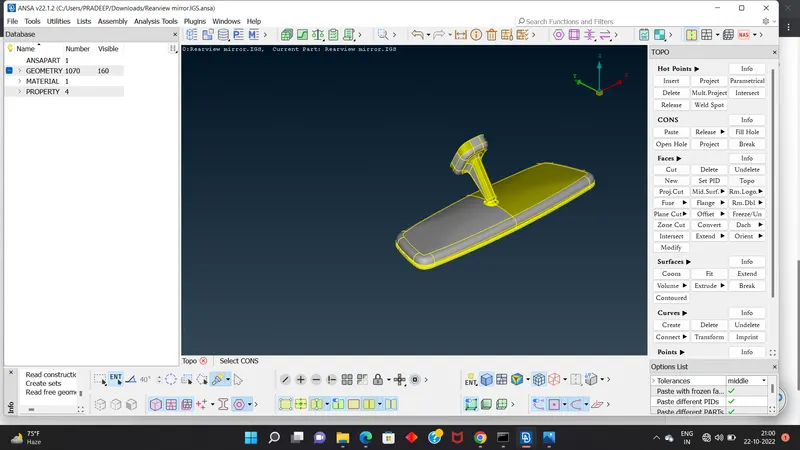
2. If the imported file is an .igs file it doesn’t have any connectivity between the Surfaces. To get the connectivity between the surfaces we have to use the Topo option.(TOPO
Module> Faces > Topo)
3.We have to use Orient the Surfaces to make sure all the surfaces are in one normal
direction.(TOPO Module> Faces > Orient).
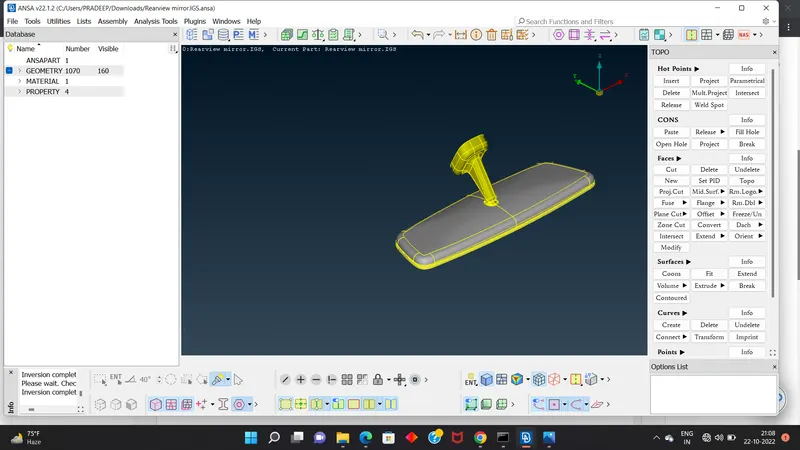
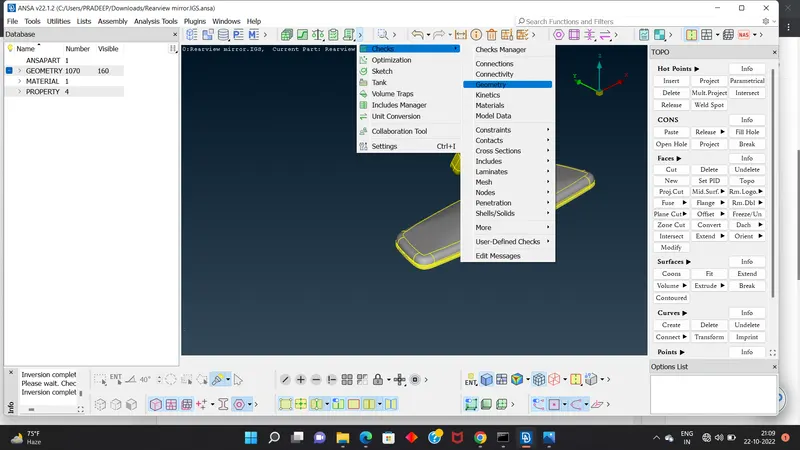
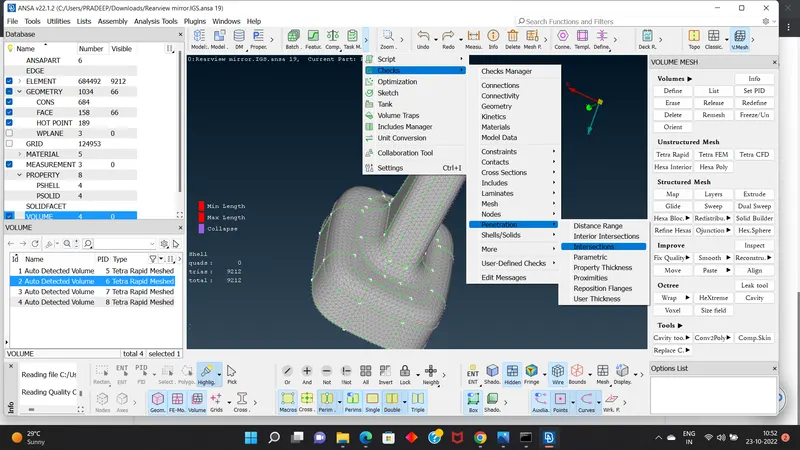
4. After these step we go for the geometrical check. Where the checks are alvailbe in ansa which is shown in below image. After check if any errors will present in model we clear the errors.
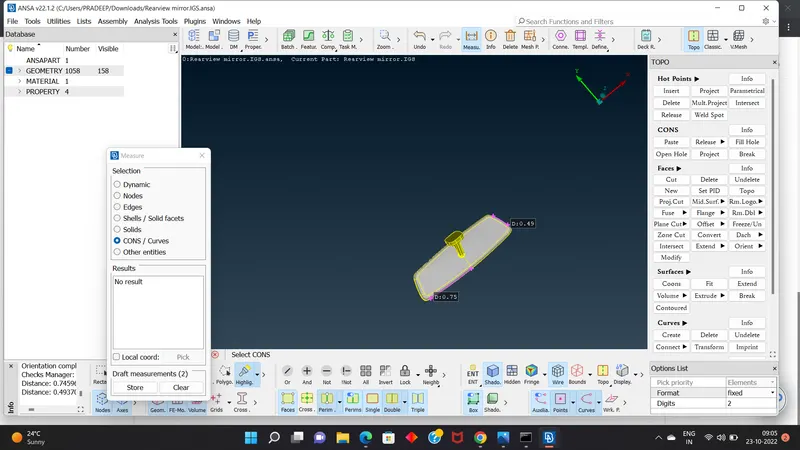
5. when we clear all the errors the we measure the thickness of the component in 2 to 3 area and store the measurment
measurment helps for knowing the material and its nature. If the thickness is less than 5 or 6mm then we have to extract the midsurface or if the thickness is more than 5 or 6mm then no need to extract the midsurface.
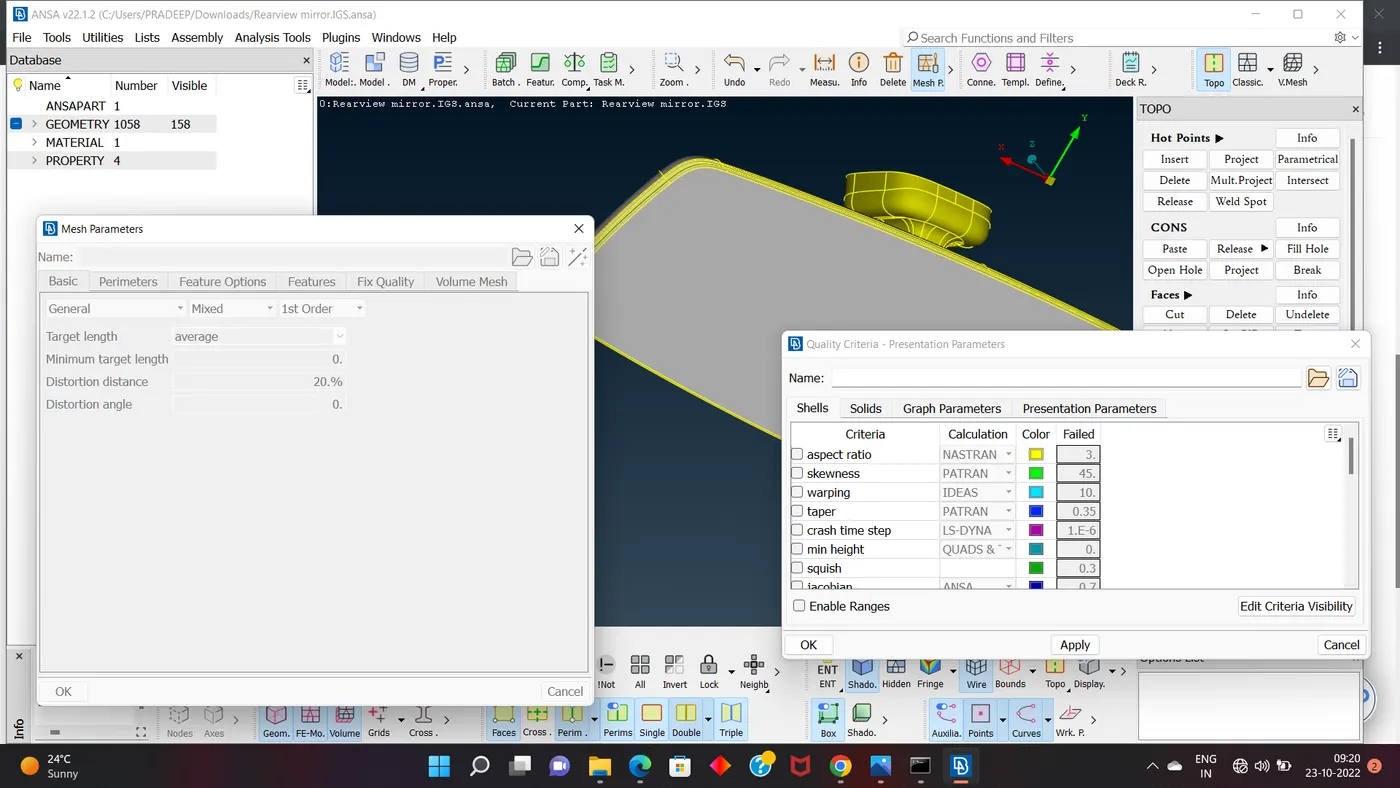
6..Providing the Target element length which is given in your aim by using the length option in the mesh module. Providing
the Mesh Parameters and Quality criteria to the models. In quality criteria for 2D element we will go for shell and for 3D we will go for solid. After provide the value and before apply we save our value in ansa for future if we forget that then we go for our save file and see the value.
 7. Cleaning the parent geometry.
8.for our easier we go for one by one part because in this model having four parts. So Choosing the one part we go in properties which is shown in database or upper side of the ansa gui or we can also use ctr+p. Where we see all the parts and the parent geometry also.
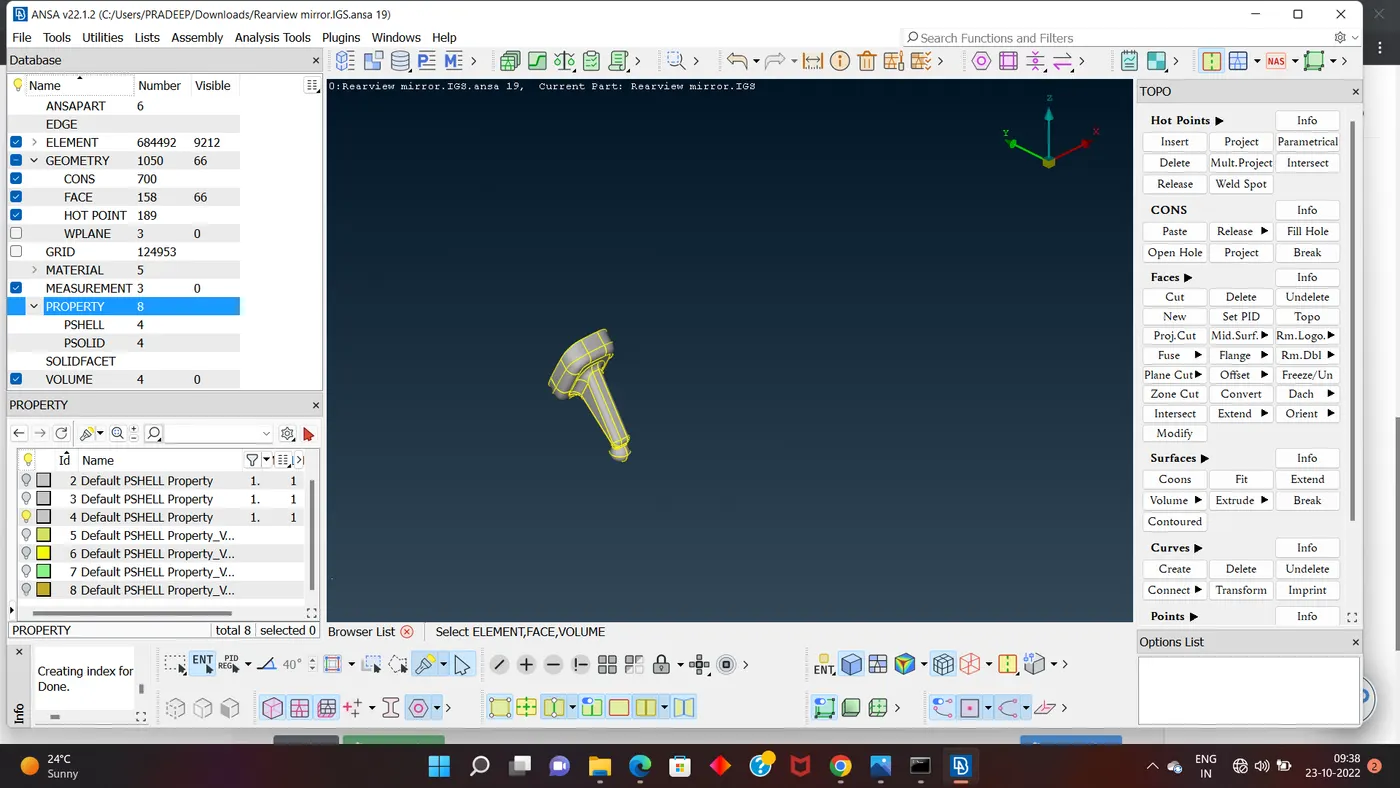
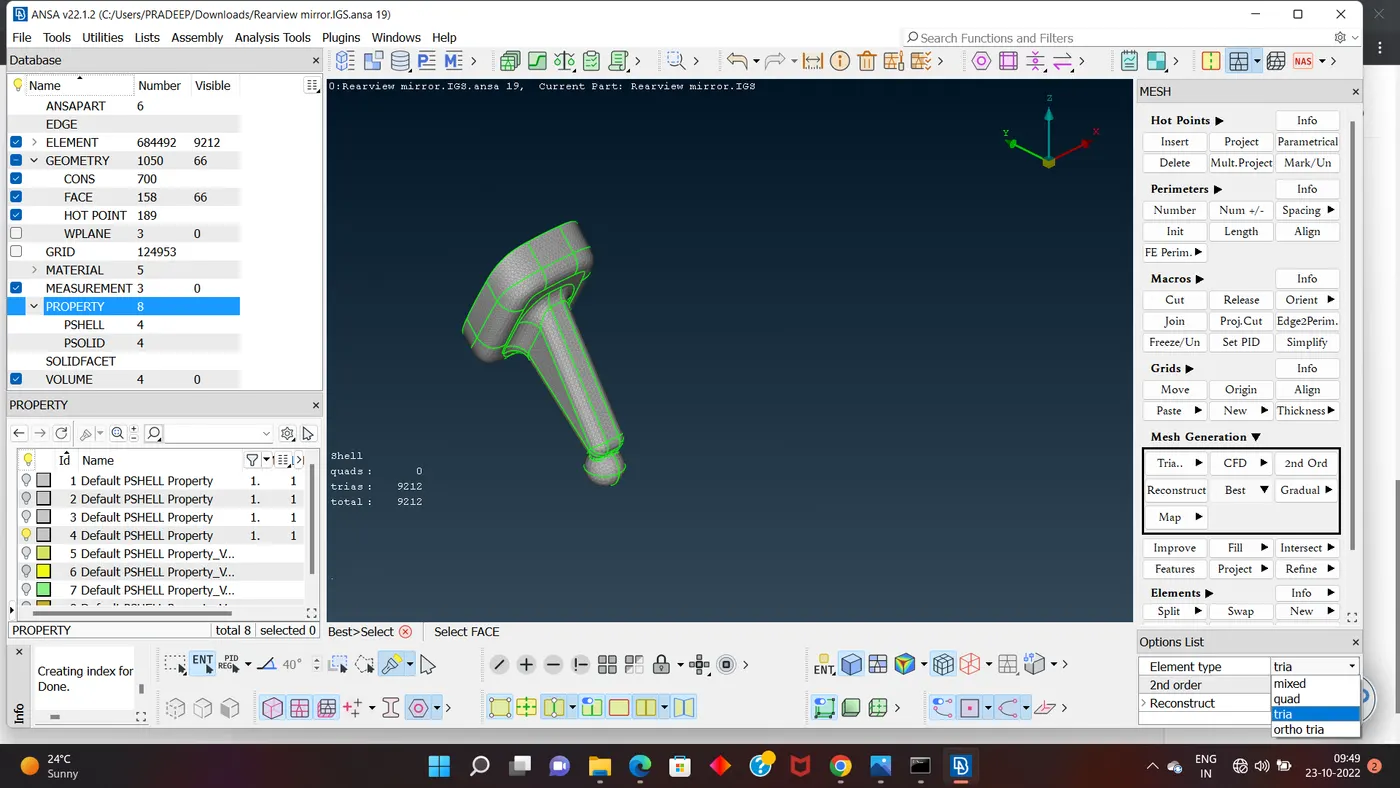
9. For meshing we use an option best which is shown classic mesh module > mesh generation group.Select all the flat surfaces and mesh by using tria as the element type.
Select the remaining curved surfaces and mesh by using the otho trias as the element type. selection of tria or ortho tria which is shown in below fig. make sure every surface is mesh
10. Before define the volume of the component we check the pre volume checks (the unmeshed area check,penetration and intersection check, single and double cons check) and after go to the Volume deck and define the volume for the closed mesh its shown in volume mesh > define. Make sure that difinning the volume we go visible which is shown in fig below first is the checks and second is the define the volume.
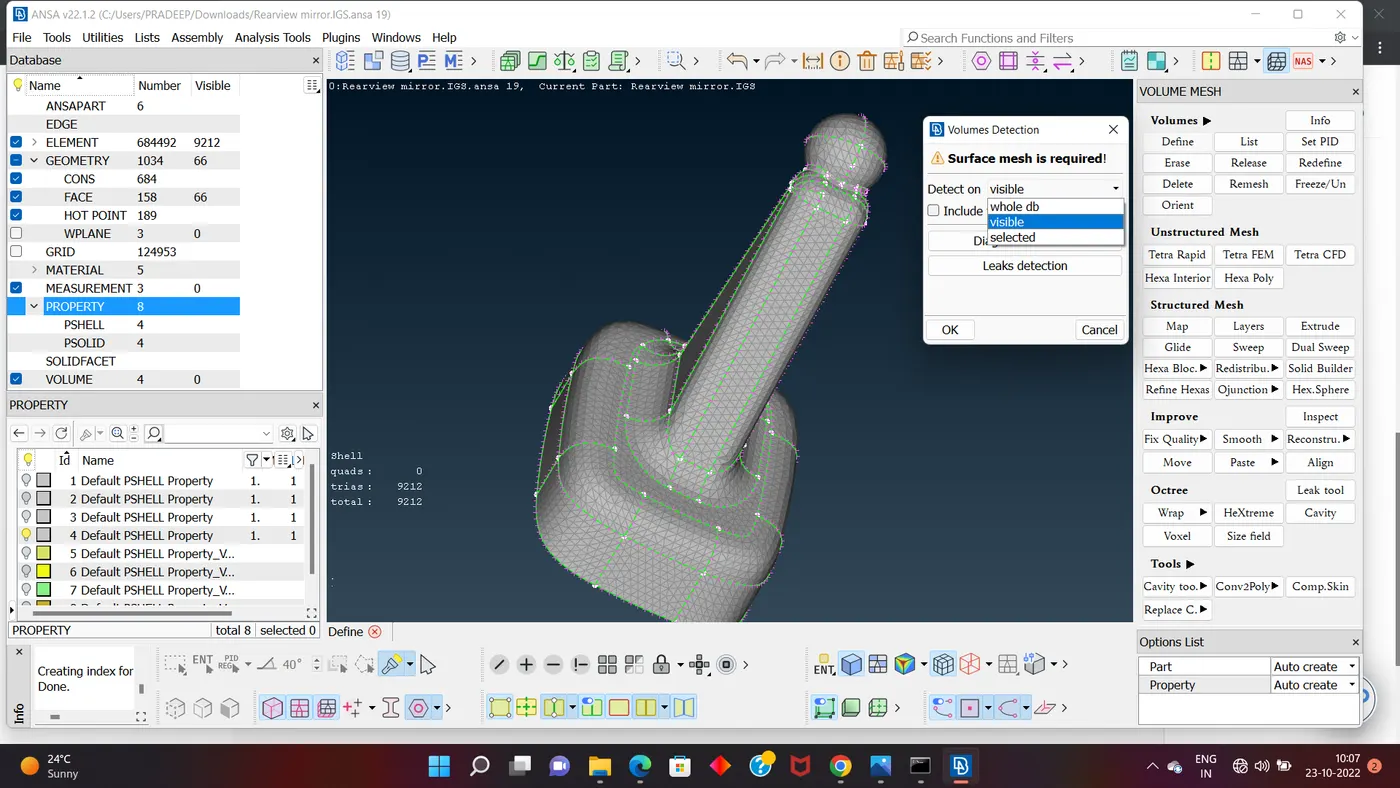
11. After defining the volume go to the lists and edit the volume by changing the type to tetra rapid. and after remesh the volume.
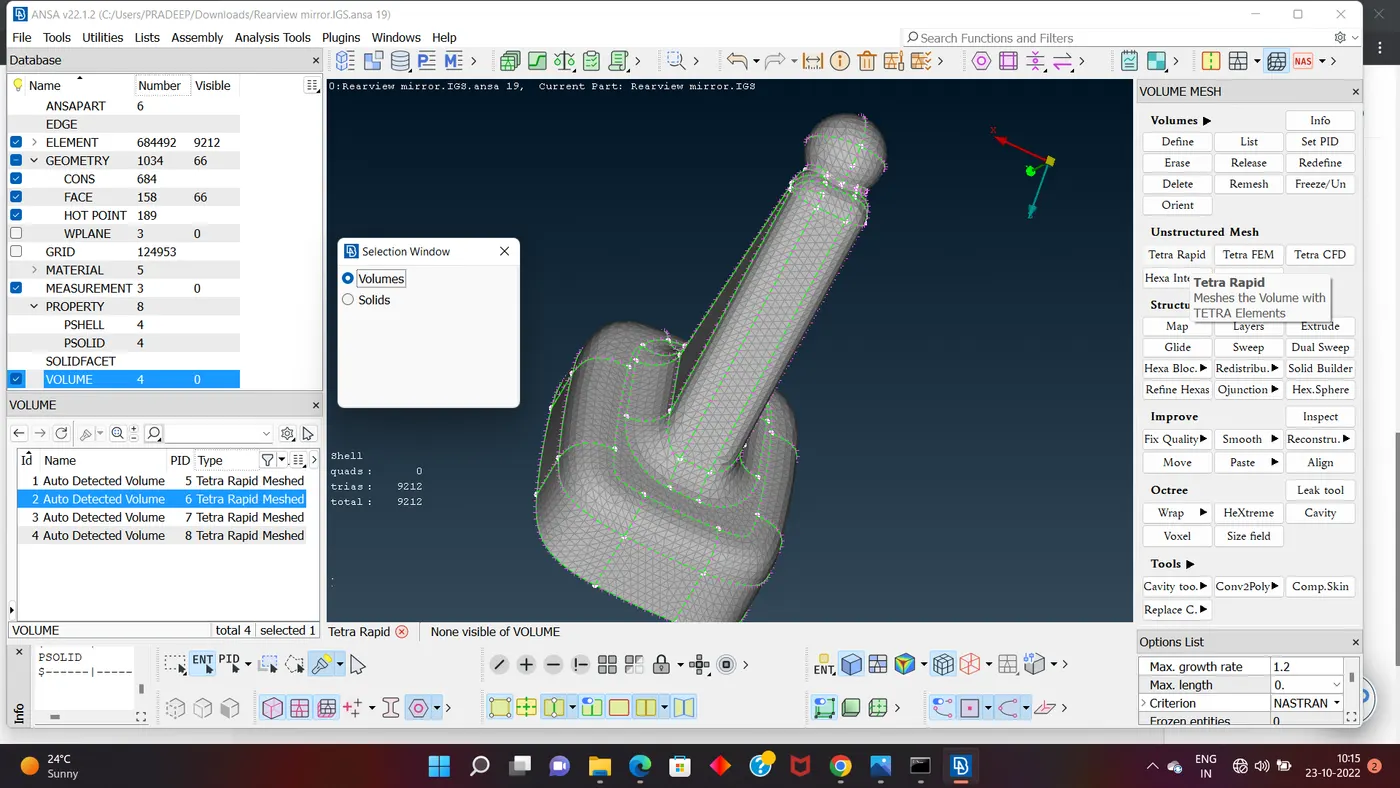
12.Check for the Tet collapse and fix the Tet collapse.
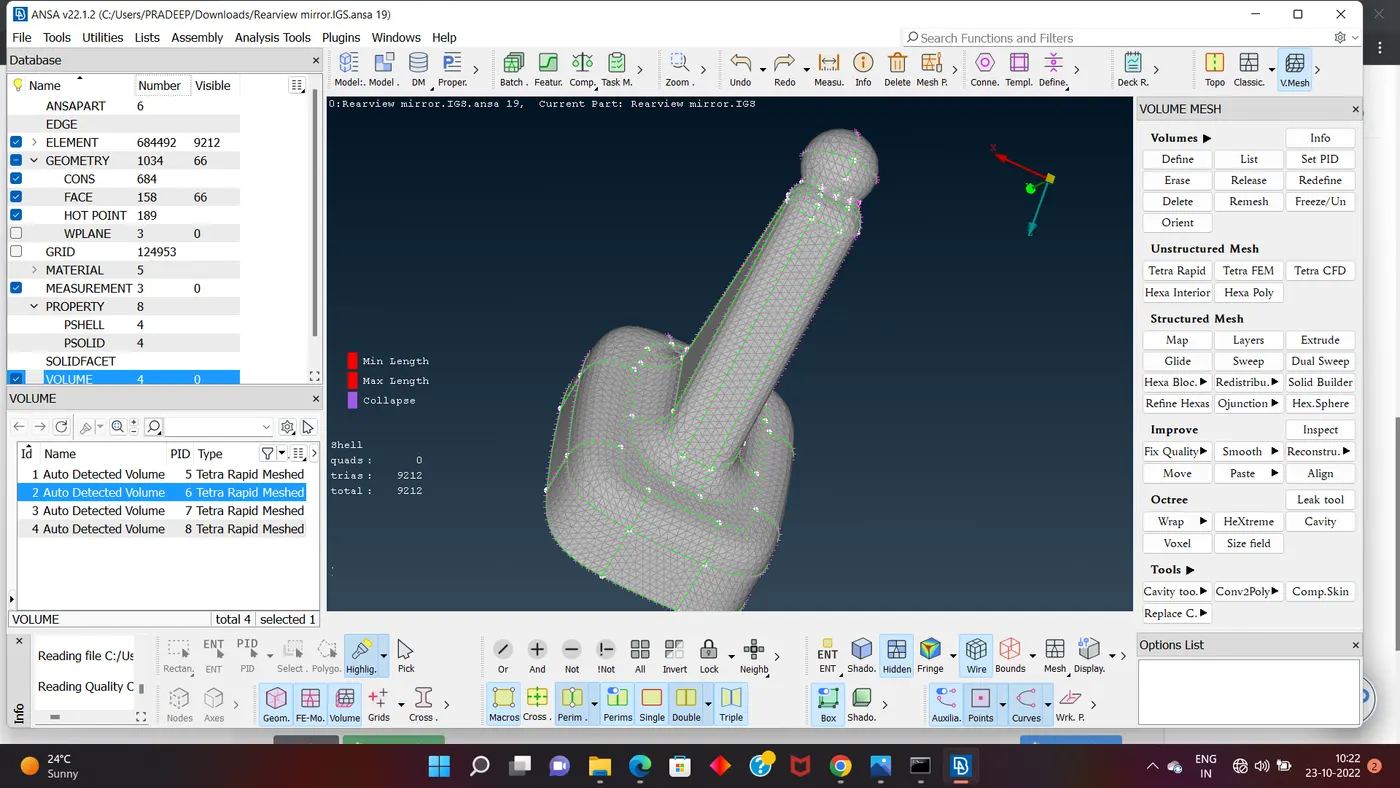
These are the steps we will follow for the meshing of any solid part.
CONCLUSION-:
In this challenge we understand the solid meshing, get knowledge about the coverting of part 2D mesh to 3D mesh and the check required before converting. always see your mesh in classic mesh module. we understand the tet collapse quality and its failure or fixing process. In solid meshing minimum and maximum length quality not effect more then the tet collapse but we fix or reduce that both the quality when we see no any quality failure then we say that my model is correct or good.