Week 6-Meshing of Hood Challenge
Meshing of Hood Challenge:
Aim: Meshing of Hood challenge.
Procedure:
- There are 4 components of the Geometry which is downloaded which are shown in the image below:
Inner extract:
Outer extract:
Hinje enforcement:
Latch enforcement:
Final image of model appears as:
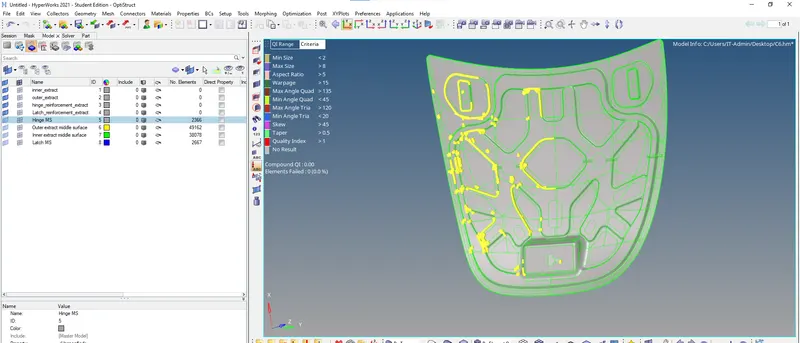
- Now we will extract middle surface of each component one by one and try doing their respective geometric cleanups.
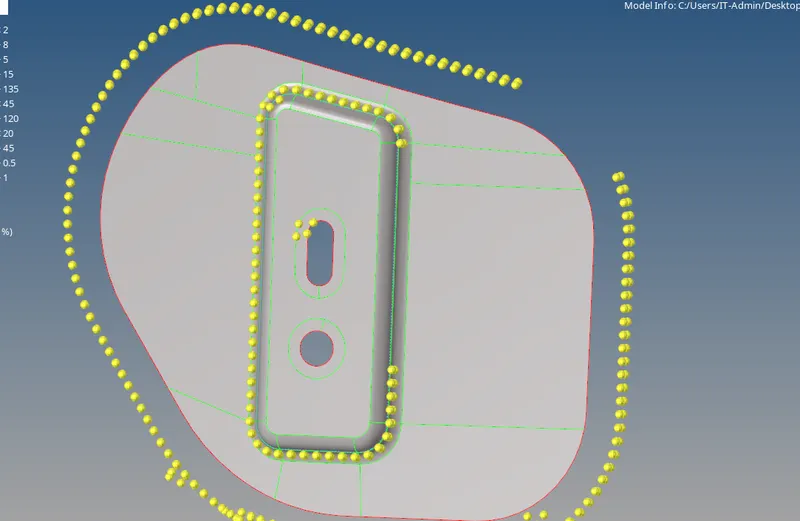
- First is the Hinge whose middle surface is extracted and finally after doing geometric cleanup we obtain the surface with washers as shown in the image below:
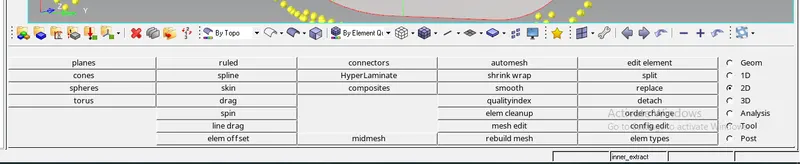
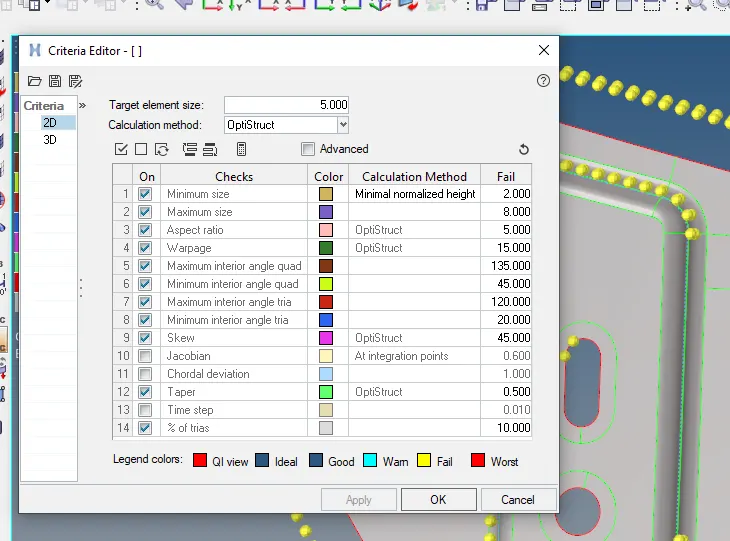
- Now before going for the mesh we set mesh criteria parameters under 2D Element cleanup edit criteria settings as shown in the imaghe below:
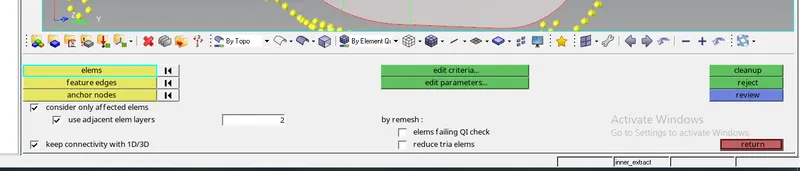
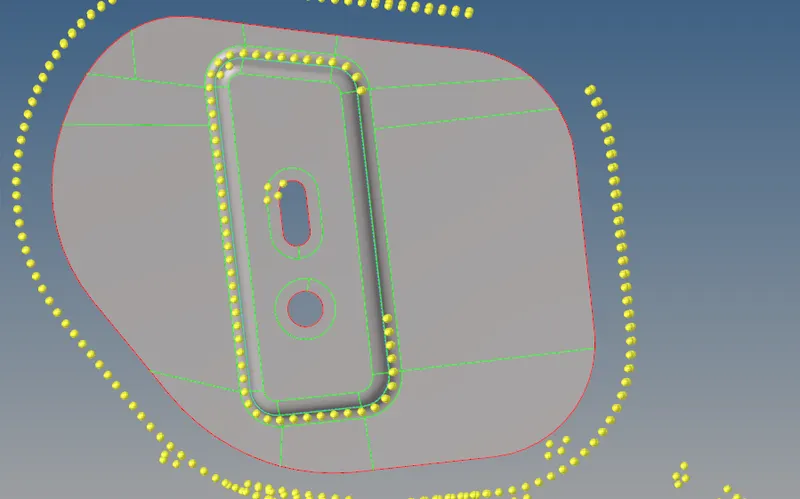
Now we will do geometry cleanup of one of the hinge after which the surface appears as shown in the image below:
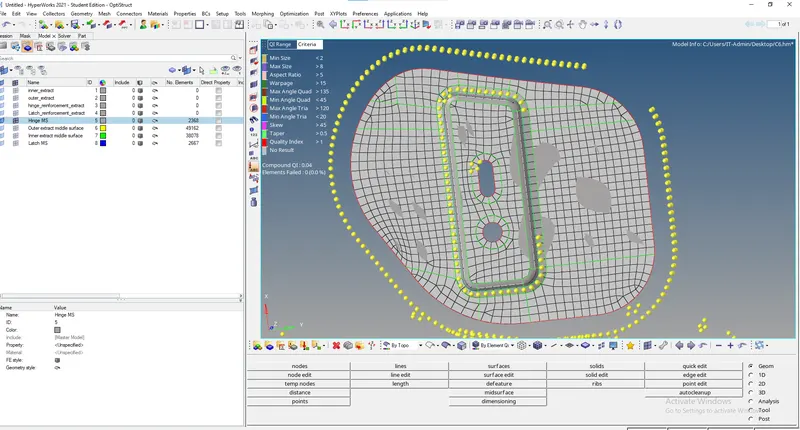
Final meshed surface appears as shown in the image below for one of the hinges:
Now we will reflect this elements to other hinge but before that we will create the base node for the same by selecting the Interpolate option under node option in the geometry as hown in the image below:
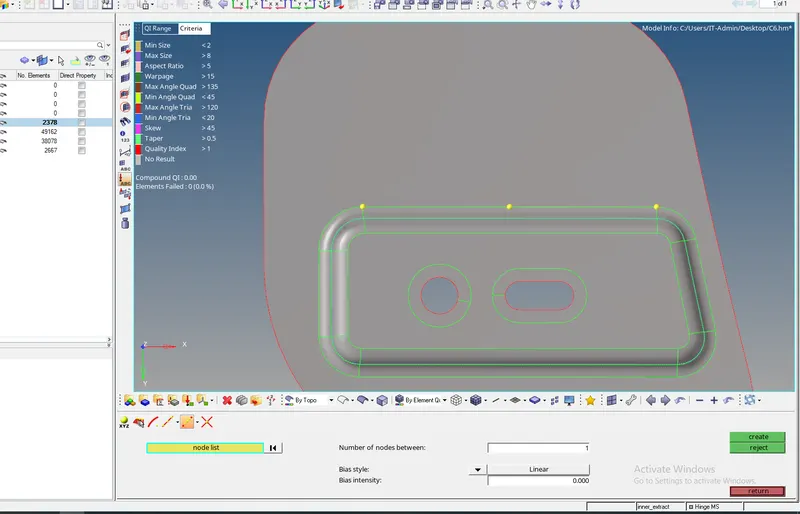
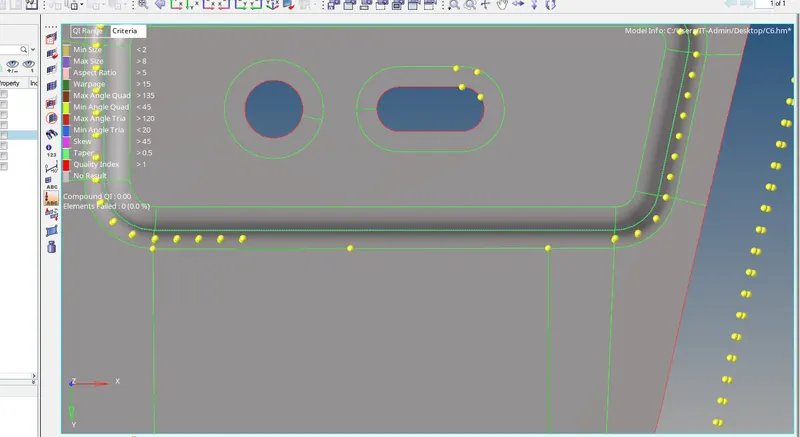
Base node for reflect appears as shown in the image below:\
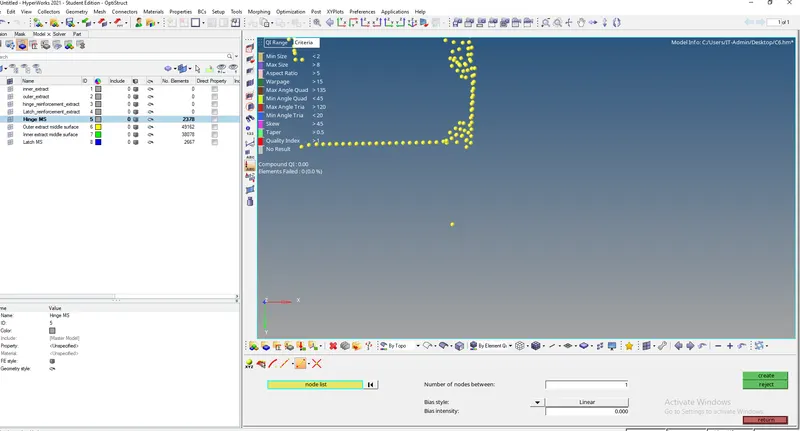
- Now go to the tools and use reflect option along Y axis by selecting all the elements and duplicating them and then by selecting base node as shown in the image below:
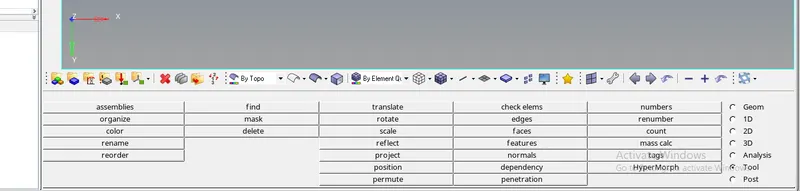
Final reflected mesh appears on the other hinge as shown in the image below:
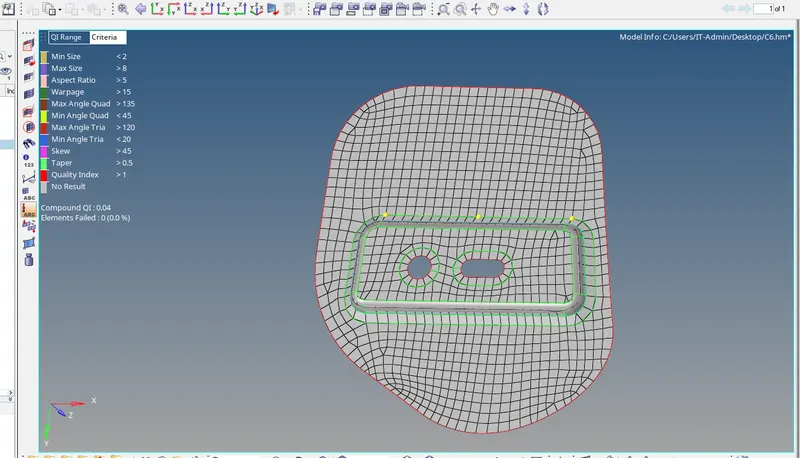
Now the Latch surface is cleaned by geometry cleanup tools by Toggling the edges which are unecessary as shown in the image below:
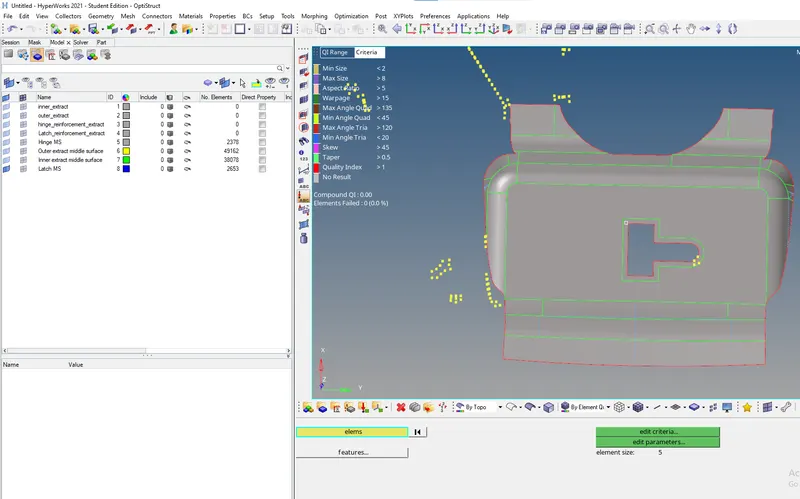
Final meshed geometry and errors in quality are rectified using rebuild mesh option appears as shown in the image below:
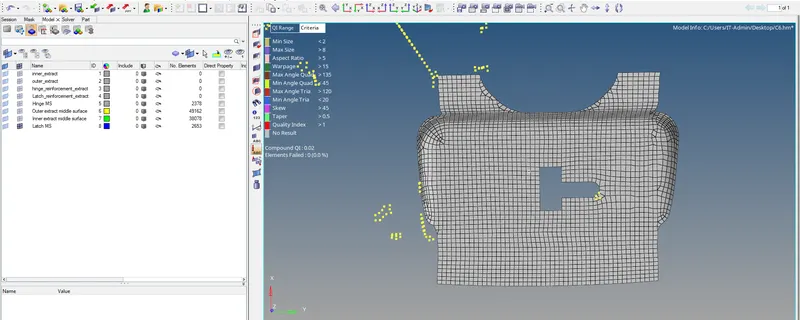
Now from Outer Extract component middle surface is extracted and half part of the same is deleted and some parts of the middle surface geometry clean up option is performed by using the toogle option and creating edges of a rectnagle for uniform mesh as hown in the image below:
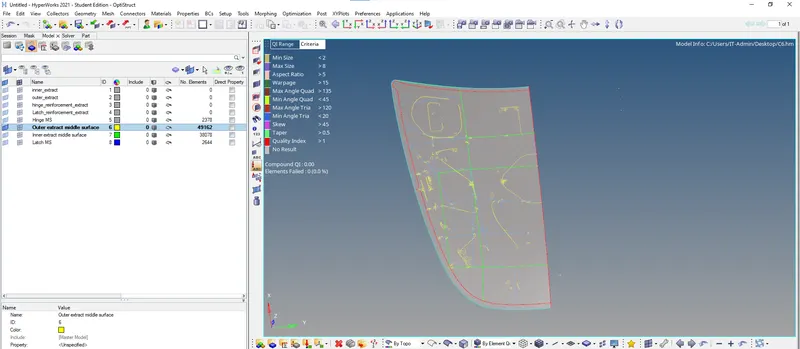
Final meshed surface appears shown in the image below:
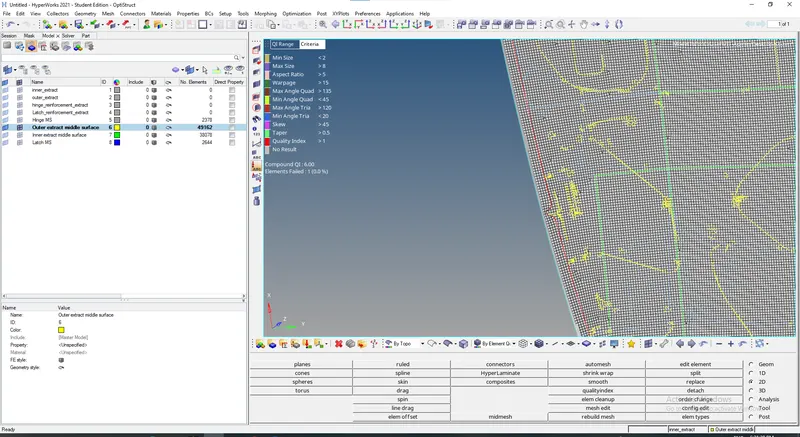
Now the Reflect option is used under Tools-Reflect by slecting elelements duplicating them and then selecting the base point at the edge of half part of outer extract palong Y axis as shown in the image below:
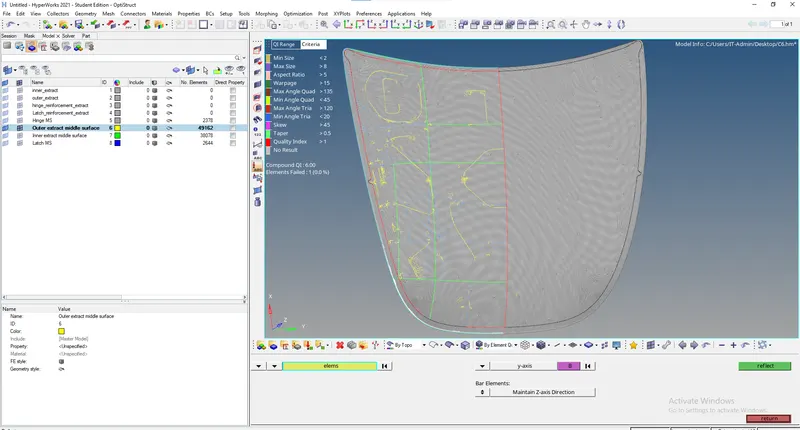
Now we connect the reflected elements by Equivalence option on both sides for uniform mesh by pressing shift+F3 and slecting all the elements and clicking on peview equivalence with tolerance as 0.1 and selecting the equivalence for edges of element to join as shown in the image below:
Now repeat the same for inner extract by divinding that into edges as shown in the image below:
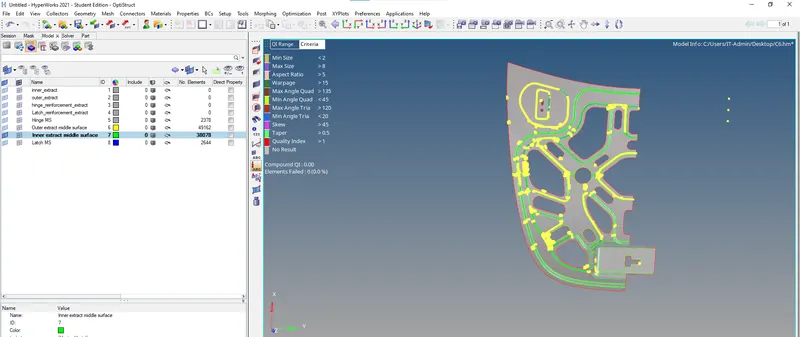
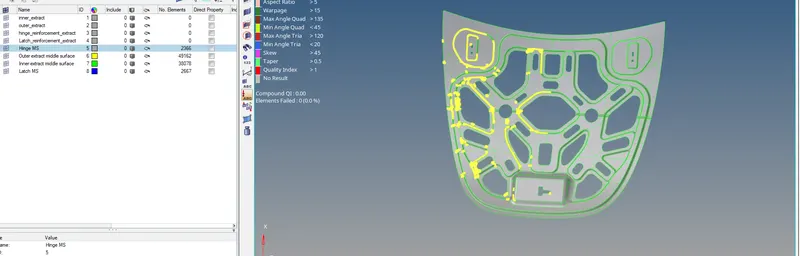
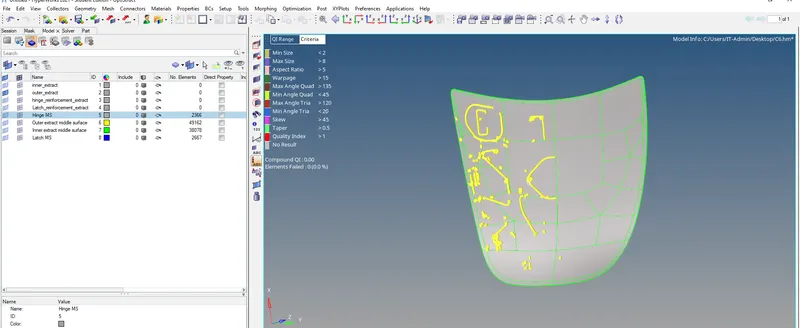
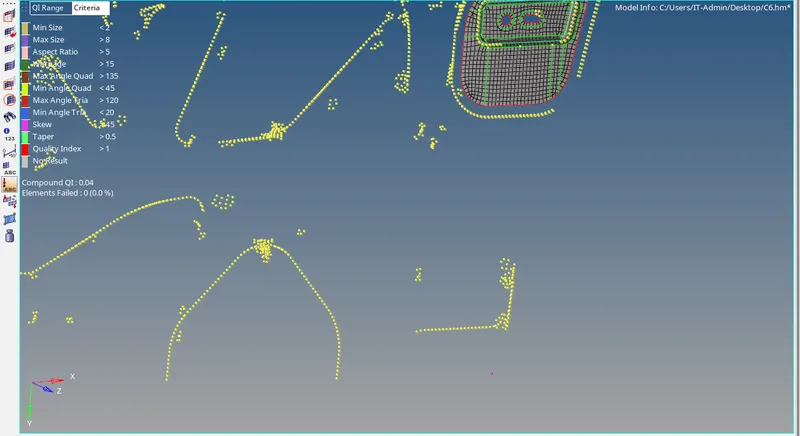
Now we do the complete meshing of the inner extract and we will save the failed elements as shown in the image below:
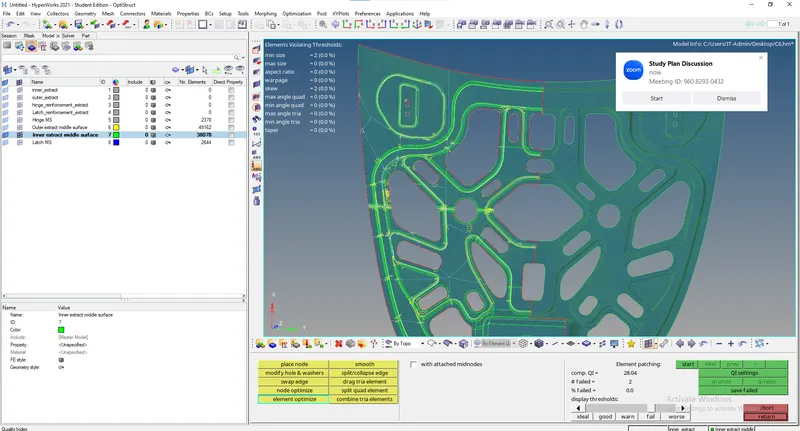
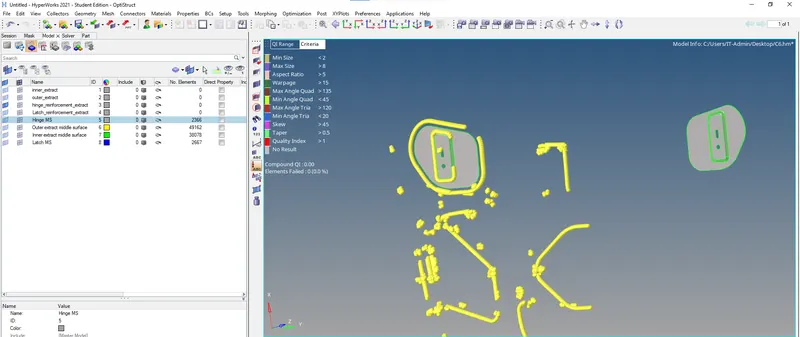
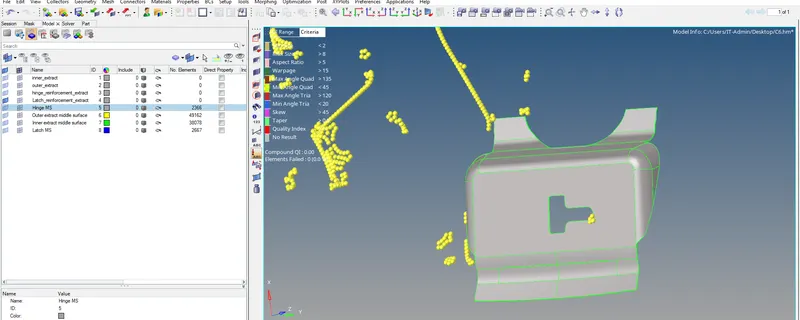
Now go to mask option and under element select reterive option and select reverse option to show the failed elements and finally select the temp nodes to add nodes where exactly the elements are failing to be marked and finally delete all the elements.
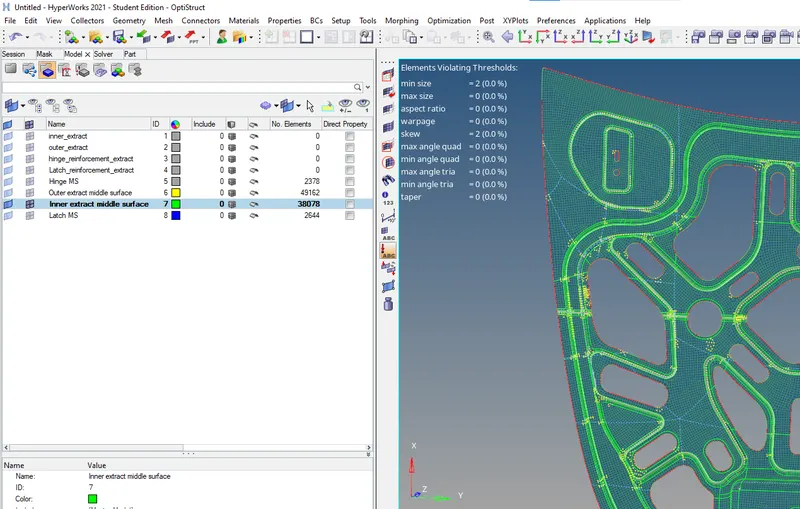
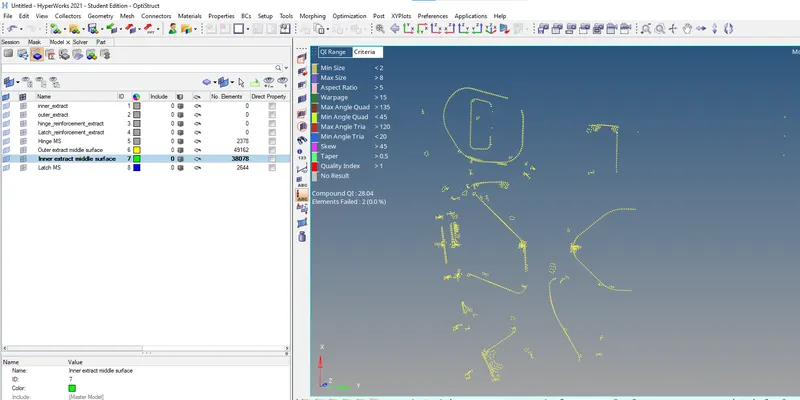
Now do the geometry cleanup on only thoselocations where exactly the nodes are there and final cleaned up geometry appears as shown in the image below:
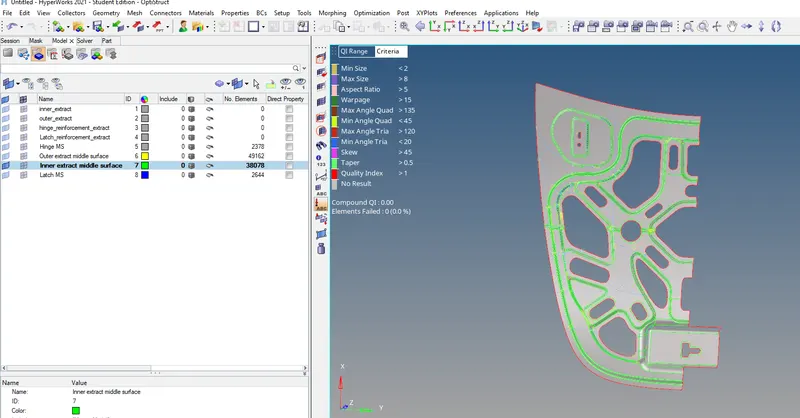
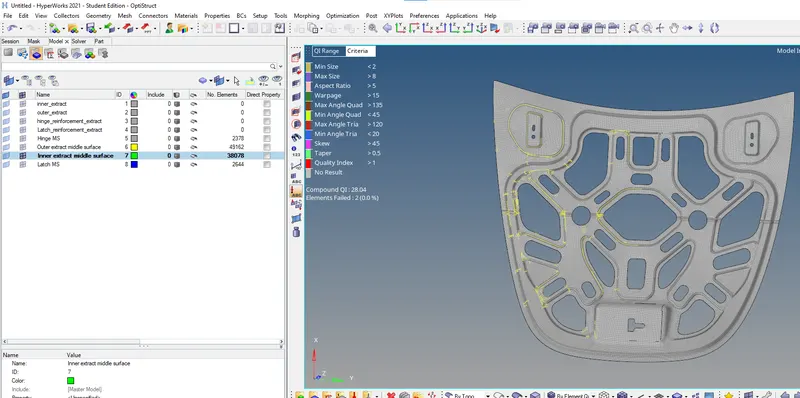
Finally meshing is done and some parts of errors are rectified using mesh rebuild,nodes replace option and reflected as shown in the image below:
Conclusion:
The meshing is done for the full hood geometry and model is attached below.