HYPERMESH_PROJECT 2 - COMPLETE 2D MESHING OF CAR'S HOOD
AIM :
To create the midsurface and meshing of given Hood component by using the hypermesh.
GIVEN DATA :
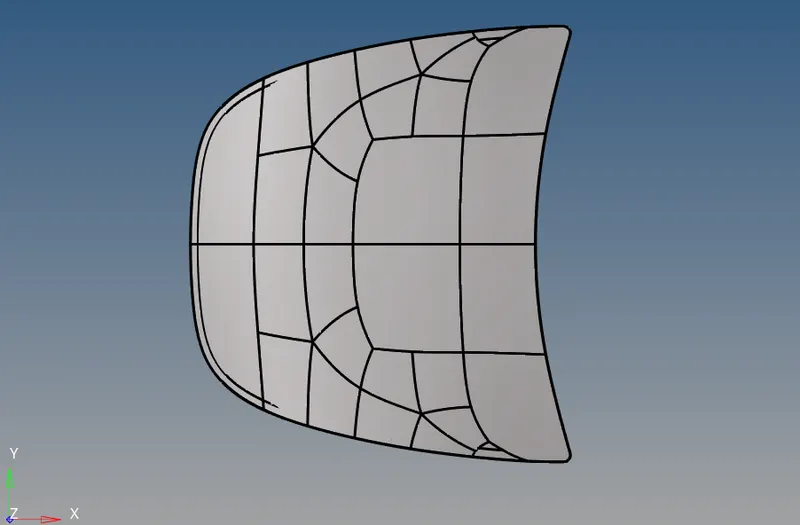
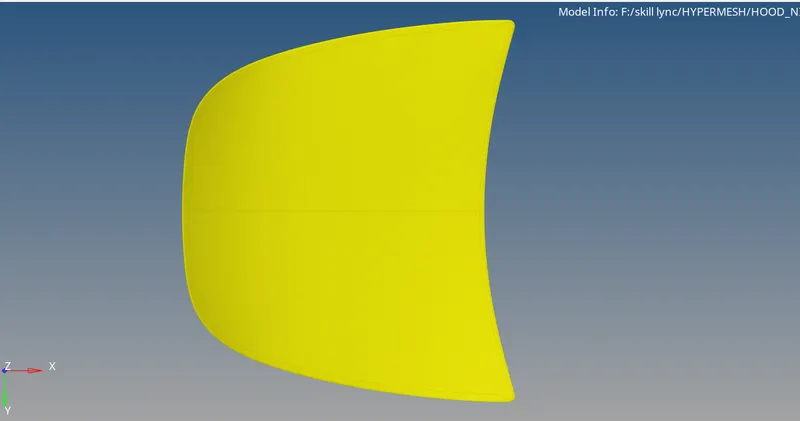
1.Outer hood
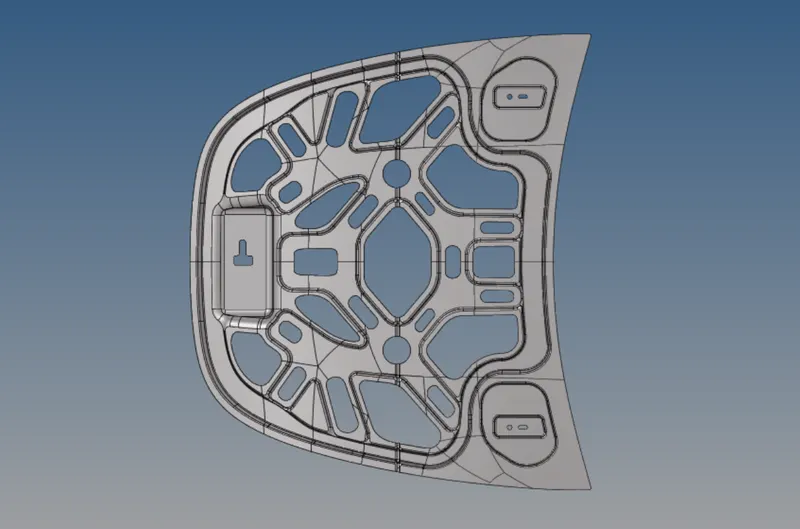
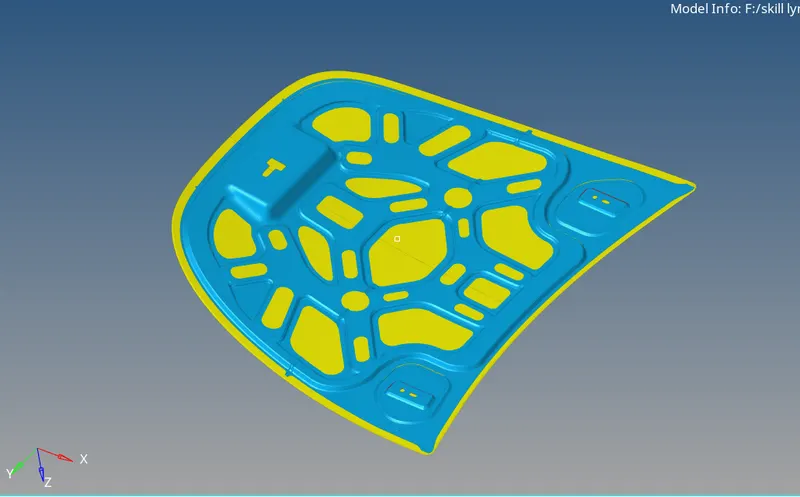
2.Inner hood
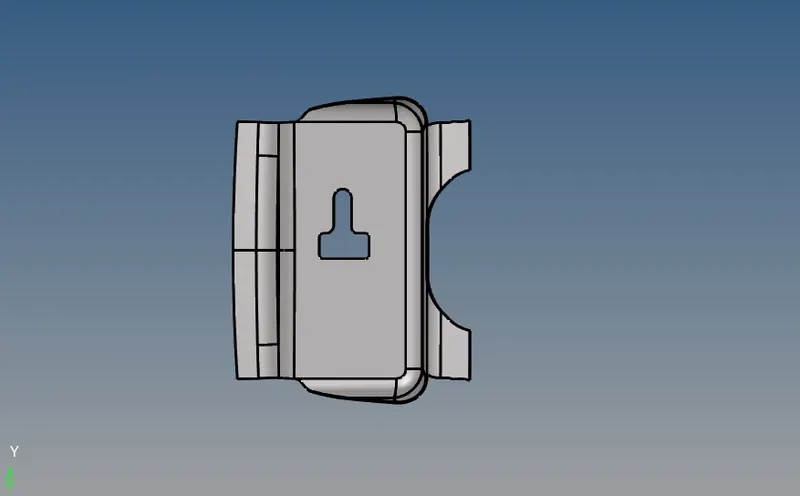
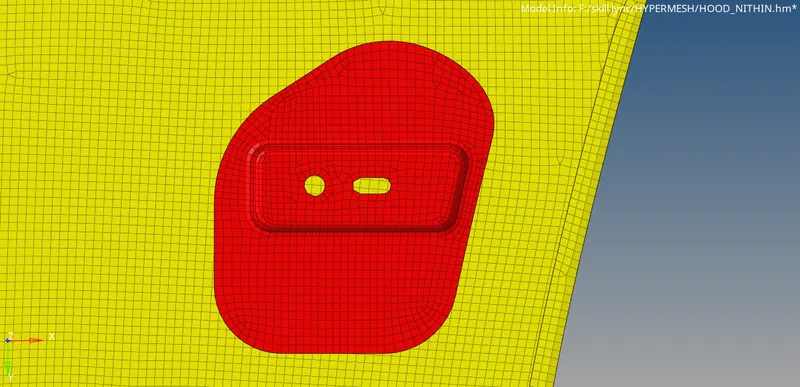
3.Latch
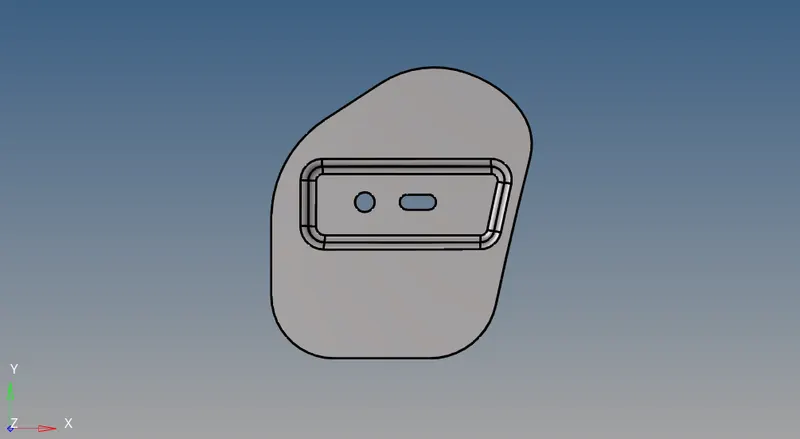
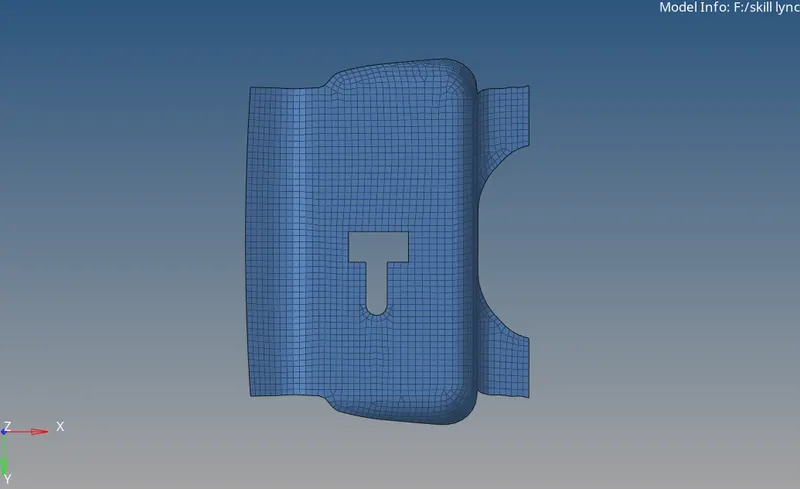
4. Hinge
Quality criteria :
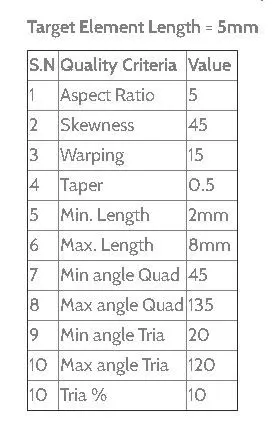
PROCEDURE :
Step 1 : Importing the geometry of the given model as Stp file by using the tool as import geometry
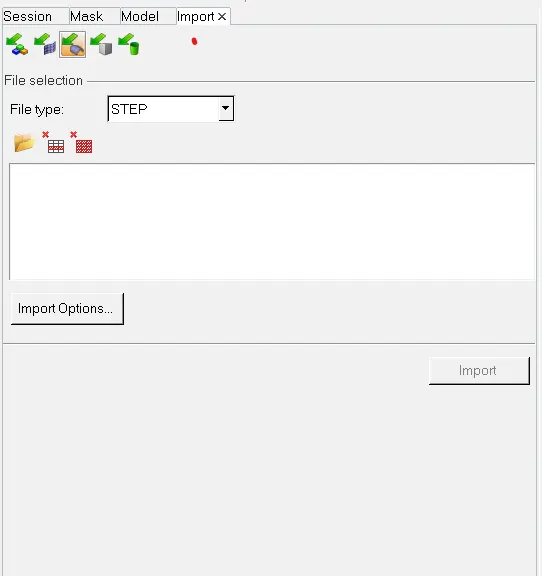
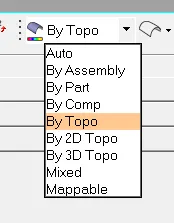
step 2 : Changing Geomentry colour Mode
- Change the color geometry mode from Auto to By Topo
- We select the By topo method because it is the handy option that is used to identify the free edges, shared edges, T-Junction, and Suppressed edge.Now, clean up the solid part If any present in the Geometry
step 3 : Mid surfacing
- It is a technique for creating a simplified shell representation of a solid model. Midsurface modeling can reduce the computational expense of analyzing a complete sold model when a shell model with a defined thickness and fewer details is suitable for the required analysis.
- Geom >>> Mid-surface >>> Auto mid >>> Auto extraction >>> selecting surface >>> extract
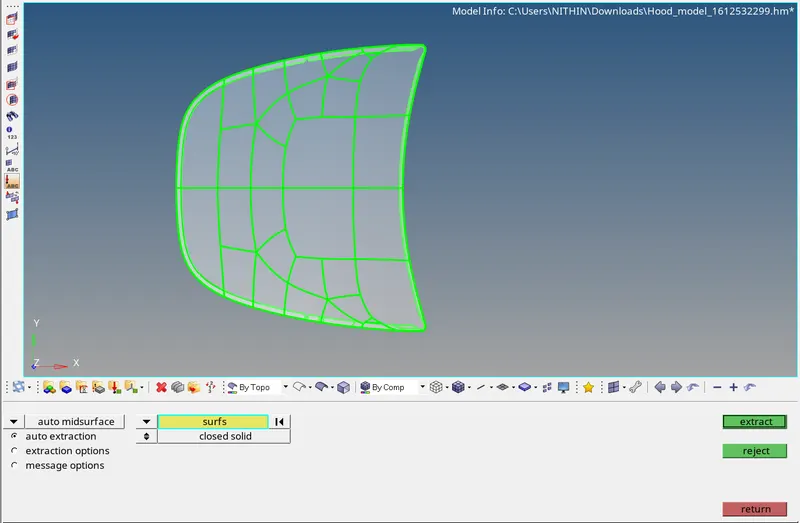
- Do the same process for all components in the hood.
step 4 : Cleanup the geomentry
Always do the manual cleanup for the component.
To do this press F11 or Go to Leanup Tools

In this menu you can perform the various operations like Toggle, split, washer split, etc based on the cleanup require for the given component.
Step 5 : Meshing
Meshing is a part of the simulation process where complex geometries are divided into simple elements that can be used as discrete local approximations of the larger domain. The mesh influences the accuracy, convergence, and speed of the simulation.
- Click the F12 or select the automesh option in the geomentry menu.
- Automesh option is used for meshing a surface with 2D elements
- Change Geom mode as 2D in the Mainmenu bar
- Then select the Automesh option

- Click the surf option and select the 'by attached' option
- Input the mesh element size as '5' and type as 'mixed'
- Then check once whether all the inputs are correct
- Then click mesh to perform the meshing on the component
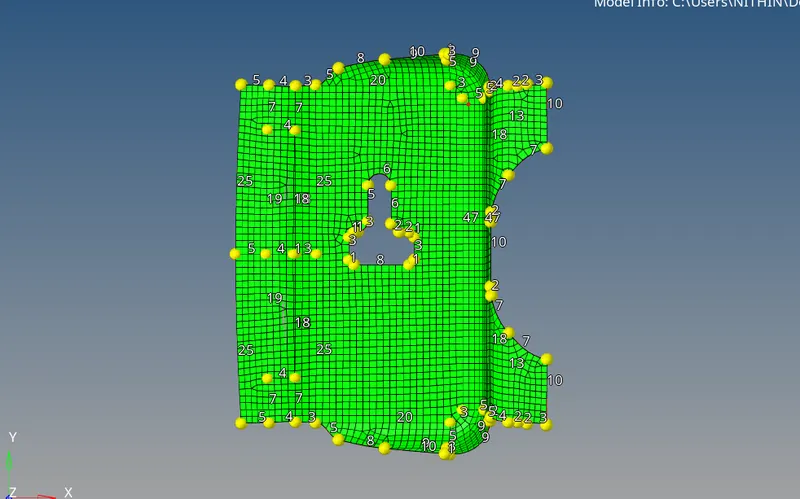
- we have to edit the edit the mesh obtained from the automesh for better mesh flow.
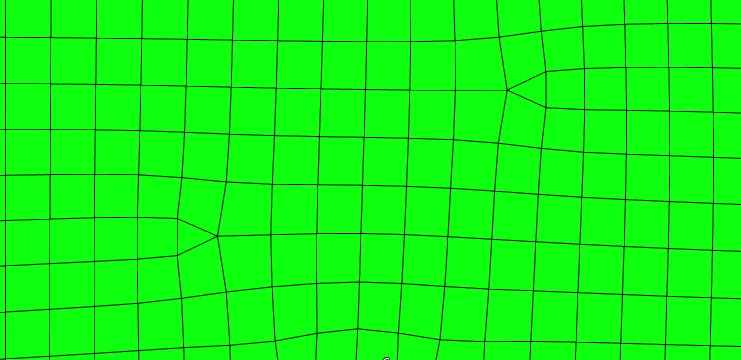
- In the above picture, we have to combine the two opposite triangle, thus it forms the quads.
- We can done this process by using the combine trias feature in the cleanuptools ie: 2D >> qualityindex >> cleanup tools >> combine trias.
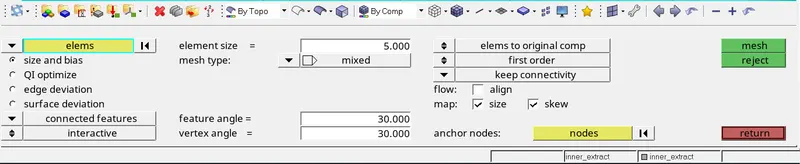
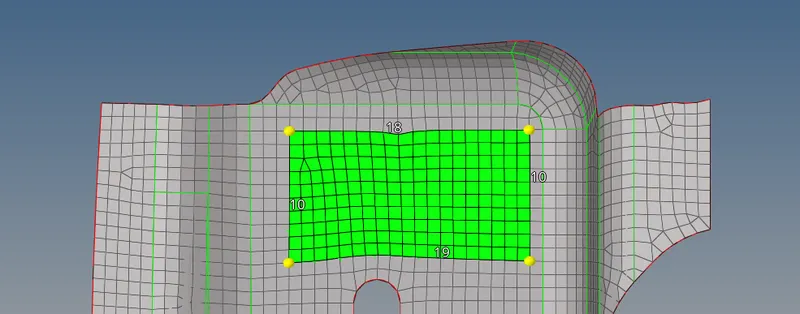
- If we have to remesh the particular element we can remesh by using the same option.
- For that we have to change to ELEMENTS from SURFACES in the meshing option and select the elements that we want to remesh.
- we can also check the quality of elements in the cleanuptools
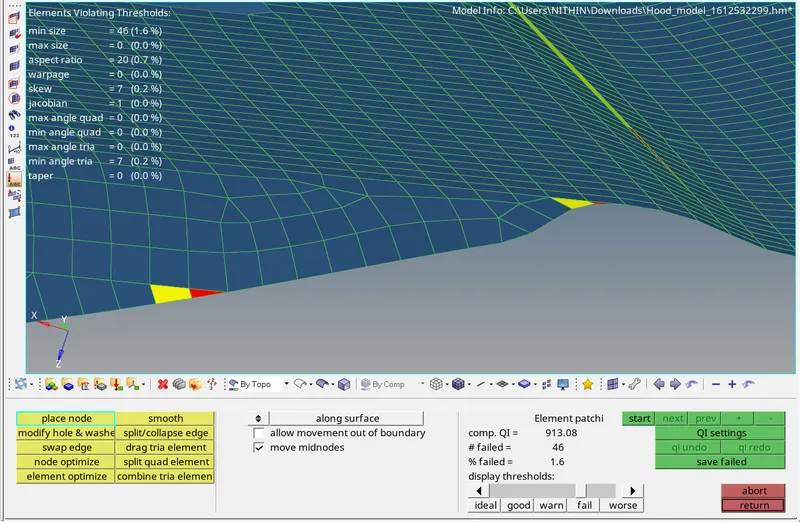
- In addition to this we have to this, we have to correct the failed and warned elements in the component by using the one of these above tools.
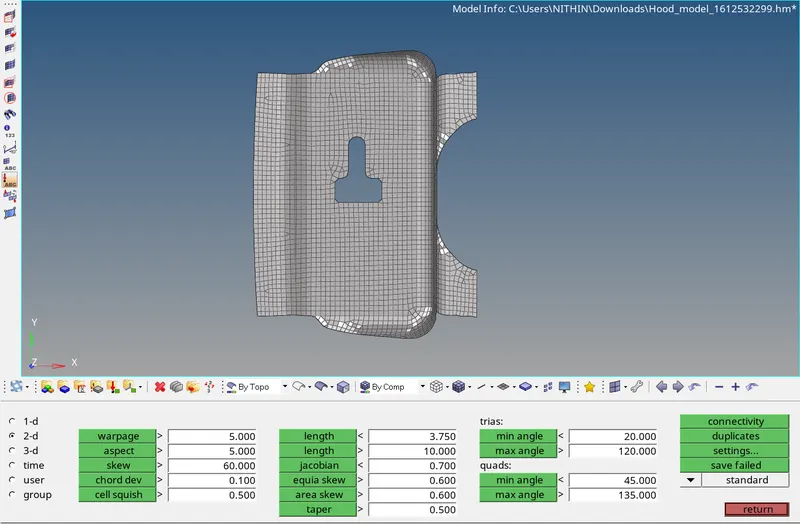
- After the cleanup process, we have to check our elements follow the given criteria
- To check this, we have to go to CHECK ELEM in the tools command.
- In that we have various specifications like WARPAGE, SKEW, etc... our model should satisfy all the critiria.
STEP 6 ; EDGE DETECTION
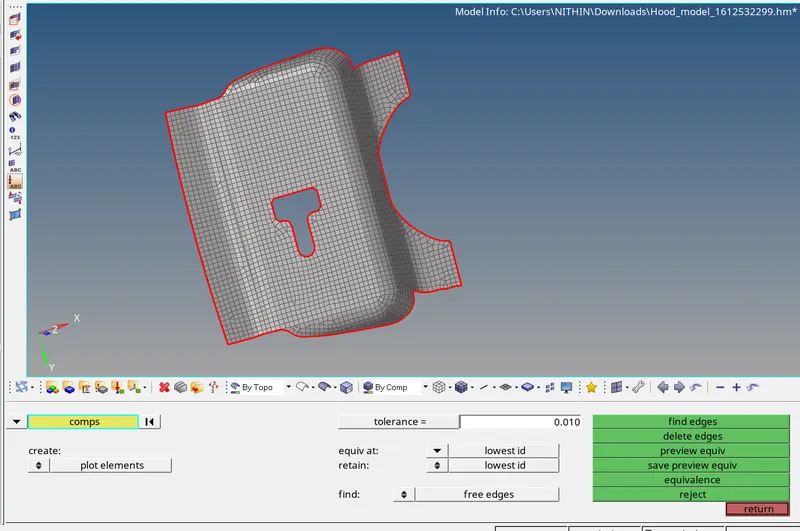
- To find the open edge, click the edge feature in the TOOLS command
- Select the whole elements in the componenets
- Then click the FIND EDGES
- After that, free edges indicates in red colour
- Make sure there is no free edges in the center of the components, if it present, resolve it .
- Remove all the violating threshold, then only the FE is ready for the next step. But some very critical area it has been accepted for some failures
1.INNER PANEL & OUTER PANEL :
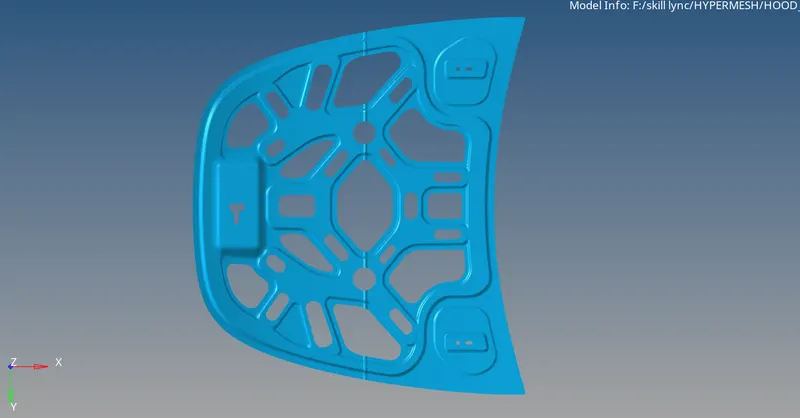
3.LATCH & HINGE :
CONCLUSION :
Thus the given hood component is meshed successfully with given quality criteria.