Week 6 - Creating connection for Rear door
AIM: To create a connection for the given rear door FE-model.
Procedure:
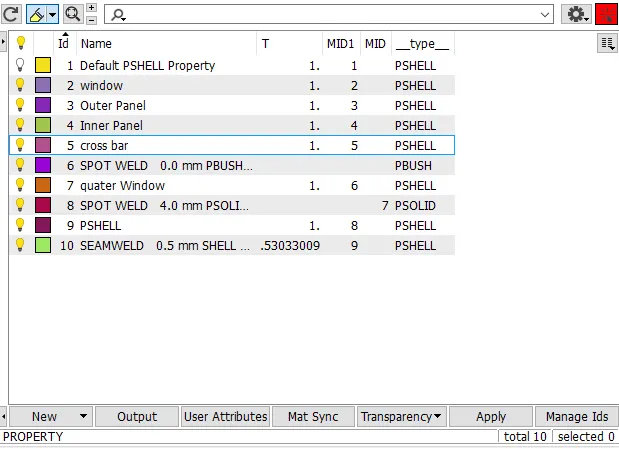
Step 1: Import the model to ansa assign PID for different part in order to deploy connection.
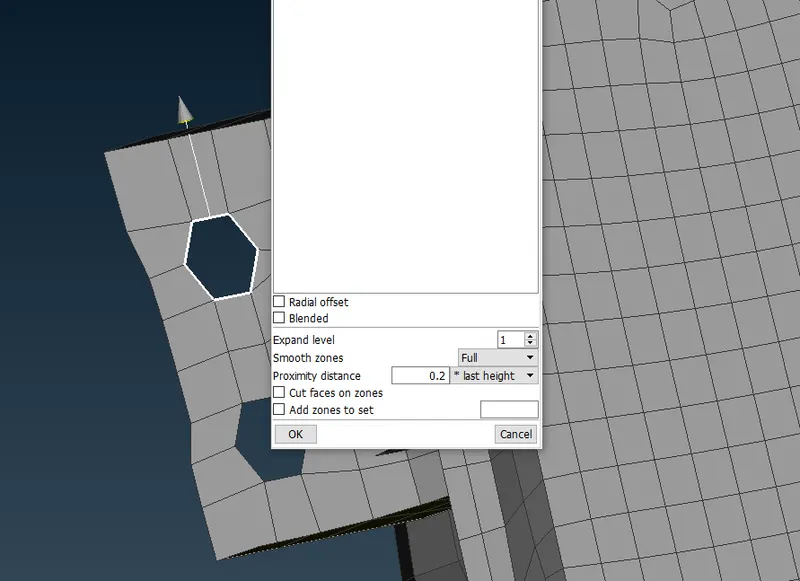
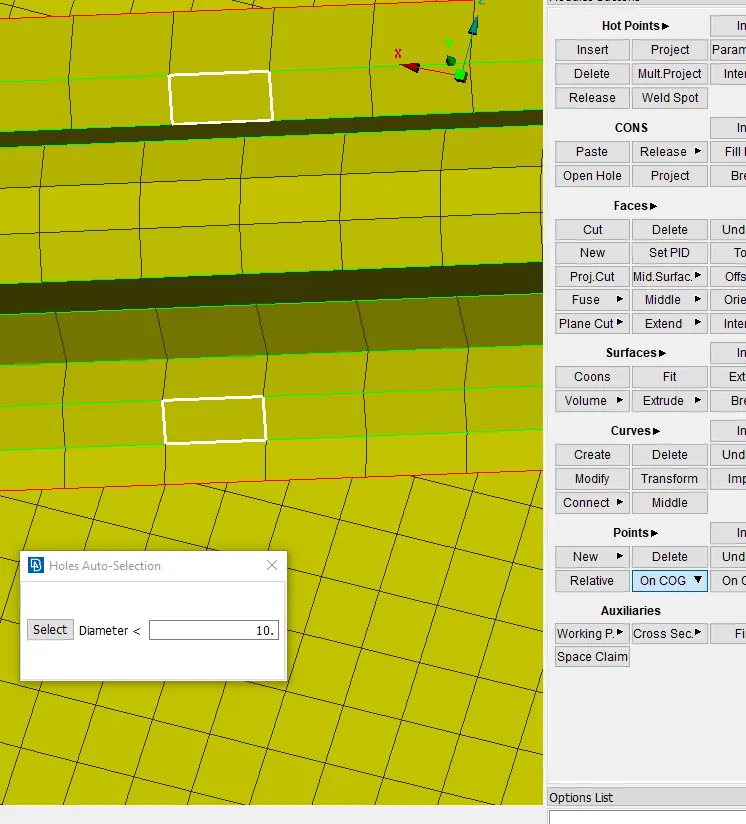
Step 2: Using zone cut in order to prepare the holes for connections.
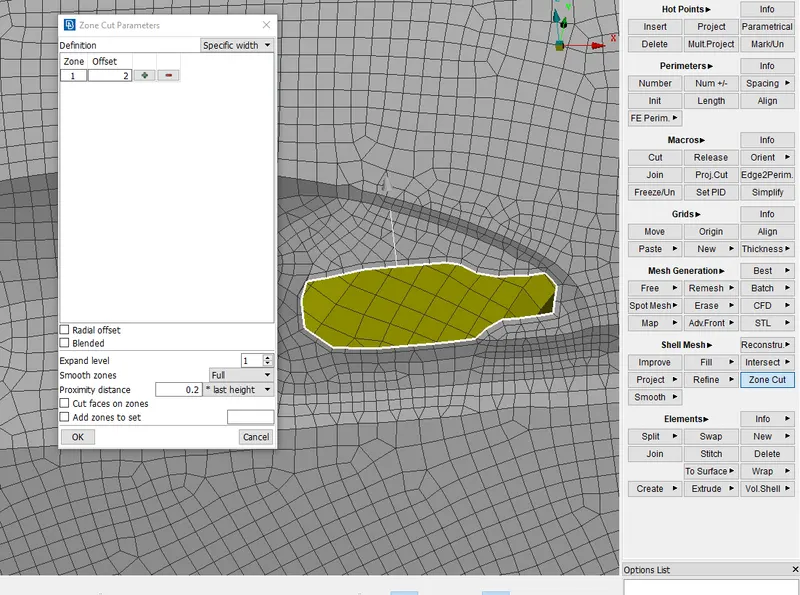
Step 3: Creating Connection for Door Handel.
- Creating an RBE2 element by many nodes and creating a con by many node to representing the door hanle.
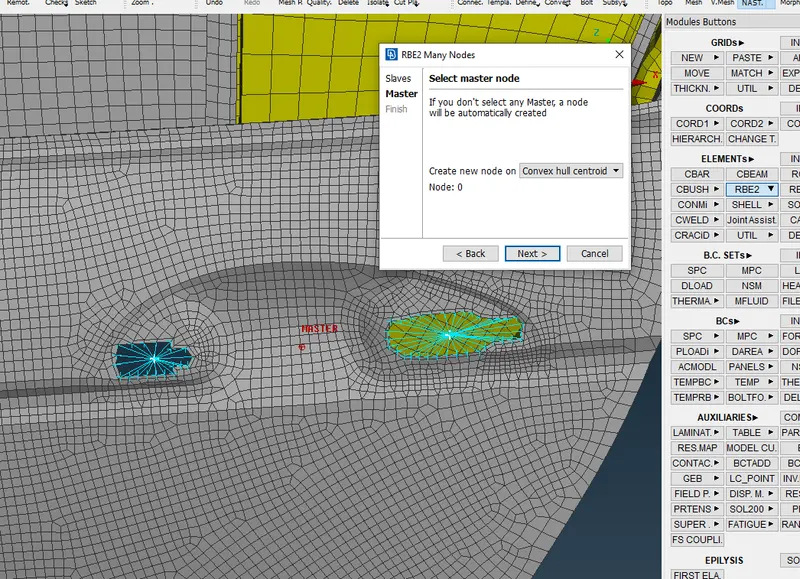
- Adding mass to the con in order to represent the door handle.
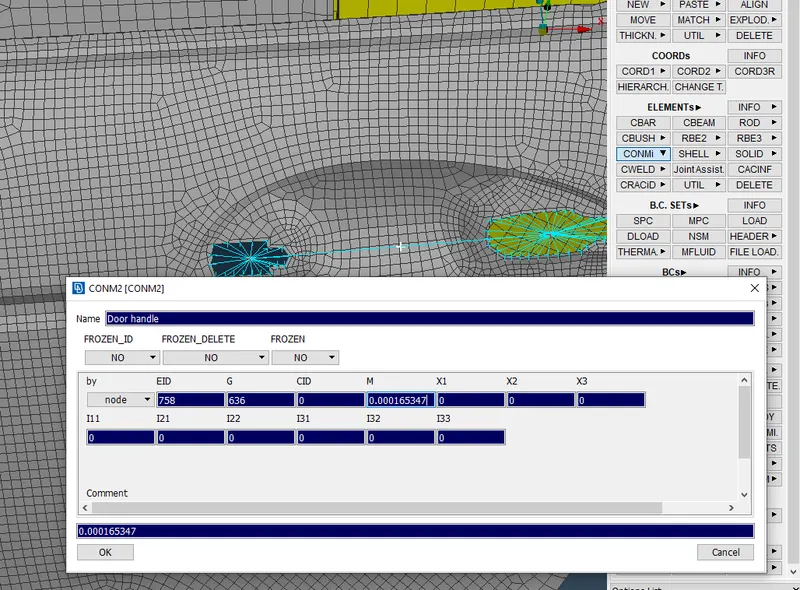
Step4: Creating a C-bush element between the window and the door panels.
- Inorder create the C-bush convert the Fea2curve.
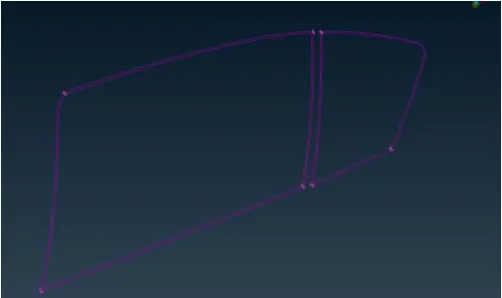
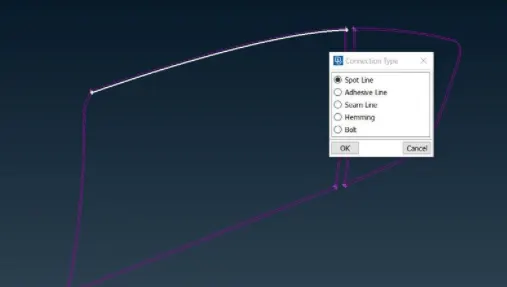
- Convert curve to Spot line.
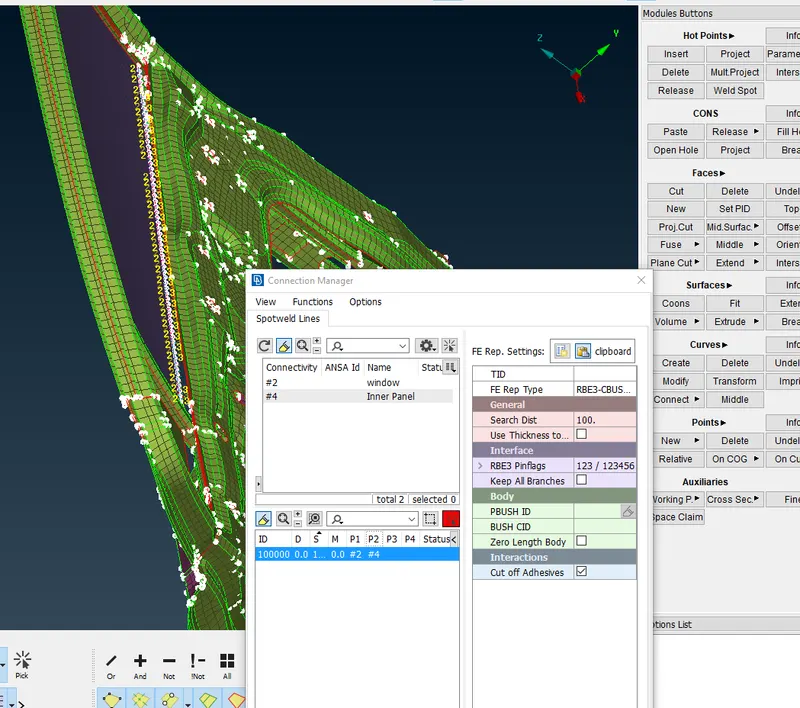
- By using connection manager selecting P1 and P2 assinging Fe-Rep as REB3-C bush-REB3 and also giving appropriate search distance.
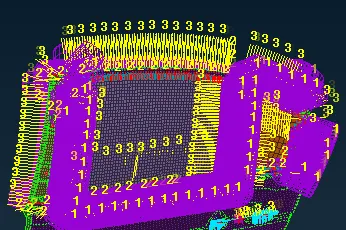
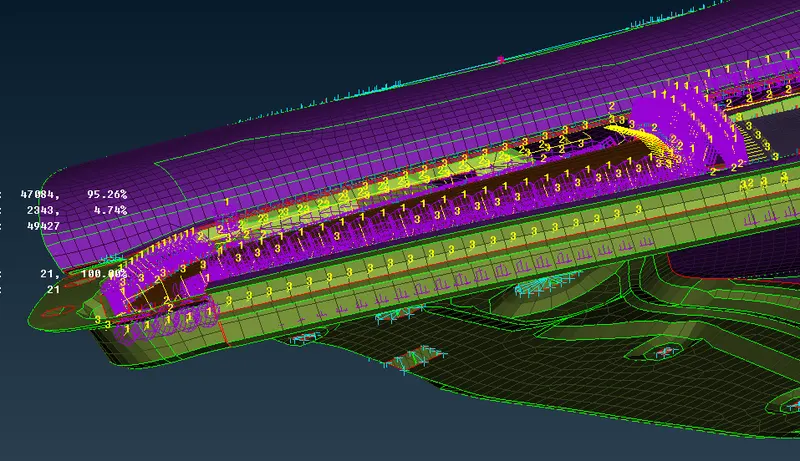
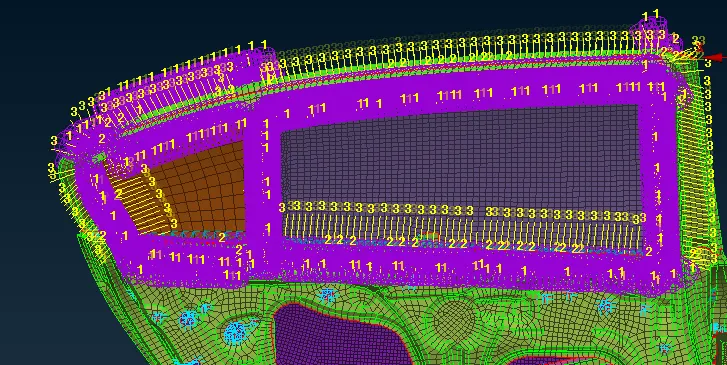
Step5 : Creating rigid element using RBE2 and cluster RBE2 .
- REBE2>Manynode> Loop Selection> confirming the Master node>Clicking Next.
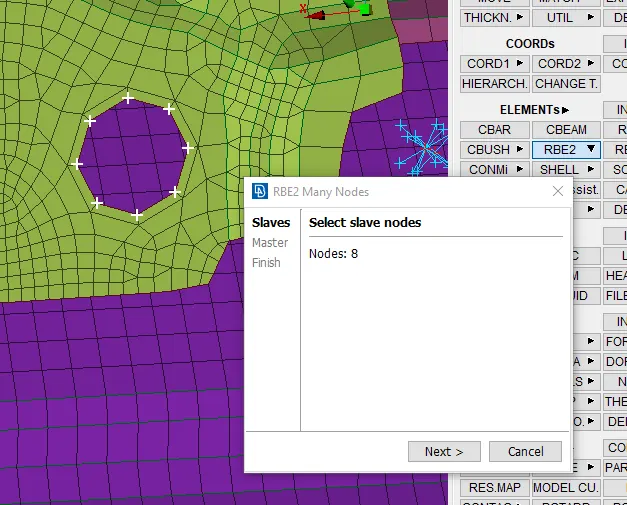
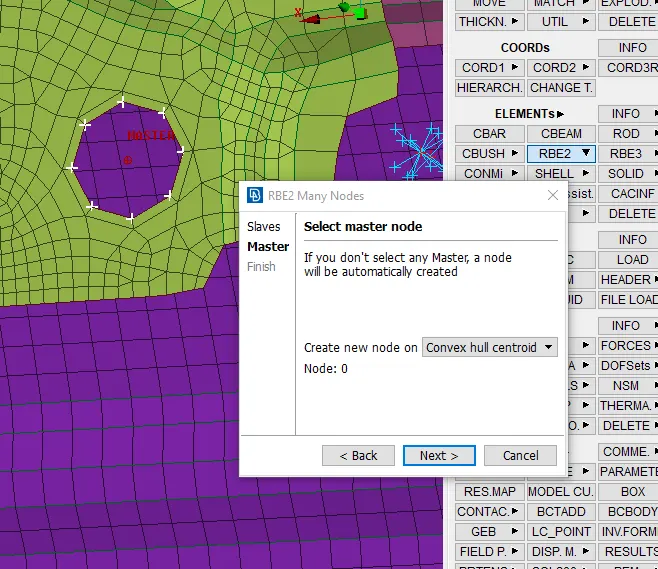
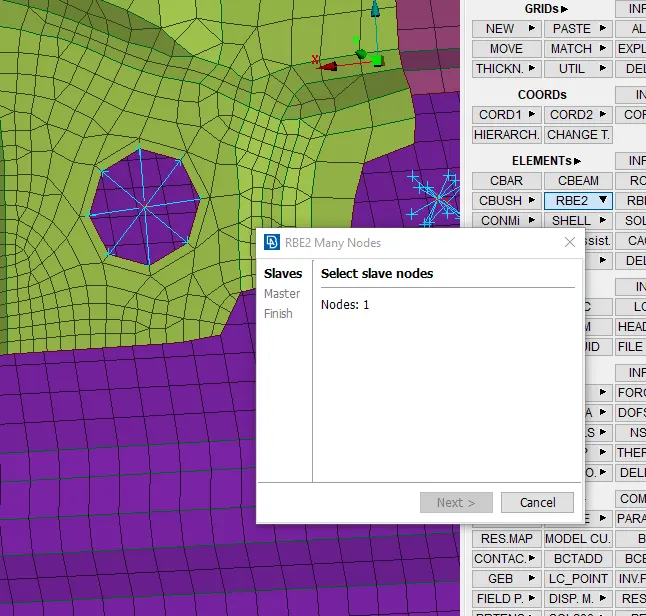
- For Creating cluster RBE2.
- REBE2>Manynode> Loop Selection> selecting adjacent node for rigidizing both the nodes> confirming the Master node>Clicking Next, Cluster RBE2 is formed asshown below.
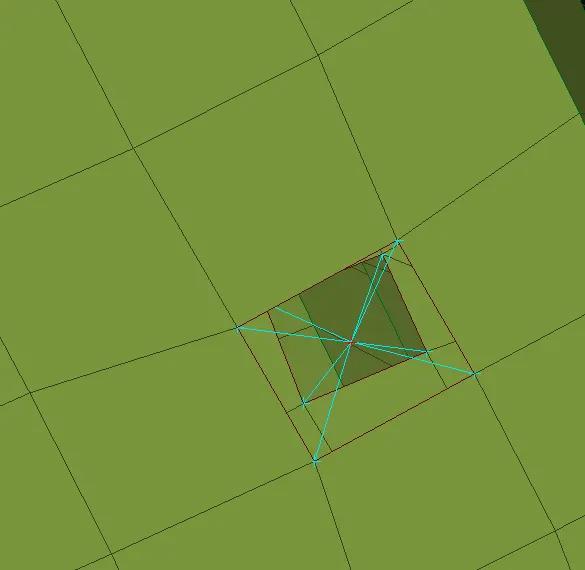
Step6 : Creating door hinge.
- REBE2>Manynode> Loop Selection> confirming the Master node>Clicking Next.
- Following the same procedure as the above for parallel hole inoder create hinge.
- In order to create the hinge; REBE2>Twonode> Selecting the master note of both the element> confirming the Master node>Clicking Next.
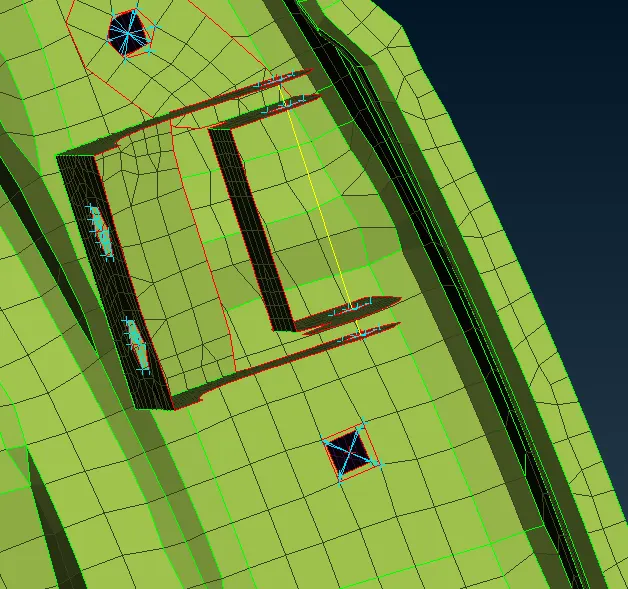
Step7: Creating Seam weld.
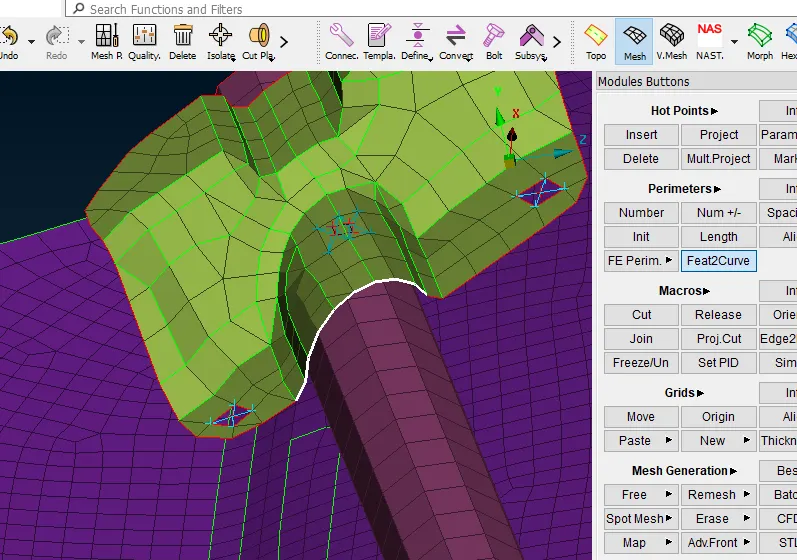
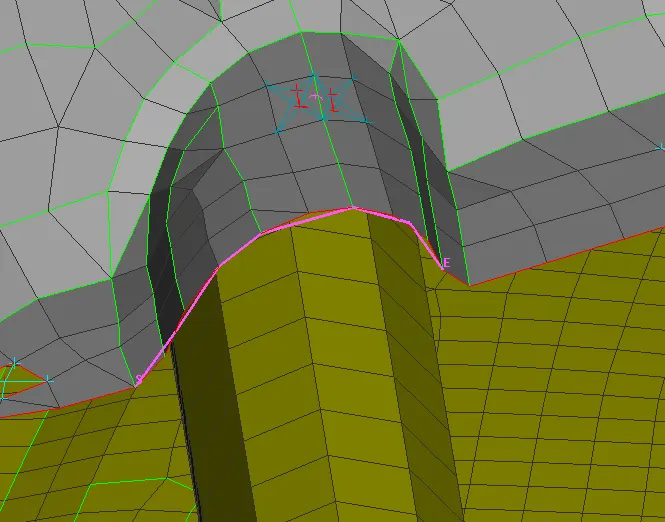
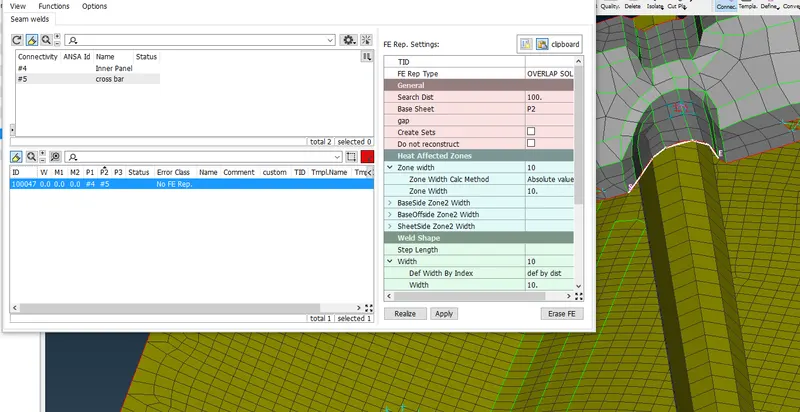
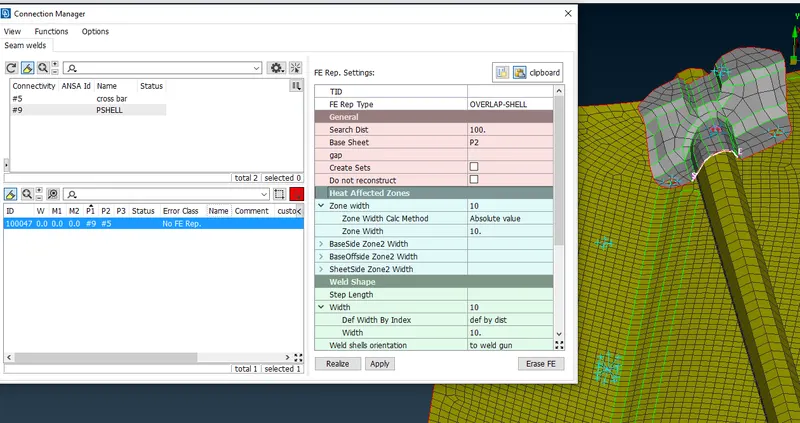
- Creating the curve> converting the curve to seam line > using connection manager> selecting the curve > P1 and P2 assinging Fe-Rep as and also giving appropriate search distance, Width and distance.
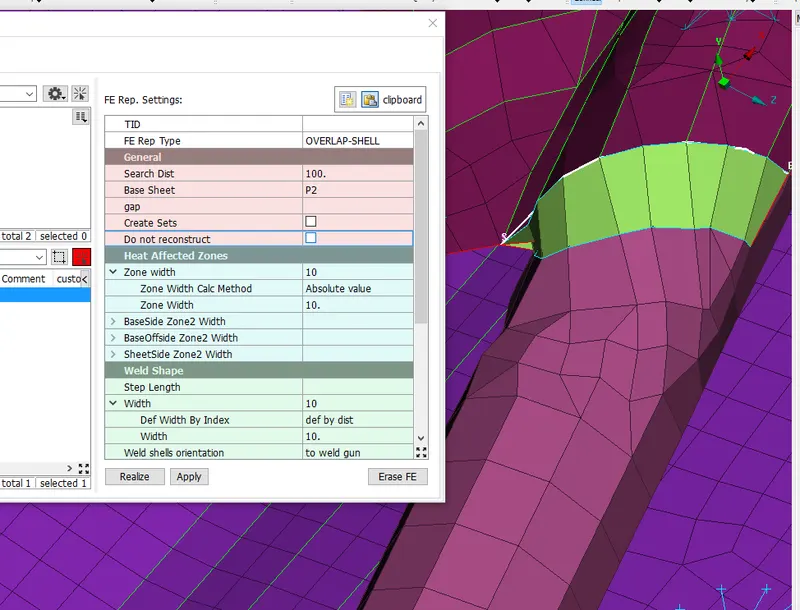
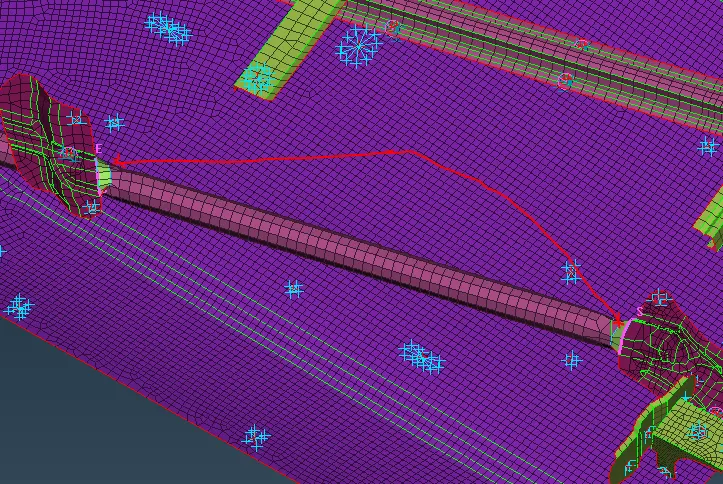
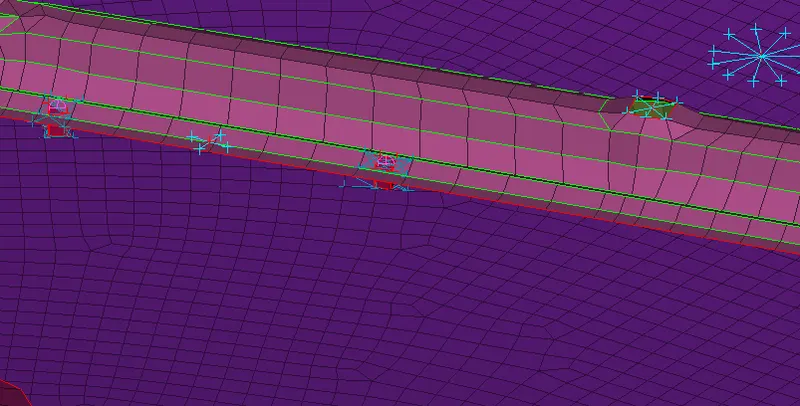
Step8: Creating spot Weld.
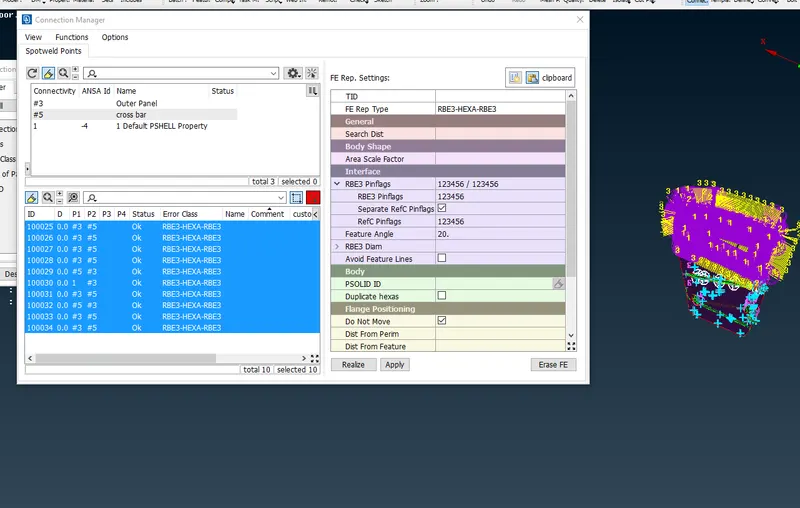
- Creating the Multiple COG> converting the 3dD point to weld spot> selecting P1 and P2 assinging Fe-Rep as REB3-HEXA-REB3 and also giving appropriate search distance, pinflaging all the DOF.
Learning Outcomes:
- Learned how to create the spot weld.
- Learned how to create seam weld.
- Learned how to create rigid element.
- Learned how to create Cluster element to rigidize.
- Learned how to create hinge connection for rotating part in one DOF.
Conclusion:
Successfully Established connection for rear door assembly by knowing the funtion of diffrent part and delploying connection appropriatly.