Week 6 - Creating connection for Rear door
Aim - To create and apply different PID on the given model to perform suitable connections for the rear door of a car.
Procedure -
1 - Import the cad model into ansa.
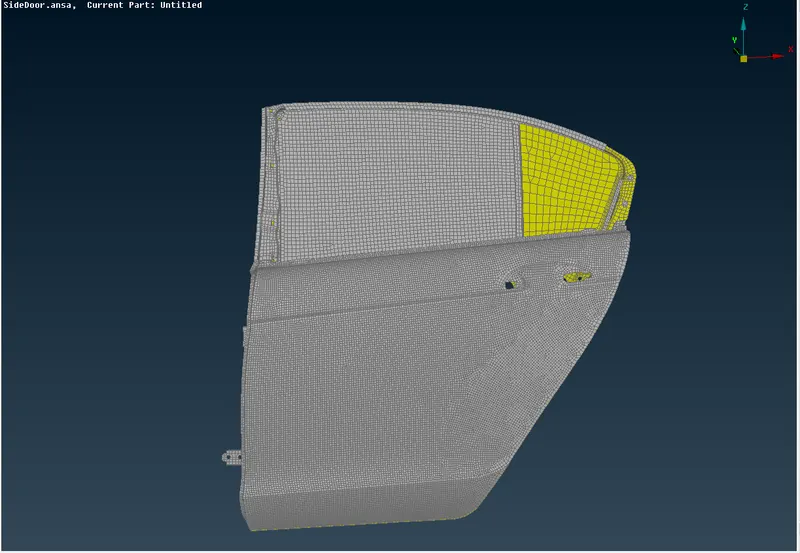
2 - Setting different PID for every component
We have to set different PID for every component so that proper connections can be made -
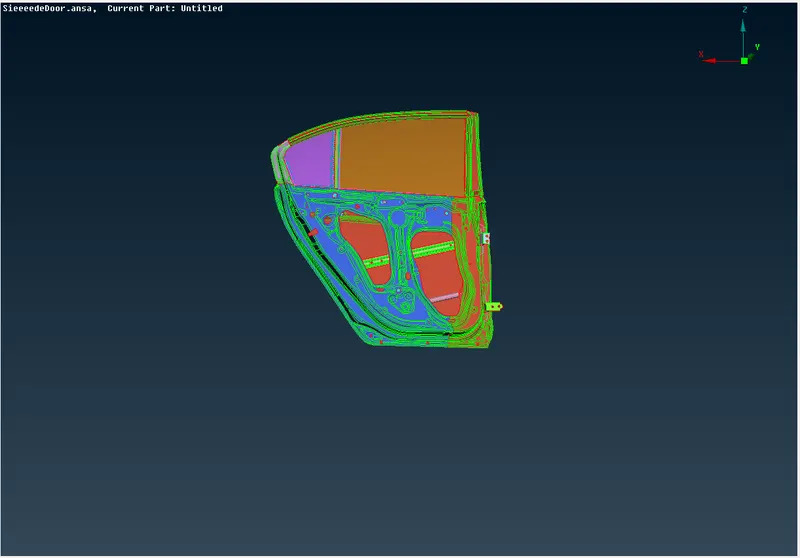
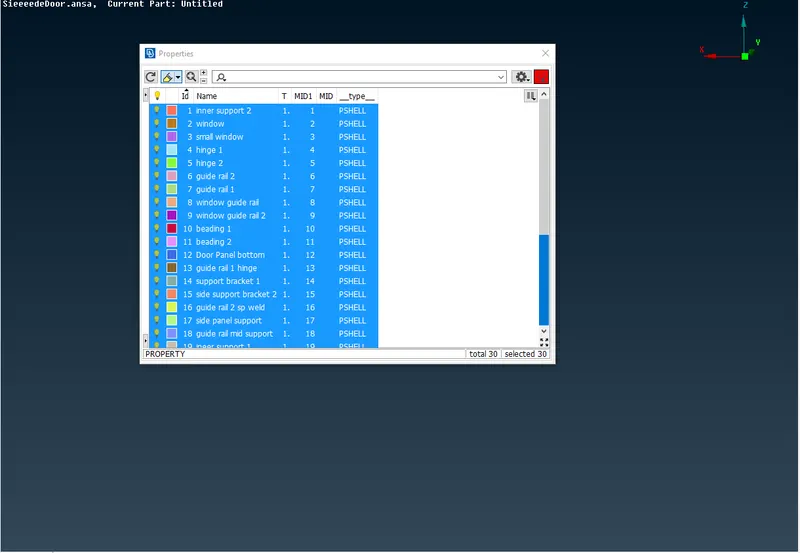
3 - Rbe2 Connections: these connections are given where there is a bolt or rigid body is to be created. Many nodes option is used where a rigid body has to be created with two holes having a master node.
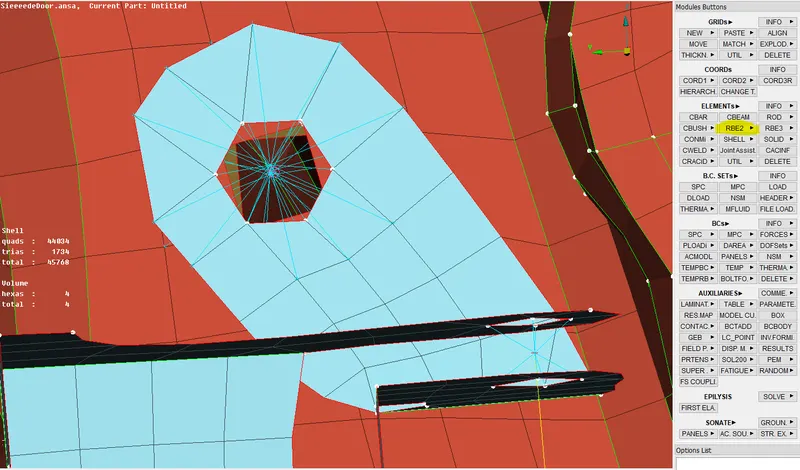
Rbe2 two nodes are used when a bolt stem has to be created in the image shown below hinge for the rotation of the door has been created by using Rbe2 two nodes.
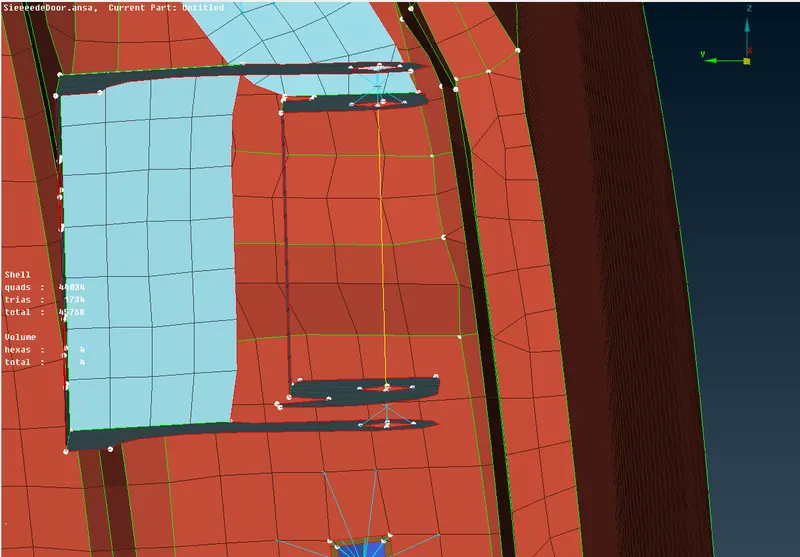
When creating a hinge the degree of freedom are set to be 12345 instead of 123456 to allow the door movement of the car in the axis.
-- To assign bolt connections with more than 2 parts that are to be connected we use the following method:
- Create a point on cog
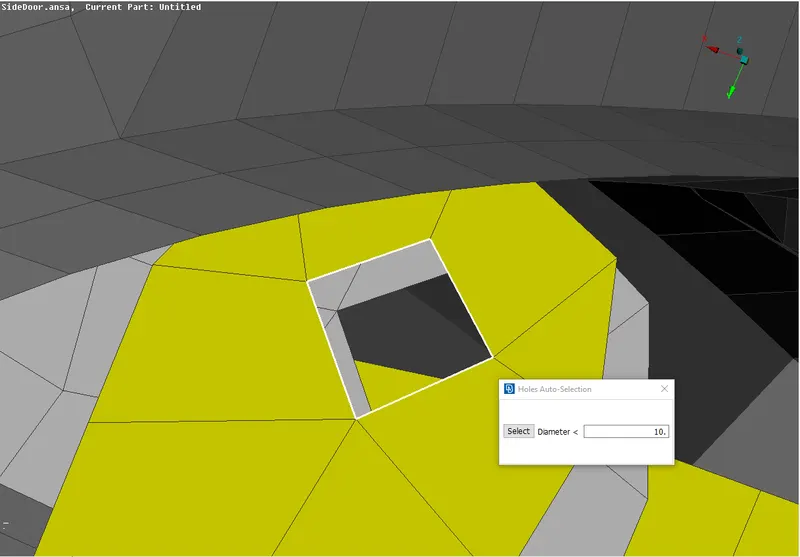
- Convert the point to the bolt using the convert option as shown
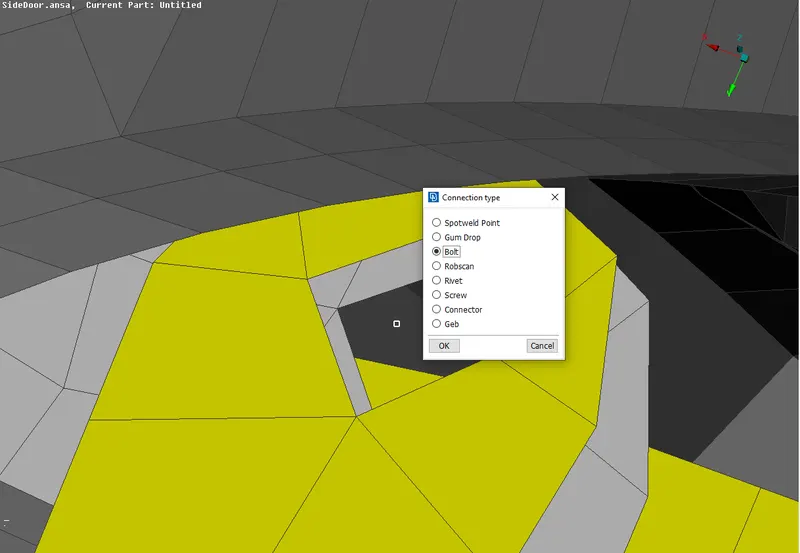
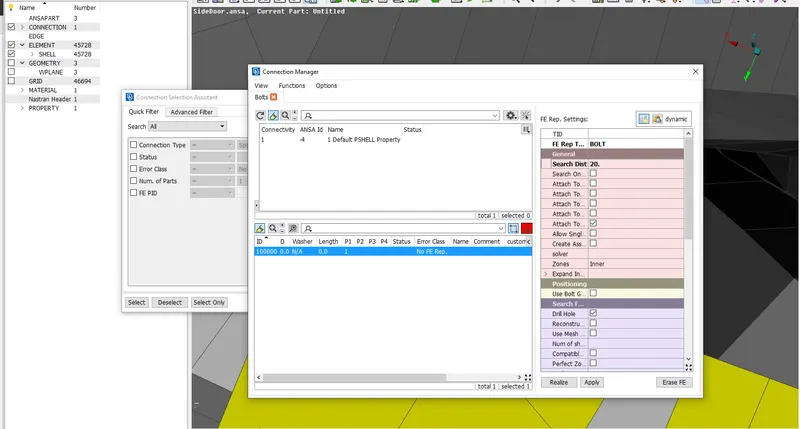
- Open the connections manager and select the parts which are to be connected and select bolt
For the door handle, we create Rbe2 many nodes connections on both the holes and connect them using Rbe2 again :
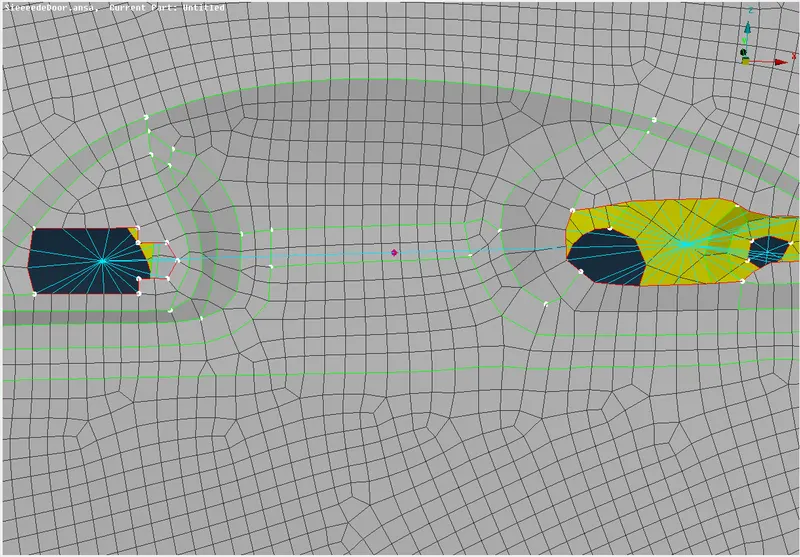
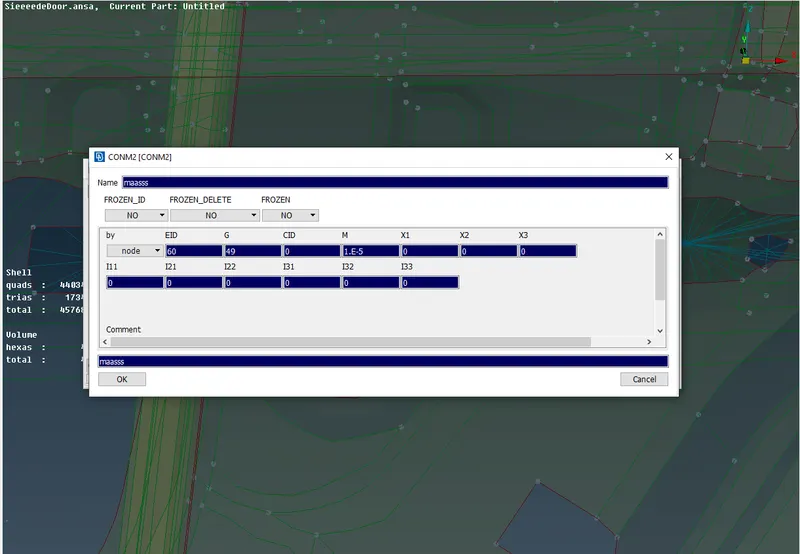
Now we assign a conmass on the centre node using the CONMi option present in the NASTRAN deck - we use conm2 - nodes and select the node where the mass has to be deployed :
Weld Connections - Two types of weld connections are used in the model :
Seam welding: using the Feat2Curve option in the mesh module create a curve from the feature as shown
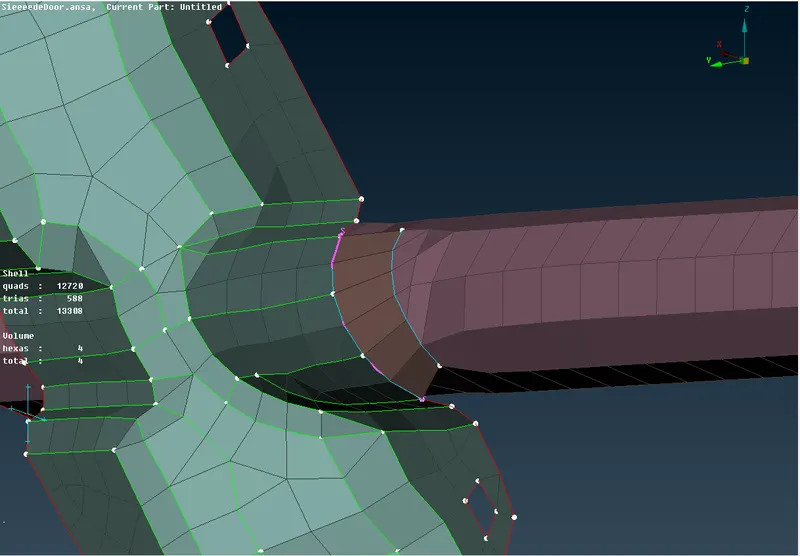
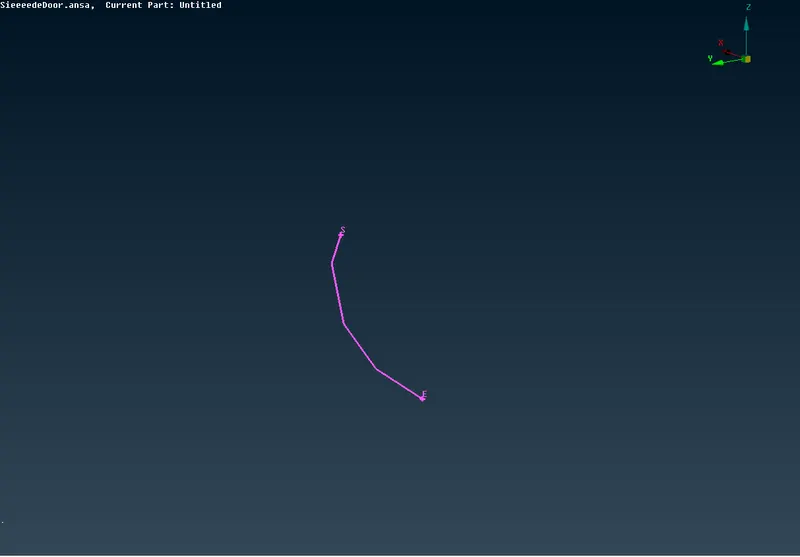
Now convert the curve to the seam weld line
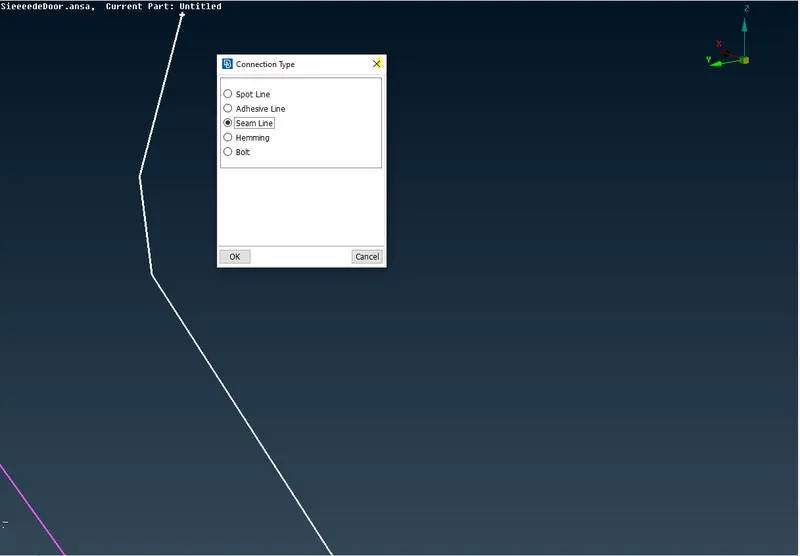
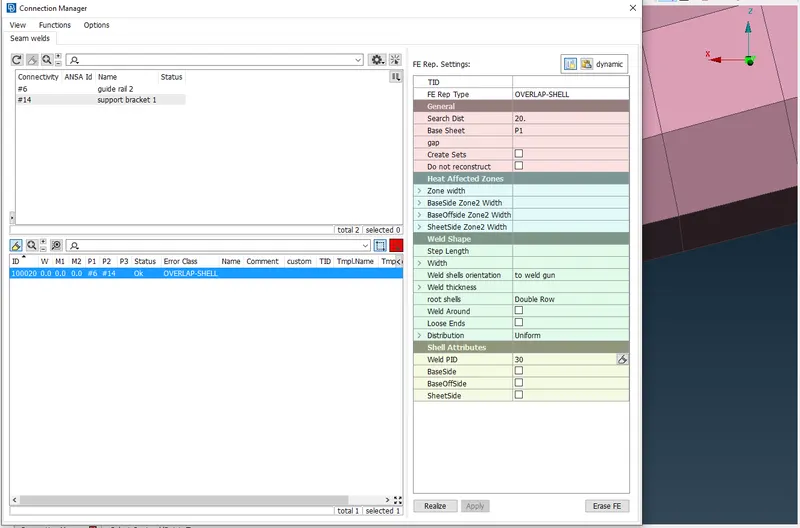
After creating the seam line go to the connections manager and give the required connections as shown
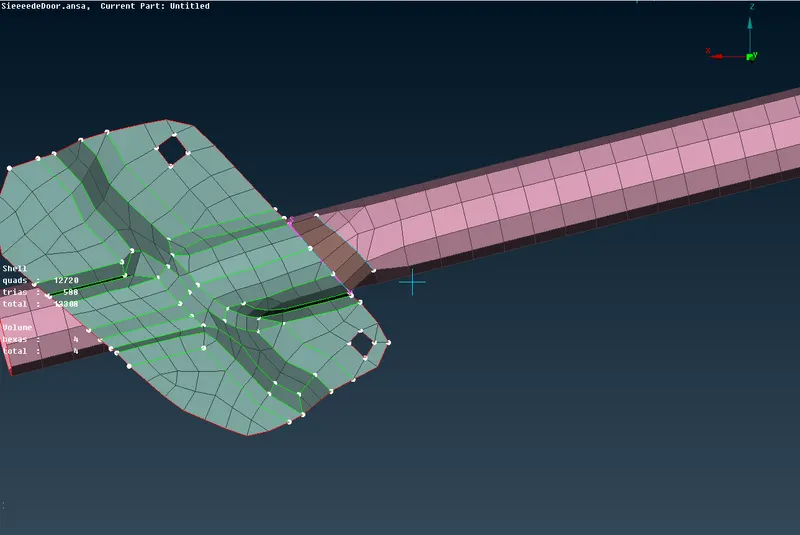
The welded part is as shown :
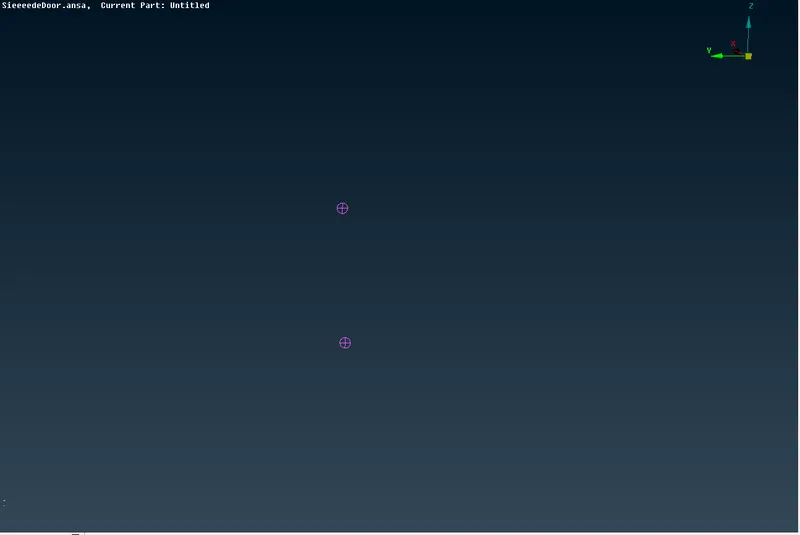
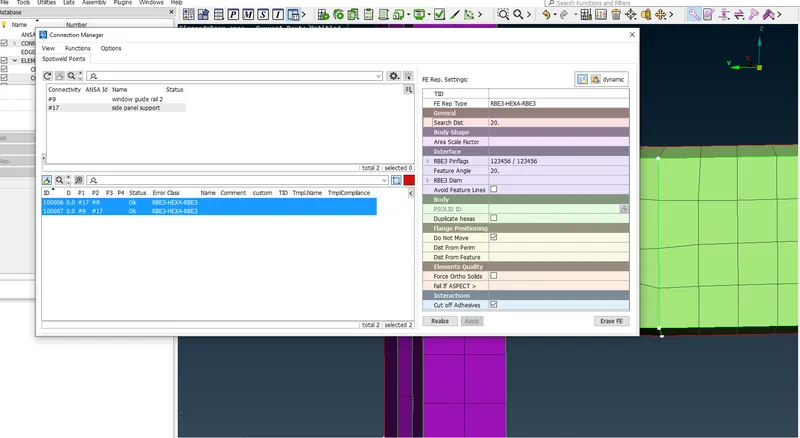
Spot Welding - for spot welding we create two points on cog and convert them to spot weld points as shown :
After converting we open the connections manager and realize the connection as shown: We use Rbe3-Hexa-Rbe3 to realize this type of connection, special attention has to be given while choosing the base sheet :
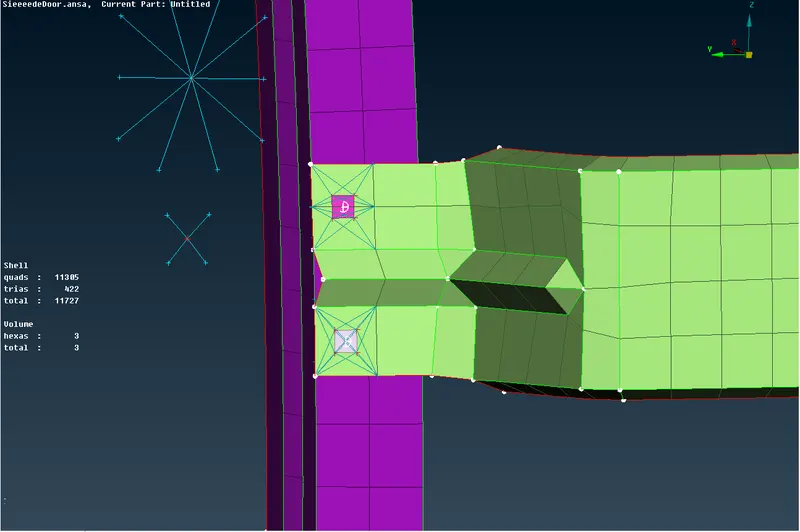
The welded part is as shown :
- For window beadings, we use the CBUSH Rbe3 connection for assuring climate control in the vehicle.
We start by creating curves from the window, and for the base of the window, we create another set at a distance of 10mm to ensure the connection on both the sides.
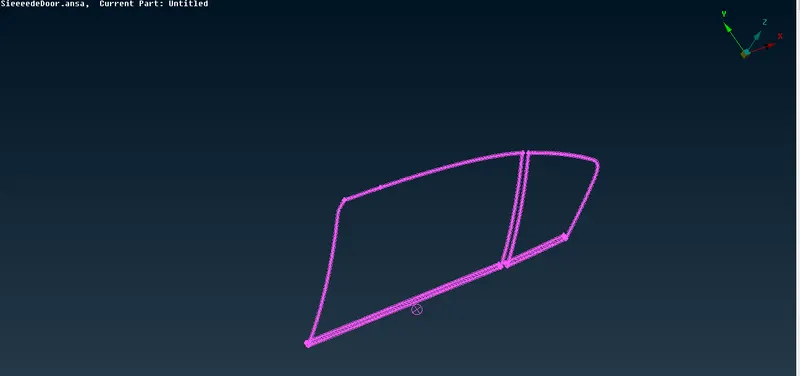
we convert the curves into spot lines, after that we open the connections manager and give the connections as shown below,
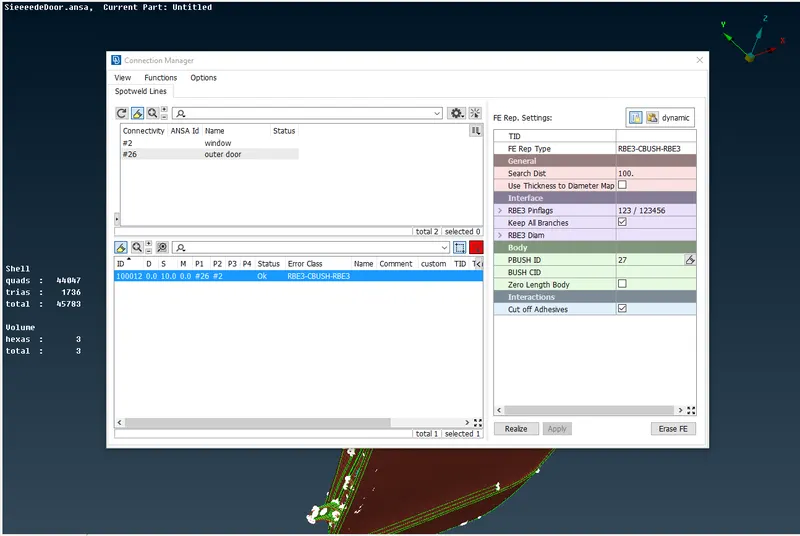
Search distance is entered at a higher side here, we have to ensure that the "keep all branches" dialogue box is checked.
We create a new Pbush ID for the connection where we input the stiffness values for the bush -
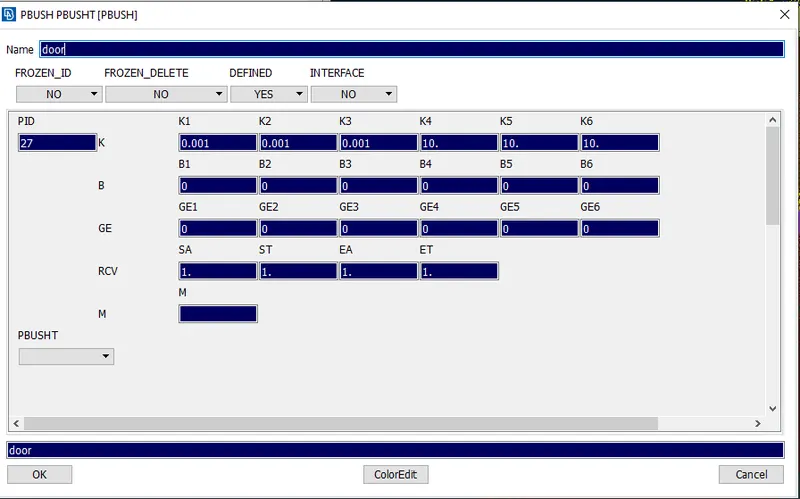
When we realize the connection after doing all the sides of the window we get the bushes.
To align the bushes to the global coordinate system we open the box which contains cbushes :
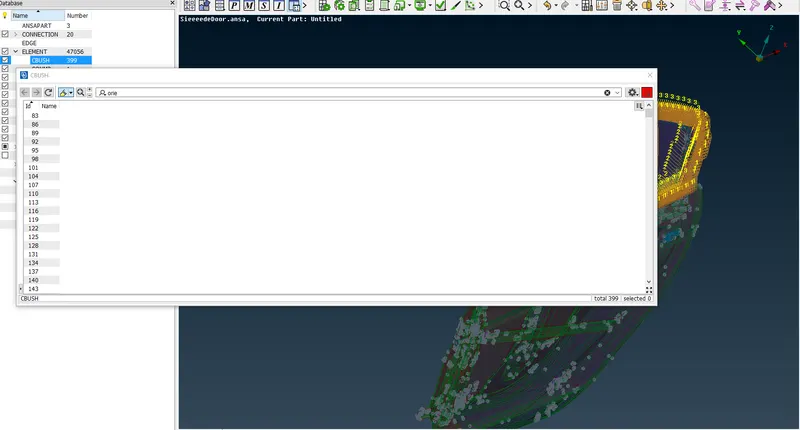
We switch on the orient column select all the bushes and click on modify :
The modification rules have been given as follows :
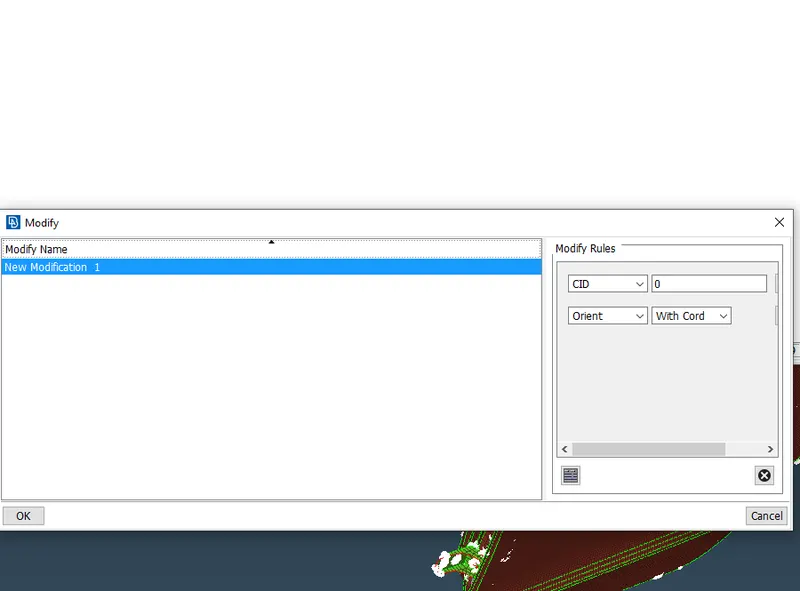
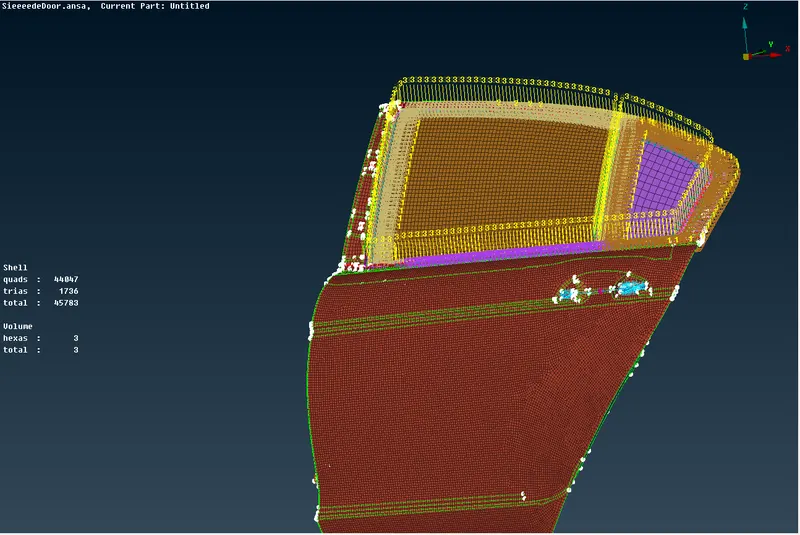
After clicking on ok we see that all the cbushes have been aligned to the global coordinate system as shown :
Learning Outcomes :
Assigning different PID to a given complex part
Different types of connections- their usage and deployment.
Editing connections according to need.
Weatherstrips of a car and making suitable connections for the same.
Conclusion :
Different PID has been assigned and all the connections on the rear door model have been made successfully.