Week 6 - Creating connection for Rear door
Objective:-
- To create proper connections where ever required using NASTRAN Deck
- such as seam weld
- Bolt, Spotweld
Introduction:-
- We received a modal of the side door of the car, where we found that all the components of the door are in one single property
- This is FE modal without cad
- In this project, we have to create proper connections using the NASTRAN deck
- we have to create bolts, seam welds, spot weld, RBE2 links, RBE3 links, etc
- for that, we had to first separate all the different parts of the door into different property card
- Then we had to observe the FE modal properly and look for where we need to provide which type of connection
- after that, we needed to make proper connections by using the proper method.
The modal that received
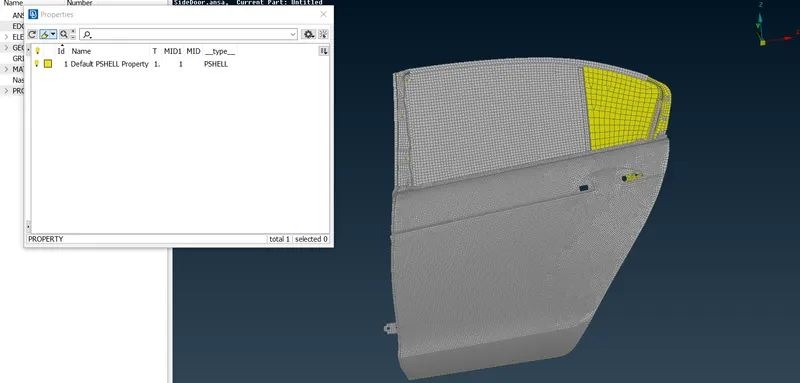
Theory:-
- In this project, after importing the modal we first separated all the different components into different properties
- because all the components were in single properties
- after that, we precisely looked and observed the modal to see where to create which type of connection
- after that, we made all the bolt connections where ever required
- to create bolt connection we used RBE2 elements in the NASTRAN deck
- first, selected all the nodes where we are supposed to have bolts
- then clicked next it forms a spider web of RBE2 elements
- then again for the nut side face, we follow the same procedure
- then after creating RBE2 web both the sides ( bolt side and nut side)
- connect the two master nodes of those two RBE2 webs by using RBE2 two nodes
- this will create a bolt connection
- there is another way of creating bolt connection is by creating a 3D point at the center of the hole
- then converting that hole into a bolt by using the Convert tool
- then by using Connection manager we realize the bolt connection through that 3-D point
- Creating bolts using RBE2 elements
- created RBE2 elements at the 2 holes for the door handle and connected those 2 master nodes using RBE2 two nodes
- and then assigned a mass on that single RBE2 element between those two RBE2 webs using COMi
Creation of RBE2 elements for the Door handle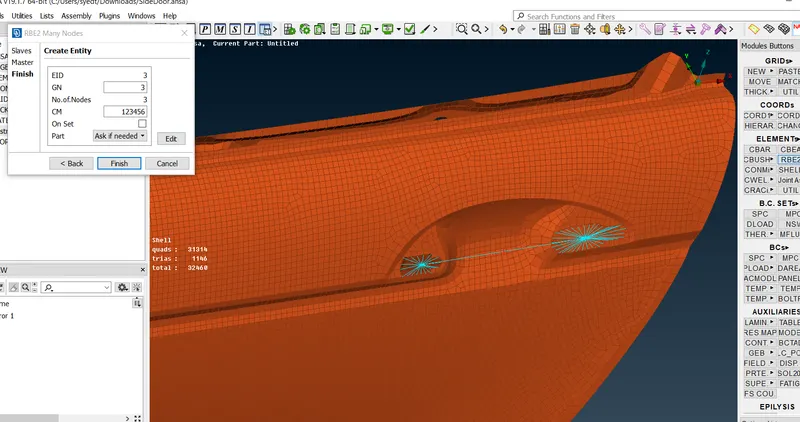
Assigning of mass on the door handle element
creation of Bolt using RBE2 elements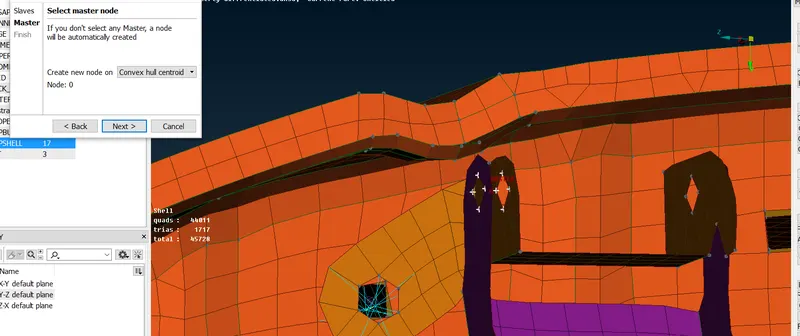 .
.
creation of 3-D point for bolt creation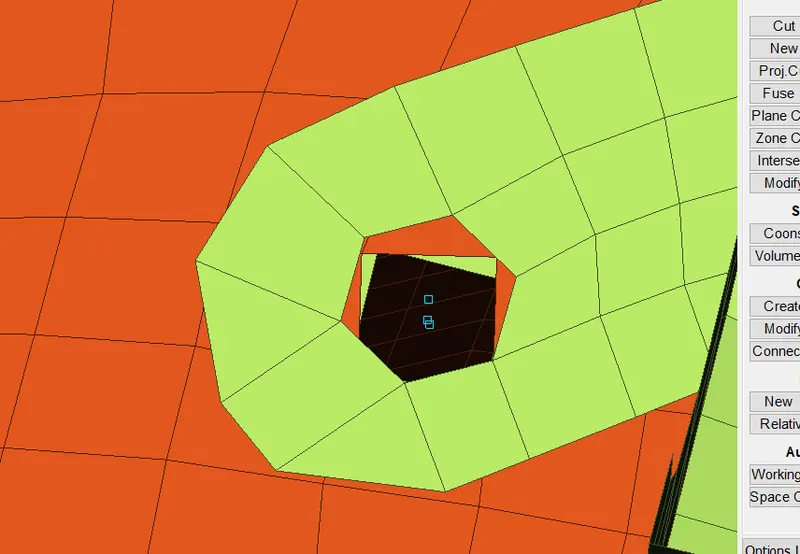
creation of bolts using 3-D points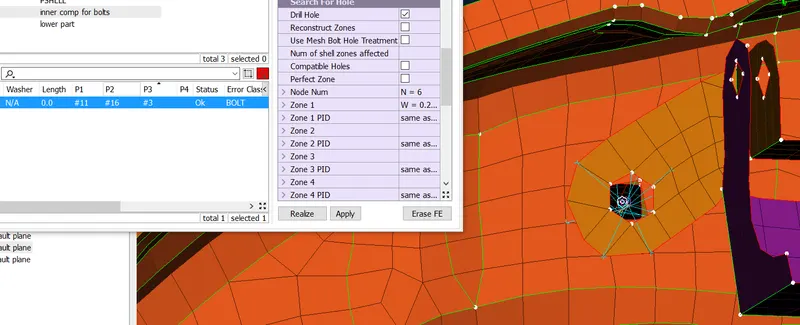
- Now look for the places where to have seam weld
- seam weld is created where two surfaces are parallel to each other or perpendicular to each other
- to create a seam weld
- first, we created a curve line out of FE by using the FE2Curve tool
- convert that curve line into seam line using Convert tool
- then using connection manager we defined Part 1 and part 2 for connection 2
- we can choose to type of representation of Seam weld such as a double row, offset row, or primary row
- then we need to fix all the failing elements using reconstruct mesh or whatever tool required
- then for the connection between the mirror and weather strips, we used CBUSH elements
- to do so created a curve out of the FE of the mirror using the FE2Curve tool
- and converted that curve into a spot line
- then by using the connection manager realized that CBUSH elements between mirror and weather strips
- where we need to define part 1 and part 2 and a CBUSH id for successfully realizing the connection
curve created using FE2Curve tool of the mirror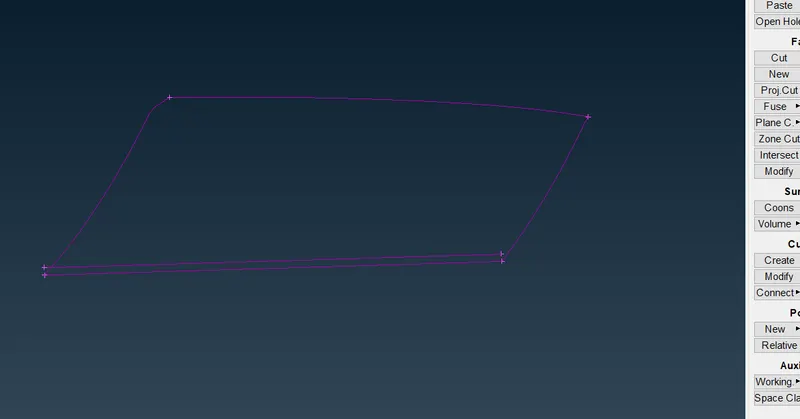
converted the curve into spot line using convert tooll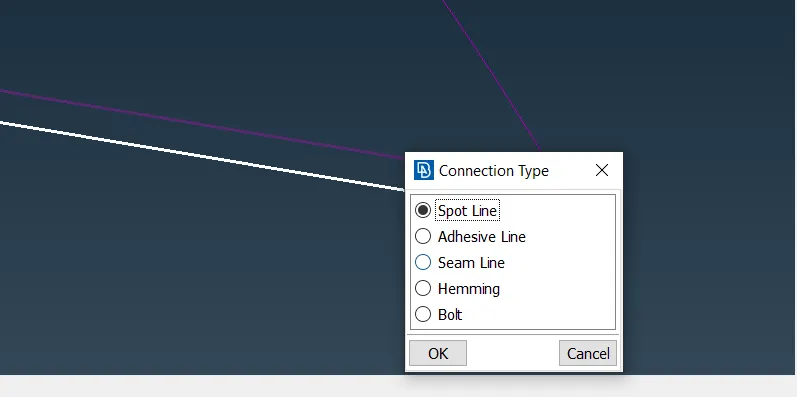
creating PBUSHId for the connection between mirror and weather strips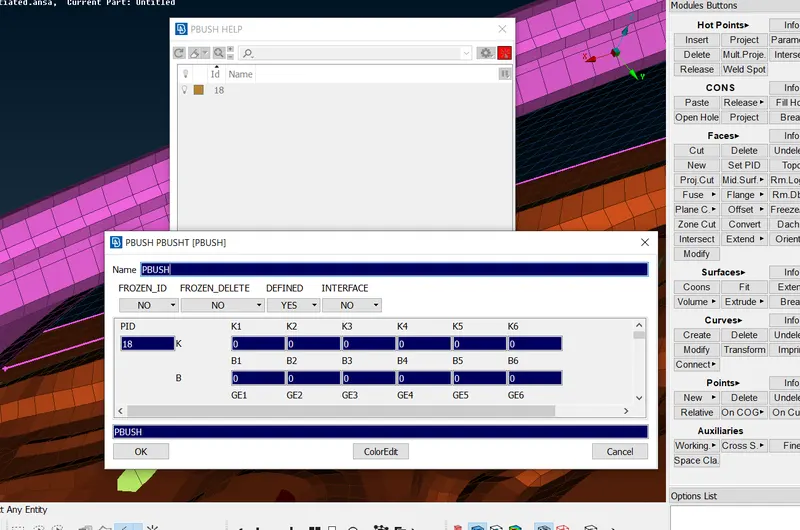
after realizing the connection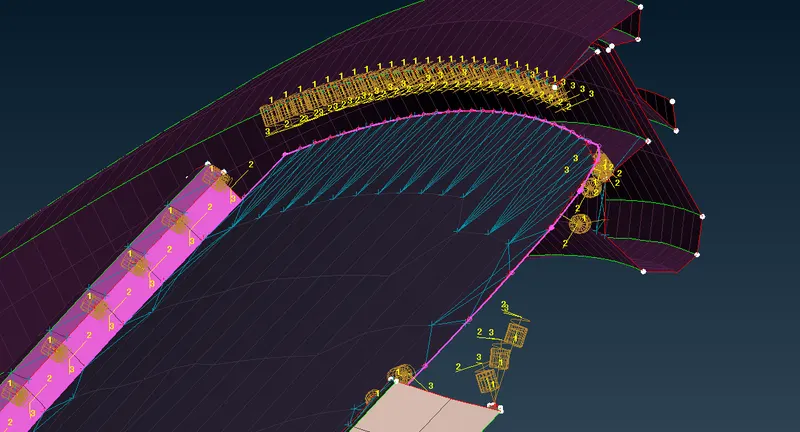
- now wherever two components are parallel to each other we can create a spotweld there
- so to create a spot weld
- first created a 3-D point using the COG tool
- then converted that 3-D point into spot weld using convert Tool
- then using the connection manager realized that spot weld between those two parts
- by defining part 1 and part 2 and a spotweld id
after converting the point into spotweld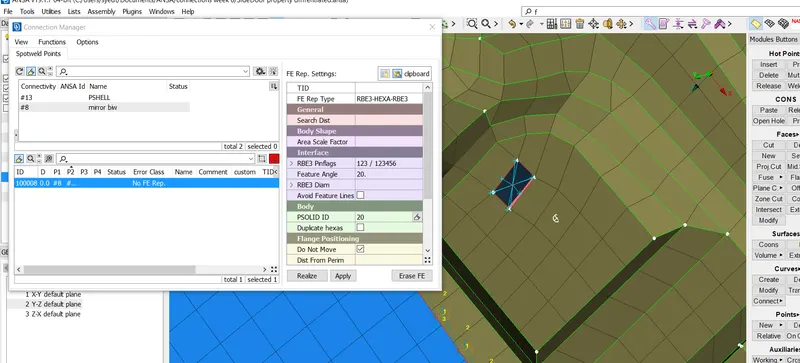
after realising the spot weld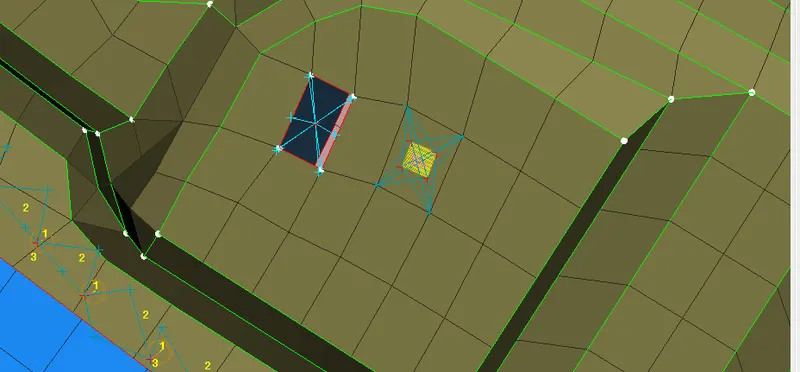
- SHORTCUTS that were useful while defining parts and property for the connection in the connection manager
- "fn" + "f1" function key + F 1 to define the part
- "Shift" + "?" for defining the property
Conclusions:-
- learned how to create different types of connection
- learned where to create which type of connection
- learned about the strength of different types of connection