Week 6 - Creating connection for Rear door
Aim:
The connections for the front door by using different 1D elements are taught in detail.
Objective:
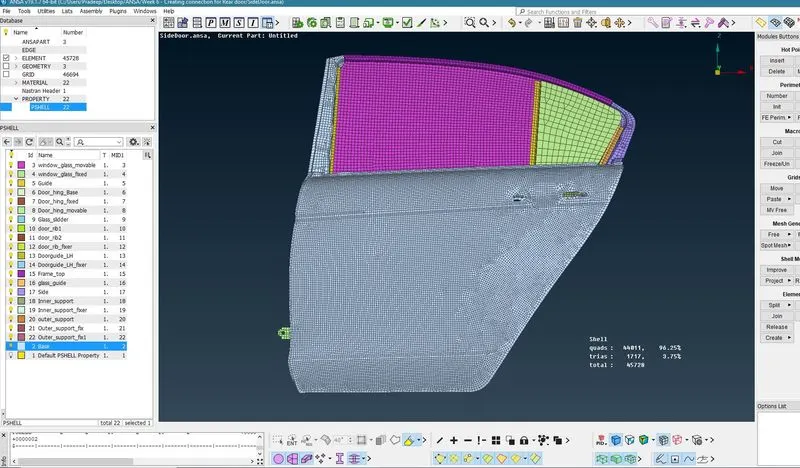
-To Create seperate PID's for indivisual parts of this car door.
-To Create RBE2 1D elements for bolt joints.
-To Create RBE2 on door handle and then applying mass on center.
-To Create RBE3-HEXA RBE-3 element for the spot weld joint.
-To Create RBE-3 CBUSH RBE-3 elements for weather strips.
Procedure:
Importing the Model:
Ctrl+O >> select the model from the saved folder.
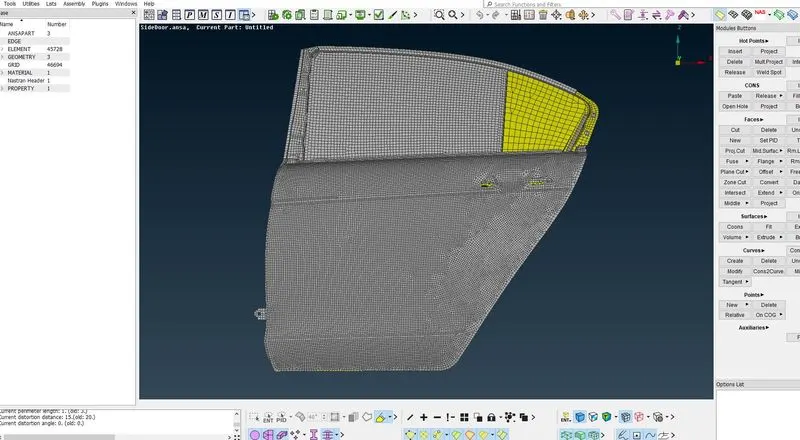
Assigning individual PHSELL for all the parts
Bolt Connection
- Select the edges of the hole and then middle click a 3D point will automatically generated. (Go to Topo module > points > on COG > Edges)
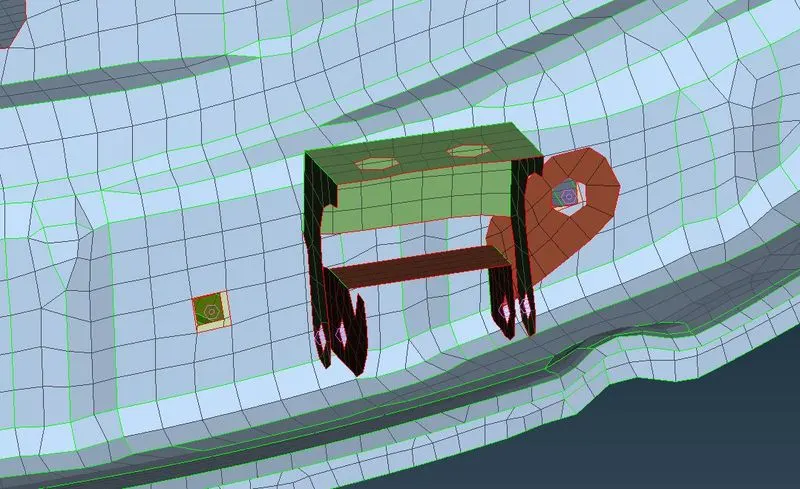
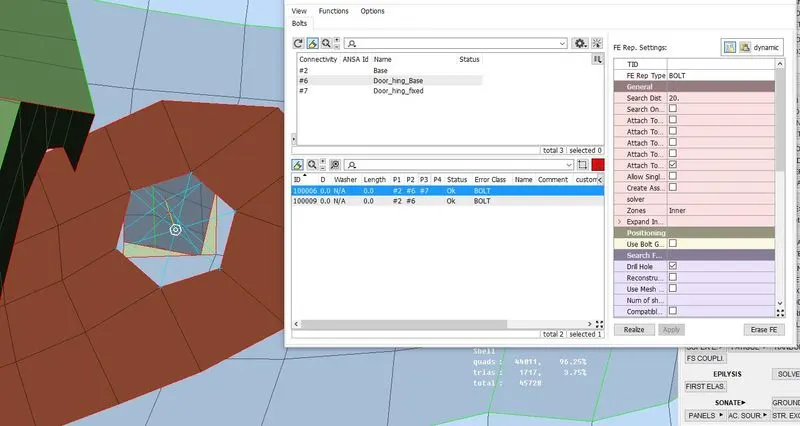
- Now after creating 3D points we will convert it into bolt. (Go to utilities > convert > 3D points > Bolt > select the points > middle click)
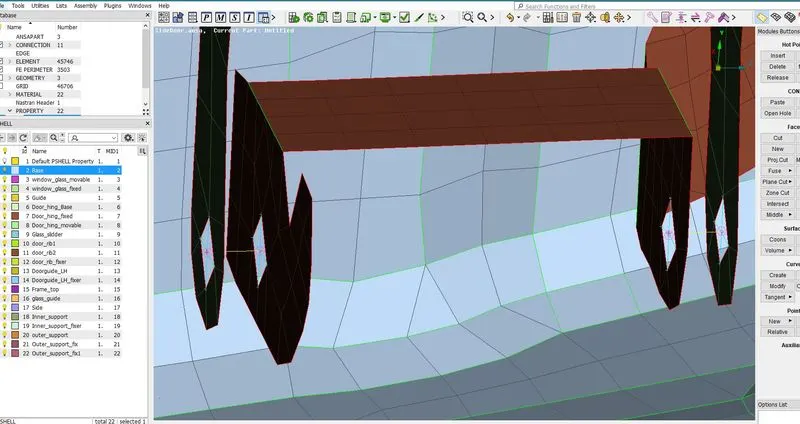
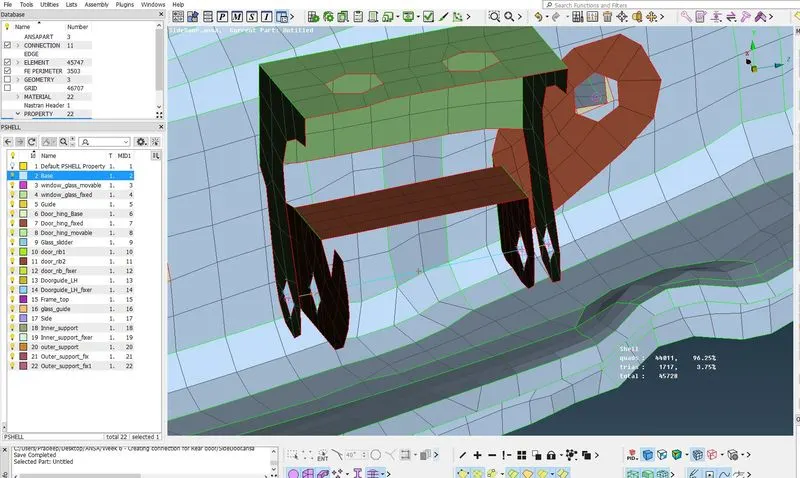
- Now choose type of connection need to select Bolt on the option right side (FE Reptype). Now apply and realize the bolt connection in between two bolt we will deploy 2 node RBE2
Creating RBE2 Element:
-To create RBE2 cluster element (Go to NASTRAN deck > elements > Many nodes) and select the all slave nodes which are not in-dependent of both plate it can be more than two plates which need to be connected and then click middle mouse button continuously till the connection are being deployed.
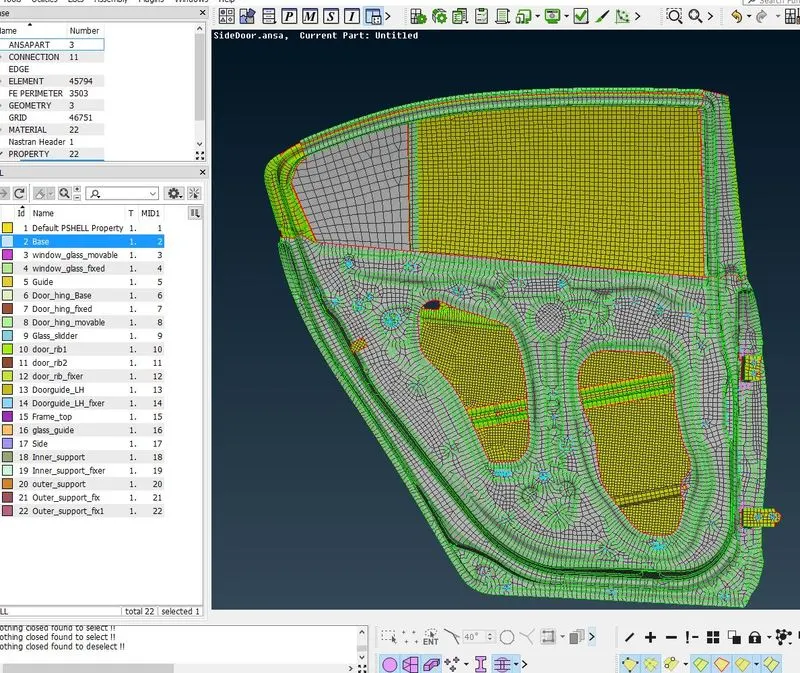
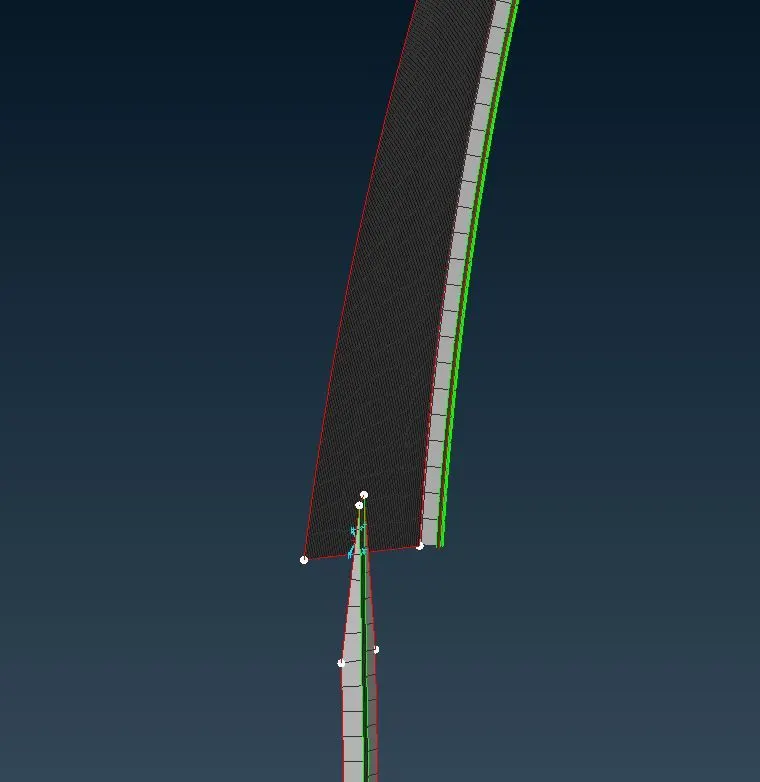
Connection Rail in the bottom of the movable Glass
- Go to the mesh module > Grid > MVfree > select node >Right click to givecoordinate system > midddle click and extend
- Reconstruct of mesh is required.
Note: the extension is done based on the avaliblity space, so the exetnded profile wont be exactly same because in physically the system will be different.
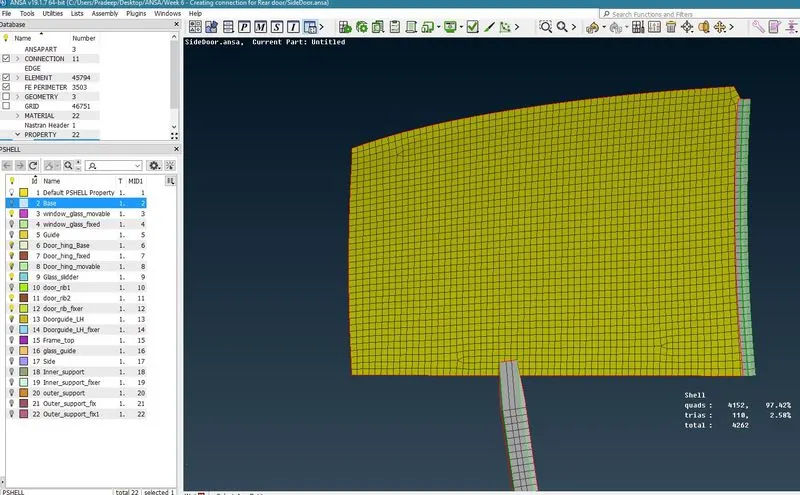
Now deploy RBE2 Cluster connection as what we did in the above.
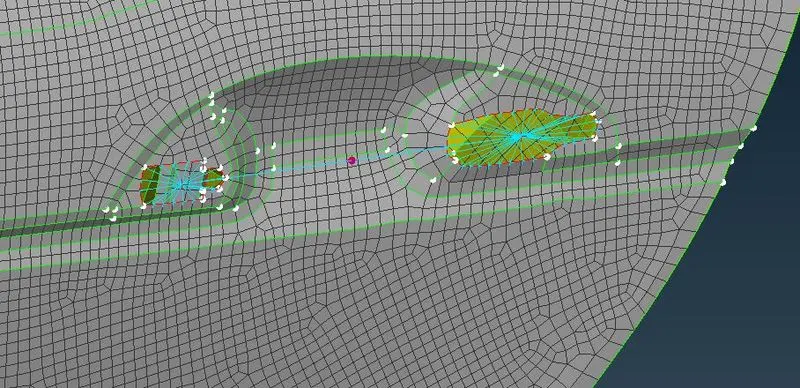
Creating connection for door handle and applying mass
-Create connection between those two RBE2 for that go for RBE2 > Multi node and select both master node of indivisual RBE's.
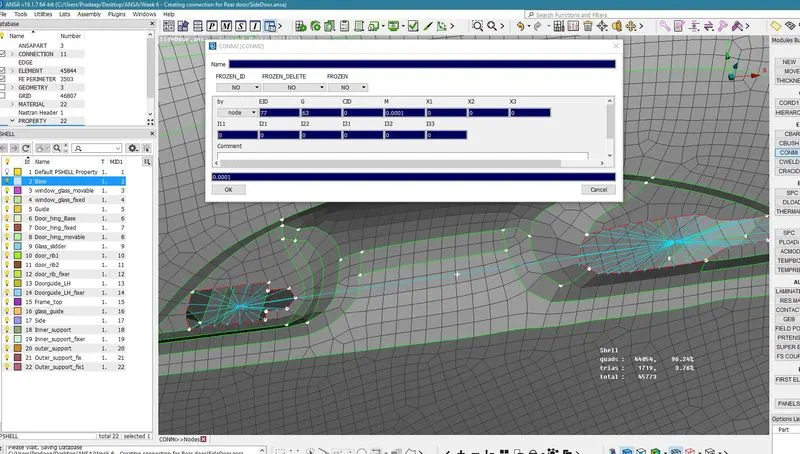
- Go to NASTRAN Deck module CONMi > CONM2 > select master node > middle click
- Here 100 grams= .0001 tonn
- And then the mass is being deployed
spotweld connection:
- To create spot weld, first creat a 3D point.
- Then 3D point into spot weld in utilities > convert > select point.
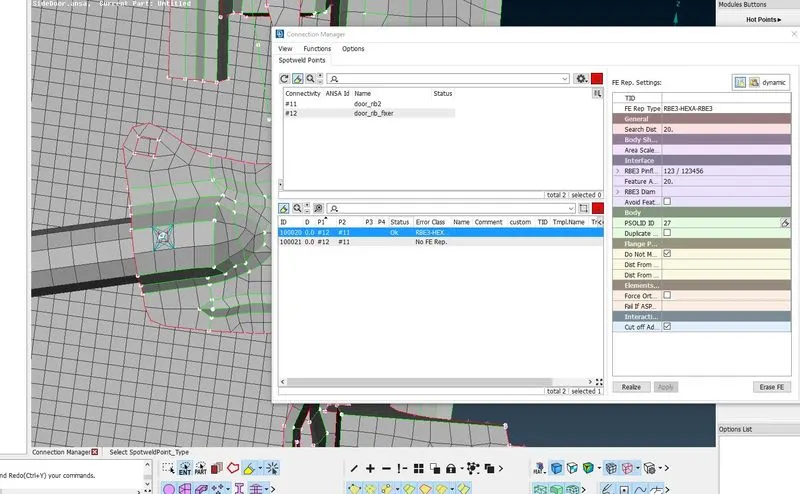
- Now apply and realize the connection to deploy it.
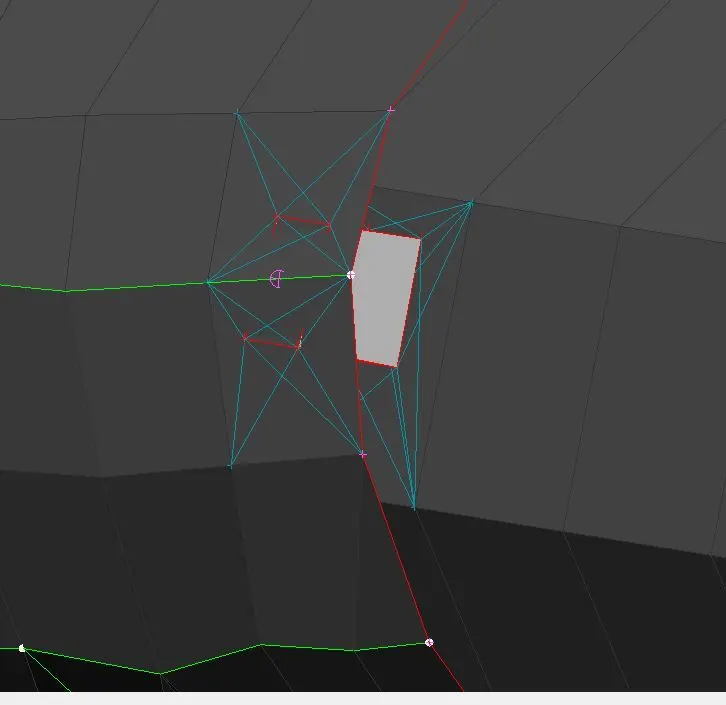
Deploying CBUSH connection:
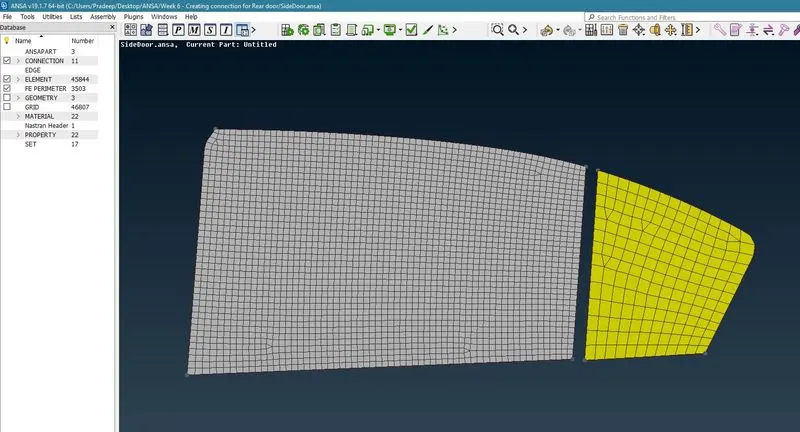
- Go to mesh module > perimeter > Feature2curve > select the element edges > middleclick
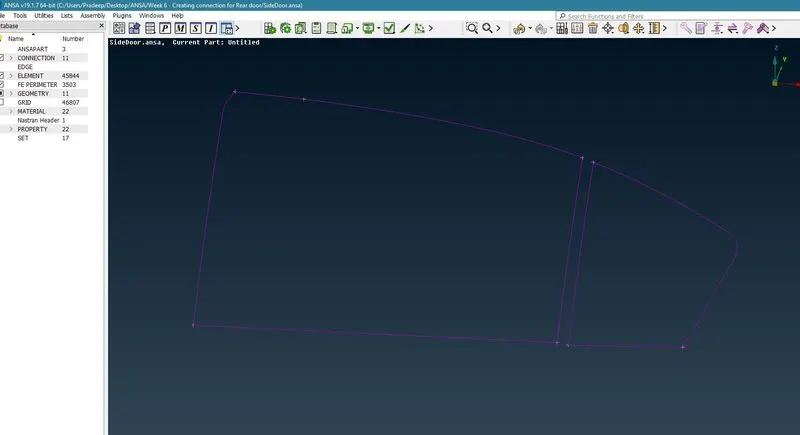
- Now offset these two horizontal lines 10 mm, its assuming the weather strips for both the sides
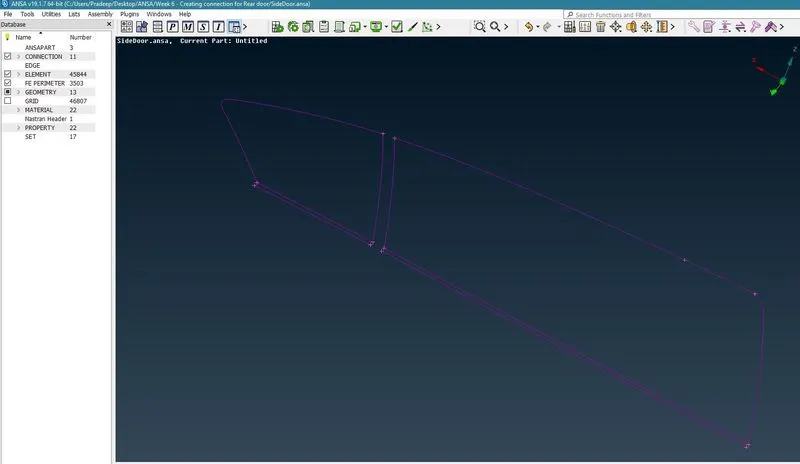
- Now convert this curve to spot line.
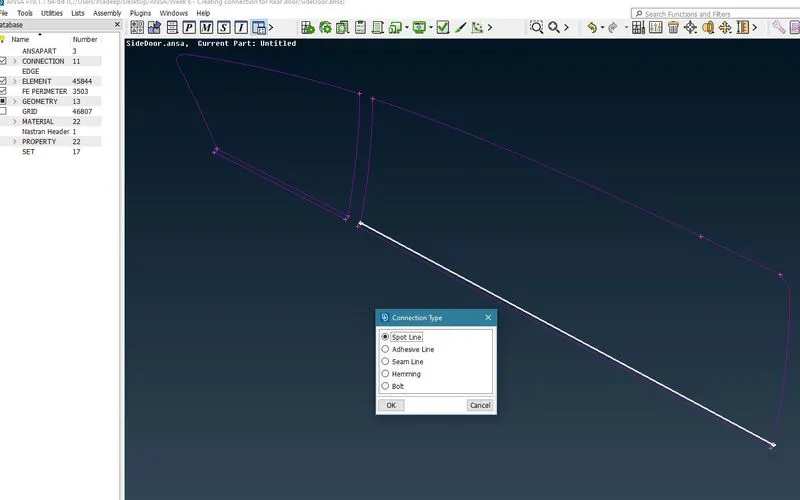
- Now in FE rep settings is shown below.
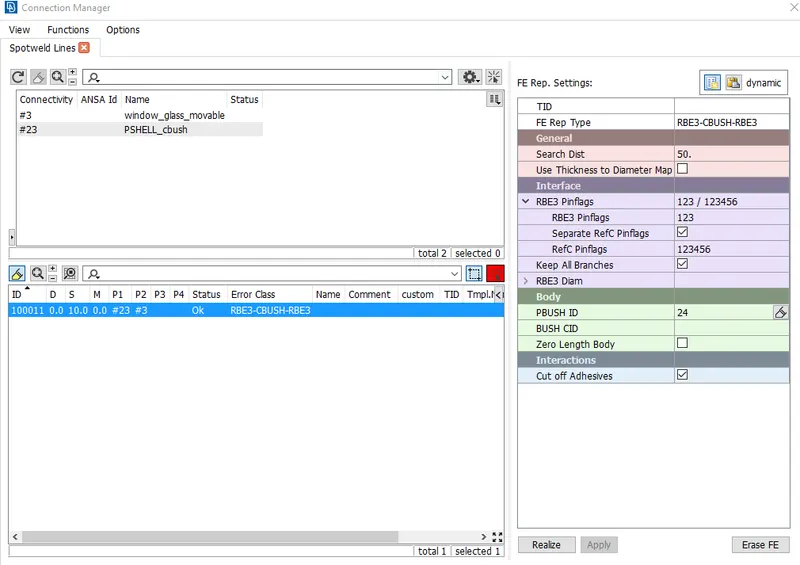
- then realize, do this for all the spotline individually
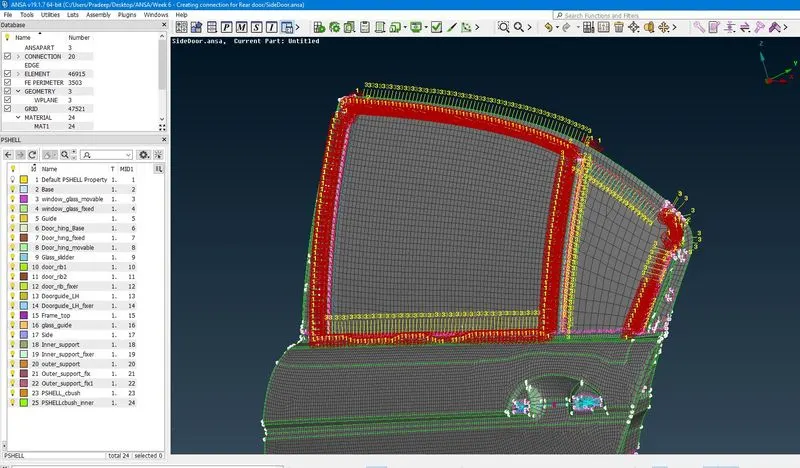
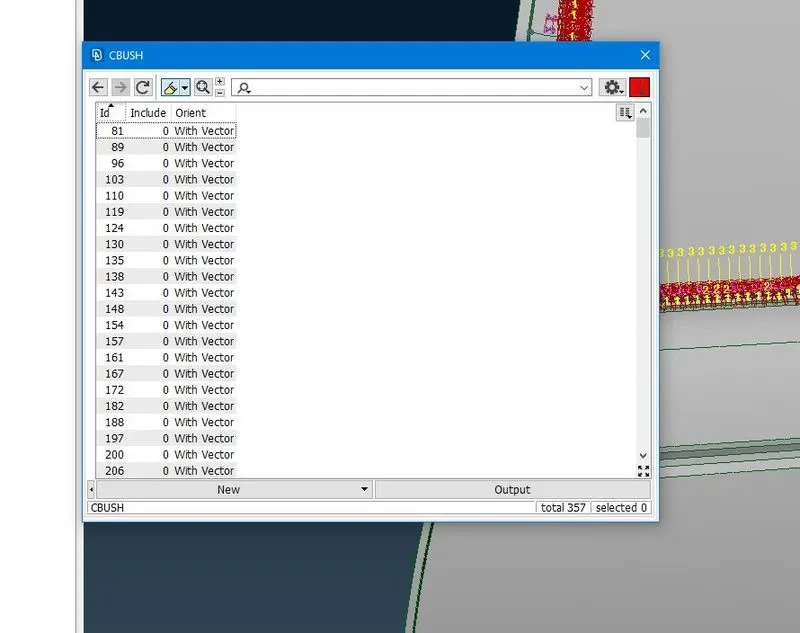
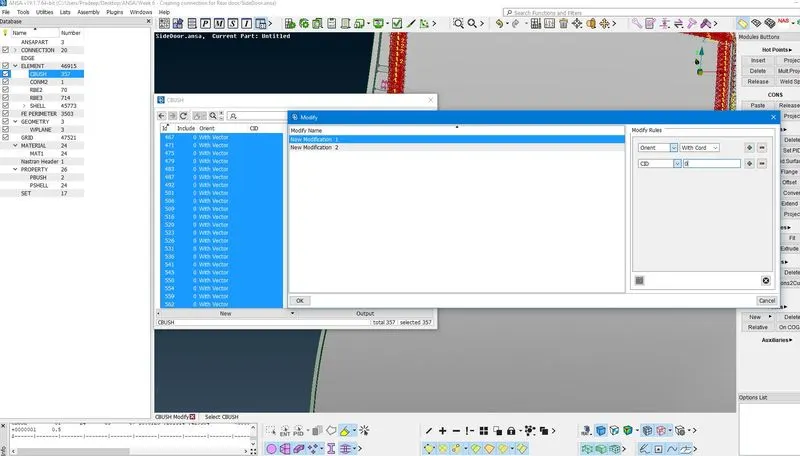
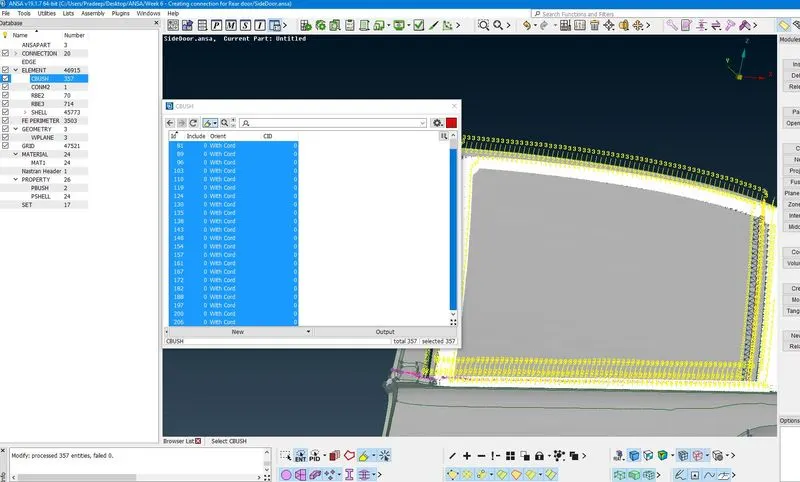
- All the CBUSH are having thier own local orientation which are different. So change the orientation of connections according to global orienation. For that select all the CBUSH connection and modify it, below images for referance.
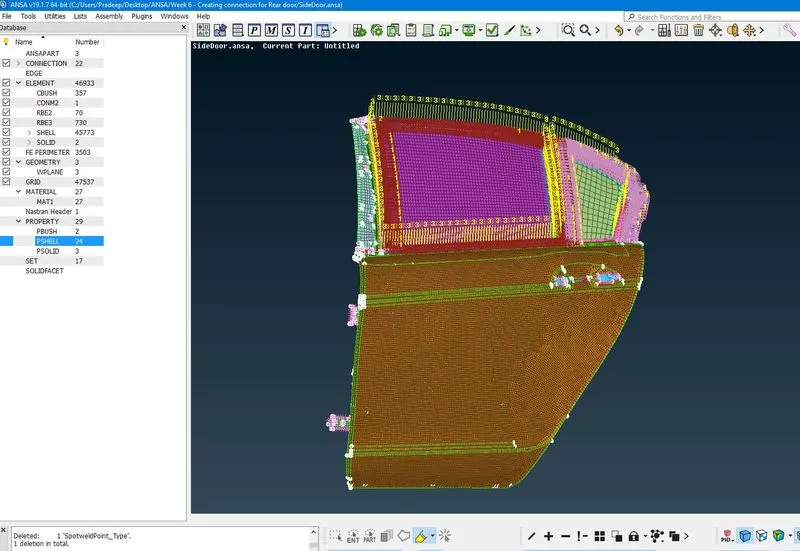
Final model with all connections
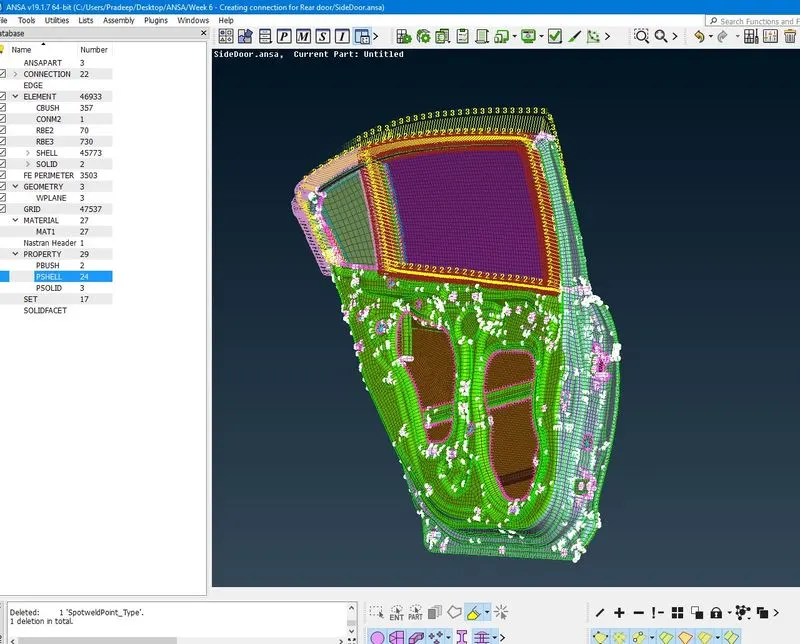
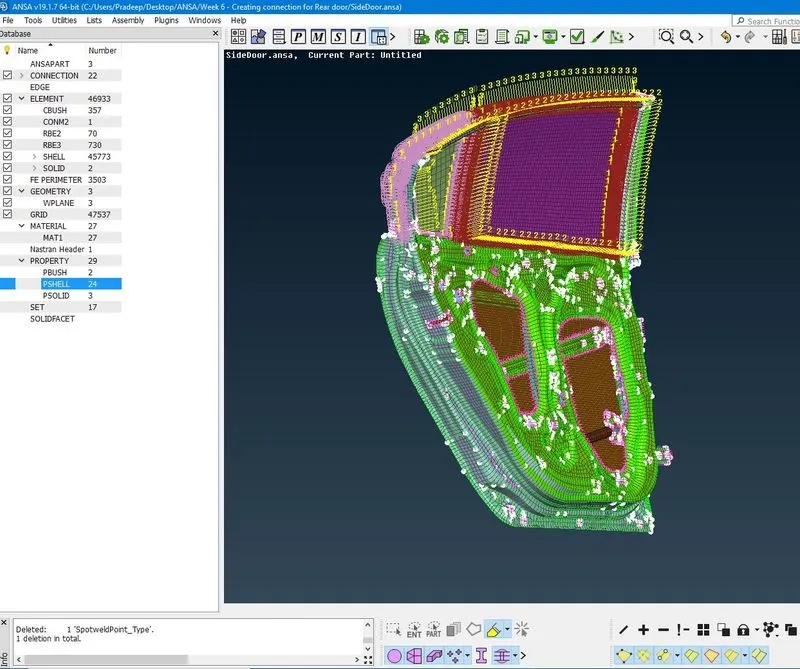
Result:
All the connectors done succesfully with all types like Bolt 2, RBE2 Rigid, RBE2 Cluster & RBE3-CBUSH-RBE3.
Learning outcome:
Learned create 1D elements for bolt joints also to Create RBE2 on door handle and then applying mass on center and to deploy RBE3-HEXA-RBE3 element for the spot weld joint and also in Creating RBE-3 CBUSH RBE-3 elements for weather strips.