Week 6 - Creating connection for Rear door
Aim: For the given Rear door FE model, Create and Apply different PIDs for different components. By using the same technique and the elements as shown in the video, Perform suitable connections.
Procedure:
1. Firstly, in order to set up the more complex connections for the challenge, it is important to differentiate components as the connections may require different PIDs. This entails the first step. The entire model will be separated into different PIDs. This requires creating said PIDs and that can be done via Faces > Set PID in the topo deck. The region is then selected and the middle mouse is clicked to bring up the properties window.
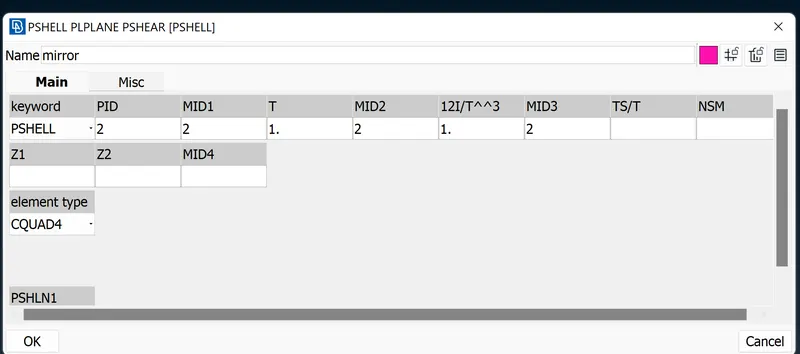
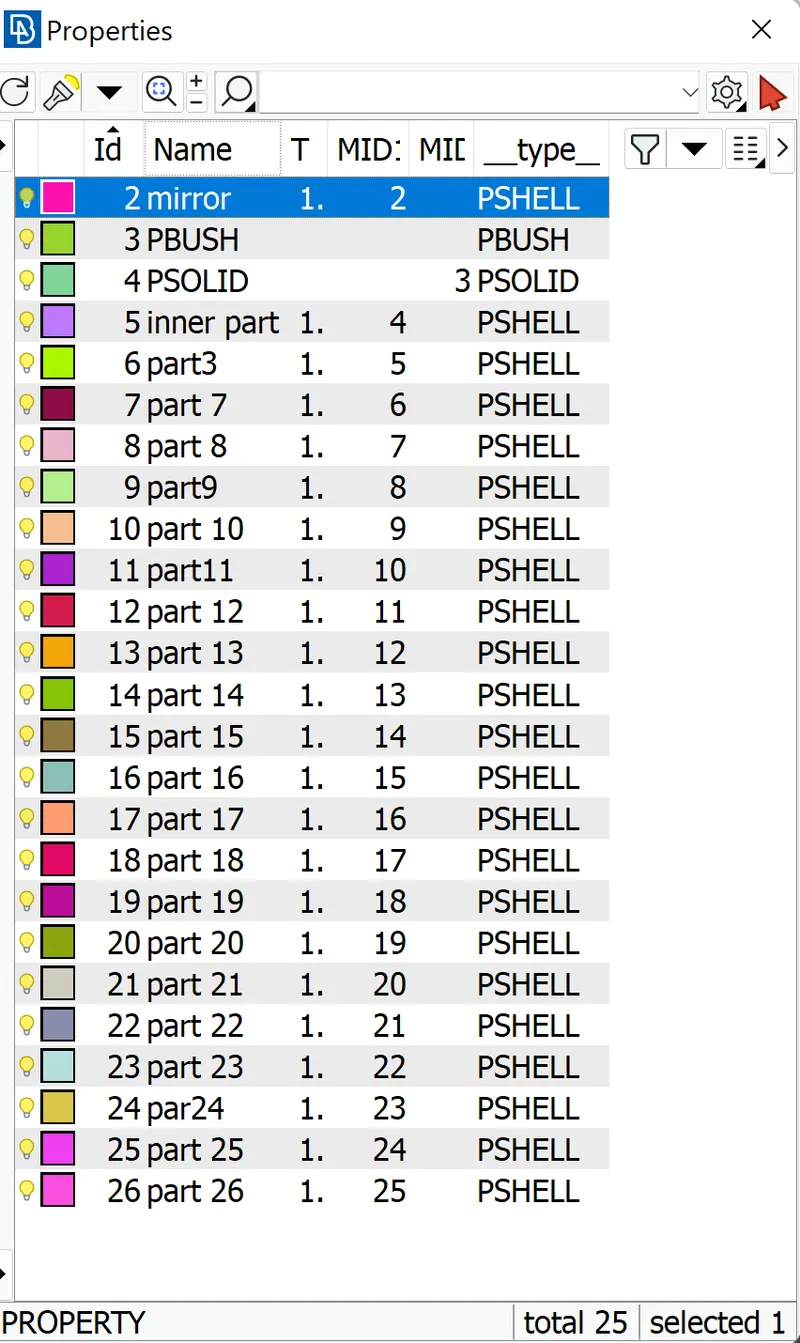
Here, we created the different PIDs for the purpose of the connection.
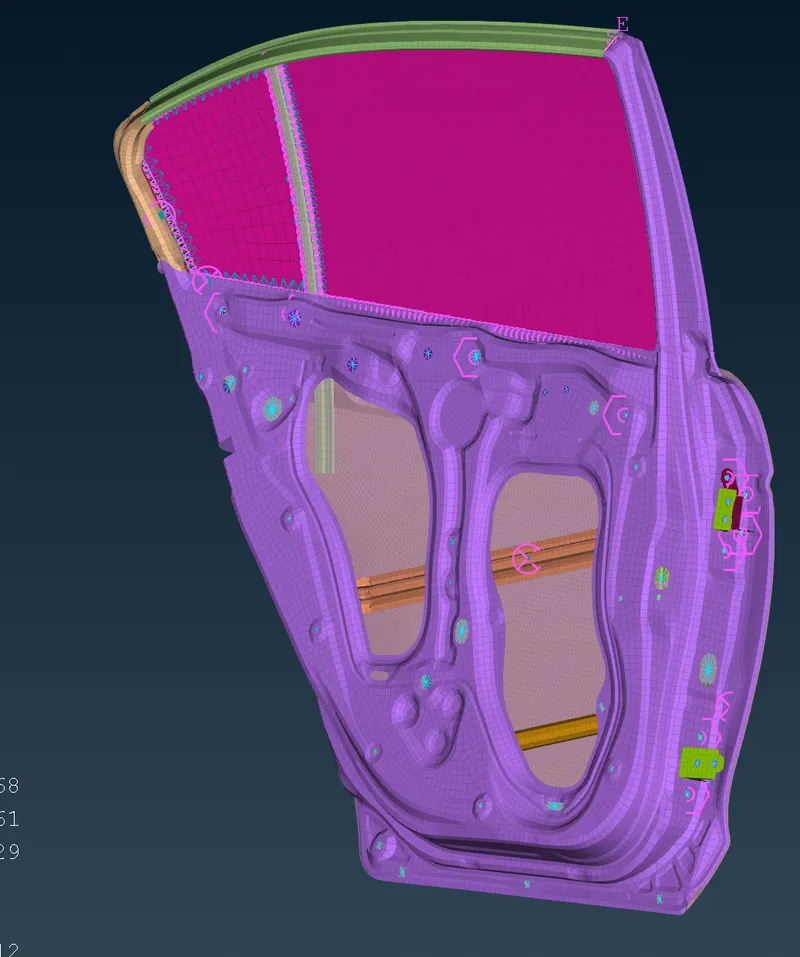
2. After the creation of the different PIDs we have to go for the creation of the RBE2 elements for the bolt connections. The command is goto Nastran deck > elements > RBE2. It primarily has the 'many nodes' and 'two nodes' options. In the following example, we deploy the 'many nodes' option to connect two holes with a single master node. This is merely done by selecting the two sets of nodes surrounding the holes and letting the algorithm create a master node and form connections by running through the straightforward process. This is also known as a cluster node RBE2.
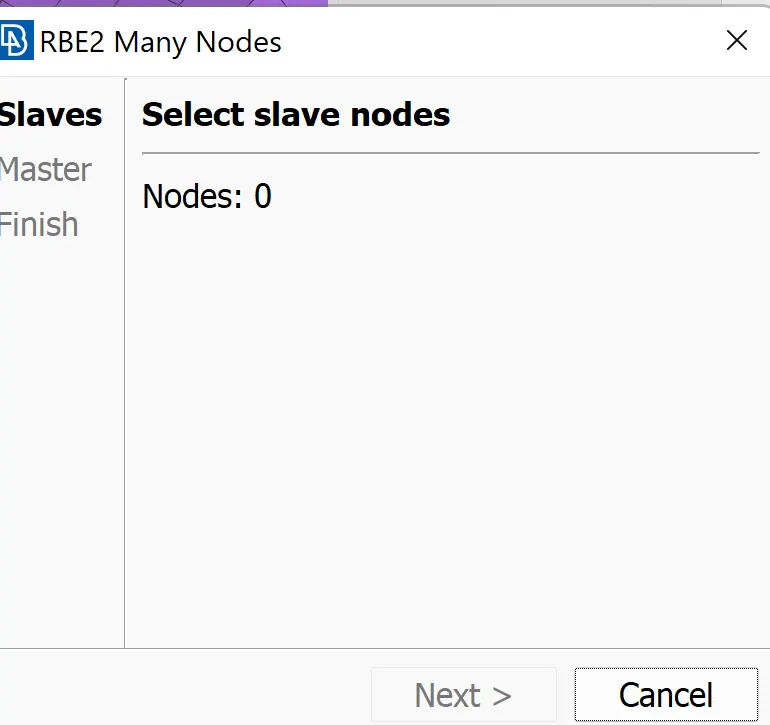
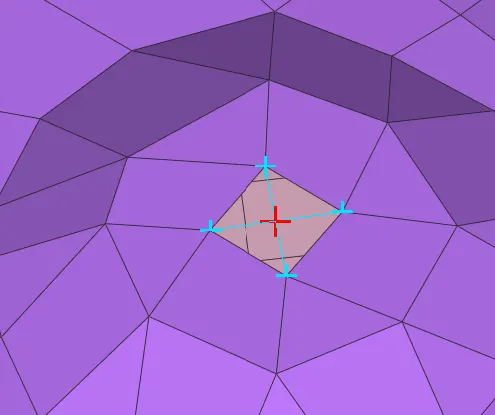
The other one is two node selection. After creating a Rigid from the many node selections we created the master nodes from this master nodes selection we can connect two rigid as bolts.
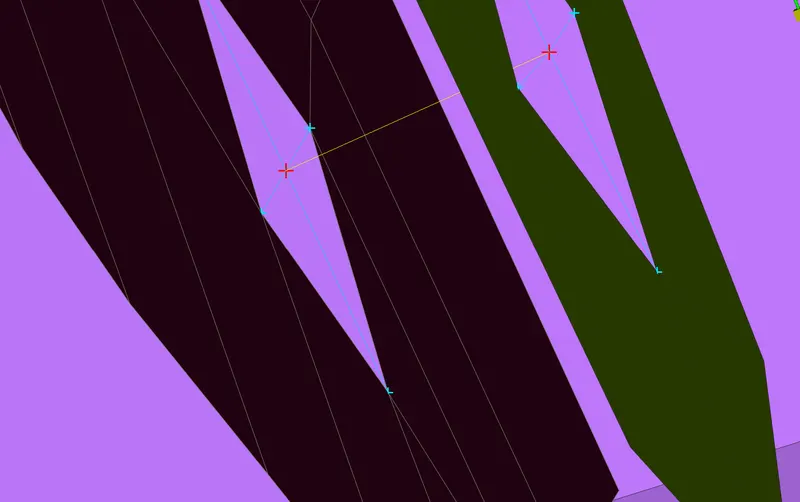
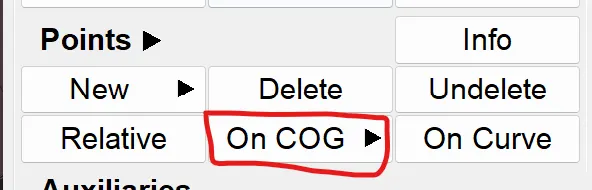
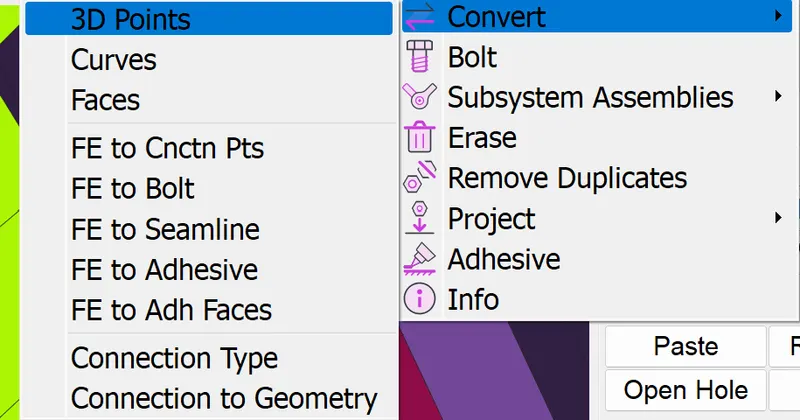
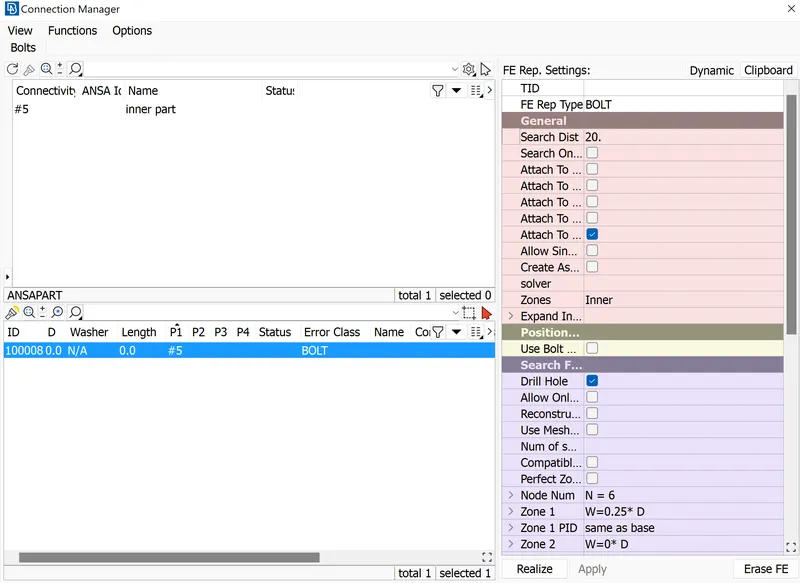
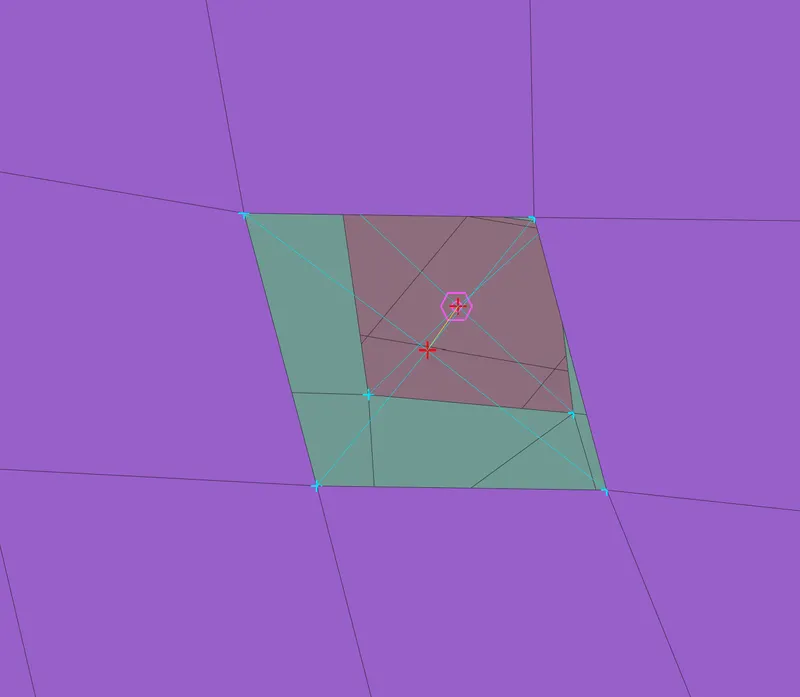
3. The creation of Bolts for the two or more parts is taken for that we have to create the COG point and then convert that COG to Bolt after that we have crate the bolt connection by using the connection manager.
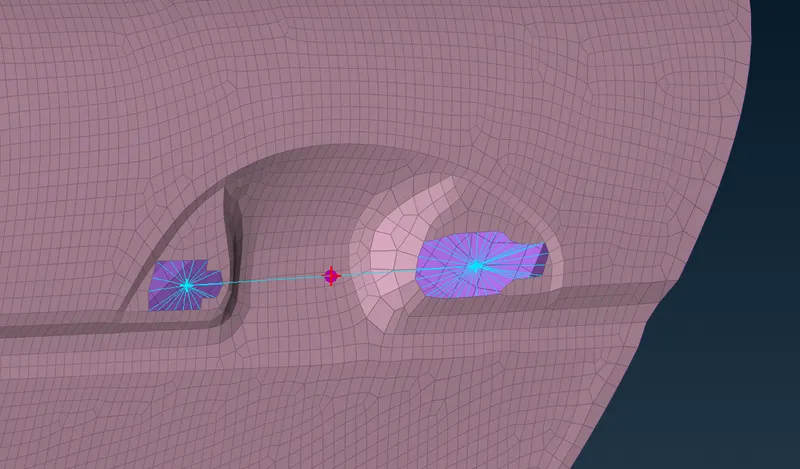
4. Now onto the door handle. In this region, we need to create a connection that applies a mass (to represent the handle). For this, we need to create RBE2 nodes in either handle holes separately (using Elements > RBE2 > Many Nodes)
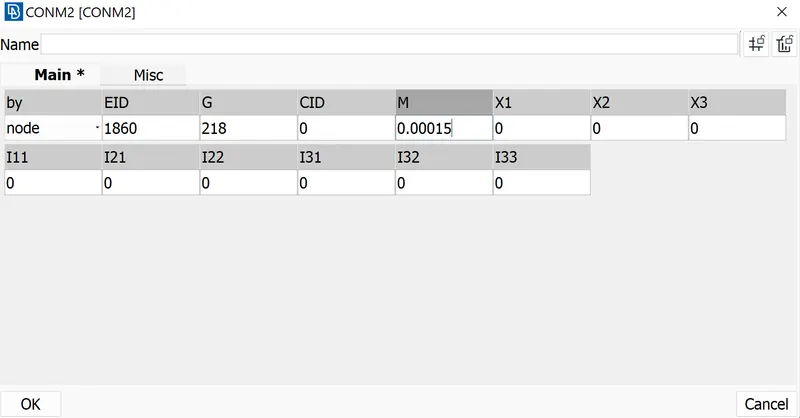
Now, we make use of the Con Mass tool, accessible through Elements > CONMi > CONM2 > Nodes. Then the previously mentioned master node is selected. This is where the mass of the handle will be concentrated. After proceeding, the algorithm lets us assign the mass ('M' in tonnes) as shown below:
5. Next we have to go for the weld connections. In the different parts, we connected with the spot weld connections. In the spot connections, the process is the same as bolts connections here, FE representation is used as RBE3 HEXA RBE3 element. A suitable search distance is assigned. P1 would be the same component on which the spotweld point is situated and P2 would be the layer below.
6. First we have to create the point and then converted into Spot weld.
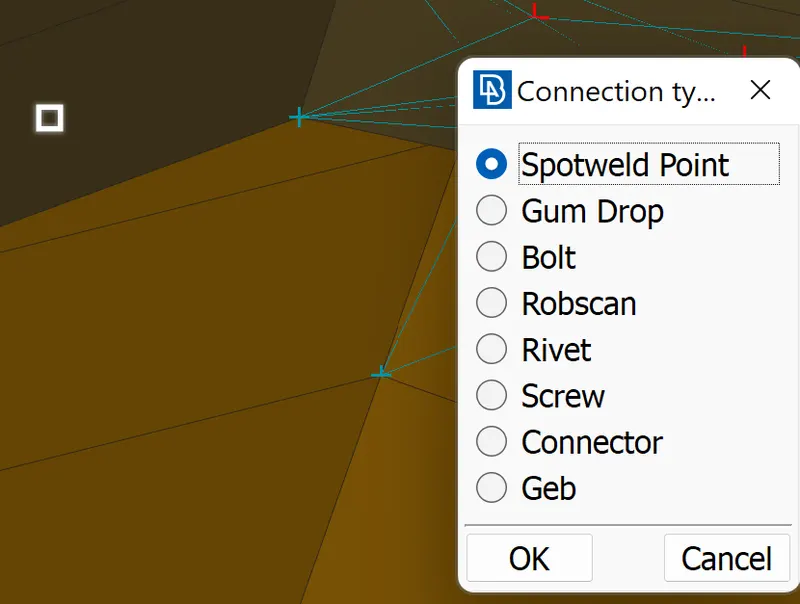
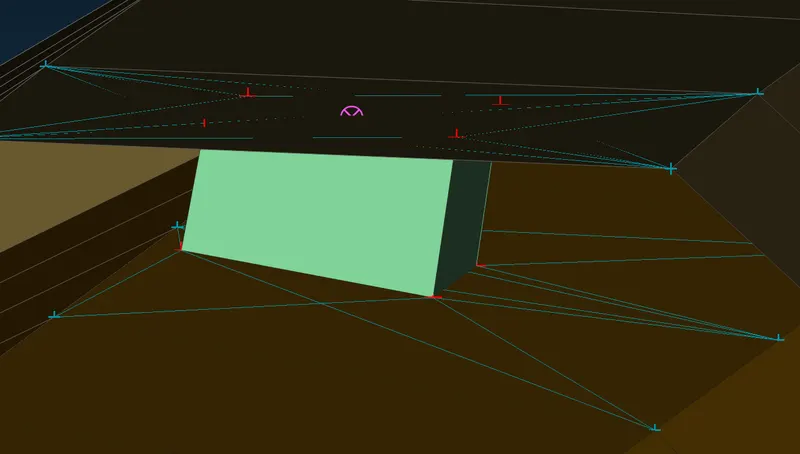
6. The last type of connection involved in this challenge would be that of CBUSH RBE3 elements, which will be used wherever window weather strips (seals used to keep interior air in and external elements out) are involved.
To begin, the perimeter of the glass components is used to create curves. For this, Perimeters > Feat2Curve tool is used to select and create them. These created curves are then used to create a single set of offset copies. This is considering connection requires setting up on either side of the glass. We can make use of the Transform > Copy tool for this.
8. Convert the curve to the spot line with the command curve > spotline. Then have to connect the parts with help of the connection manager. i.e select S > P1 >P2 . select FE type as RBE3-CBUSH-RBE3.
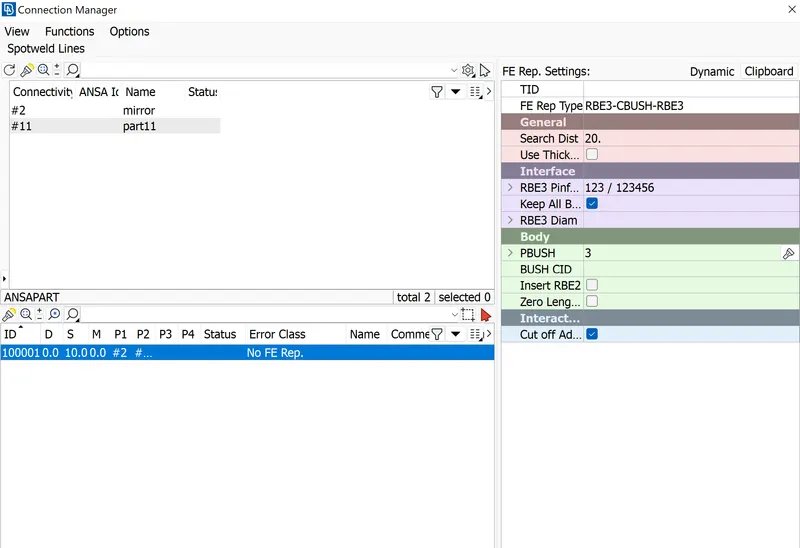
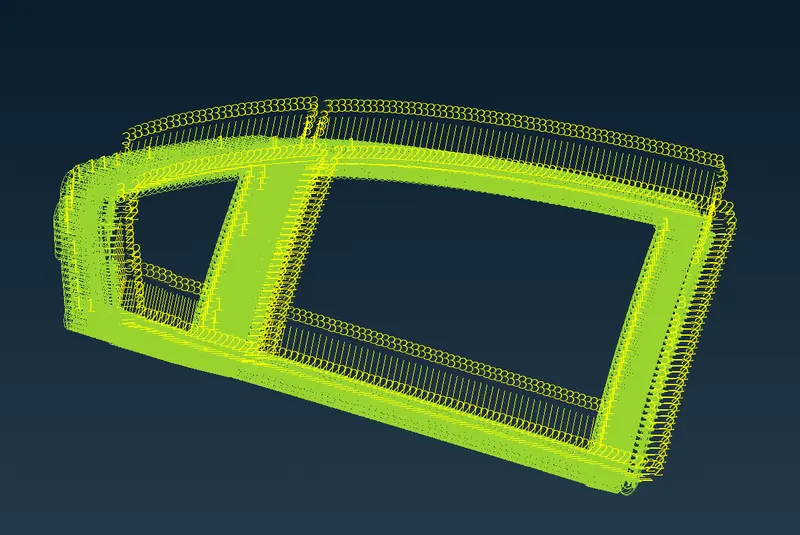
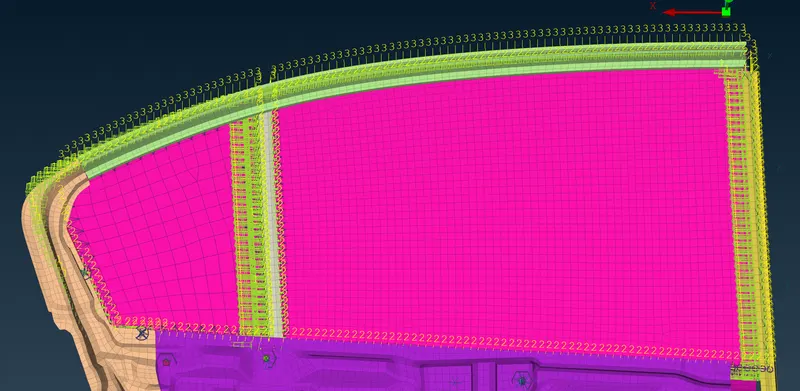
9. After this process is repeated for each spot line created, we need to reorient them since they use a local coordinate system which is different from the global coordinate system.
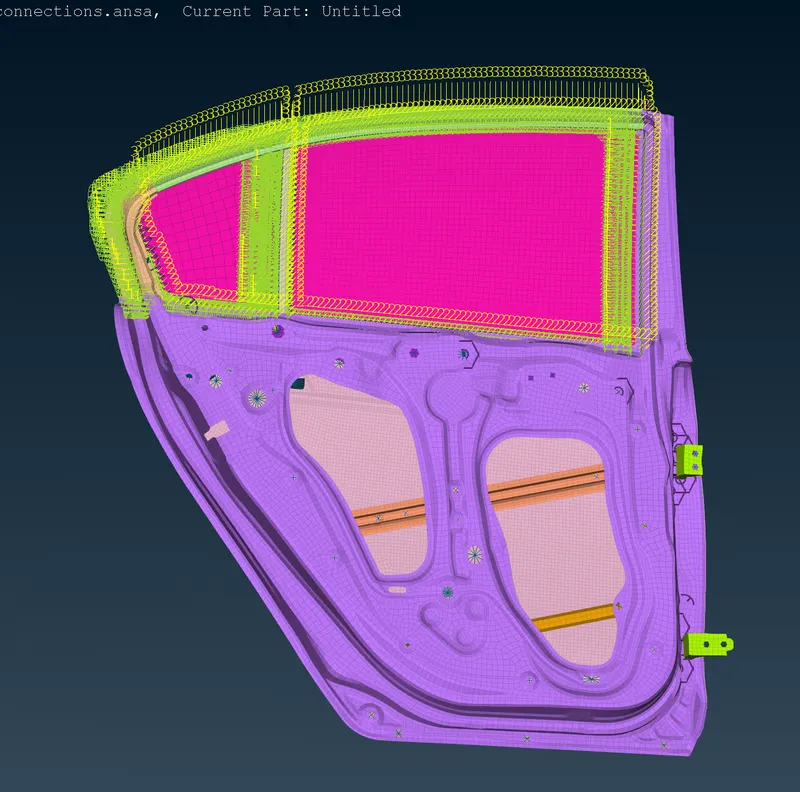
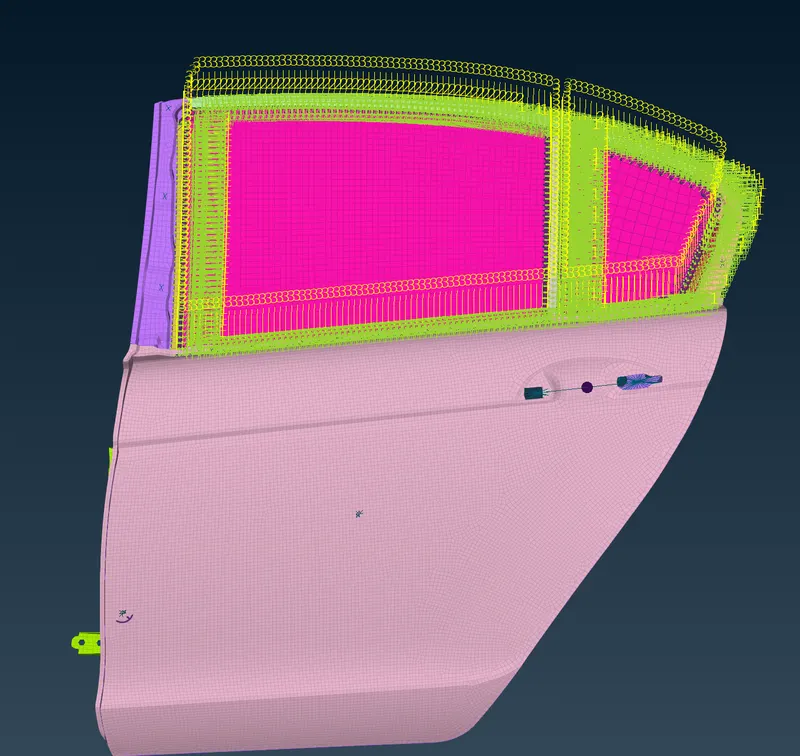
Final model:
LEARNING OUTCOMES
1. Learned about various connections available in the NASTRAN deck.
2. Learned to convert curves and points into connection lines/points.
3. Learned to assign properties to connections and edit said connections as per requirements.
4. Learned about the concept of weather stripping and its importance, along with the concept of tailor welds.
Conclusions:
The different types of connections have done on the rear door with assigning different PIDs.