Week 6 - Creating connection for Rear door
AIM:
To create connections for the given rear door FE model.
PROCEDURE:
STEP 1:
Geometry Clean up
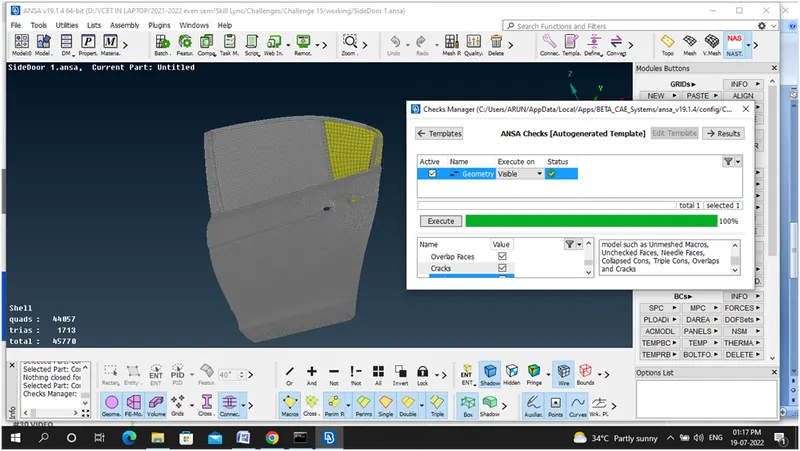
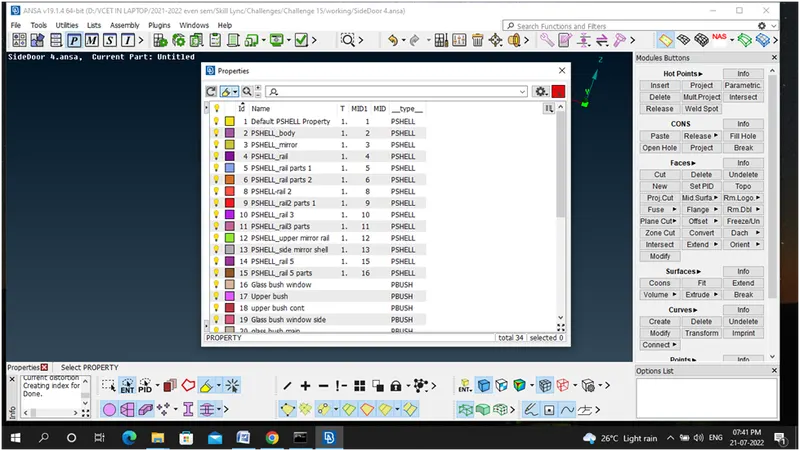
STEP 2: Create separate PIDS
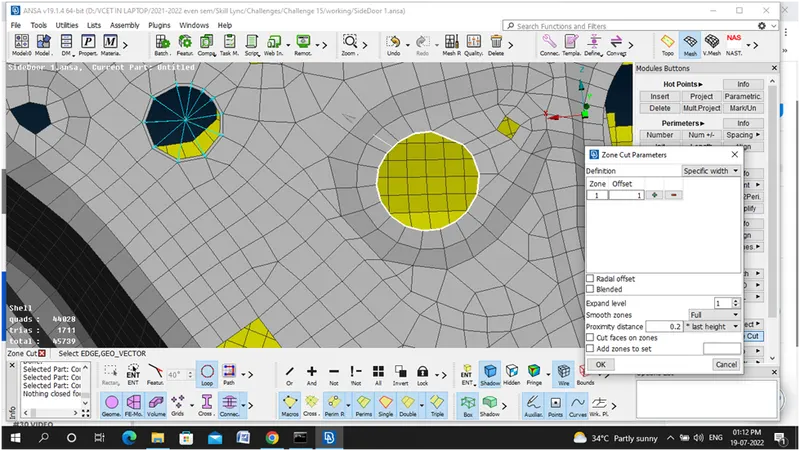
STEP 3: create Zone Cut
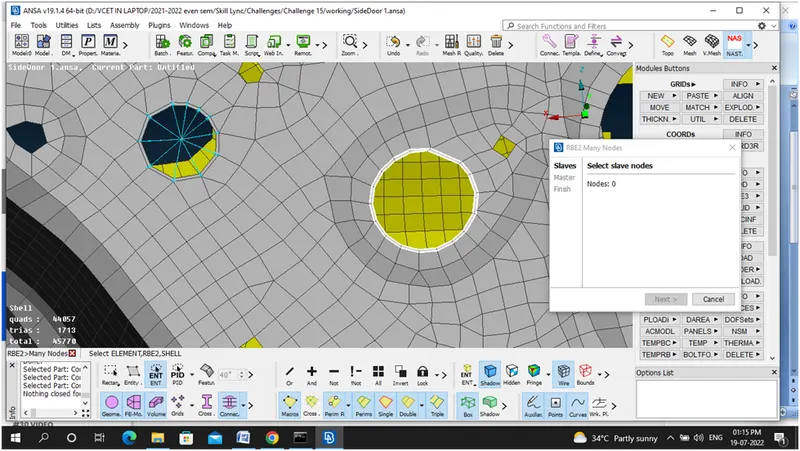
STEP 4: Creating RBE2 element for rigid connections (Bolt and nut representation)
STEP5: Create Hinge by RBE2-Two nodes –Degrees Freedom Represent as -12345
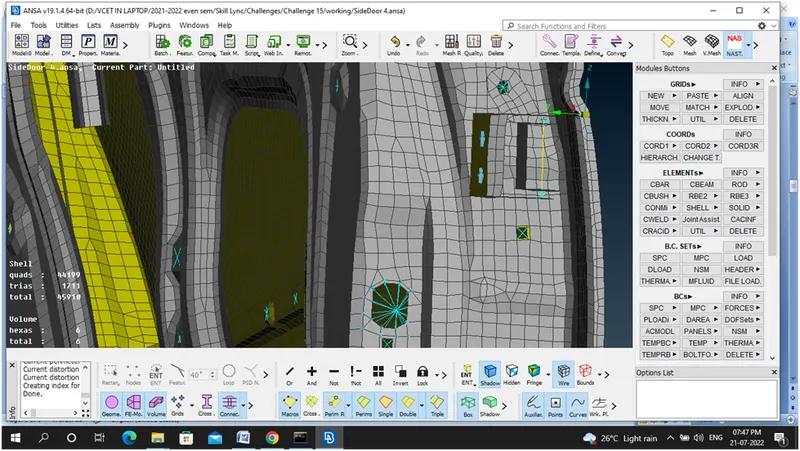
STEP 6: Generating separate connection ids for connections elements
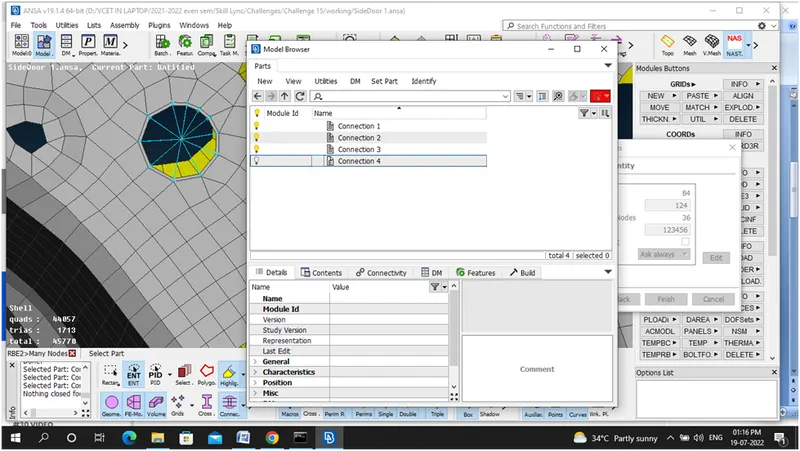
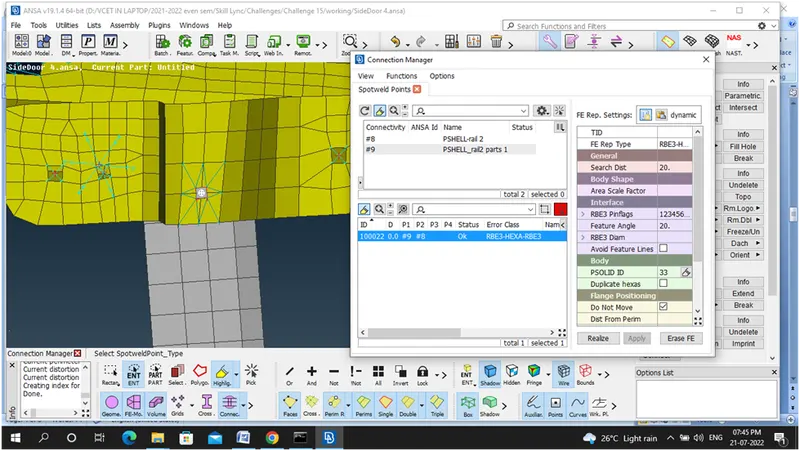
STEP 7: Spot Weld -Points-COG, Convert 3D points to Spot Weld, Spot weld to assign Element RBE3-HEXA-RBE3
STEP 8:Creating mass for handles – Represent in Tones
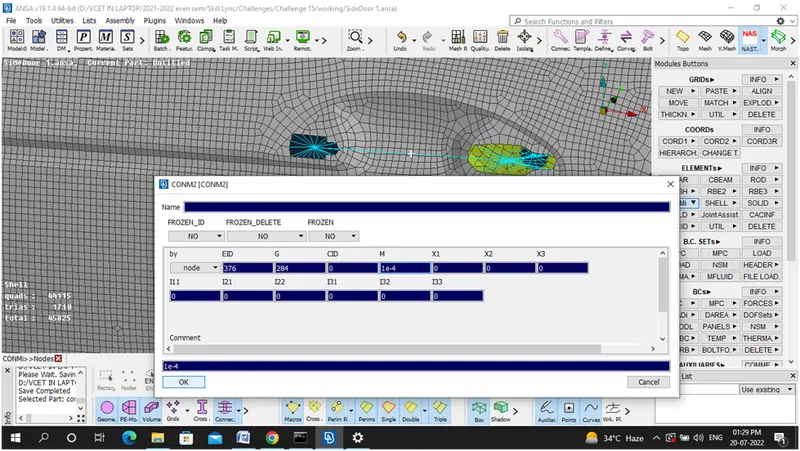
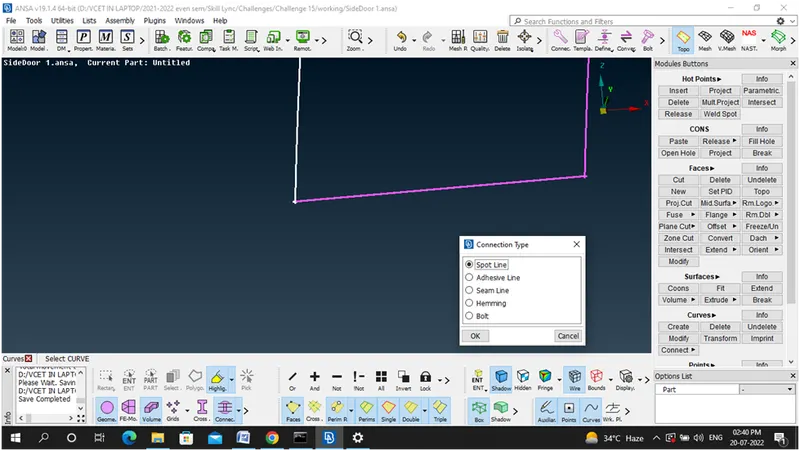
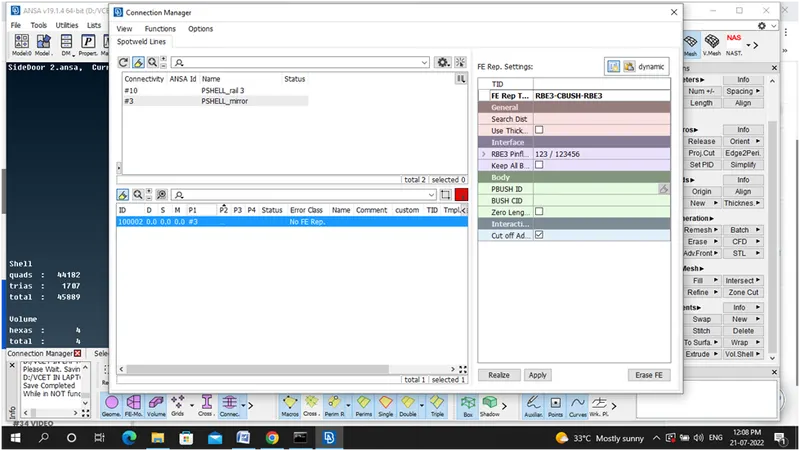
STEP 9: Creating weather feeding,Curve created convert it to seamline, Seamline to specify element –RBE3-CBUSH-RBE3.
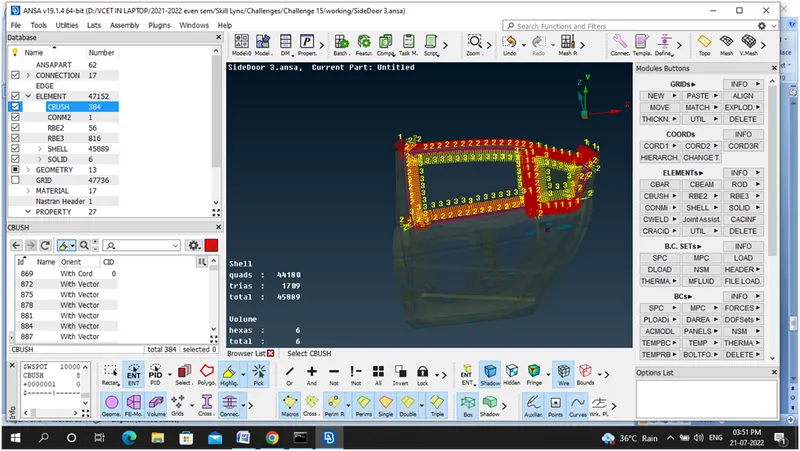
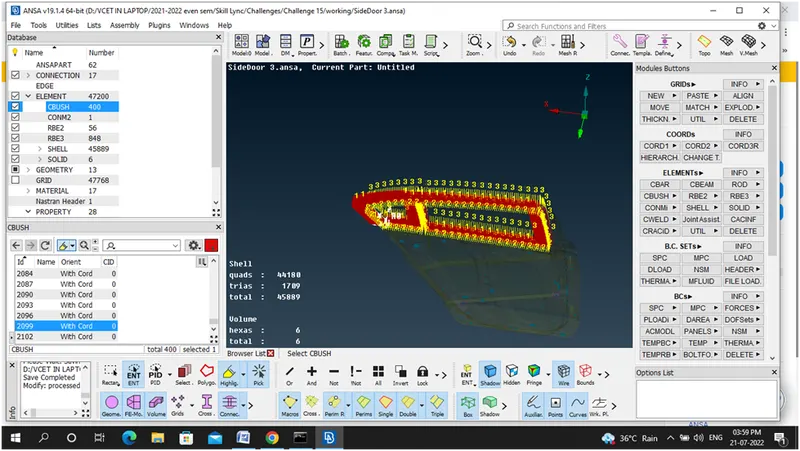
STEP 10: Changing the orientation
LEARNING OUTCOMES:
- Importance of RBE2 Element Understood
- Importance of RBE3-HEXA-RBE3 Element Understood
- Importance of RBE3-BUSH-RBE3 Element Understood
- How represent the bolt and nut setup, spot weld setup and weather feed setup learned
CONCLUSION:
Connections for the Rear door FE model was learned successfully.