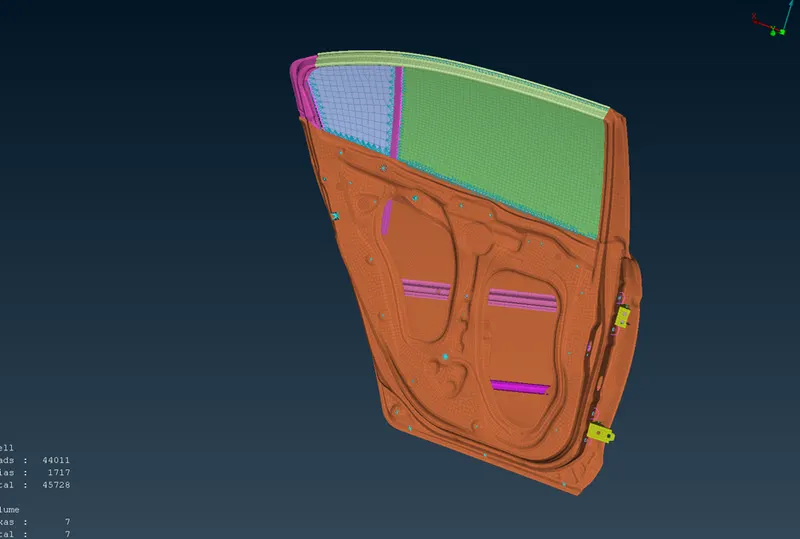
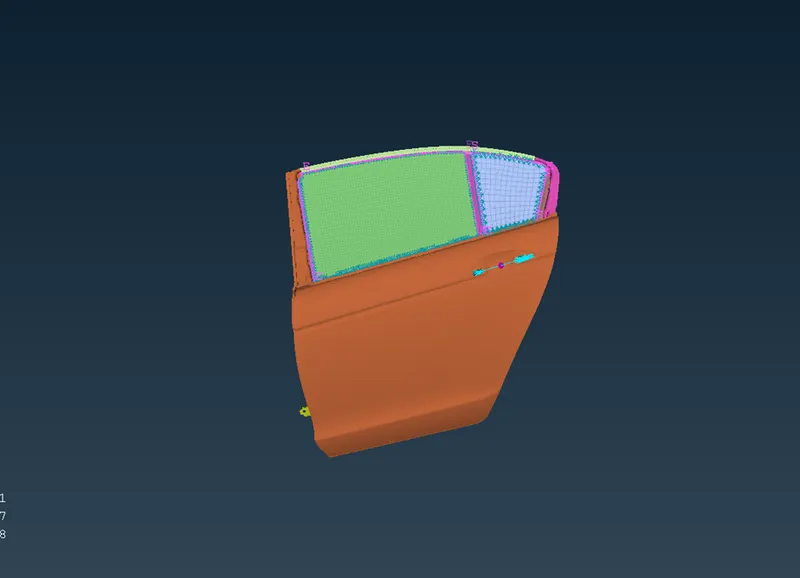
Week 6 - Creating connection for Rear door
Aim:
For the given Rear door FE model, Create and Apply different PIDs for different components. To generate the 1D connections in NASTRAN deck for diffrenet type of joint.
Procedure:
1. Import the cad model in ANSA.
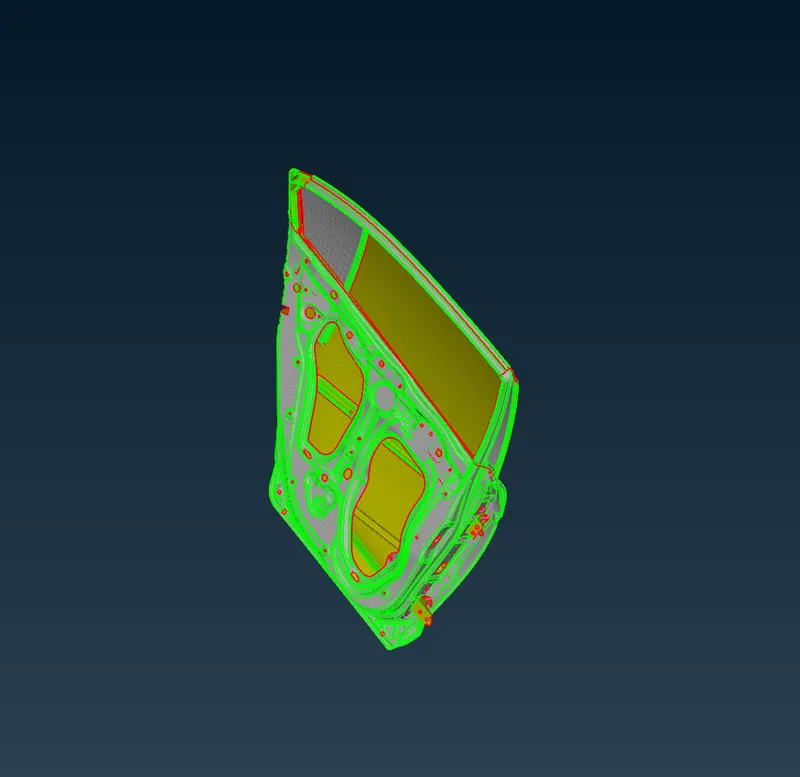
2. We have to set the different PID's for every FE component.
Setting PID go to Mesh>>Macros>>Set PID>>select elements for Same and set new PID's. 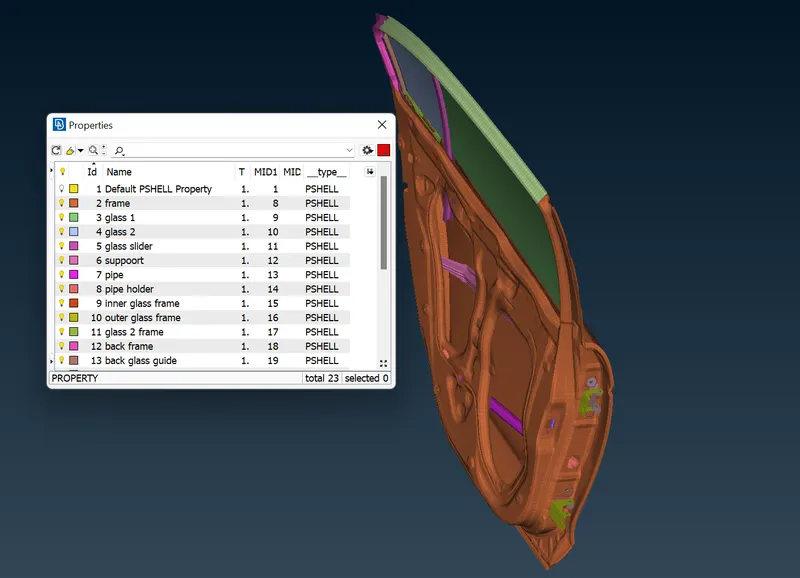
3. Making of Bolt joints.
- From topo=>points=>On COG create the point at the centre of the holes.
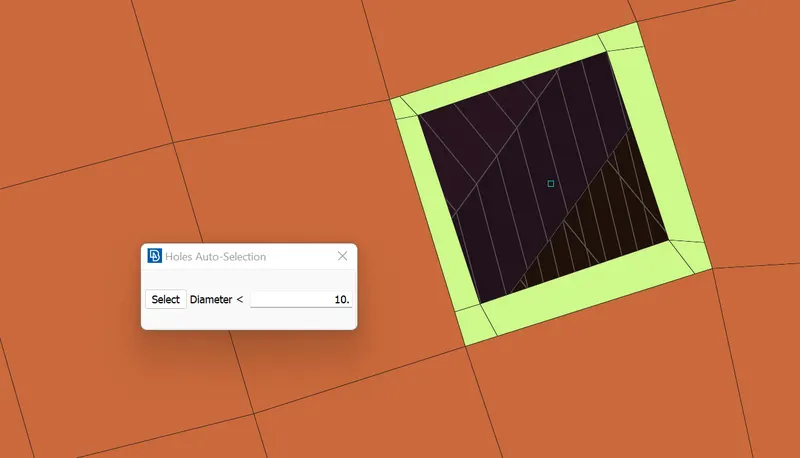
- Then the 3D point is conveted as a BOLT.
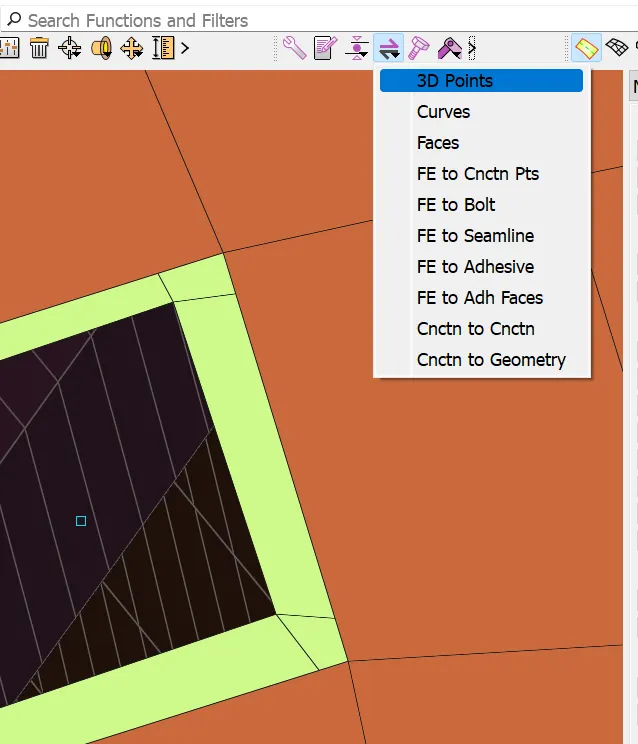
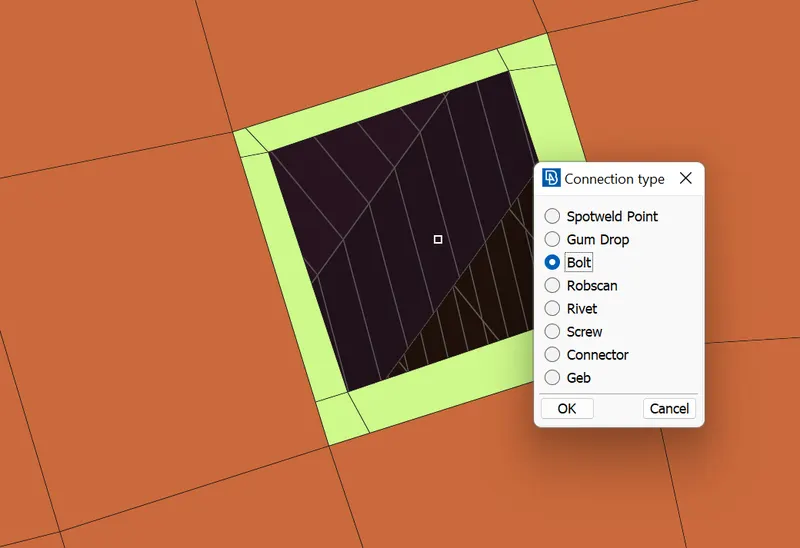
- Here the point is converted as bolt.
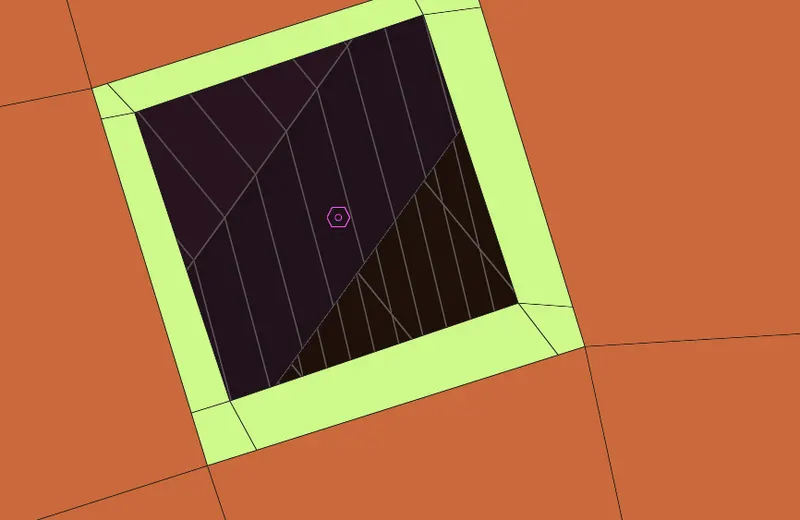
- Go to the connection manager. make the connection of the bolt.
Add the connection PID which want to connected by the bolt.
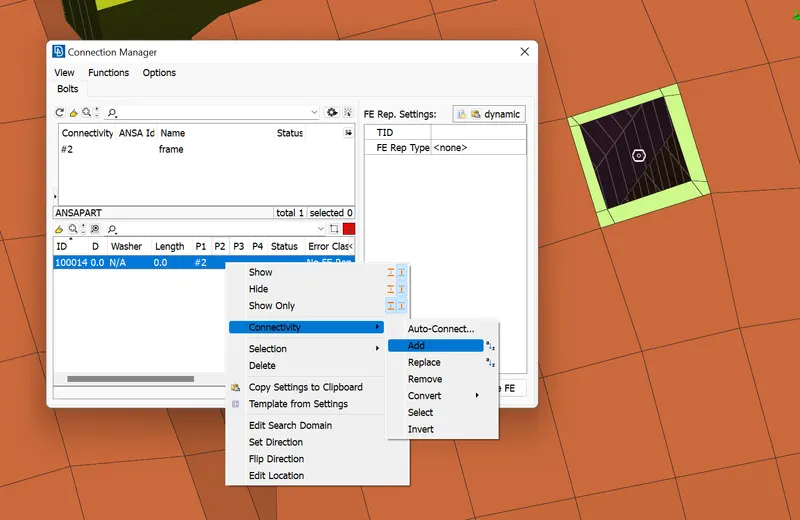
- Here we selecting the FE represtation type.
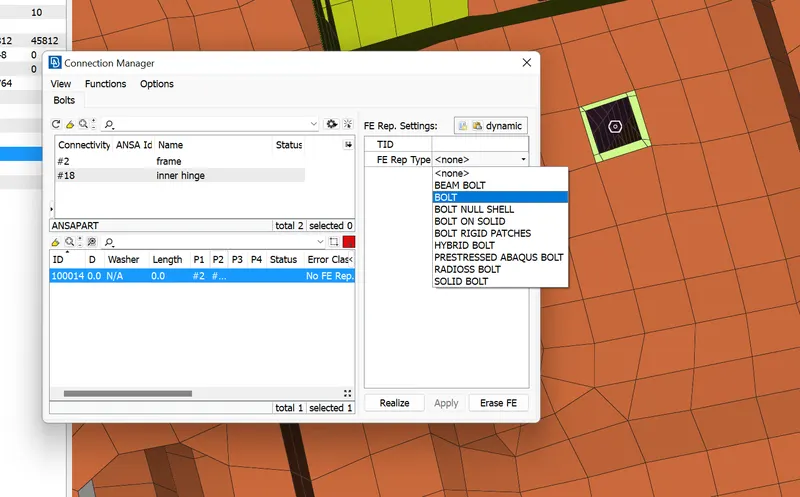
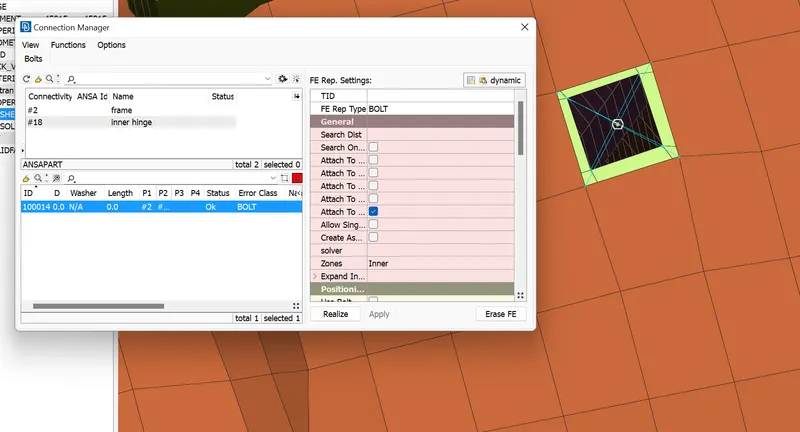
The connection betweent the frame and inner hinge is confirmed as the Bolt.
- Make Apply=>Realize the bolt connection is created.
4. Making the Hinge support.
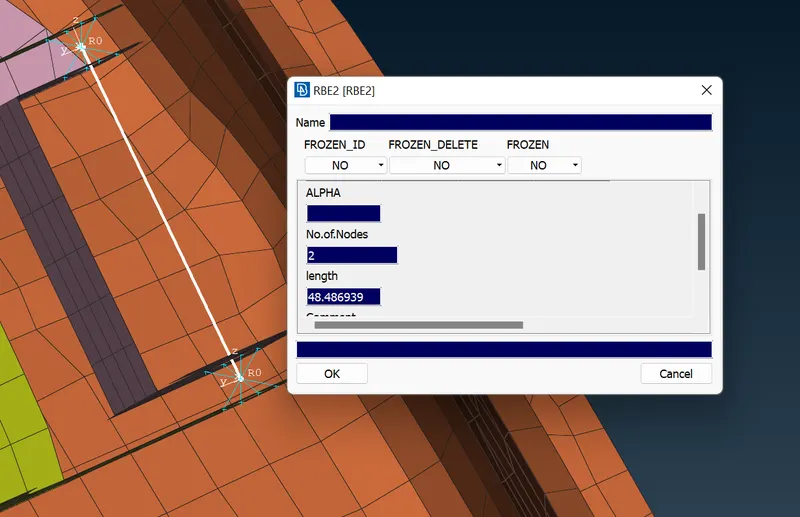
- For creating the hinge support we have to first create RBE2 connection, singally or by cluster.
- Go to Nastran Deck>>Elements>>RBE2>>many nodes select nodes near hinge support region.
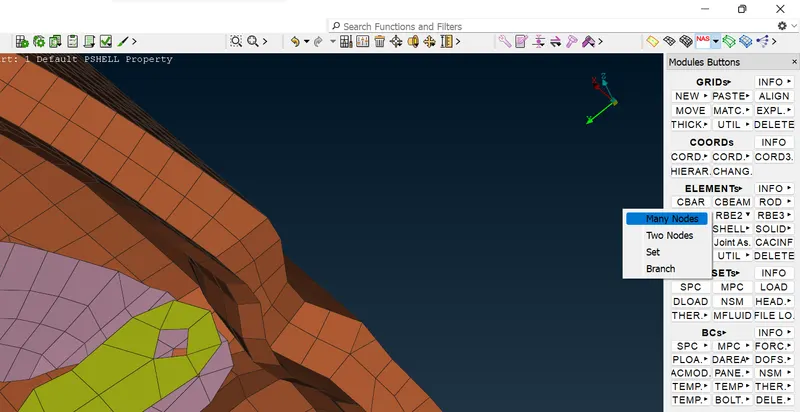
- we are going to create cluster RBE2.
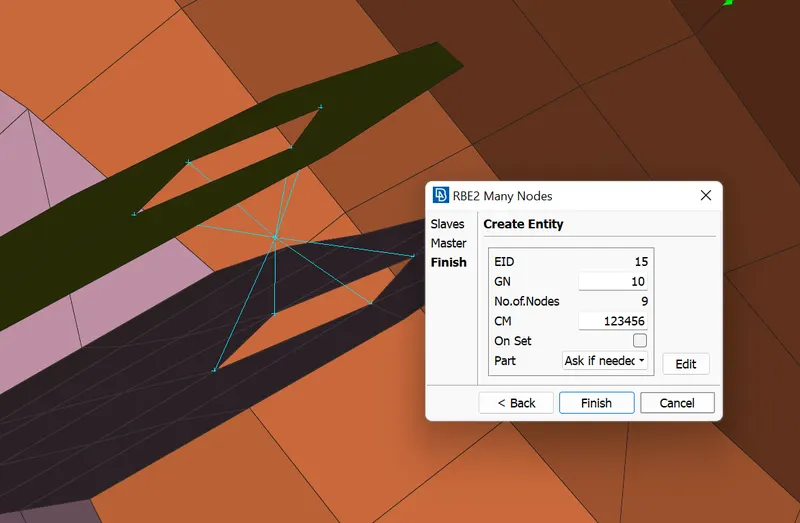
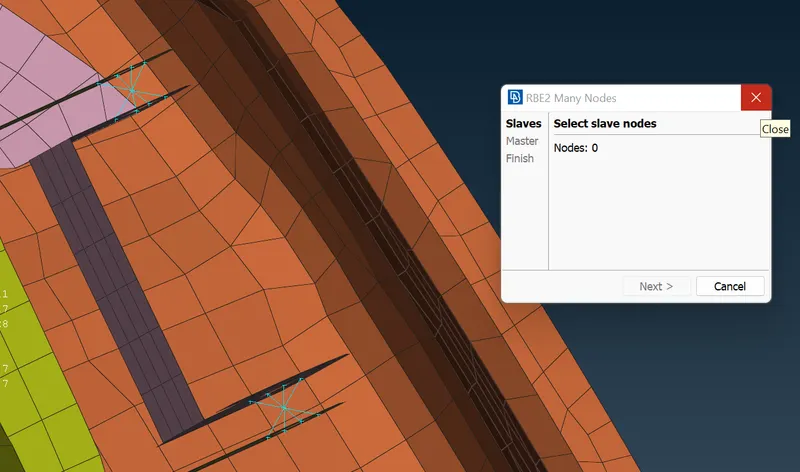
- Now we have to create the hinge joint for that we have select two nodes from RBE2.
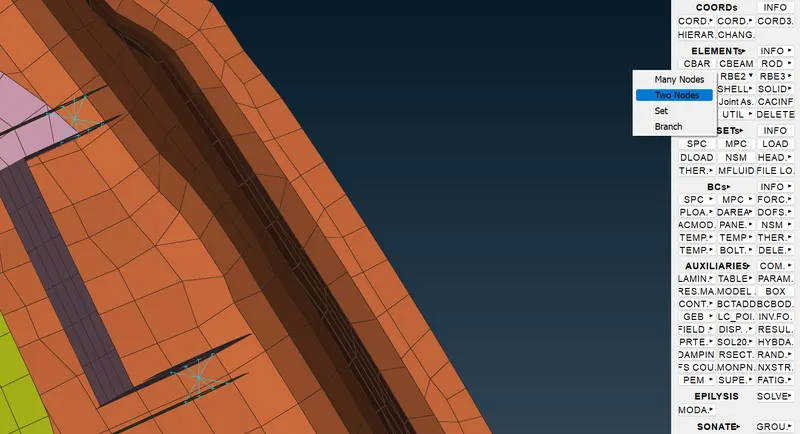
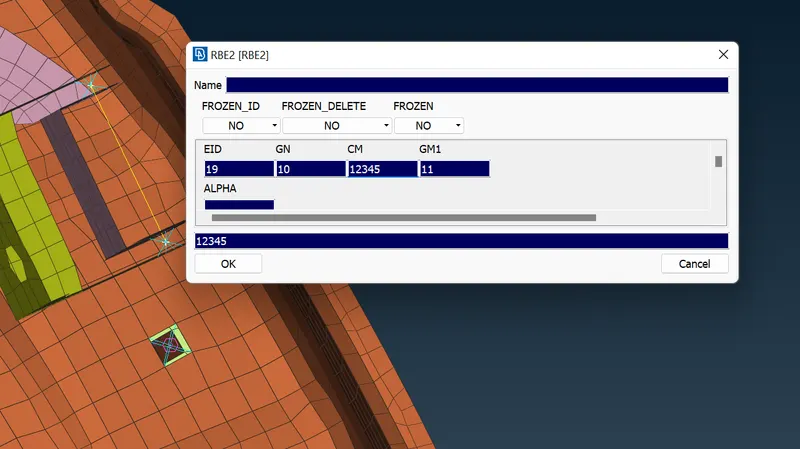
- As it is a hinge support we have to remove rotational DOF in Z-axis as it is going to rotate in that direction.
5. Making of Spot Weld.
- To create spot weld joint we have to create first the 3D point near joint for that go to topo>>points>>on COG>>select faces and it will be created.
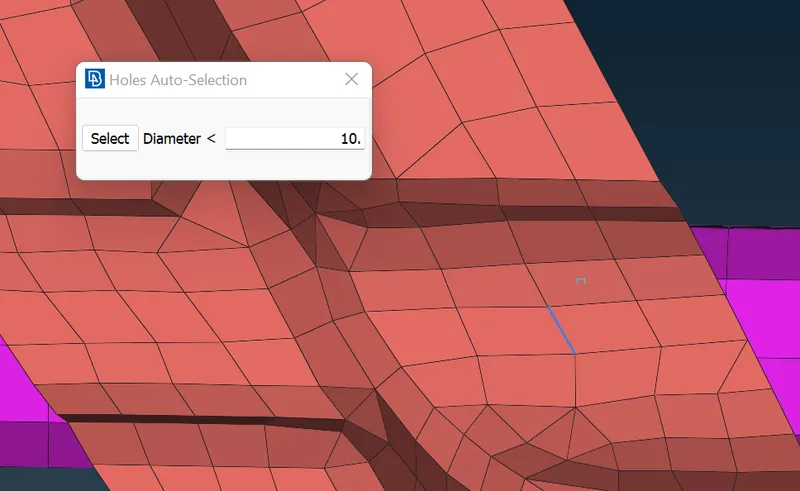
- Now go to assembly>>convert>>3D points>>select the point>>click on>>spot weld point.
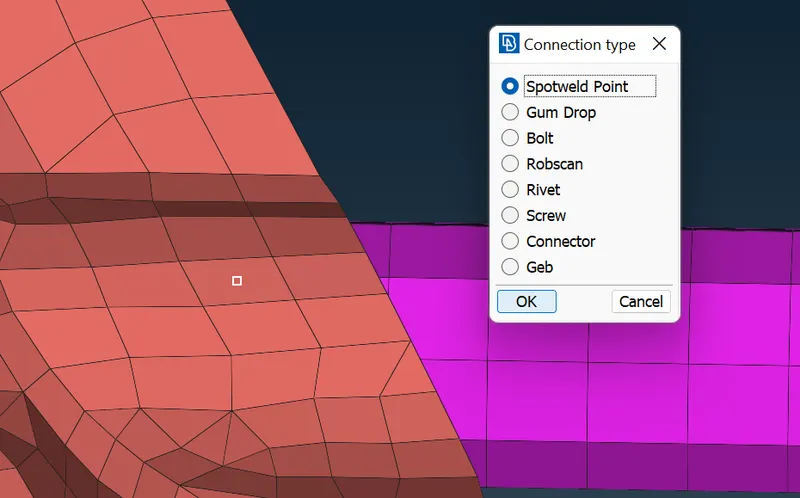
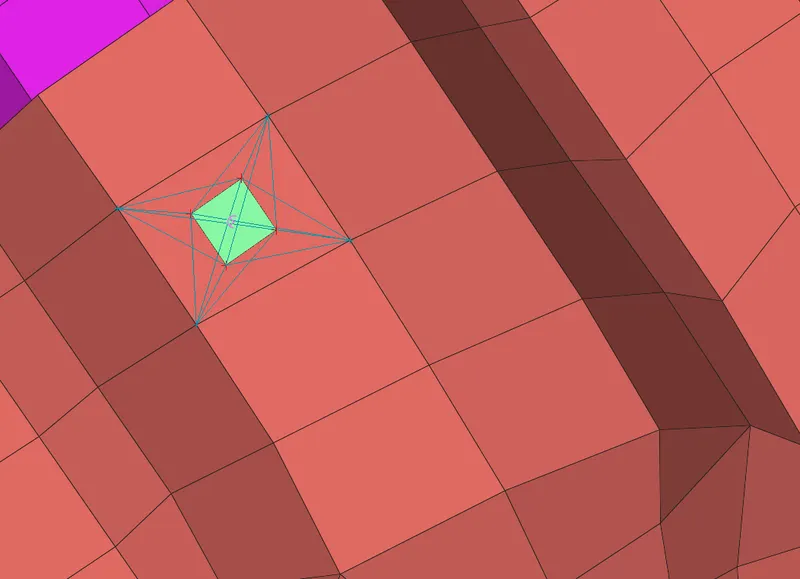
- Here the spot weld Shape has been created.
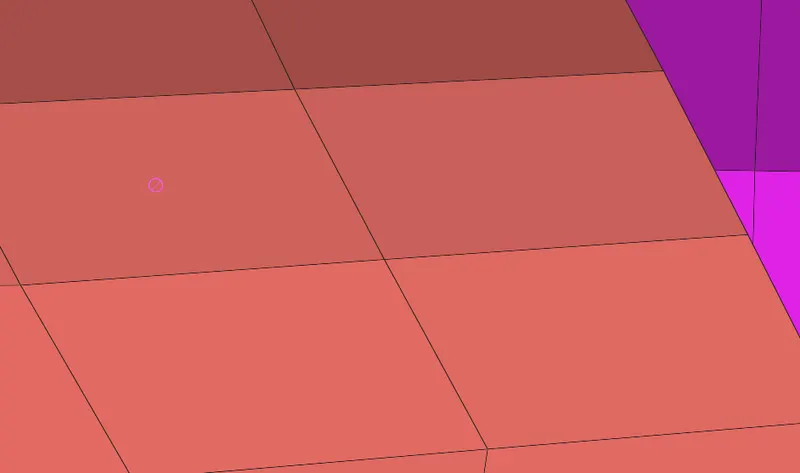
- To create Spot weld joint joint go to connection manager select spot weld joint and a new window will appear, select P1, P2 and FE representation type as RBE3-HEXA-RBE3.
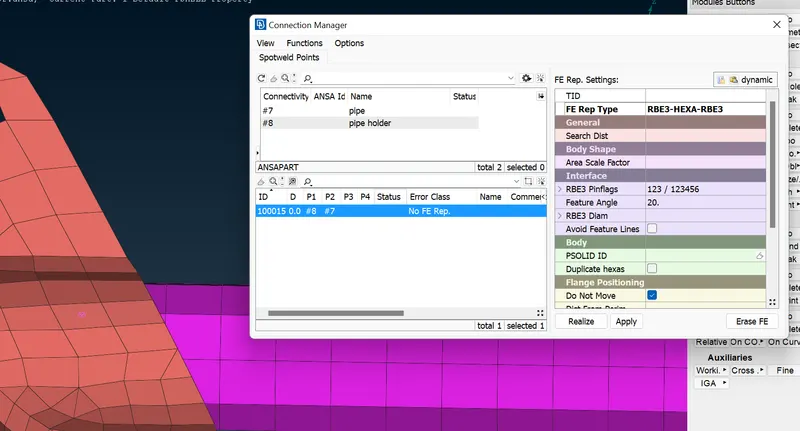
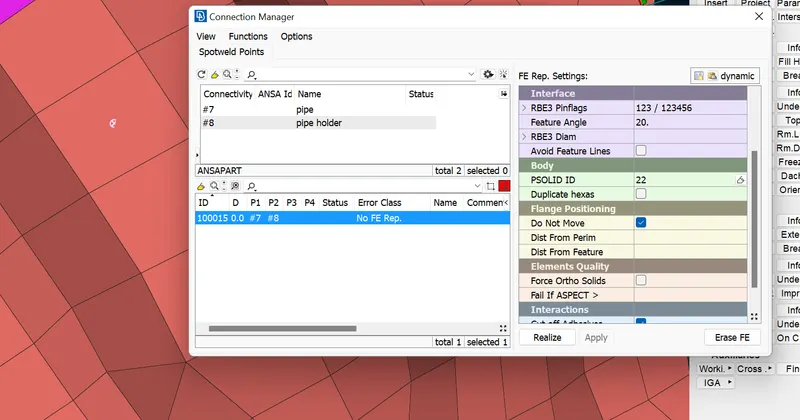
- Search distance as 20 and create PSolid ID, for that click shift&? button at once ant it will take to properties menu there we have to create Psolid propert and assign the same with double left mouse click.
- Click on apply then realise and Spot weld joint will be created.
6.Making of Door Handle.
- To create RBE2 links and then with two node RBE2 link we have to create centre node where we will deploy
mass. - For creating RBE2 links Go to Nastran>>Elements>>RBE2>>many nodes and select nodes of door handle cutout.
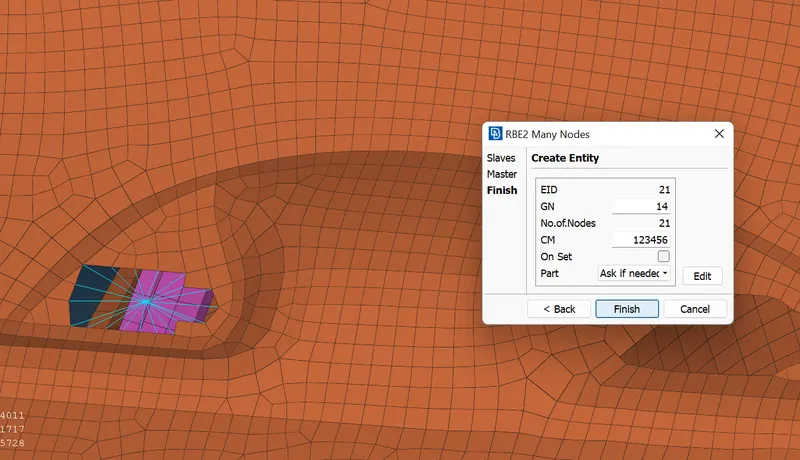
- There is no actual handle but for actual analysis there will handle of 100gm which will act here as a load, so we have to create CONMass here between centre of handle holes.
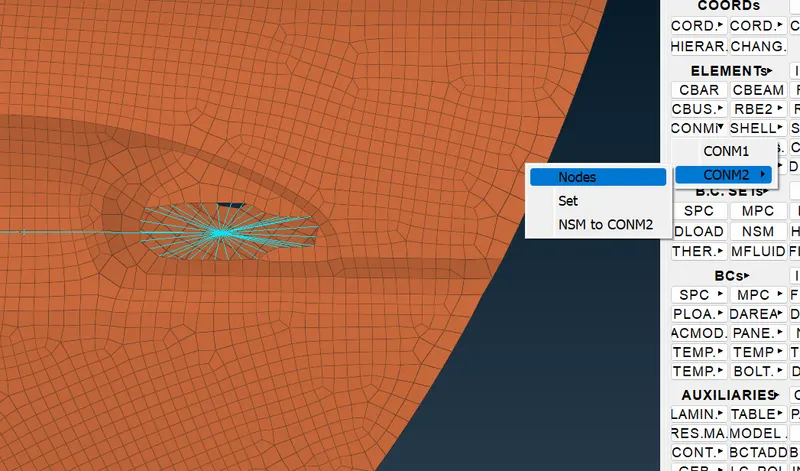
- For creating mass go to Nastran>>elements>>CONMi>>CONM2>>select Centre node and mass to it.
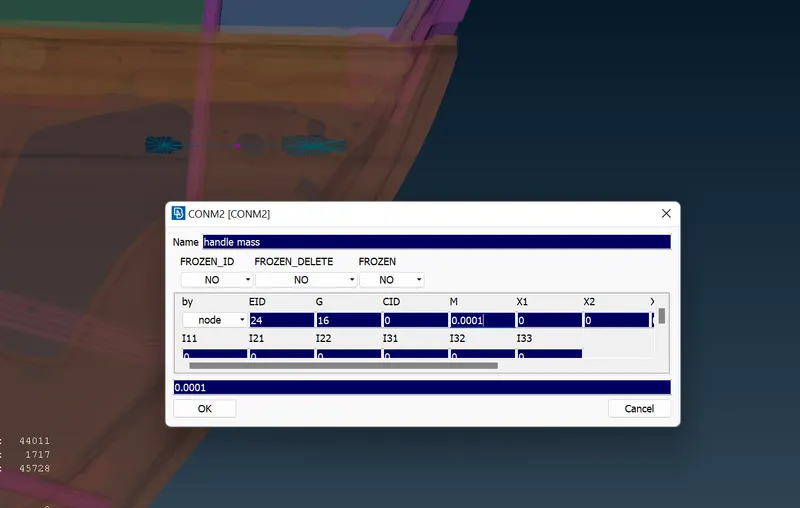
7. Making of C BUSH Connection.
- In Car door close to window there is a weather strip attached to it which in CAE considered as C-bush connection.
- Here we need a Curves for that so to create curves go to Mesh>>perimeters>>Feature to curve>>select window class outer areas.
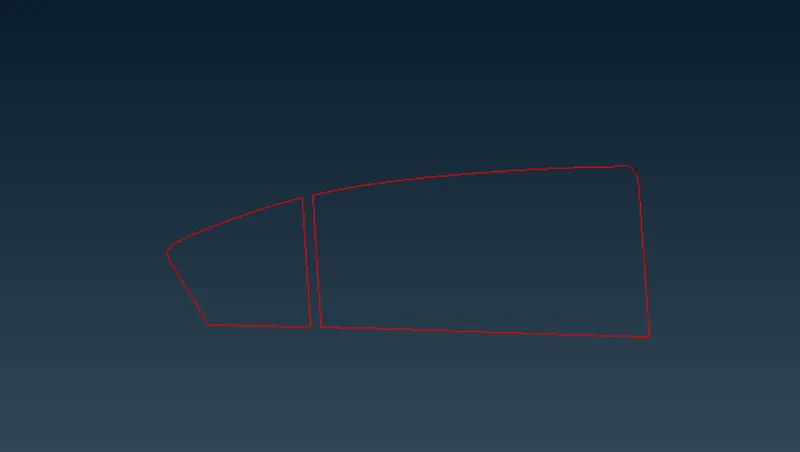
- Go to Convert>>Curves>>Spot line then ok.
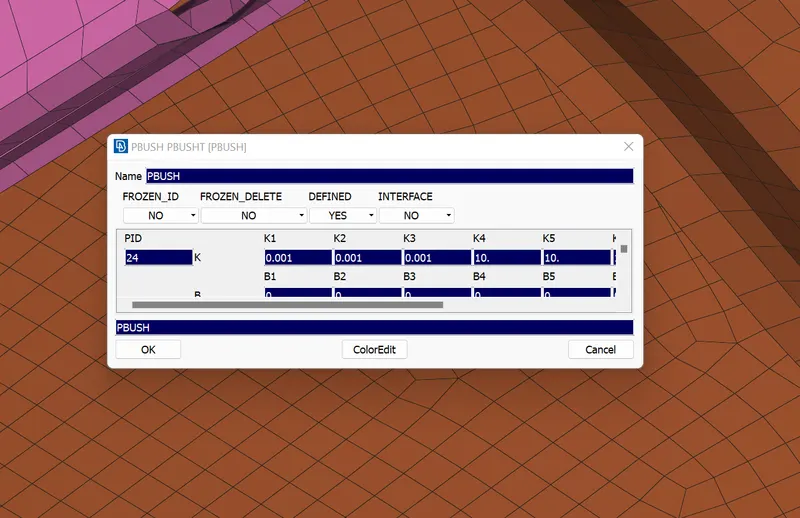
- Go to connection manager>>select curves>>one by one and select P1 & P2 Accordingly then set spacing as 10 and in FErepresentation type RBE3-CBUSH-RBE3.
- Give search diatance as 20 and select & Create P-bush ID.
- Click on apply and then realise it will create the C-bush connection.
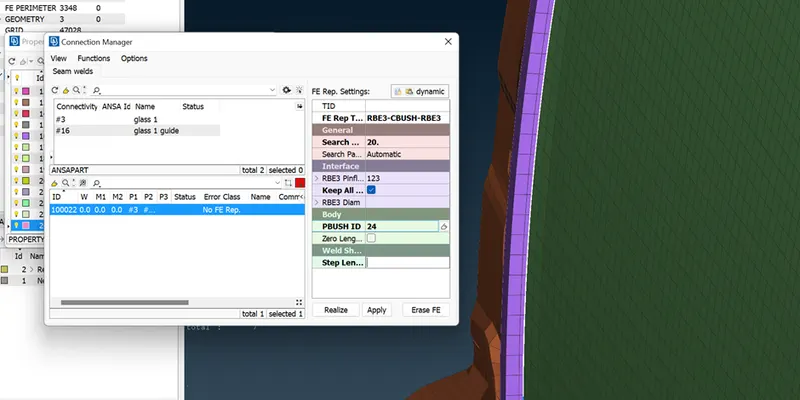
- Similar way we have to create connection for all remaining curves.
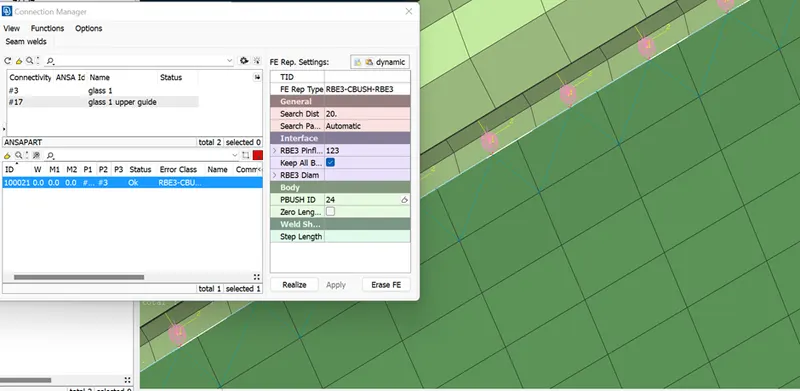
- All the C-bush connections have taken all the vector direction diffrently so we have to set all the connection direction to our main Co-ordinate system.
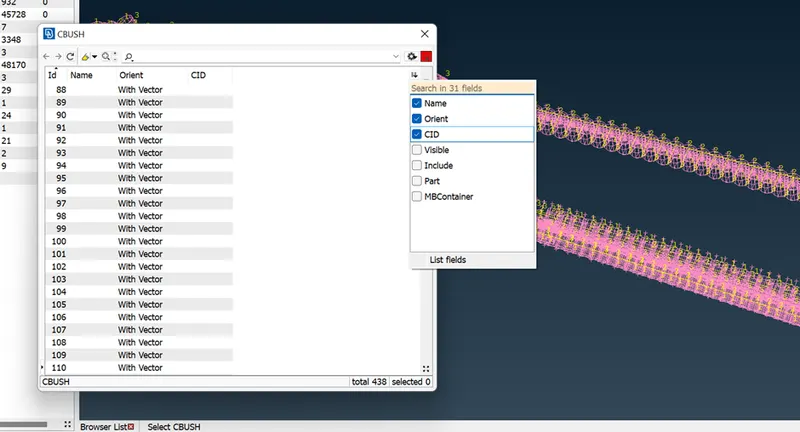
- Go to data base>click on drpo down of elements select C-bush over there and double click.
- New window will appear there change the view mode by clicking on show/hide columns and then search Orient and We will see that all nodes have diffrenet Vector setting.
- Set all the connection to same select all elements and right click>>select modify>>new window will appear, create new modification window and in first one select orient and on CID and give value as 0 then click ok.
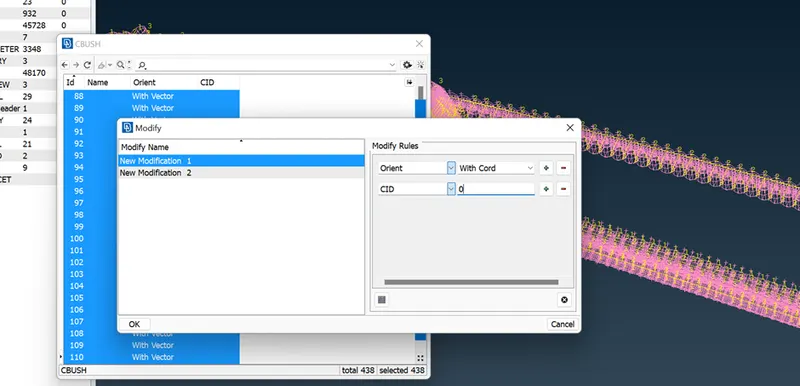
- All the connections have been revised to single cordinate system.
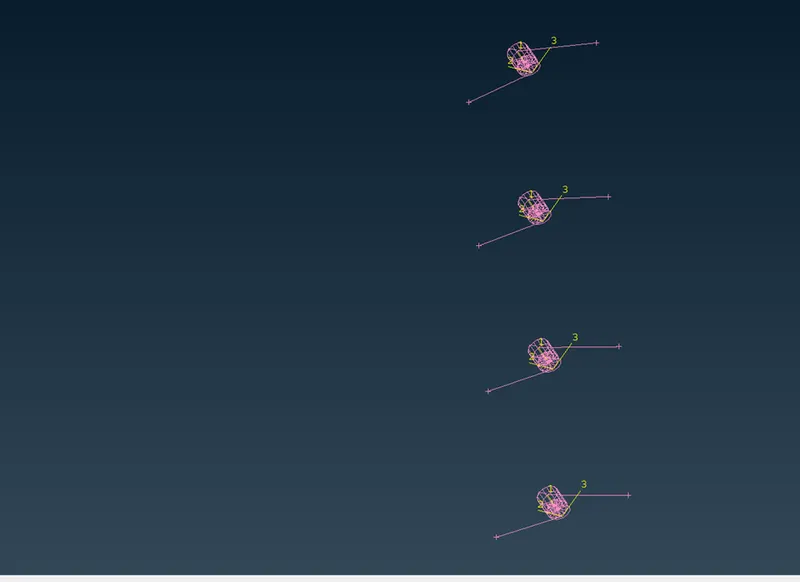
Learn Outcomes:
- Learnt about how to create different property to each element type.
- Learnt about how to make a connections by using bolt,weld,and bush.
- Learnt about how to create mass and Cluster Element connections in RBE2.
- Learnt to make orient for the c bush.
Conclusion:
We have successfully creaeted different properties and deployed required connection to proper places like bolts, hinges, spot weld, seam weld and bush connection.