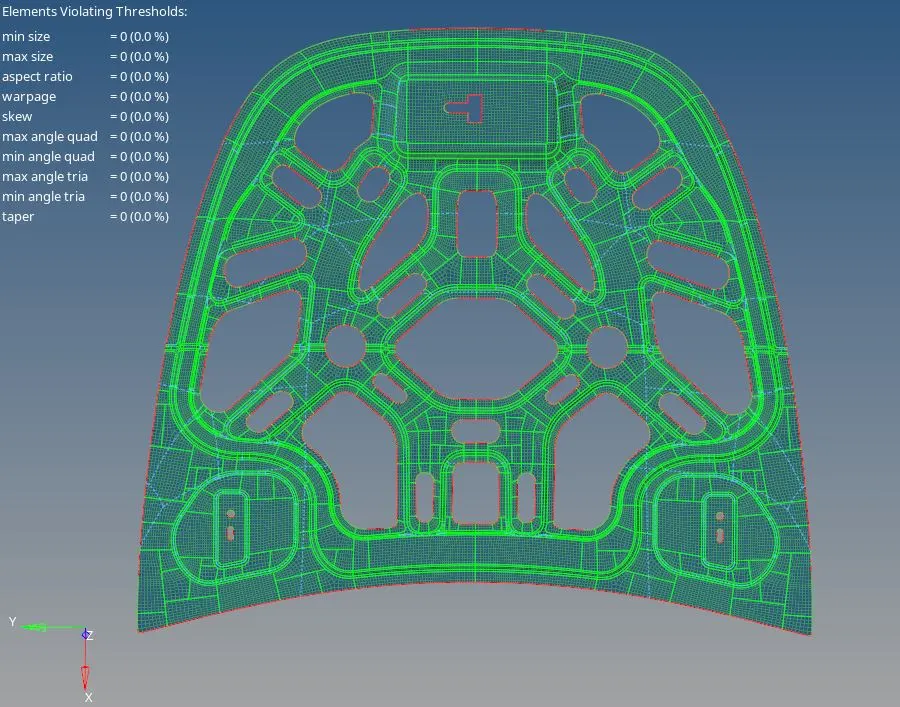
Week 6- Challenge
Objective:-
- Performing the 2D mesh
- Correcting the mesh flow by using the different set of tools
- Understanding the use of mesh quality
- Exploring the tools that are used to clear the mesh quality errors.
Procedure:-
In this challenge we are having mainly 4 parts to cleanup, mid surface and mesh. A Latch part, one Hinge, Outer body and an inner body.
The steps followed for each part are the same but due to different shapes time taken and difficulty for each are different.
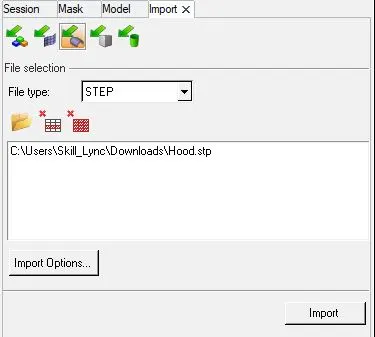
STEP 1 :- Importing the model
- Import the file from Import>Import geometry
- Select file type as STEP
- Click on the folder icon below>locate the file
- Choose the File from the window
- Click on Import
STEP 2:- Inspection of the model and cleanup of parent geometry
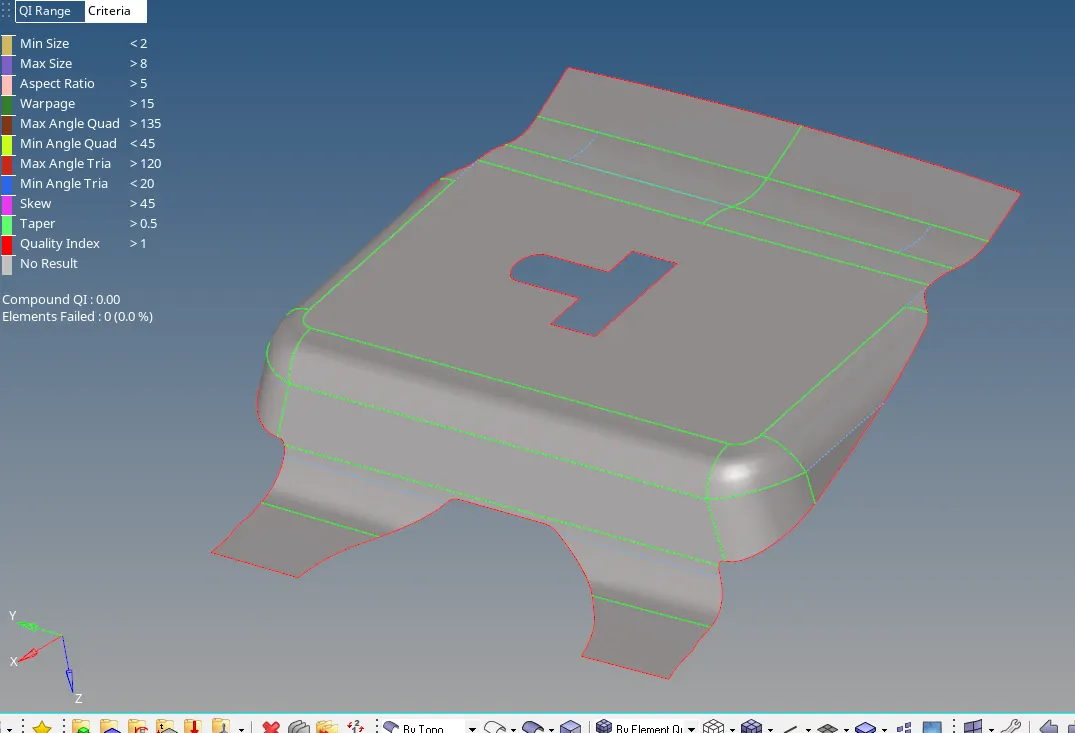
- Change the views in Geometry color mode to By Topo.
- So it is easy to find out the errors and deformations in the surface.
- Check and make sure that red lines are shown only at free edges.
- If any gaps or deformations are there then clear it using
- Filler Surface
- Toggle edge
- Replace Point
- 2D> Spline .. etc
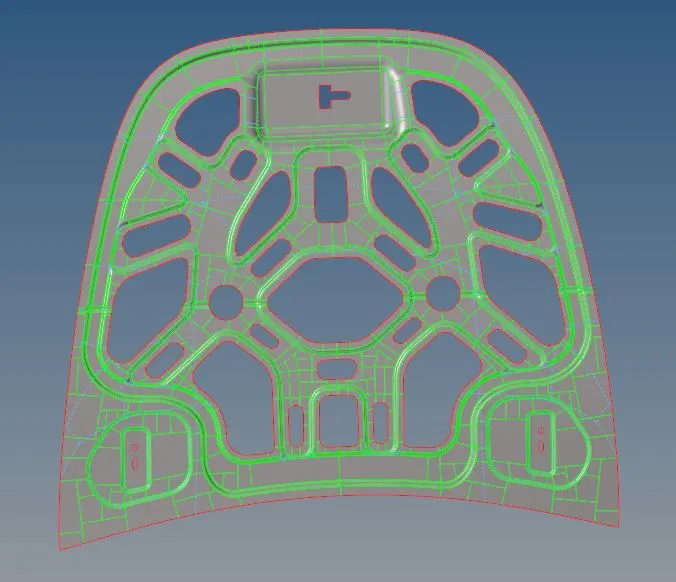
STEP 3:- MidSurface Generation and its cleanup
- Geometry>Mid surface> select the Part > Extract.
- Then we got the mid surface of the geometry.
- But it may have many issues and deformations.
- And mainly the mid surface will have many unnessecary cut lines which may fail our mesh and minimum length.
- We should properly delete these unnessessary lines.
- For removing these lines we will be using Quick edit>Toggle Edge.
- Then click on the lines we want to remove.
- While removing we should be also remember to provide proper connections to the line.
- If the lines are not properly connected then also our mesh will fail.
- Also if we are having a complex shape we can provide straight cut lines which will make our meshing easier.
STEP 4 :- Setting up quality criteria and meshing
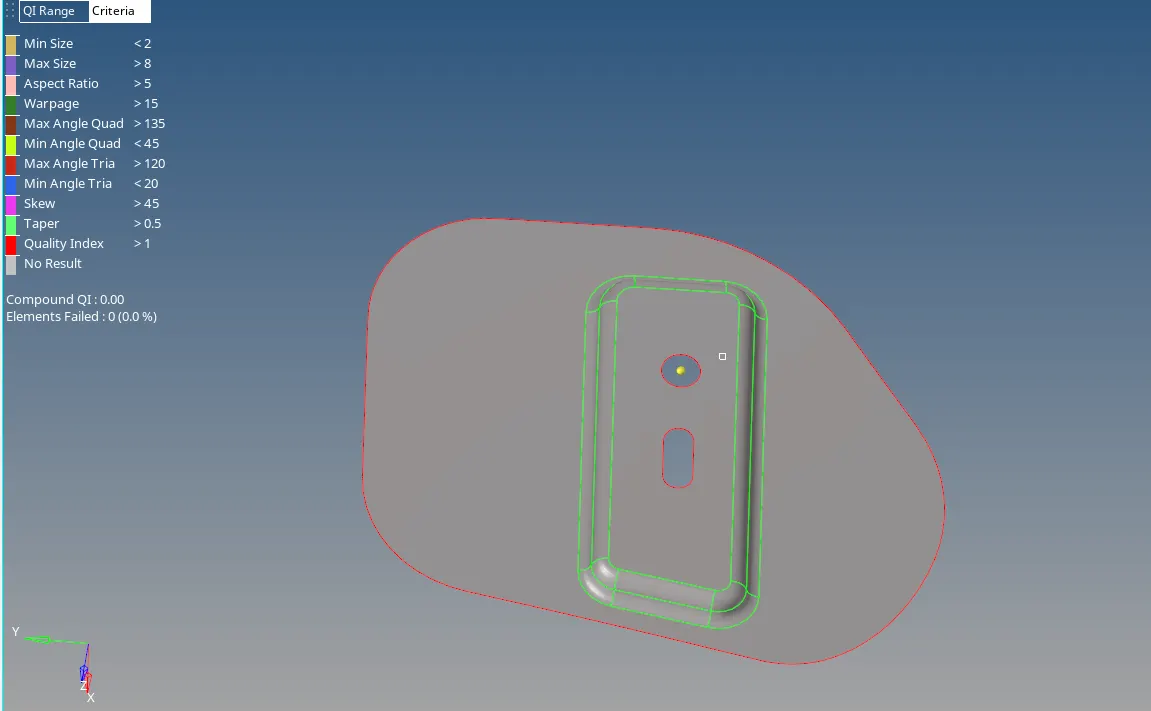
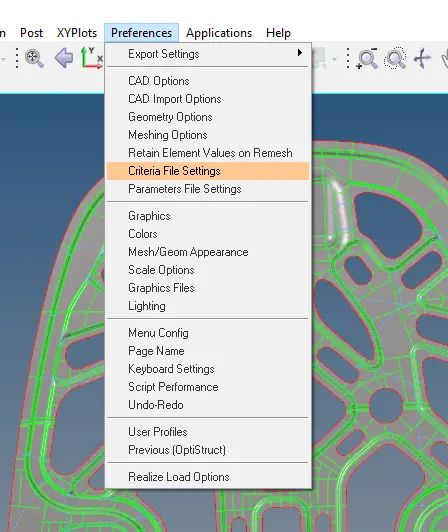
- Before meshing we should set up the Quality Criteria.
- For that we should go to preferences menu>Criteria File Settings
- Then a window will appear where we can check in the box of different qualities to activate that quality.
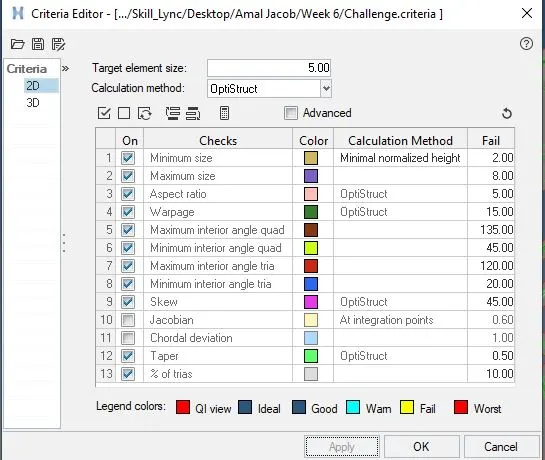
- now click on apply and ok
- After setting up Quality Criteria we can Start meshing.
- First we should decide where to start from, Always start from the inner complex part where there is less free edges.
- Then mesh to outwards.
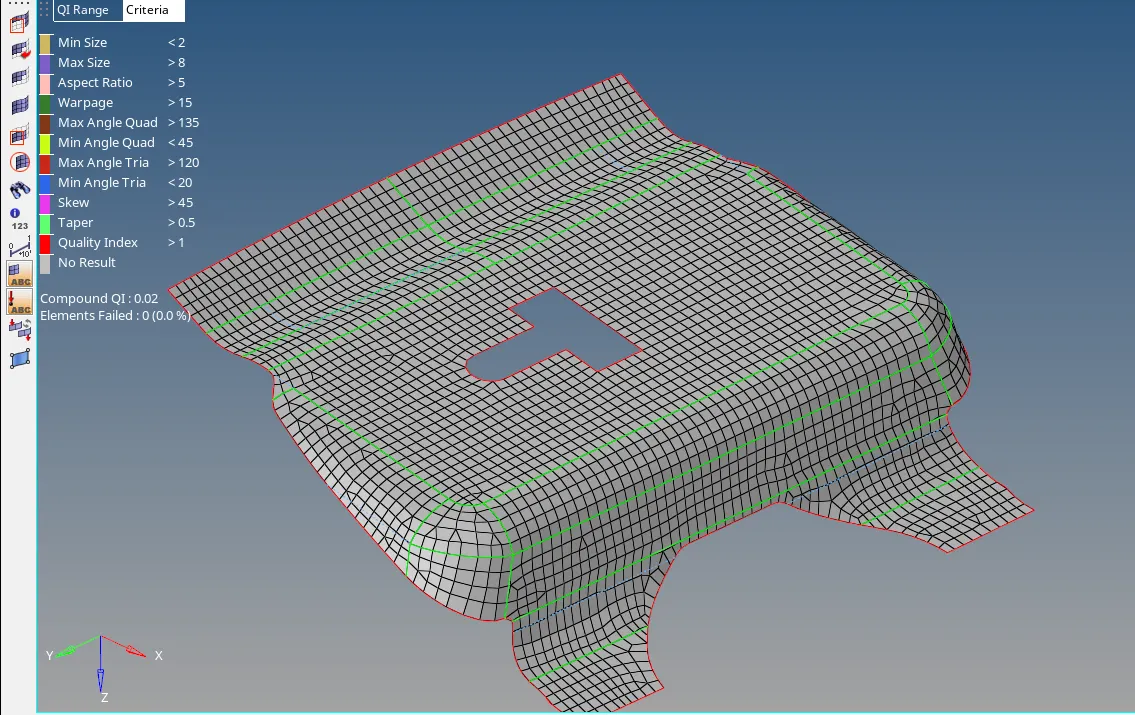
- We can mesh using Automesh tool
- 2D>Automesh
- click on surface> Select Surface to mesh
- Set Element size as 5
- Set Mesh Type as mixed
- Click on Mesh
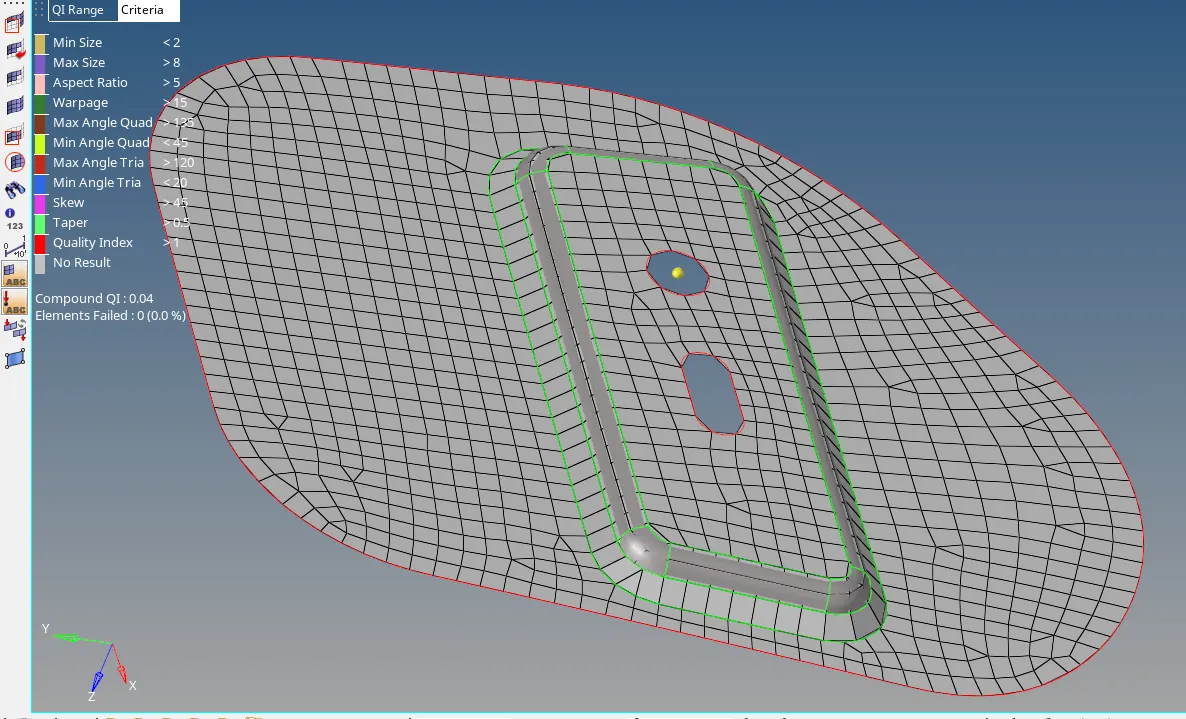
Step 5:- Reducing the number of trias and eleminating the errors
- After making the mesh we can see that there are many trias and errors. for a good quality mesh always keep the number of trias as less as possible.
- Main points to remember in Tria management:-
- No trias in corner or edges.
- No opposite trias.
- No back to back trias.
- No trias at hemmings or fillets or keep it miimal as lower as possible
- No rotational quads.
- No trias should share a boundary with feature line.
- Connectivity between elements
- Split and perform the mesh.
- Use mixed type mesh for irregular surfaces and quad type only for rectangular and square surfaces.
- The main tools used while eleminating trias are in 2D>quality index>cleanup tools
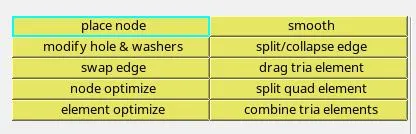
- Place node :- Used to manually move a node
- Smooth :- used to smooth the elements to get better mesh flow
- swap edge:- to swap the sides of the element
- Node optimize:- place the node in an optimize position which try to reduce the errors
- Element optimize:- optimize the element sides to eliminate errors.
- Split/Collapse edges:- used to split the elements.
- Drag tria elements :- to move the trias in the mesh.
- Split quad elements:- to split quad elements
- combine tria elements :- used to combine tria elements
Other than this there are:-
smooth> Shift+f12:- used to smooth the mesh to get a good mesh flow
project> Shift + f7:- to align the lines with features
Translate> Shift+f4:- to move nodes to eliminate errors.
Learning outcome:-
- Learned to cleanup complex shaped geometry
- Learned to make midsurface of sheet metal component.
- Learned to divide the midsurface for meshing.
- Application of quality criteria.
- Removing of errors
- tria management.
Result:-
Have finished the midsurfaceing, cleanup and meshing of the given model with zero errors.