Week 6-3D Tetra Meshing Challenge
AIM: Tetra meshing challenge
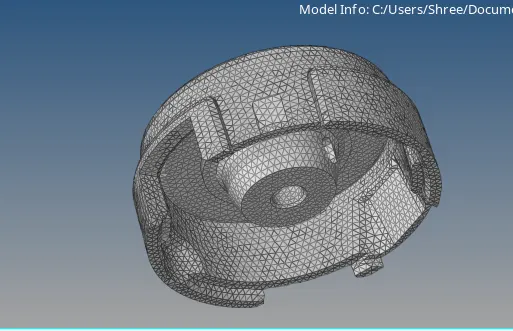
<!-- [if !supportLists]-->1. <!--[endif]-->For the given model 1, Create a tetramesh for Housing component with the following quality criteria.
TetraMesh Generation Method: 2D to 3D Conversion
Elements sizes: Min- 2 Units, Target- 5 Units, Max- 7 Units
Tet collapse: 0.15
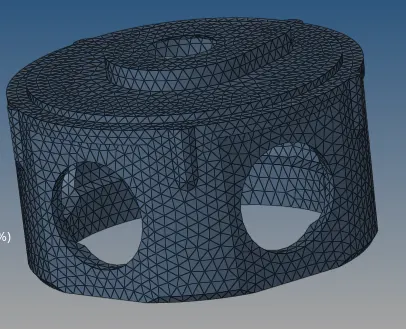
2. <!--[endif]-->For the given model 2, Create a 3D tetramesh with the following quality criteria.
TetraMesh Generation Method: Quick Tetra Mesh/ Volume Tetra Mesh
Target Element size: 3 Units.
Tet Collapse: 0.15
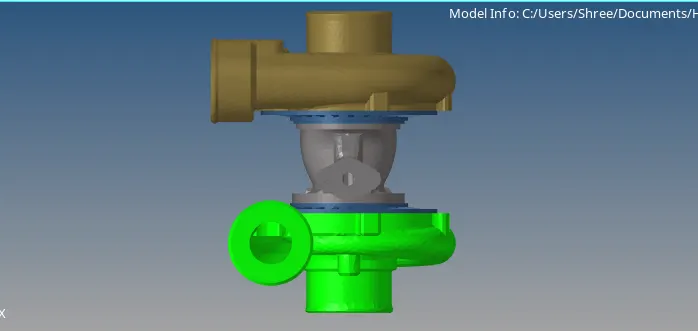
3. <!--[endif]-->For the given assembly model 3, Create a 3D tetramesh with the following quality criteria.
TetraMesh Generation Method: Quick Tetra Mesh/ Volume Tetra Mesh
Target Element size: 4 Units.
Tet Collapse: 0.15
OBJECTIVE: The objective of this challenge is to perform the 3D tetramesh on the given models following the given Quality Criteria using hypermesh software.
PROCEDURE:
<!-- [if !supportLists]-->1. <!--[endif]-->Model 1:
<!-- [if !supportLists]-->1. <!--[endif]-->Firstly import the model in hypermesh software and open it following the given steps: Go to Import geometry and select the file type as ‘step’. Then choose the file and click on import option. The model gets open in the software.
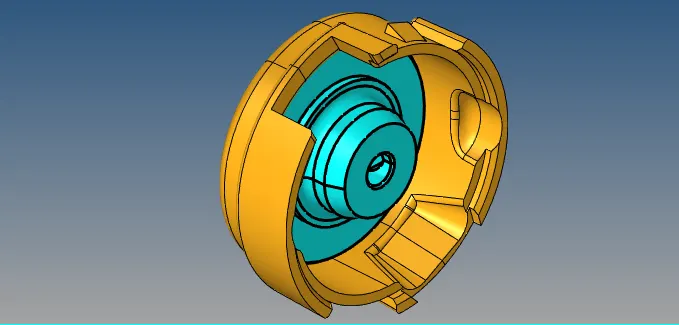
2. <!--[endif]-->After opening the model, check the model, if any solids present in it. If any solids present in the component, then we have to delete them. For that go to Delete>solids and select the component and click on delete.
3. <!--[endif]-->Now go to Geometry>defeature>surf fillets option. Enter minimum and maximum radius and select all the surfaces. Then click on find option and then remove all the fillets present in the model.
4. <!--[endif]-->Now go to the Geometry> autocleanup option and select the model and press middle mouse button. Autocleanup option automatically clear geometrical errors present in the model.
5. <!--[endif]-->Now proceed for meshing the component. Here meshing will be done by following the steps given below: Go to 2D> automesh option and enter the given element size as 5 units. Then choose the mesh type as ‘trias’ and select all the surfaces. Then execute the meshing by clicking on mesh option.
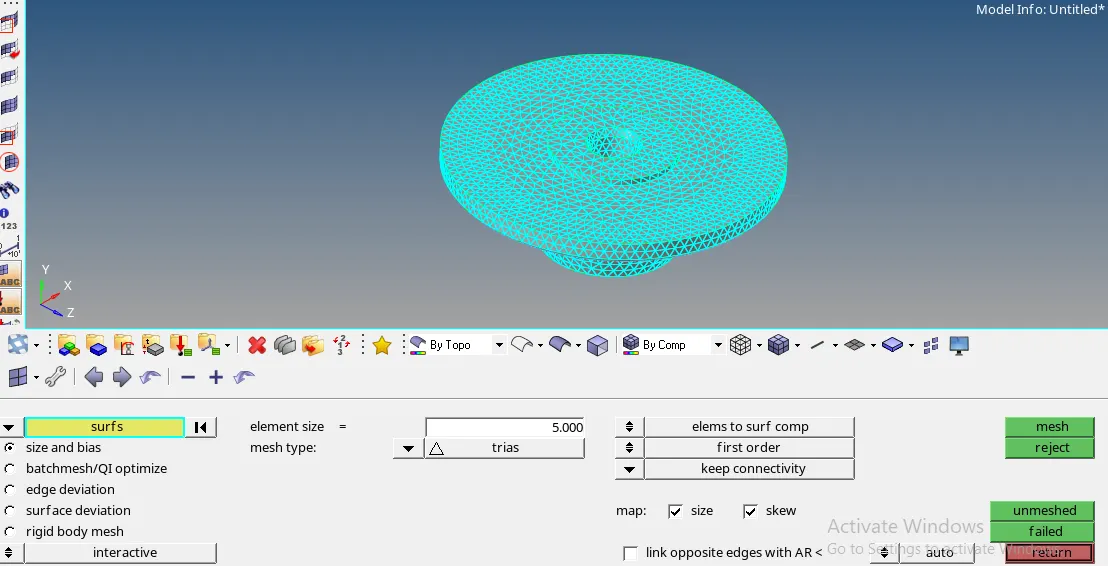
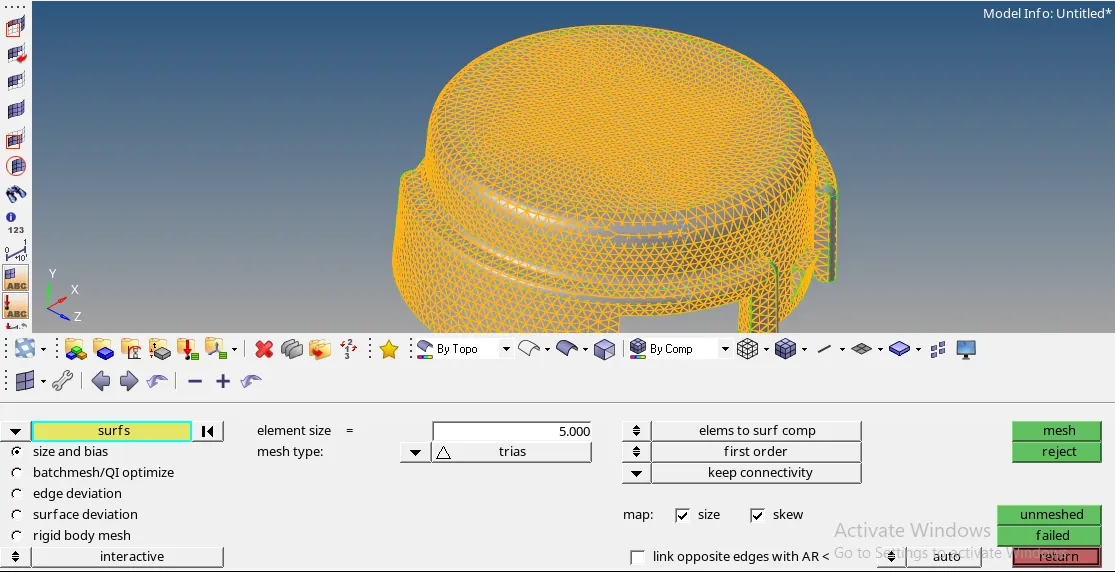
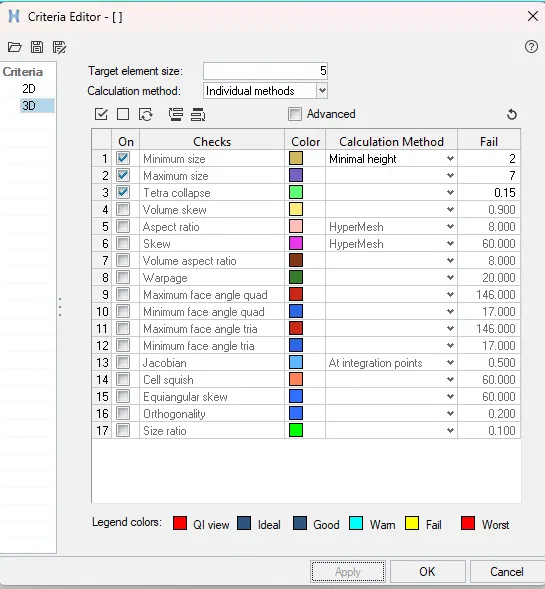
6. <!--[endif]-->After mesh is generated on the component , assign the maximum and minimum element size as 2 & 7 units respectively by going to the Tools>check elems>settings>Criteria editor and enter the given quality criteria and apply. If any elements fails for the criteria, then refine the mesh by using cleanup tools option present in the quality index section.
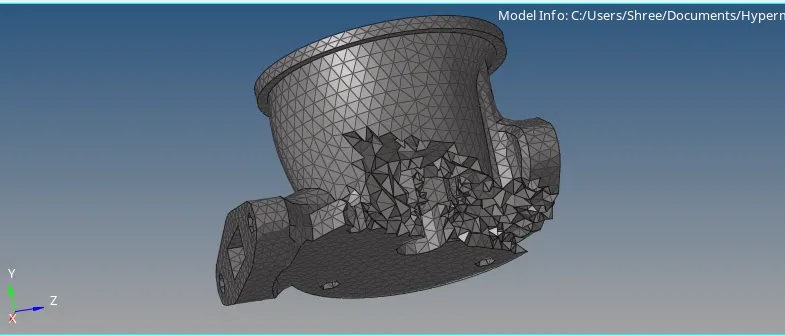
7. <!--[endif]-->Now proceed for 3D tetrameshing: For that go to 3D> tetramesh option, select the model and click on mesh option.
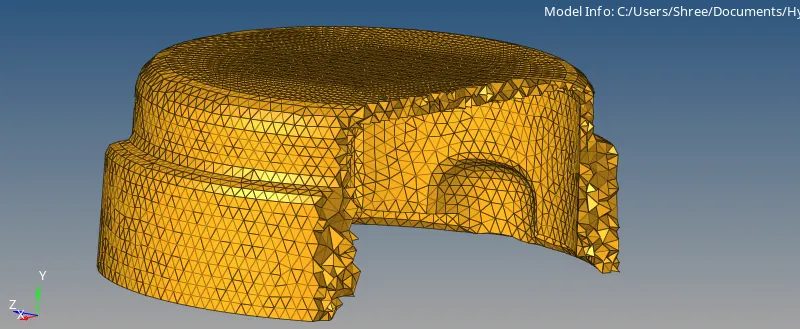
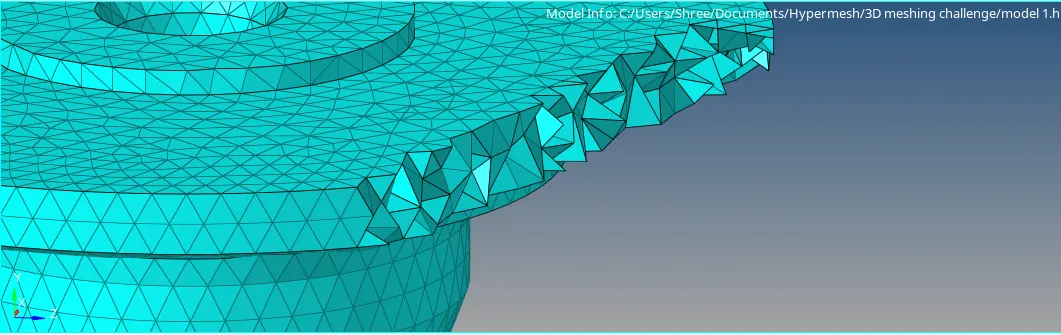
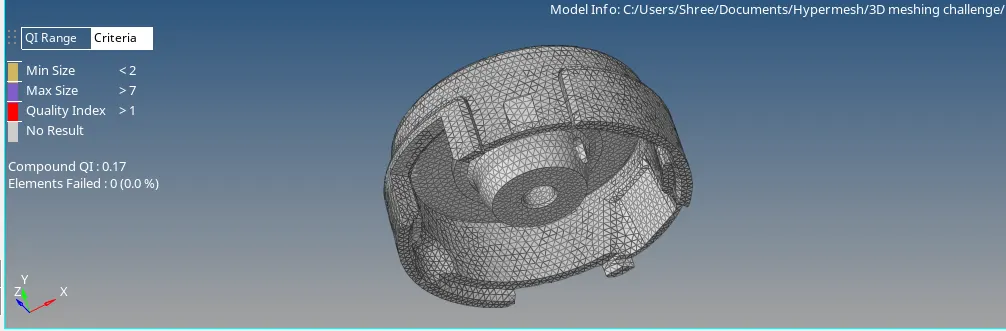
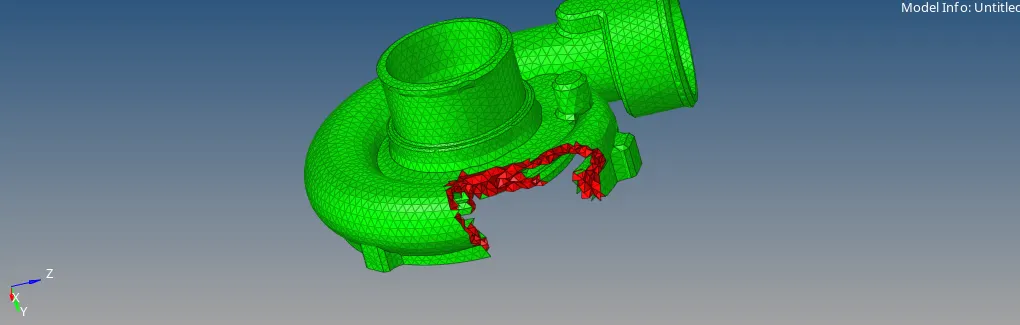
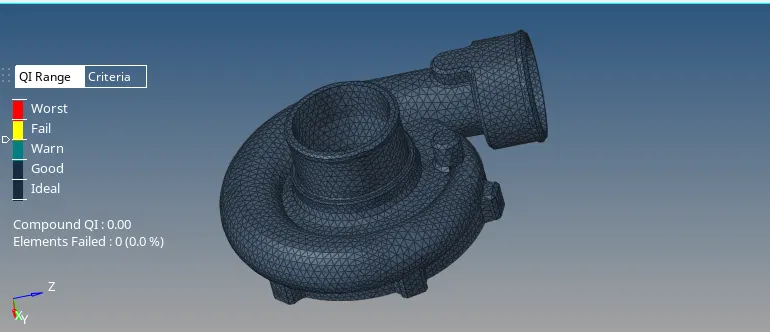
8. <!--[endif]-->After completion of meshing, check the model for tet collapse. For that go to Tool>check elems>3-d>tet collapse and enter the value. If there are no elements failing for criteria, then meshing is done according to the required parameters.
2. <!--[endif]-->Model 2:
<!-- [if !supportLists]-->1. <!--[endif]-->Import the model in hypermesh software.
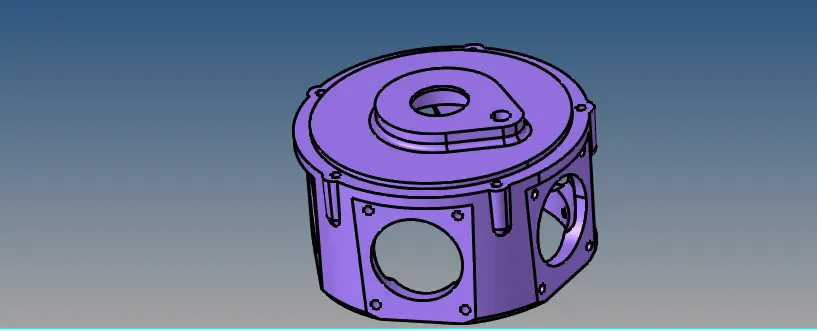
2. <!--[endif]-->After opening the model, check the model, if any solids present in it. If any solids present in the component, then we have to delete them. For that go to Delete>solids and select the component and click on delete.
3. <!--[endif]-->Now go to Geometry>defeature>surf fillets option. Enter minimum and maximum radius and select all the surfaces. Then click on find option and then remove all the fillets present in the model.
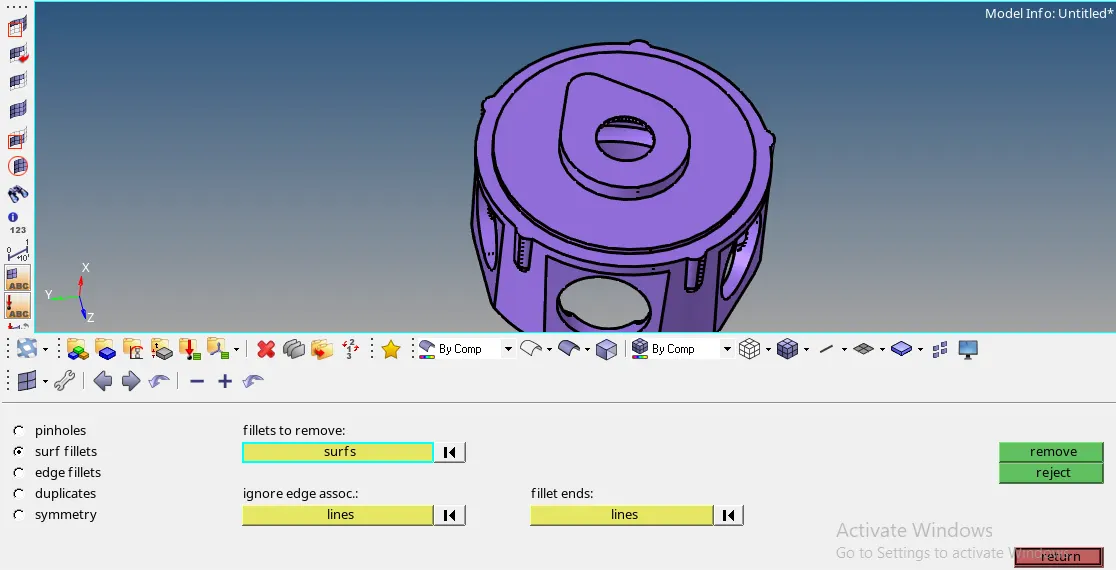
4. <!--[endif]-->Now go to the Geometry> autocleanup option and select the model and press middle mouse button. Autocleanup option automatically clear geometrical errors present in the model.
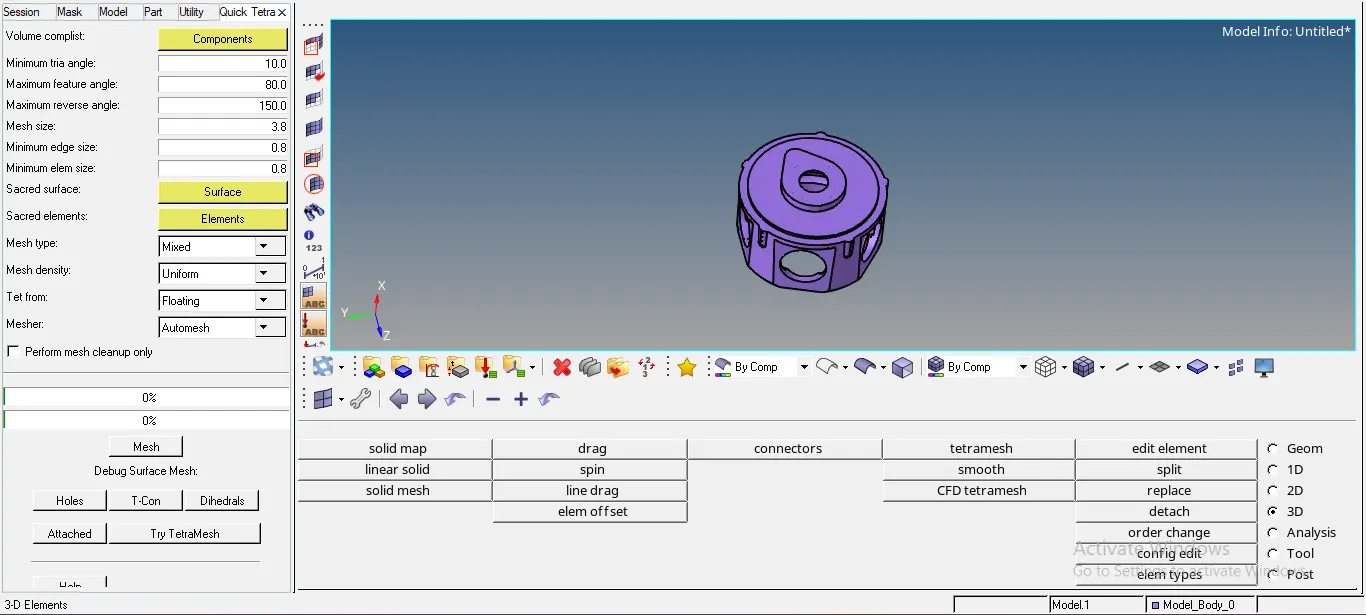
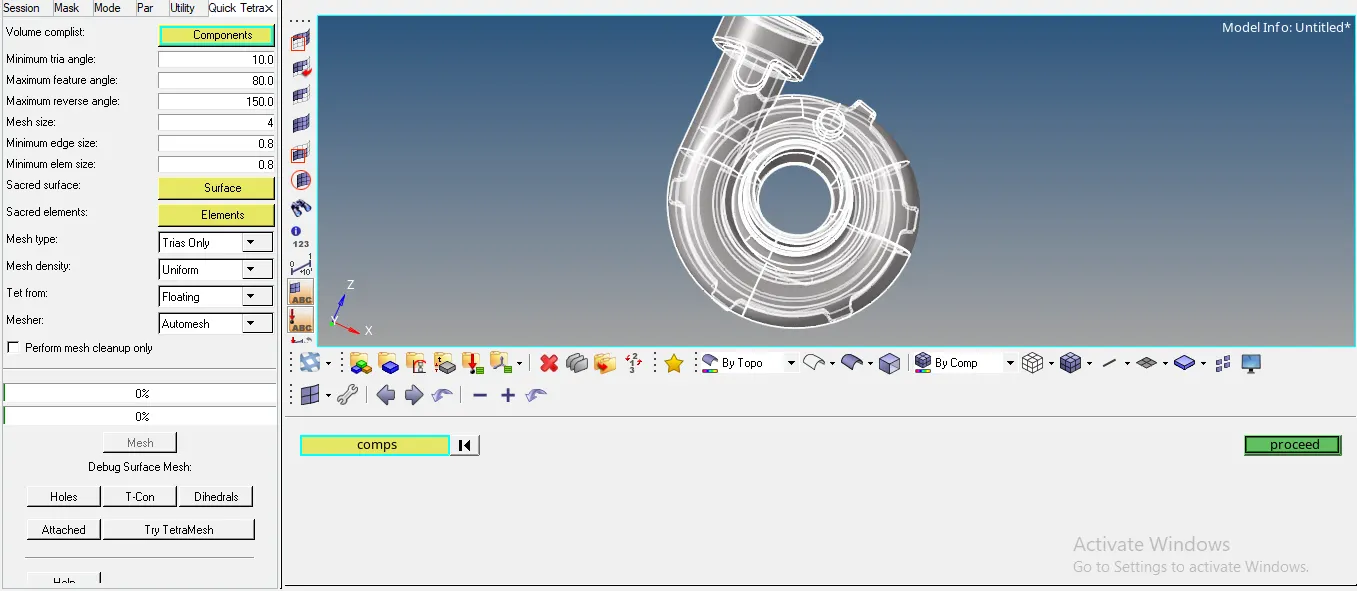
5. <!--[endif]-->Now proceed for meshing the component. Here we use Quick Tetramesh option. For that go to View>Browsers>Hypermesh>utility and click on Geom/Mesh>Quick tetramesh. Then a new window open. Select the component and enter mesh parameters and click on ‘Mesh’ option.
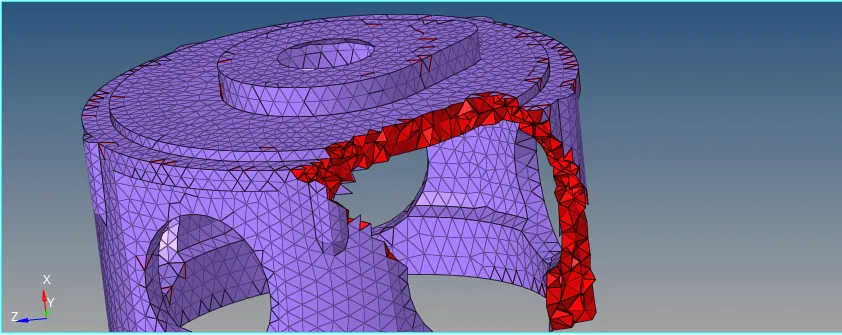
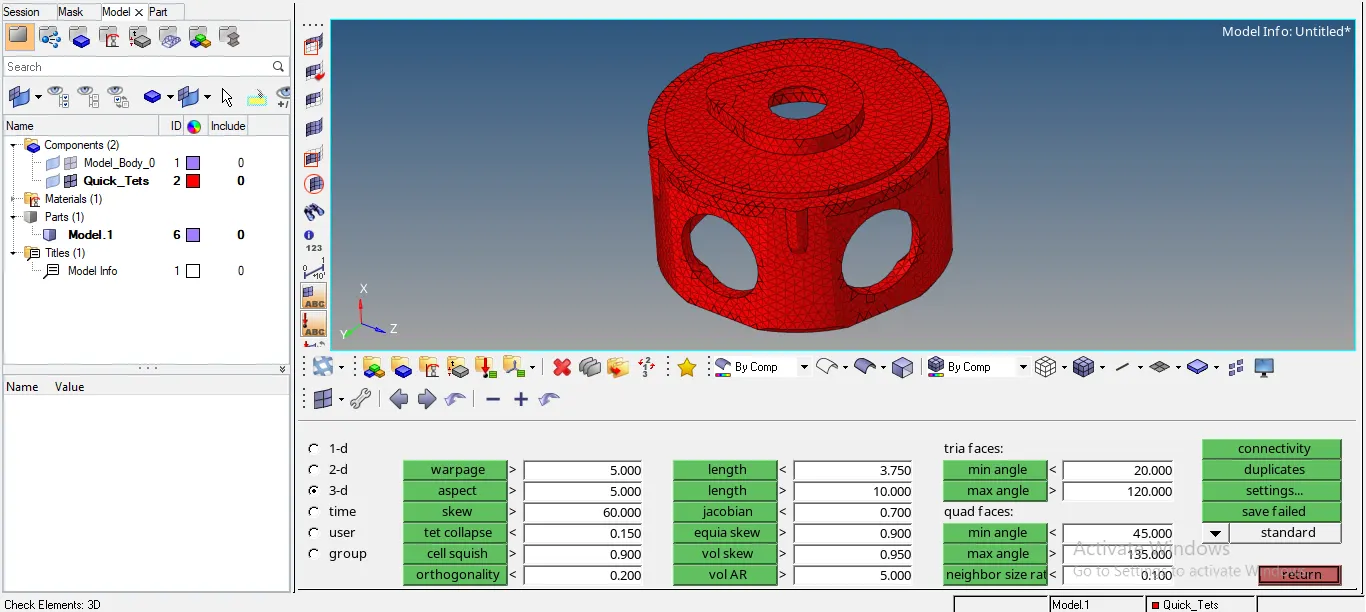
6. <!--[endif]-->After completion of tetrameshing, a new component as ‘Quick_Tets’ will form. We can move this component to original component as per requirement.
7. <!--[endif]-->After completion of meshing, check the model for tet collapse. For that go to Tool>check elems>3-d>tet collapse and enter the value. If there are no elements failing for criteria, then meshing is done according to the required parameters.
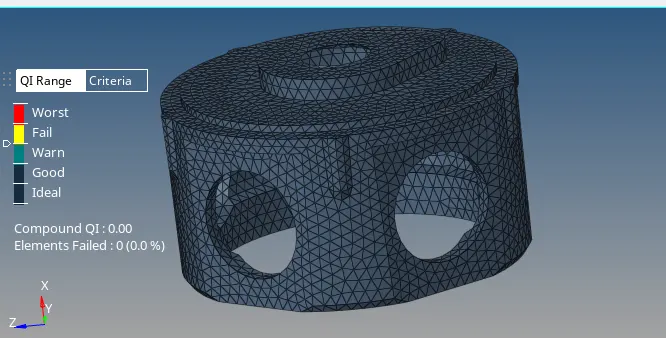
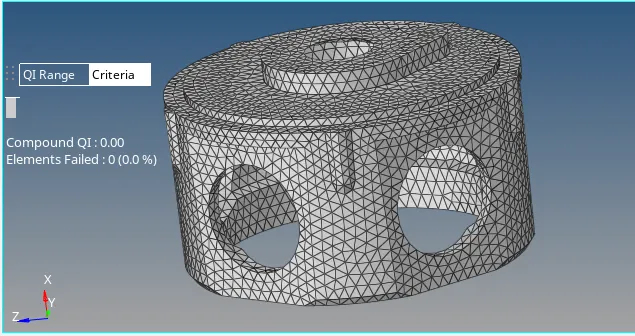
3. <!--[endif]-->Model 3:
<!-- [if !supportLists]-->1. <!--[endif]-->Firstly import the model in hypermesh software.
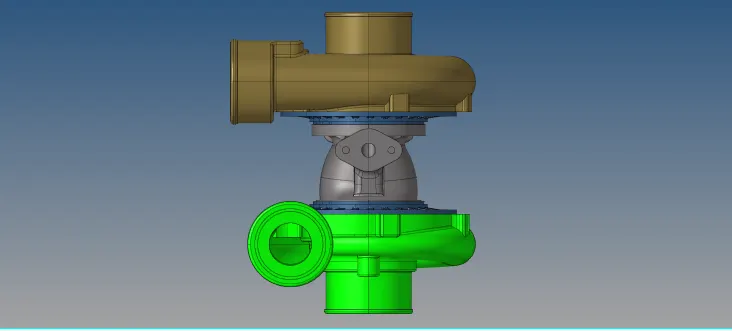
2. <!--[endif]-->In this model, there are five different components present. We use quick tetramesh and volume tetramesh for different components.
3. <!--[endif]-->After defeaturing ang autocleanup, we proceed for meshing the component.
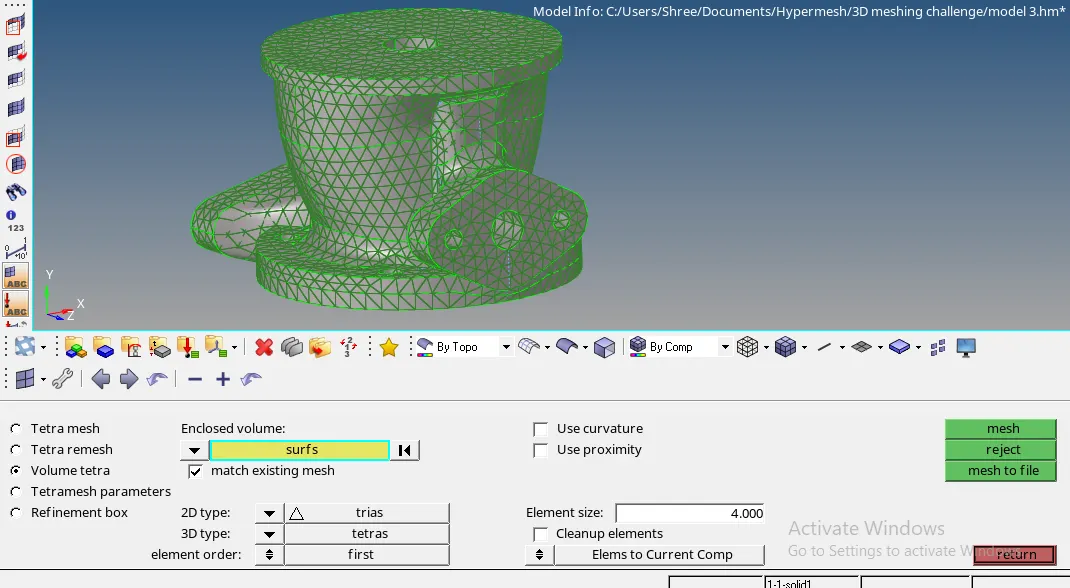
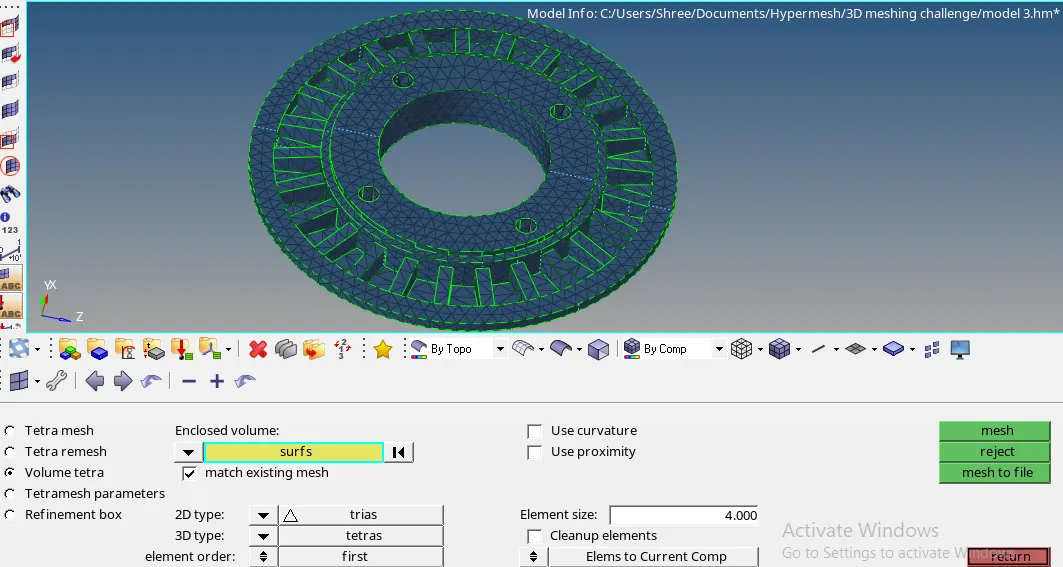
4. <!--[endif]-->For quick tetrameshing and volume tetrameshing, there is no need for 2D meshing. For volume tetramesh, go to 3D>tetramesh>Volume tetra and select the component as enclosed volume, 2D type as ‘trias’ and 3D type as ‘tetras’. then enter the element size as 4 units and click on mesh. Volume meshing will be performed on the component.
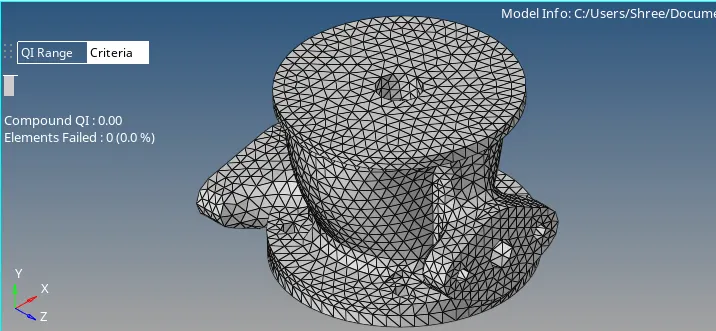
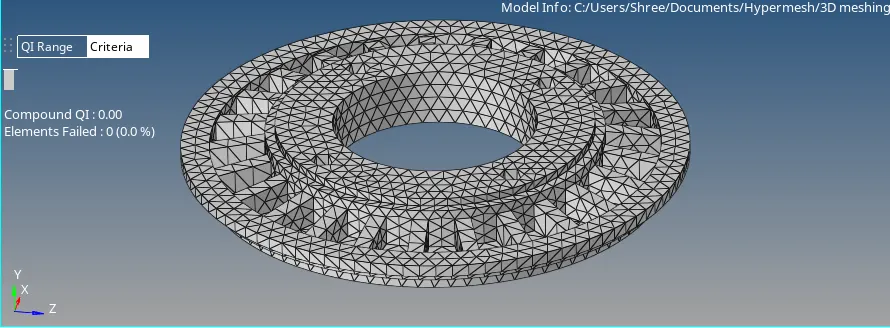
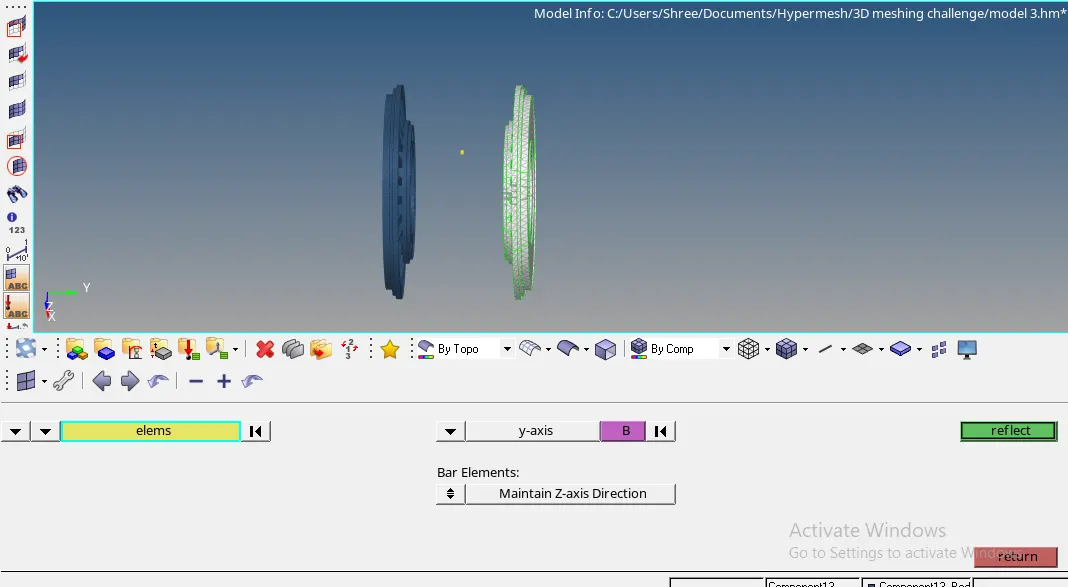
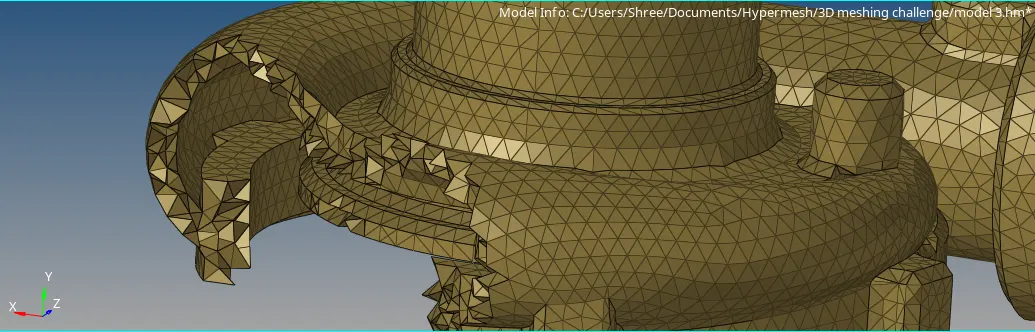
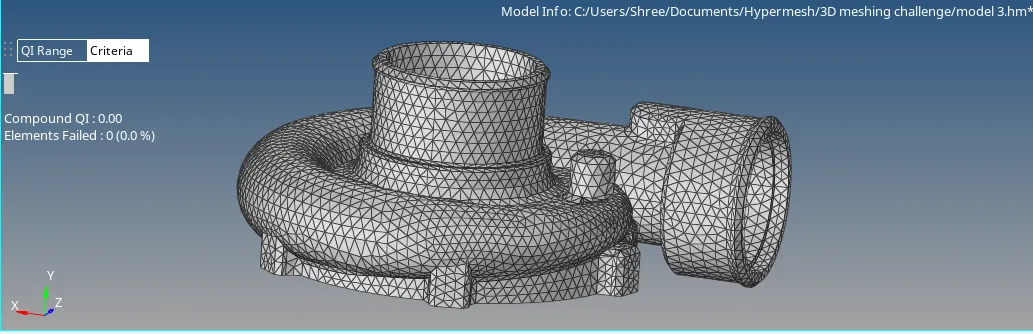
5. <!--[endif]-->After meshing, check the component for ‘tet collapse’.
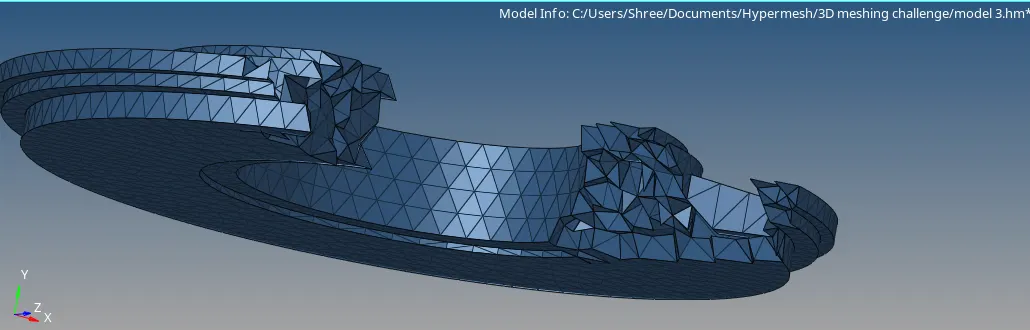
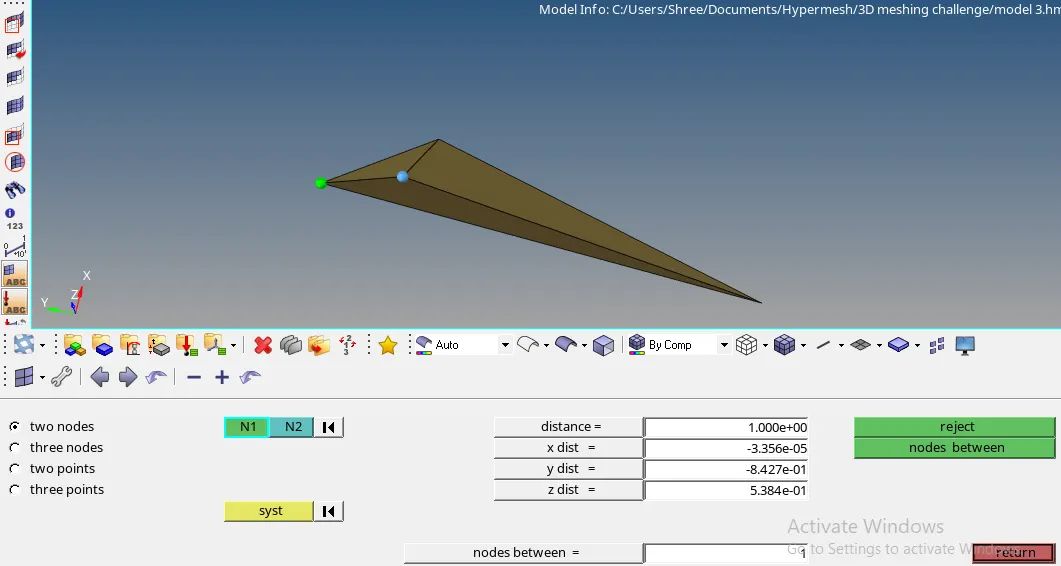
6. <!--[endif]-->If some elements fail for tet collapse, save these failed elements. Then go to mask>Elements>retrieve and click on mask and then reverse. This will shows fail elements only. Then change the distance between nodes manully to resolve them. After manually correcting all the fail elements, model is ready according to requirement.
Final model images:
LEARNING OUTCOMES:
1) Performing this challenge enables to use different tools in the software.
2) Learn to generate tetramesh by using 2D to 3D conversion method.
3) Learn to generate tetramesh by using Volume tetramesh and Quick tetramesh technique.
4) Learn how to resolve the failed elements for tet collapse manually.
CONCLUSION: After performing proper techniques, given models are meshed according to given quality criteria.
Link for Model 3:
https://drive.google.com/file/d/1cOrbLKPFMv8YI7PsBGx53C5VdVgX_xd1/view?usp=sharing