Week 6
AIM:
To do the connection techniques in the given rear door model, using NASTRAN in ANSA software.
PROCEDURE:
Setting the PID:
1) Download the given Model
2) Open ANSA software and click NEW>>NASTRAN>>and import the given model, the model is to be imported for now.
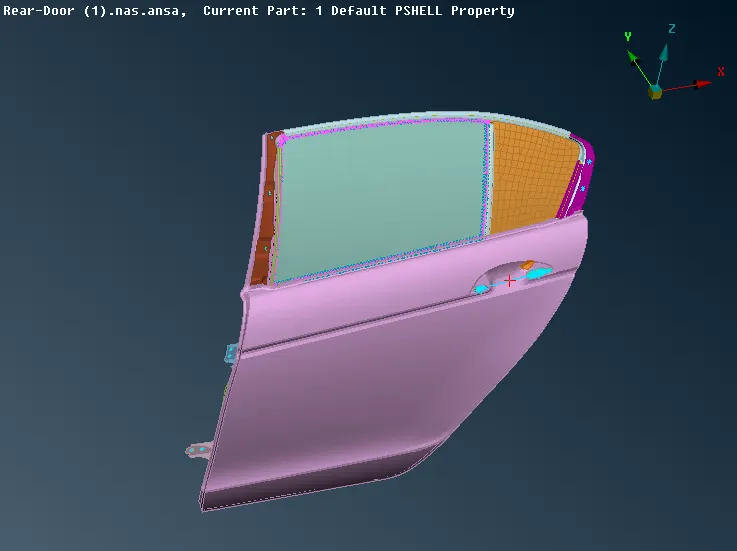
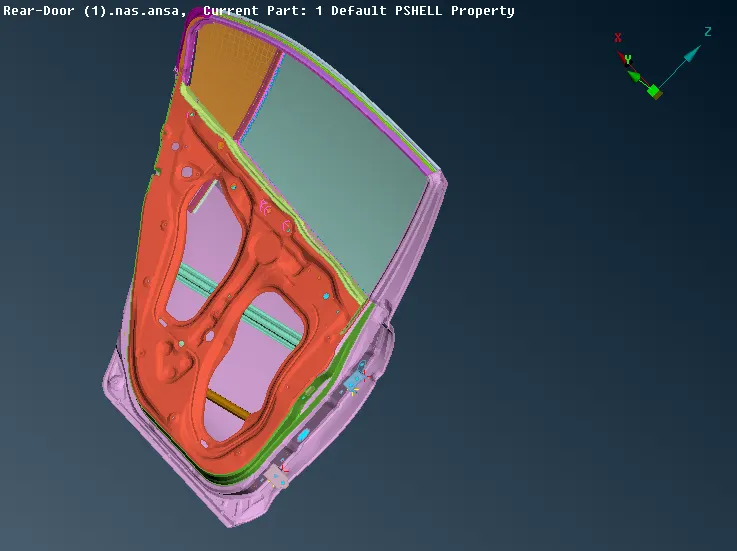
3) Since, the given door model is assigned as single PID, click FACES option, and click SET PID, and assign the PID for various elements one by one, so it will be easier to do the further process.
4) The bigger advantage is that the model has been correctly meshed already.
CONNECTIONS:
1) First of all, we need to know the basics of connection why should it be used for.
2) The connection is mainly used for connecting the two surfaces via bolt and nut, and washer, and also welding.
3) So, it denotes the connection has to be done in meshing mode.
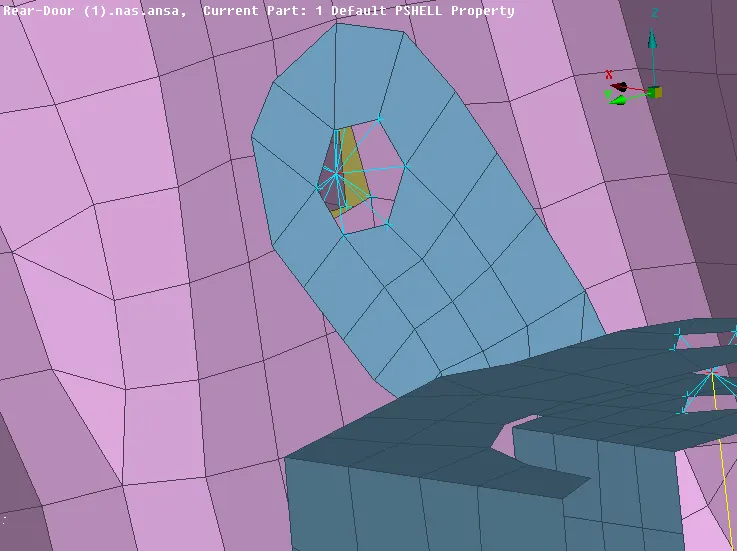
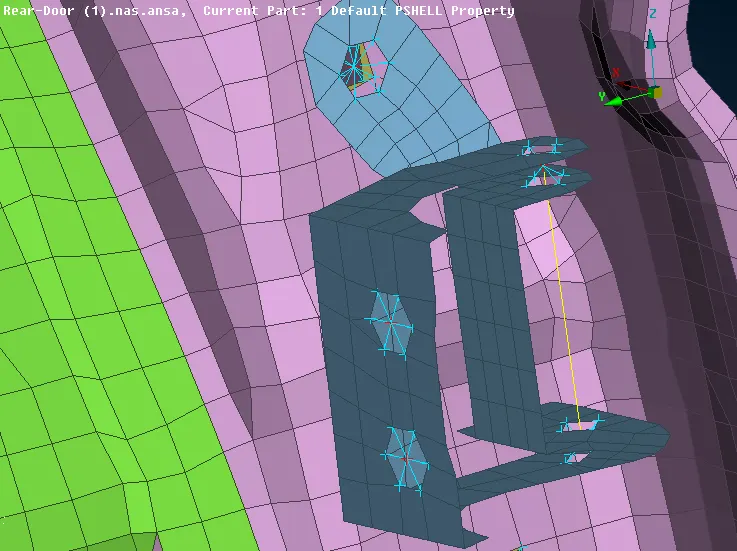
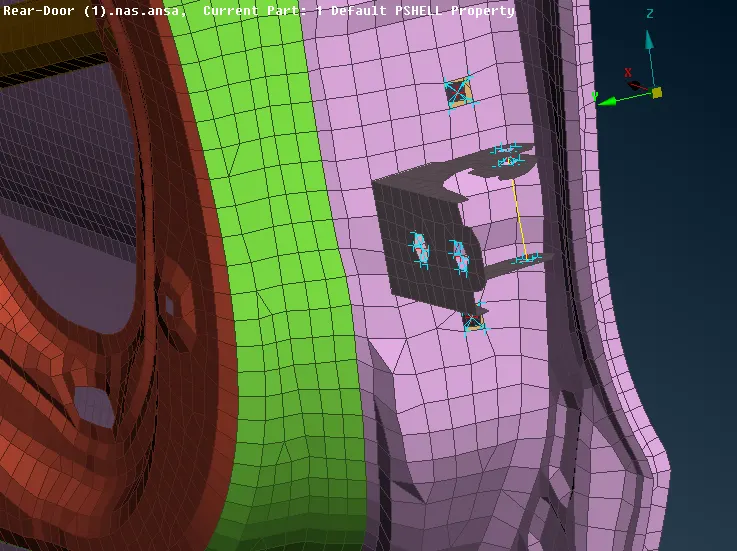
4) To start the connection, Go to NASTRAN mode, select RBE2, and select the NODES via giving LOOP option for selection of all nodes in single shot, then give finish. Assign the connections as it is.
5) Make sure that the where the bolts are given, repeat the same process in order to establish the bolt connection.
6) In order to establish the bolt stem, select RBE2> TWO NODES> select the middle of the connections and select OKAY, and the bolt stem will be established.
7) Repeat the same process in order to establish the connections in hinges, and other areas where the bolt is to be connected.
WELDING:
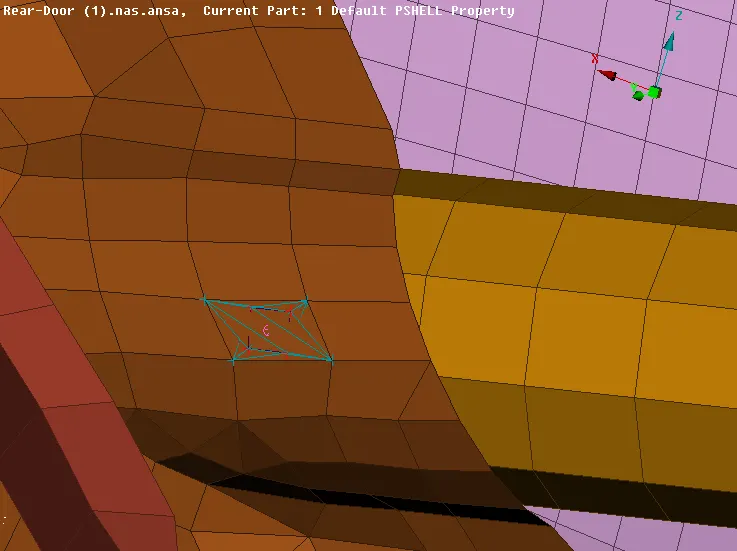
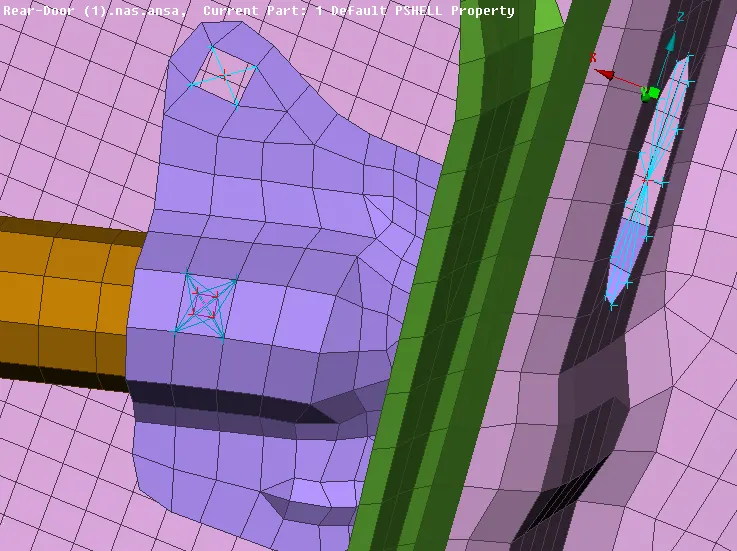
1) In this model, we are establishing the SPOT WELDING, where the two elements are being joined without the bolt connection, so they have to be conjoined.
2) For doing spot welding, first, set the 3d points, through ON COG. then the point is to be assigned.
3) Go to CONVERSION MANAGER>>select 3D points>>select the points>> SPOTWELDING>>OK
4) Then, go to Connection Manager>> Select the point>> the dialog box do appears.
5) On the options, Give RBE3-HEXA-RBE3 and select the property that has to be welded, by giving the respective property ID, Set Distance as 10 mm and give Degrees of freedom as 123456., Set the Weld PID as new.
6) Apply and realize. The spot weld will be appeared.
7) Repeat the process where the spot weld is to be done.
C-BUSH:
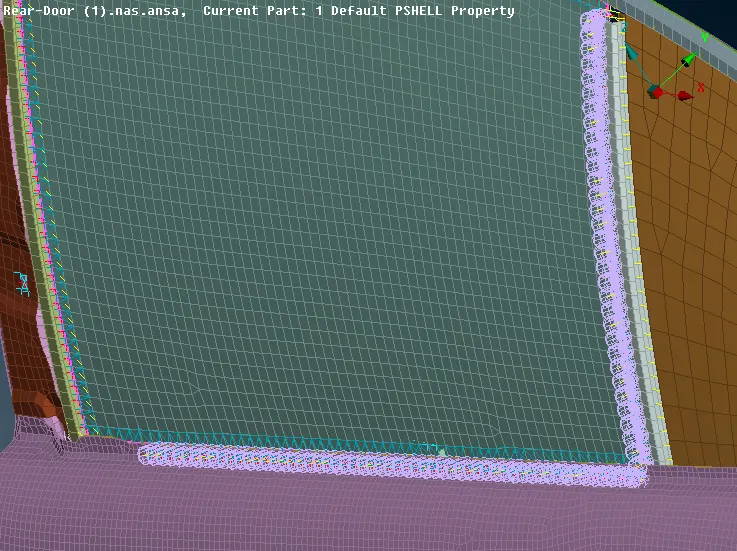
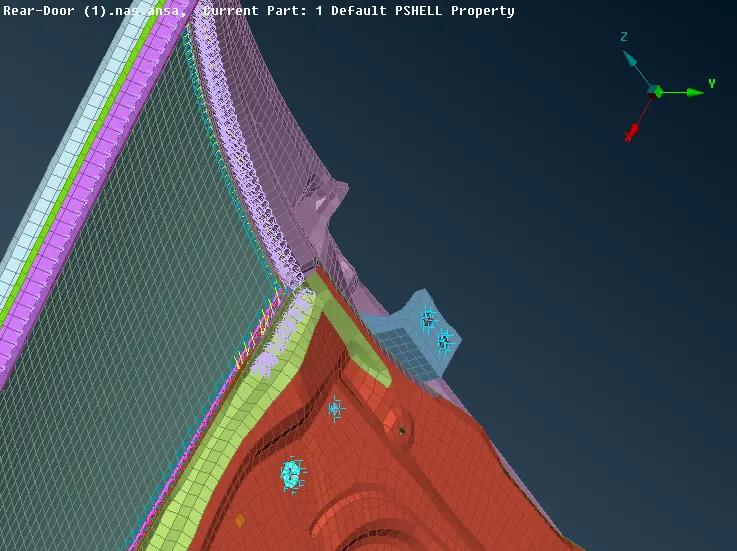
1) C Bush is given in between the rubber beading and the glass of the window, for proper friction of the glasses.
2) In order to establish the C bush connection, first of all give FEAT2CURVE separately, in all around the glass.
3) At the base of the glass, give TRANSFORM>>COPY>> TRANSLATE>> give 10 mm and 1 steps>> OK
4) Using the CONVERT OPTION, Give the line each, and convert into SPOTLINE.
5) Select the line and the dialog box appear. Give RBE3-CBUSH-RBE3 and define the PID's of the respective elements, and Distance as 10 mm, and Thickness as 50 mm. And Give Apply, and Realize. So, the C-BUSH do appear.
6) Repeat the process in other sides of the curve and the respective edges of the window respectively, and one by one, and so the C-BUSH.
7) And So, the C-BUSH can be established.
LEARNING OUTCOMES:
1) From this challenge model, I learnt the connections to be done, in the meshed region, and the bolted areas are to be given with connections for establishing the rigid surface.
2) And also I learnt that the Seam welding and the Spot welding also can be done for establishing the joint rigid surface.
3) I learnt the C-BUSH connection for stiffening the glass and rubber connections in the window of the car, which are about to slide up and slide down.
4) And also, the holes and the bolt connections can be done by using the CONNECTIONS either many nodes or two nodes.
CONCLUSION:
Hence, The model has done with proper connections and welds with the help of NASTRAN in ANSA software